Chat now with support
Chat with Support

Toad Data Modeler 7.2 - User Guide

Introduction User Interface Models and Model Objects
Physical Data Model
Entity Relationship Diagram Objects Basic Database Design Advanced Database Design
Universal Data Model Logical Data Model Working with Model Objects
Features and Tools
Application Variables Export/Import DDL Script Generation Graphics Model Actions Print Create New Project Reports Reverse Engineering Scripting and Customization About Templates Tips and Tricks Toad for Oracle Integration Toad Intelligence Central (TIC) Integration Tools Version Control
Options and Configuration Databases
Amazon Redshift 1.0 IBM DB2 LUW 9.5 IBM DB2 LUW 9.7 IBM DB2 LUW 10.1 IBM DB2 LUW 10.5 IBM DB2 LUW 11.1 IBM DB2 z/OS 10 IBM DB2 z/OS 11 Greenplum 4.1 Greenplum 4.2 Ingres 9.3 Ingres 10.0 EDB Postgres Advanced Server 10 Microsoft Access 2007/2010 Microsoft Azure SQL Database V12 Microsoft SQL Server 2005 Microsoft SQL Server 2008 Microsoft SQL Server 2012 Microsoft SQL Server 2014 Microsoft SQL Server 2016 Microsoft SQL Server 2017 Microsoft SQL Server 2019 MySQL 5.0 MySQL 5.1 MySQL 5.5 MySQL 5.6 MySQL 5.7 MySQL 8.0 Oracle 10g Oracle 11g Release 1 Oracle 11g Release 2 Oracle 12c Release 1 Oracle 12c Release 2 Oracle 18c Oracle 19c PostgreSQL 9.0 PostgreSQL 9.1 PostgreSQL 9.2 PostgreSQL 9.3 PostgreSQL 9.4 PostgreSQL 9.5 PostgreSQL 10 PostgreSQL 11 PostgreSQL 12 SQLite 3.7 Sybase ASE 15.5 Sybase ASE 15.7 SAP ASE 16.0 Sybase IQ 15.2 Sybase SQL Anywhere 11 SAP SQL Anywhere 17 Teradata 13 Vertica Database 8.0
Copyright Legal Notices

Create New Project

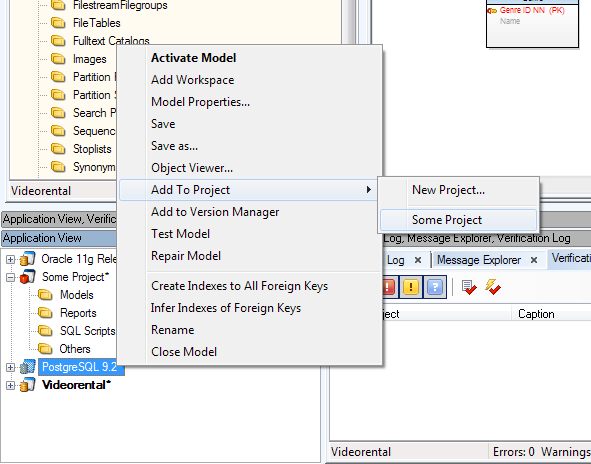
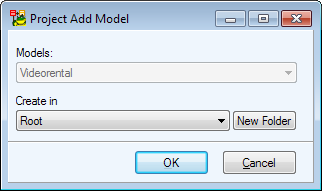
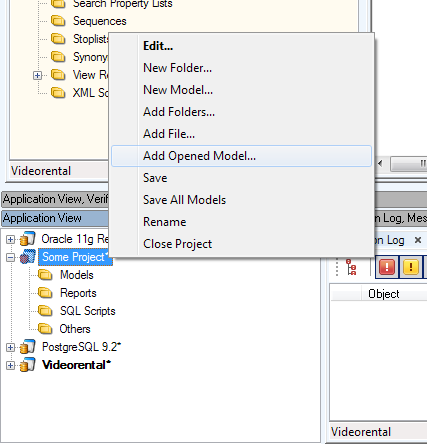
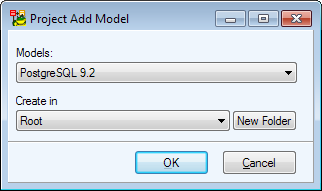
Projects are used to group multiple models, files and other items.

To create a new project

  • Select File | New | Project

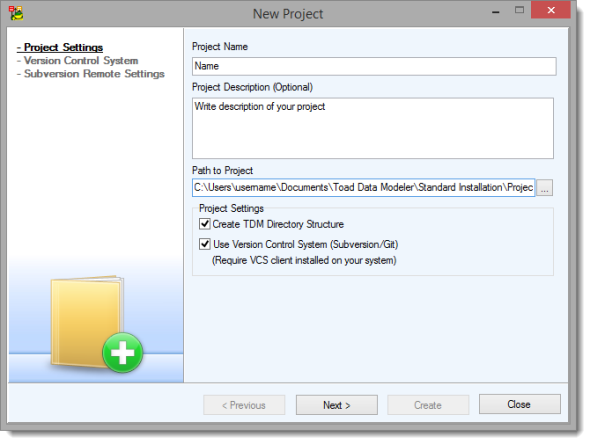
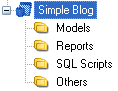
  • Check Create TDM Directory Structure to create a project with a predefined directory structure
  • Check Use Version Control to create a version controlled project. In the following steps you will need to configure it in order to create a new project. You can set up Version Control system for your projects anytime later

To select a version control system

  • Select a type of version control system:
  • Git - Enter the path to the Git client executable (e.g git.exe)
  • Subversion - Enter the path to the svn client executable (e.g svn.exe)
    • Check Use Read Only Locking Mechanism to enable locking files (set read-ony attributes to them)
    • Check Non Interactive to disable all interactive prompting
    • Check No Authentication Cache to not save authentication tokens into cache
  • Click Next to enter details of your repository

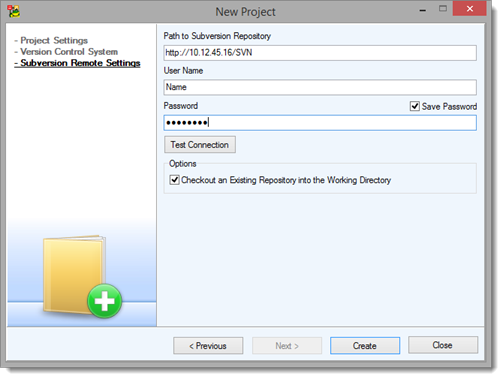
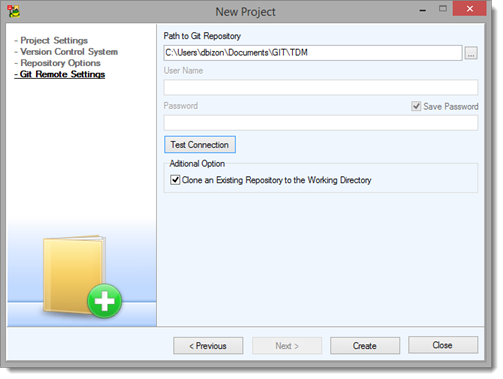
To setup your repository

  • Subversion - Enter the path (server address) to your subversion repository
    • Enter your User Name and Password
    • Check Checkout an existing repository into the working directory to checkout the files into your project folder

  • Git - Check Initialize Local Repository to initialize your local Git repository
    • Check Configure Remote Repository to enter details of your remote Git repository, click Next
    • Enter the path to your local Git repository and check Clone an Existing Repository to the Working Directory if you want to pull the latest files from your remote repository

NOTE: The working directory for your SVN/git repository is the root folder of your new project.

Add Existing Models to Project

When you create a new project, you might want to add already existing models to it. This can be achieved in two ways:

  • In Application View or Model Explorer right-click a model and select Add to Project | *Project Name*.

    Project Add Model dialog displays and you can decide where to save the model.

or

  • In Application View, right-click your project and select Add Opened Model

  • Project Add Model dialog displays and you can choose from currently opened models and specify their location in the Project structure.


Generate Project Report

Now you can easily create a report for your Toad Data Modeler projects.

To create a project report

  • Right-click a project in Application View and select Report
  • Select the desired format for your report
  • Select the destination:
    • Intelligence Central
    • A designated folder
  • Choose your layout and style for the report and preview the look below
  • In Options select what you want to include in your report
  • In Models & Actions select which models you want to include and which Model Action you want to perform
  • After clicking Execute the report will be created in Intelligence Central or your local destination folder

Reports

Related Documents

The document was helpful.

Select Rating

I easily found the information I needed.

Select Rating