If you are used to Toad for Oracle icons, Toad Data Modeler gives you the option to change the icon theme. Go to View Menu | Icons Theme and select Toad for Oracle Icons. Notice the changed icons on toolbars and in Model Explorer.

If you are used to Toad for Oracle icons, Toad Data Modeler gives you the option to change the icon theme. Go to View Menu | Icons Theme and select Toad for Oracle Icons. Notice the changed icons on toolbars and in Model Explorer.
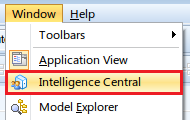
With Toad Intelligence Central, you can store and access all of your important files created in various Toad tools in one place. Learn how to:


|
|
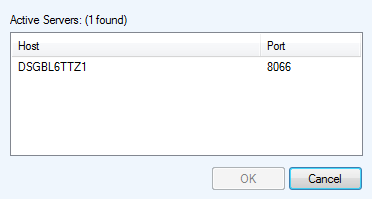
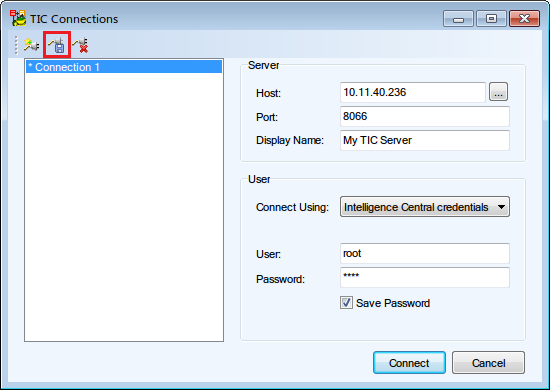
Note: If your TIC server is located in the same domain as your computer, you can server discovery to detect its connection details (the ... button next to Host). |
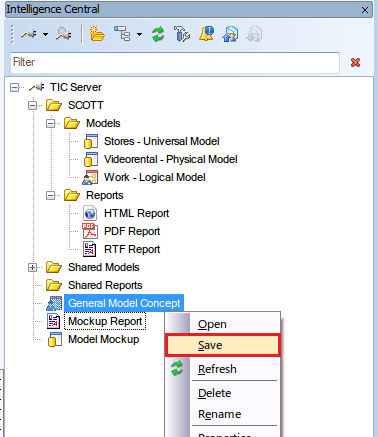
In Intelligence Central, you can save any file you see to your computer. To do so, right-click a file, select Save and then choose a location on your drive.
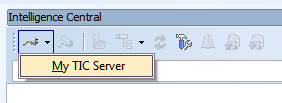
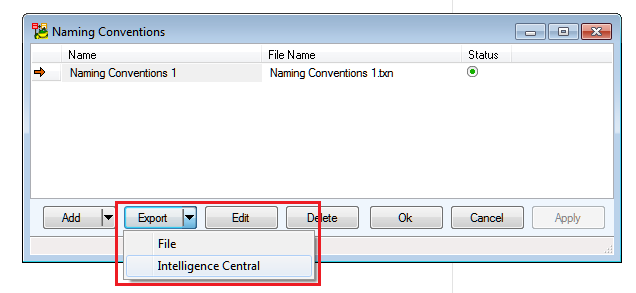
Intelligence Central displays all items that are shared with you. You can publish all types of models and reports to your TIC server:
Models
Reports
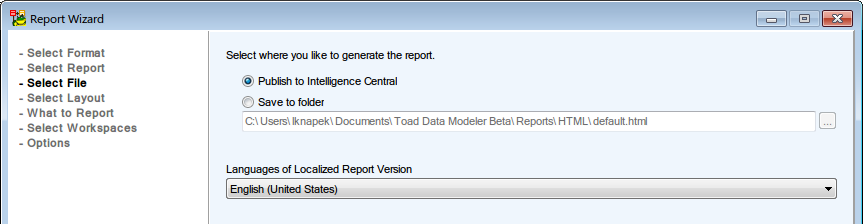
Naming Conventions
When you choose to publish model/report to your TIC server, you can also describe your file, customize its sharing and link it to existing artifacts.
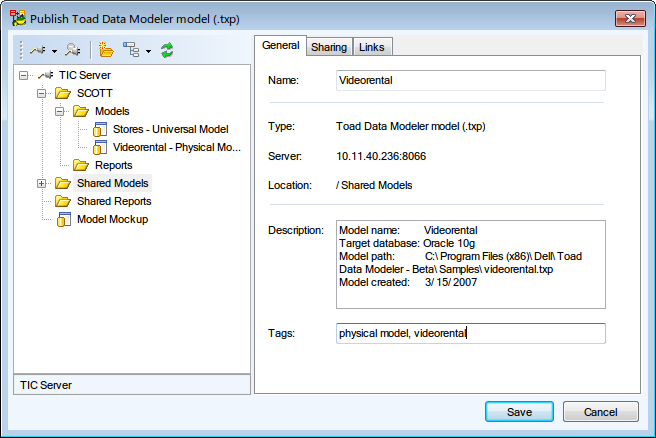
General tab
| Option | Description |
|---|---|
| Name | The name under which the file will be stored on TIC server. |
| Type | The file type. |
| Server | Server host name/IP address. |
| Location | Folder on the server in which the published file will be stored. |
| Description | An editable file description |
| Tags | You can enter several comma separated, searchable tags. |
Sharing tab
You can choose to share your file in several ways:
|
|
Note: 'Artifact' refers to a file stored on a TIC server. |
Links tab
Links represent logical relationships between artifacts. You can create one between your published file and one or more existing artifacts. In Link Description, describe the nature of the relationship.