The Content area displays the actual data inside a list or library. In addition to navigation the user can create, delete, classify and drag and drop content in bulk from this window
·In order to select (or deselect) multiple items located directly below each other, click on the first item and then holding the SHIFT key, click on the last item. All the files located between the two items will be highlighted.
·In order to select (or deselect) multiple items which are not located next to each other, hold down the CTRL key and select individual files.
Located in the top left-hand corner is a breadcrumb definition of the list or library, whose files are represented in the window. The top right corner contains a set of icons that represent available activities for the user. Most of these options can be exposed by right-clicking on items inside the window. The list of available activities will depend on what is selected or not selected in the contents window.
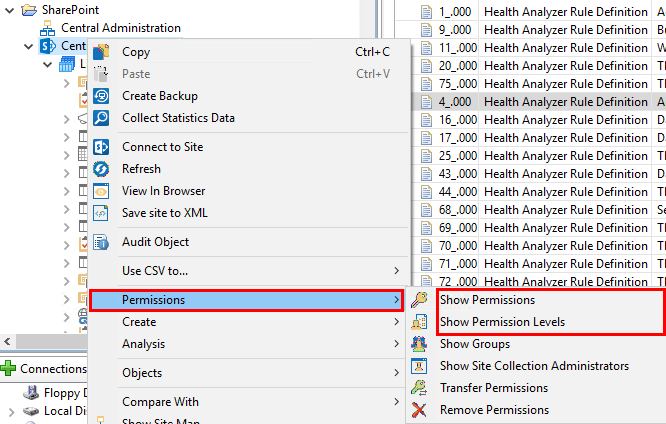
A set of windows is displayed within the content pane area and is designed to display permissions, groups and levels used within a specific site, list or item. The windows may be accessed by doing the following:
·Site Level - right-clicking on a site and select Permissions, followed by the appropriate permissions options you wish to access (Show Permissions, Show Permission Levels)
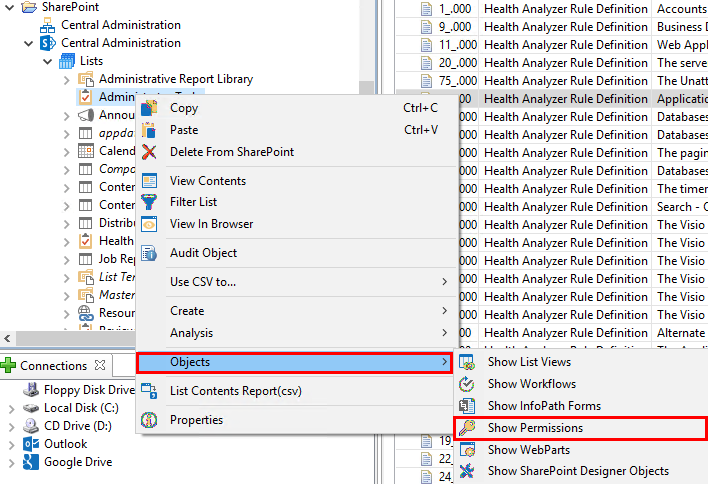
·List Level - right-click on list, Objects and Show Permissions
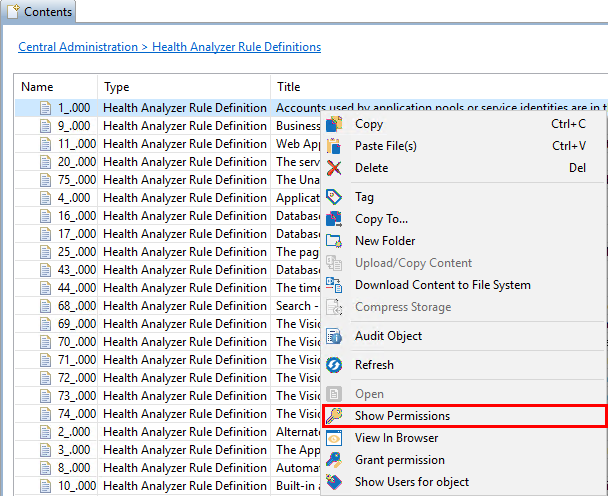
·Item Level - right-click on an item and select Show Permissions
Similar to content, users will be able to select one or more of these objects and copy them from one place to another.
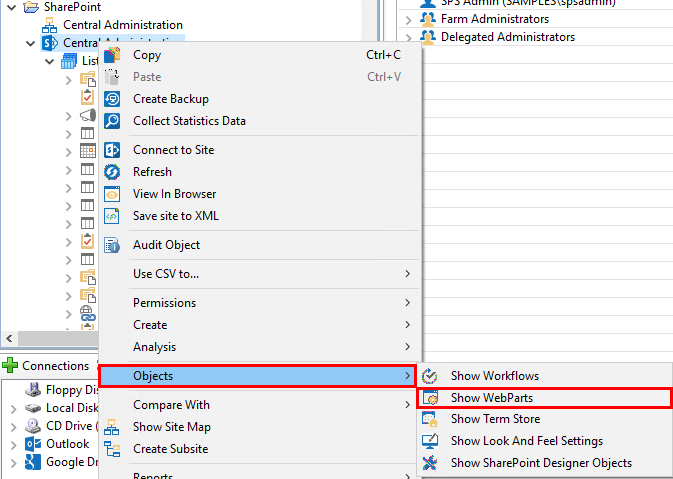
The Web Parts window is displayed within the content pane area and is designed to display web parts used within a specific site or page.
The Web Parts window may be accessed by doing the following:
·Site Level - right-clicking on a site, and selecting Objects followed by Show Web Parts
·List Level - right-clicking on an item, and selecting Objects followed by Show Web Parts 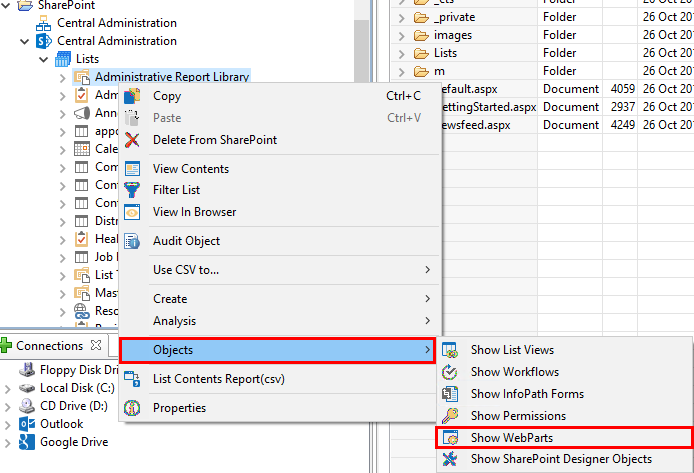
Similar to content, users will be able to select one or more of these objects and copy them from one place to another. The right-click menu also contains an additional option, "Save XML Config to File". This option outputs the web part configuration for use in debugging web parts.
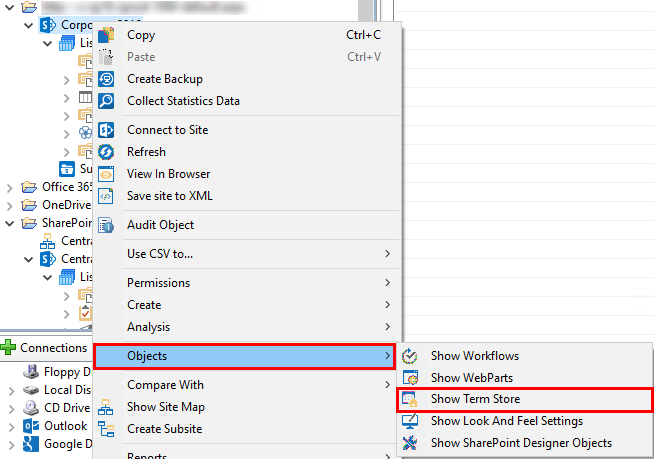
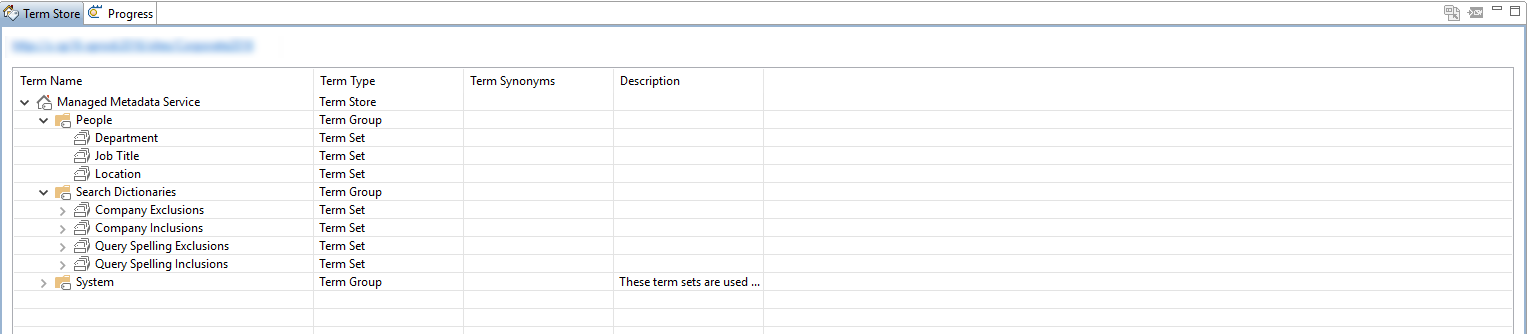
The Term Store window is displayed within the content pane area and displays term groups, term sets, and their values within a specific server farm.
The Term Store can be accessed by right-clicking on a site, selecting Objects followed by Show Term Store.
Similar to content, users will be able to select one or more of these objects and copy them from one place to another. To learn more about additional capabilities for managing term store objects, please see the Term Store Manager section.