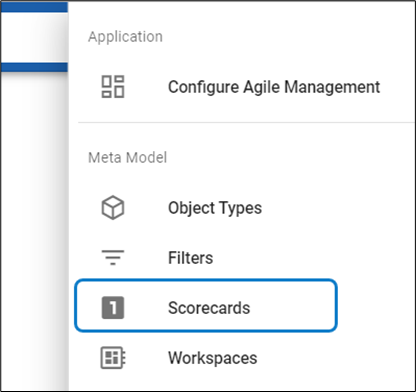
Chatee ahora con Soporte
Chat con el soporte

erwin Evolve 360 Current - User Guide

Scorecards


Navigation: erwin Evolve 360 User Help Guide > Metamodel >

Scorecards


Scorecards

Scorecards are templated formula, which can be applied to the Object Types. It helps you manage and evaluate metrics that can be applied to objects. With many objects, creating an automated score is the best way to calculate value.

How Do I Create a New Scorecard?

1. Click on the profile, go to Scorecards.


          2. Click the + icon in the list view on the left-hand side of the screen, this will create a blank new Scorecard.


          3. Enter Name and Description. Click on + icon at the bottom of the screen to Add Values to the formula.


          4. You need to click multiple times to add required values. Click on the expansion button against each value and then enter Name and Description for every value added.


          5. Edit the Formula, if needed. To finish creating a Scorecard, click on Save from the right bottom of the screen.


How Do I Add Scorecard to Object Type?

          1. Go to profile, click on Object Types.

Select the desired Object Type from the list you wish to add Scorecard.


          2. Click + icon from the right bottom of the screen. This will open the blank attribute defining options.

i.Select Type as Scorecard from the list. Enter the Name and Description (optional).

ii.Click on Scorecard, Select the Scorecard from the list you wish to apply.

          3. Select the Attribute Definition for each Attribute.

          4. To finish adding Scorecard, click on Save.


Workspaces


Navigation: erwin Evolve 360 User Help Guide > Metamodel >

Workspaces


Workspaces

Workspaces are supported by the Client areas. Workspaces can be set up by an administrator.

How Do I Add A New Workspace?

          1. Click on the profile, go to Workspaces


          2. Click the + icon on the left-hand side of the screen, this will create a blank New Workspace.


          3. Enter Name, Description, and an Icon to your new Workspace.

          You can set the Workspace as Default and restrict a Workspace to a Community.


          4. Click Save.


Layouts


Navigation: erwin Evolve 360 User Help Guide >

Layouts


Layouts

Layout views in the application editor are used to plan or design the arrangement of the information. Application Layout can be customized using multiple types of layouts.

Layouts come in six different types to create a cohesive look and structure for the application.

1.Menu

2.Tabs Layout

3.Column Layout

4.Row Layout

5.Stream Layout

6.Accordion Layout

7.Carousel Layout


Menu View


Navigation: erwin Evolve 360 User Help Guide > Layouts >

Menu View


Menu View

Menu view in the Layout is used to create a structure with a separate set of information on the same page.

To create a Menu View,

          1. Click on All Views in the application editor and then click on  icon placed at the bottom of the list of views, then select Menu.


          2. Click on Add Menu Item icon from the toolbar or click on Configuration to add the menu items.

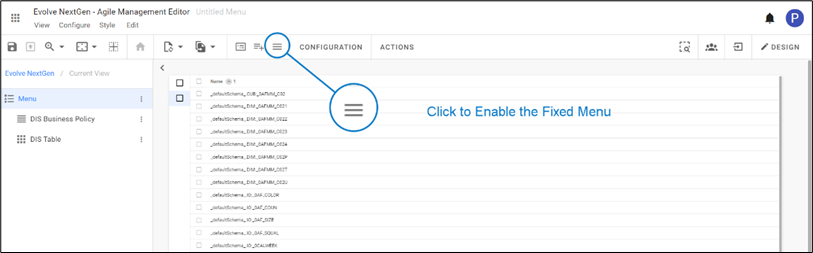
          3. To Enable Fixed Menu, click on the icon shown in the picture below.


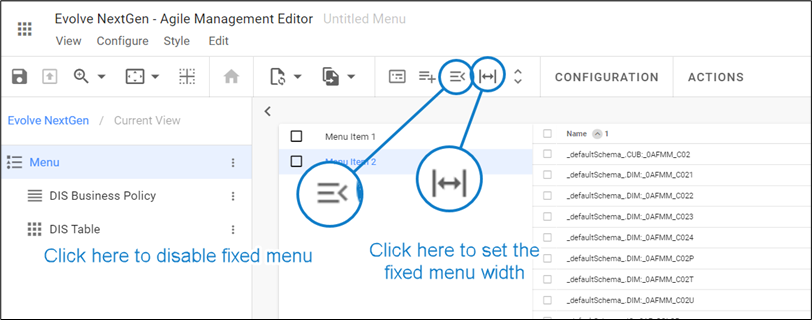
To customize the Menu Width, click on Configure Fixed Menu Width shown above.

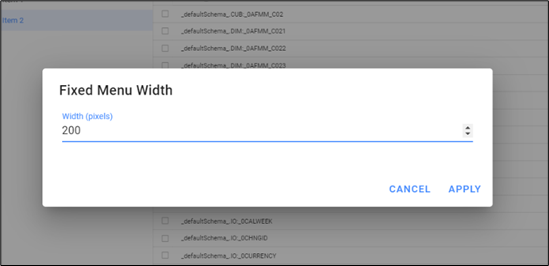
Enter the value and then click on Apply.

The menu width should be greater than or equal to 200px.


          4. Click on Add Content and select the view type you wish to configure.

                    You can add any other Layout, Collection, Charts, or Item Views under each menu as per your use case.

For instance, a List View is configured in the view shown in the picture below.

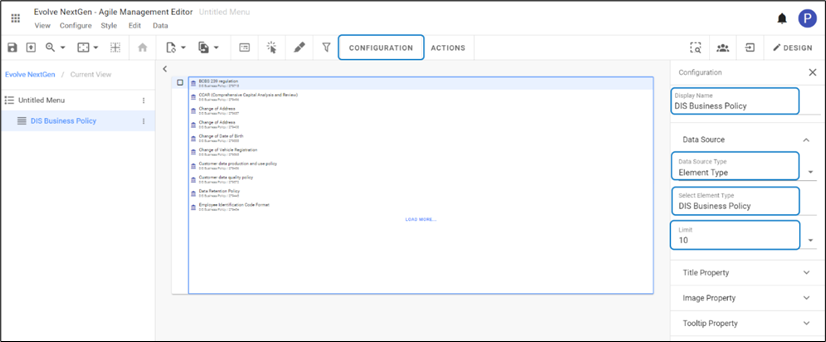
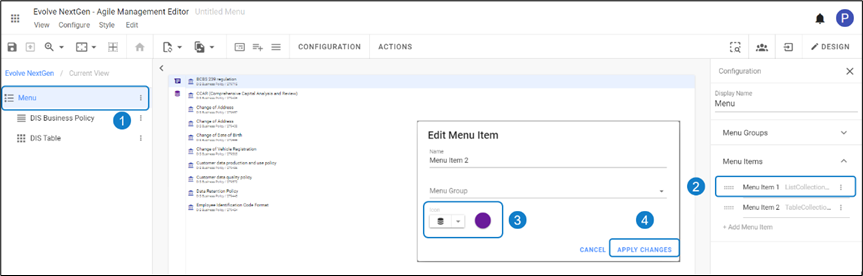
          5. To configure the displaying title property, click on Title Property under Configuration

To add Icon and Color for the Menu, click on menu title and then select the menu item from the right-side configuration panel.

Select Icon and Color, and then click on Apply Changes.

Setting the Limit is available specifically for selected views.


          6. Multiple Menus will be displayed as shown in the picture below:


Each Menu Item must be configured individually to see the result.


How to work with Menu Groups?


A multiple individual Menu Items can be assigned and grouped together under a Menu Group.

To create a Menu Group and assign items,`

          1. Go to Configuration on toolbar, then click on Menu Groups from the left-hand side.

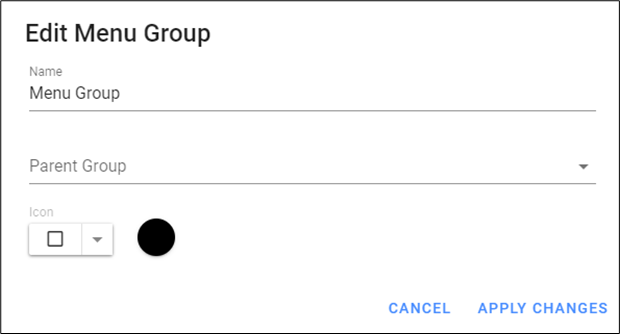
          2. Click on +Add Menu Group > select the created group to edit.

Enter Name > Select Parent Group (Optional) > Select Icon and Color > Apply Changes.


Selecting a Parent Group is adding a Menu Group inside another Menu Group.


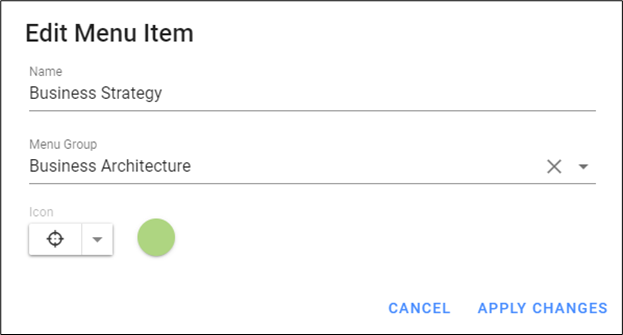
          3. To assign the Items to the Group,

Go to Menu Items > click on +Add Menu Item > Enter Name > Select the Menu Group > Select Icon and Color > Apply Changes.

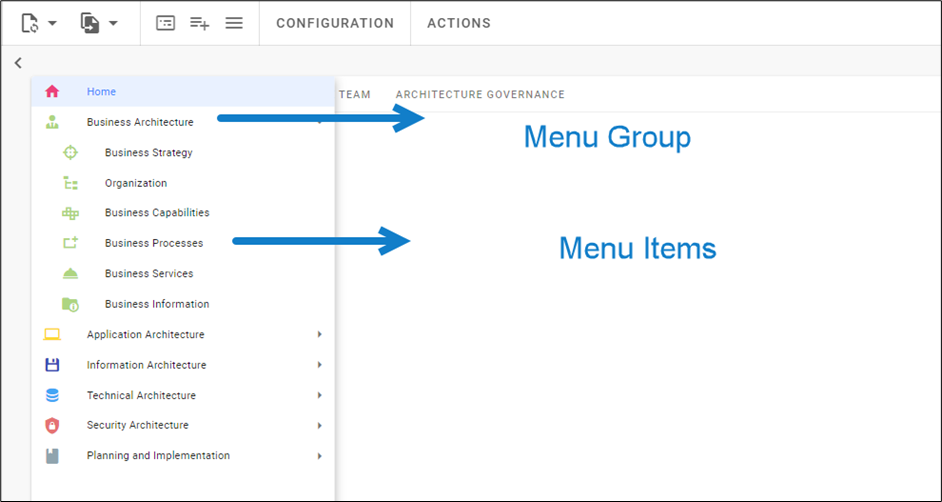
          4. Multiple Menu Items under a Menu Group will look as shown in the picture below.


Documentos relacionados

The document was helpful.

Seleccionar calificación

I easily found the information I needed.

Seleccionar calificación