Progress Tab
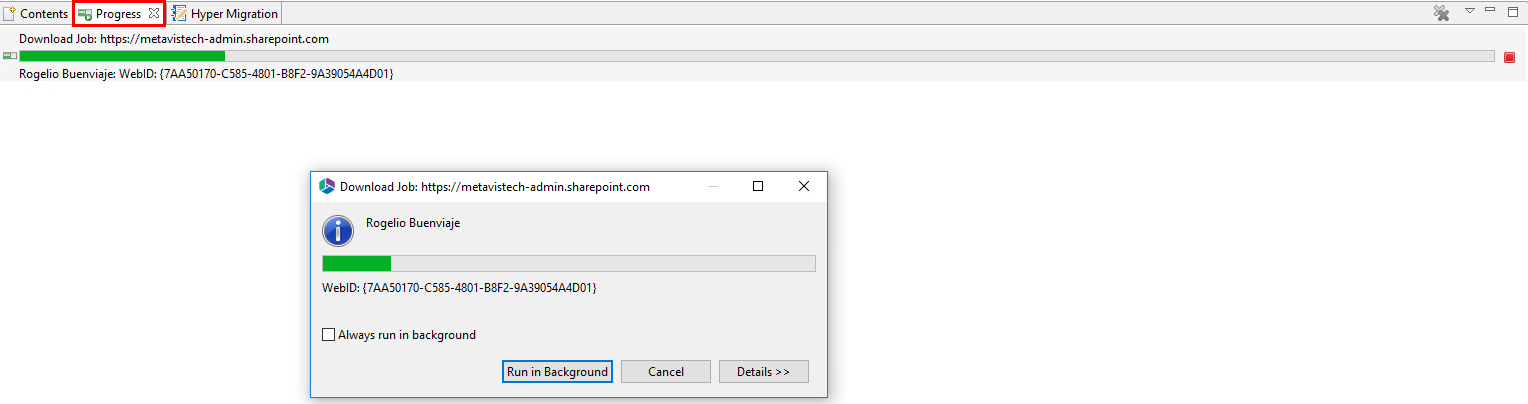
The Progress tab, located in the Contents pane area, provides detailed information about each single current user's migration status. As one user's migration is finished, the progress bar will reach 100 %.
|
|
NOTE: For Azure Turbo Synchronized migration, the progress bar will wait until all of the Azure jobs are finished and synchronization of Azure logs is completed. As one user's migration is finished, the next one will be started and the same process will continue. |

To find information about accounts that have already been copied, go to the Hyper Migration/Backup tab, and click Refresh to get a list of all the current jobs. For more information about Hyper Migration and Hyper Backup, please see this section.
Status Report
The Show Status Report feature is an excel report is created based on post migration XML logs, it does not replace the original XML log, but rather allows users the ability to red post migration information outside of the Essentials tool itself, allowing you to share the information via emails and email notifications.
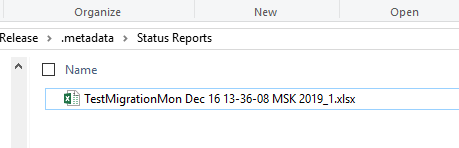
This show status report can be created and viewed by right clicking on a Hyper Migration job and selecting Show Status Report.

Selecting this "Show Status Report" option will open the location of the excel status report.
The report will look as follows:
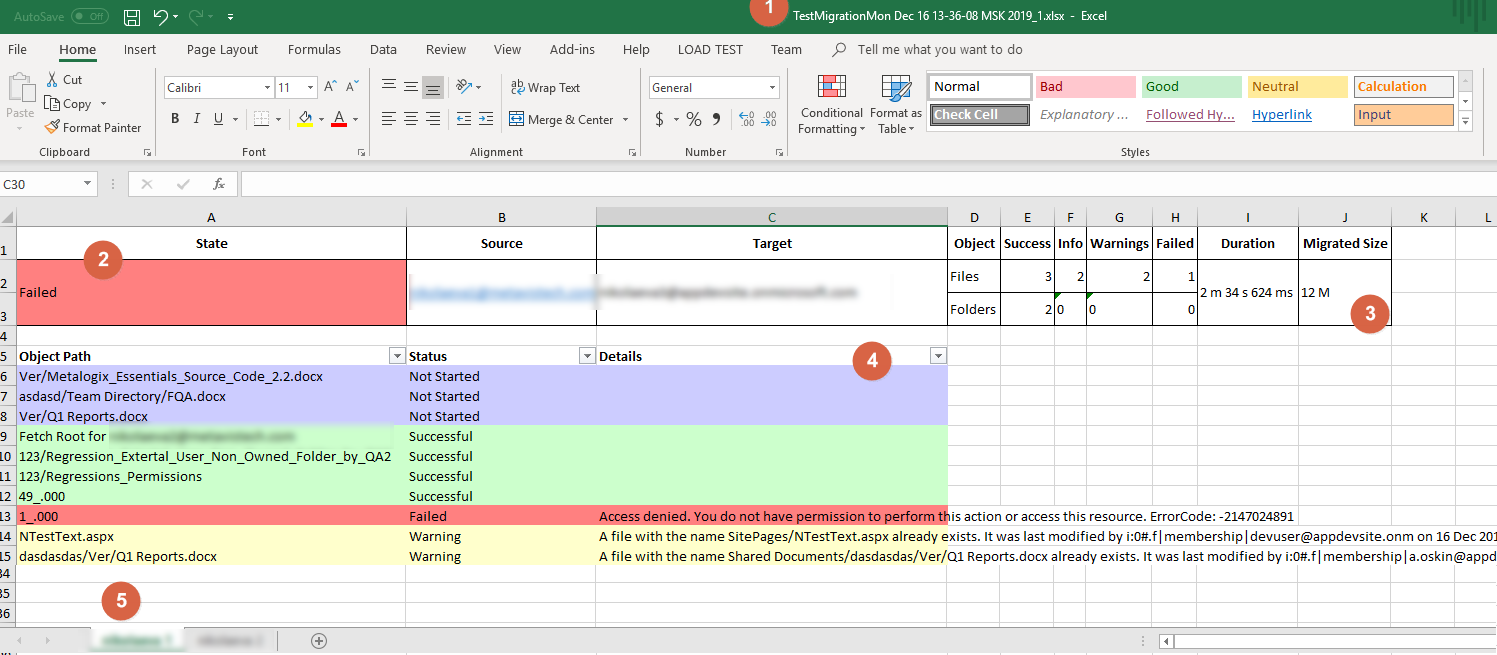
The contents of the report are:
1.File Name JobSetNameFinishJobTimeStamp _Index.xlsx
2.Job Set State
3.Summary
4.Each object state
5.Source user name
Home Tab
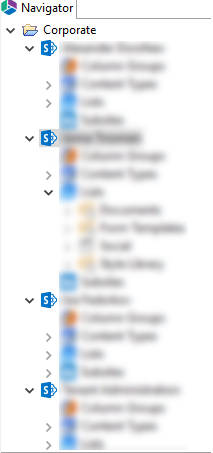
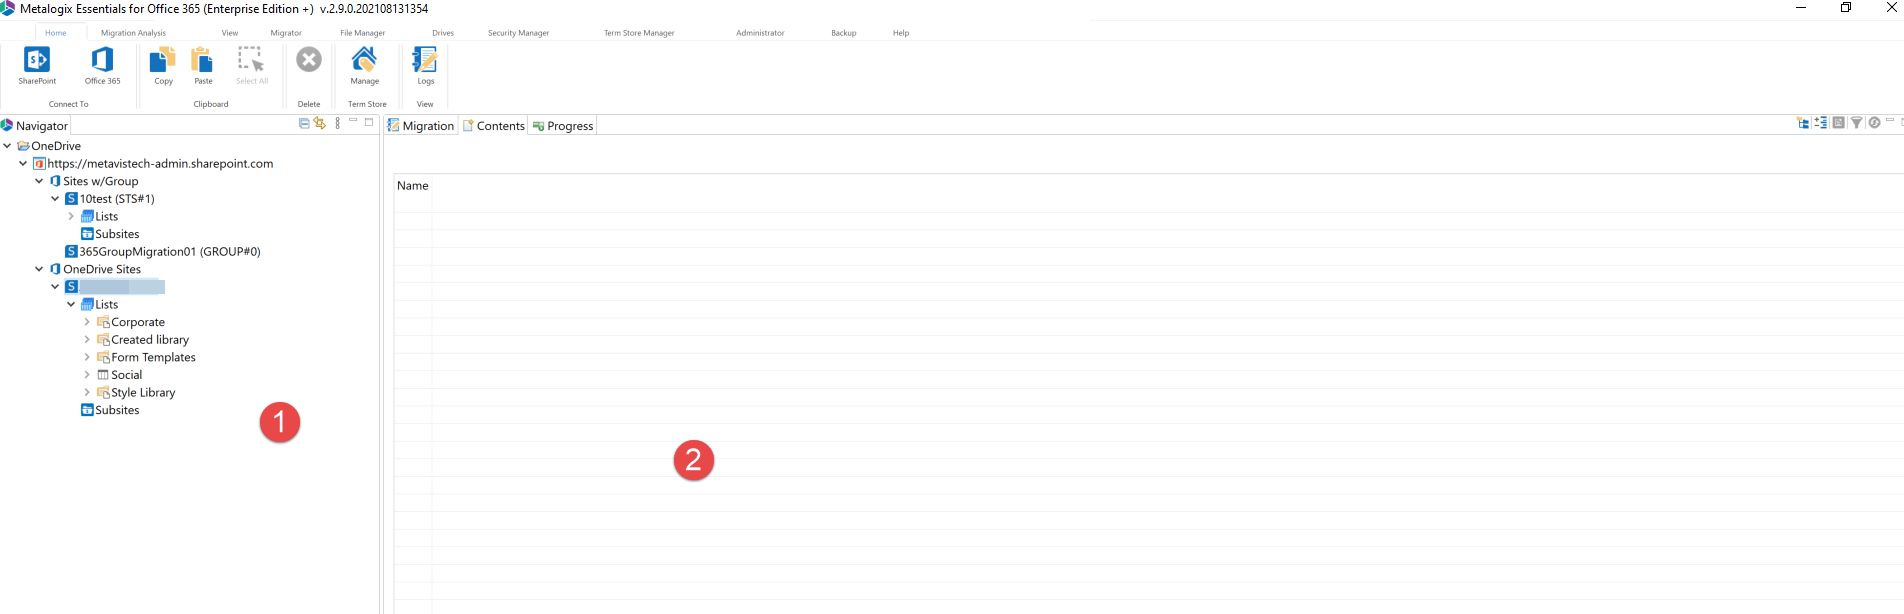
The home tab provides users with a basic overview of their Essentials setup, as well as access to the log viewing. The immediate pane view is the (1) Navigator, (2) Hyper Migration/Contents/Progress Area
Connecting To SharePoint and OneDrive for Business
(Not available for Information Manager Power User)
|
|
Metalogix Essentials is optimized for migrations involving Office 365. While it is possible to migrate to/from SharePoint on premises (2013 and later), Quest recommends that you use Metalogix Content Matrix, a tool that specializes in SharePoint on premises migrations, including migrations from SharePoint on premises to SharePoint Online. |

If you wish to connect directly to your SharePoint on-premises farm to perform a pre-migration analysis, follow these steps:
1.Start by selecting the SharePoint option under the Connect To tab in the Ribbon.
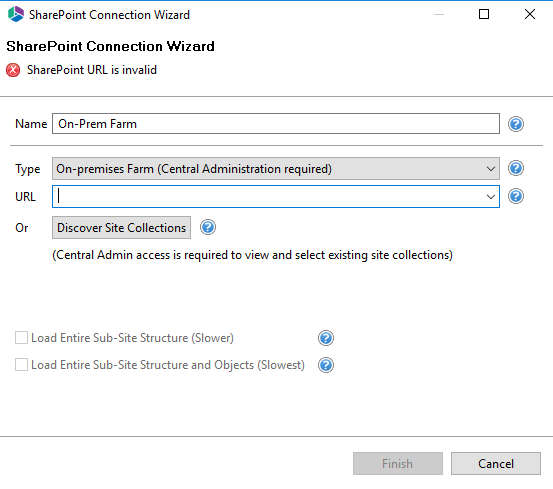
2.A window similar to the one shown below will be generated. In the Name field, enter a folder name. In the Type field, select On-Premises Farm (Central Administration required) as your Type. You have the following options when completing the URL portion of this screen, continue to step 5 if you know the URL of your Central Admin site. If you choose to use the Discover Site Collections button, then continue to step 3.
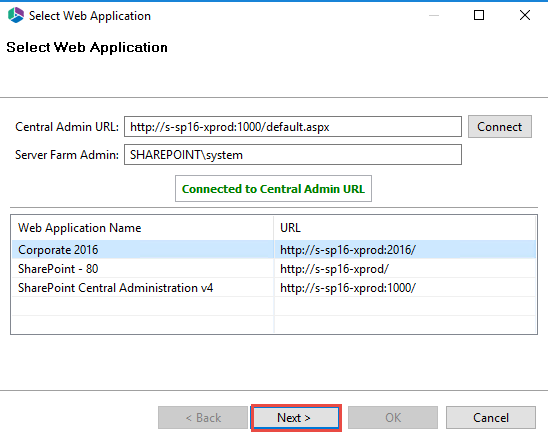
3.If you do not know the URL but have access to Central Administrator for your SharePoint Farm, you can view and select from a listing of all available site collections by pressing the Discover Site Collections button. In the presented window enter the URL for Central Administrator portal (and if necessary the credentials, using Claims if your account requires it) and click Connect. Once you are successfully Connected to Central Admin URL, select the appropriate Site Collection and Click Next to continue.
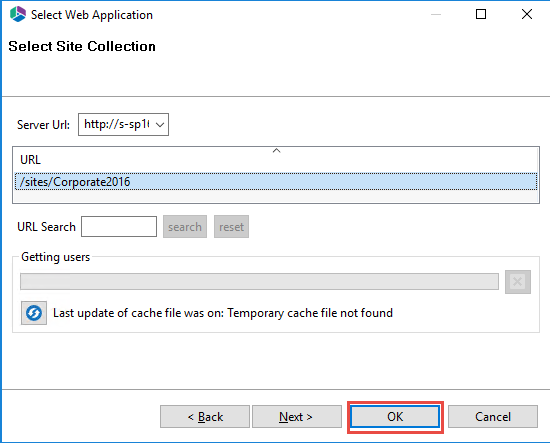
4.Select the Site Collection which you wish to connect to, and click Ok.
4.Click Finish to connect to the specified SharePoint Site or Site Collection.
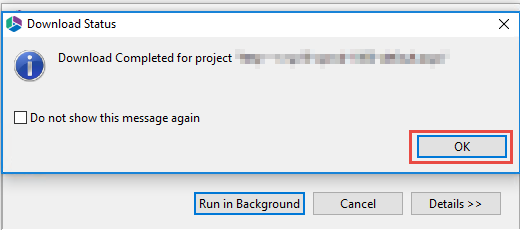
5.The operation will start to run, connecting to the SharePoint Site or Site Collections which you specified. You will be notified once it has completed, click Ok.
6.This connection is now available in the Navigator Pane.