
Connecting to Office 365 Tenant
If you wish to connect to OneDrive, then follow these steps:
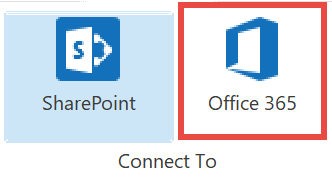
1.Start by selecting the Office 365 option in the Connect To section in the ribbon.
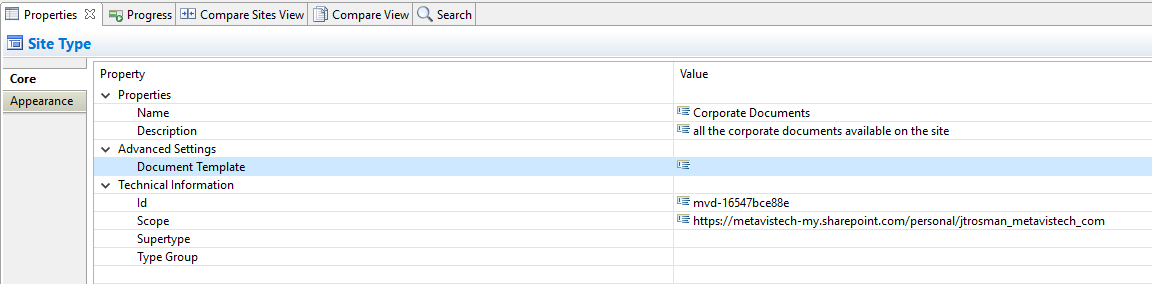
2.A window similar to the one shown below will be generated. In the Name field, enter a folder name. In the Type field, Office 365 Tenant (Tenant Administration Required) is automatically selected as the Type of connection you will be making. Enter the URL of your Office 365 tenant.

3.You have the following two additional options on this screen:
oLoad Entire Sub-Site Structure - Will load the entire sub-site hierarchy below the current site. To expedite the loading process, no additional objects will be loaded into the sub-site. You may double-click on any sub-site to load its objects individually.
oLoad Entire Sub-Site Structure and Objects - Will load the entire sub-site hierarchy below the current site along with all their objects.
4.Click Finish. The Essentials software will automatically detect the SharePoint authentication mechanism and your client environment. Depending on your configuration, you may be connected automatically or prompted for your credentials. Here are some of the possible scenarios:
·Option 1: If your SharePoint environment is using Integrated Windows Authentication and you are accessing this environment from a computer that is logged into the same domain, then no user/password information is necessary. Press the Next button and you will automatically log in using the credentials of the currently logged in user.
·Option 2: If your SharePoint environment is using Integrated Windows Authentication and you are accessing this environment from a computer that is NOT logged into the same domain then enter your user name, password and Domain in the provided fields and click Next.
·Option 3: If your SharePoint environment is using Form Based Authentication then enter your user name, password and Domain in the provided fields and click Next.
·Option 4: If your SharePoint environment is using Kerberos Authentication please refer to our FAQ area. Detailed configuration instructions are available there.
·Option 5: If your SharePoint environment is Hosted, such as (Office 365, BPOS, FPWeb, etc.) you should be able to connect by entering your user account and password, no differently than any other SharePoint environment.
·Option 6: Password Manager can store account credentials in protected storage to connect to SharePoint. For more information on setting up Password Manager, please refer to our FAQ area.
|
|
NOTE: ·The domain name may also be entered as a part of the user field in either the domain user or the user@domain syntax. ·If you have Digest Authentication enabled, please disable it. It can interfere with the tools ability to connect to SharePoint using Windows Authentication. |

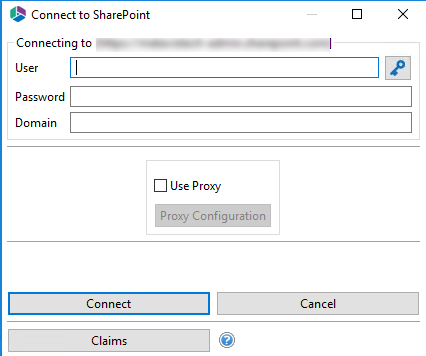
A window requesting a user, password, and domain will pop up. Provide the requested information and click Connect. If your account requires Claims Based Authentication, click the Claims button.
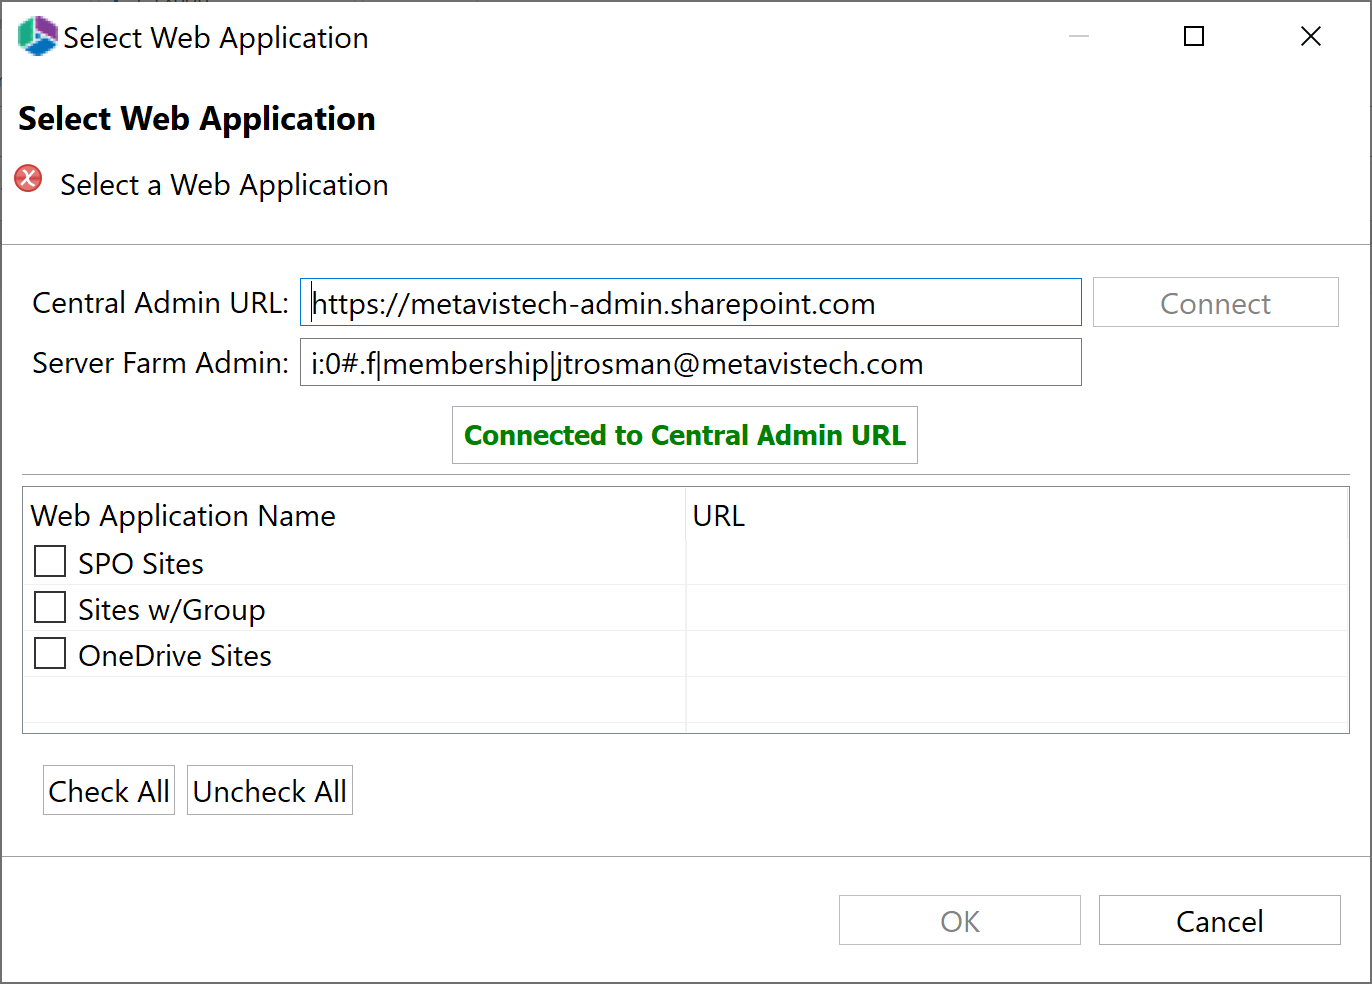
4.The Select Web Application window will appear, select the web applications you wish to connect to. Click Ok.
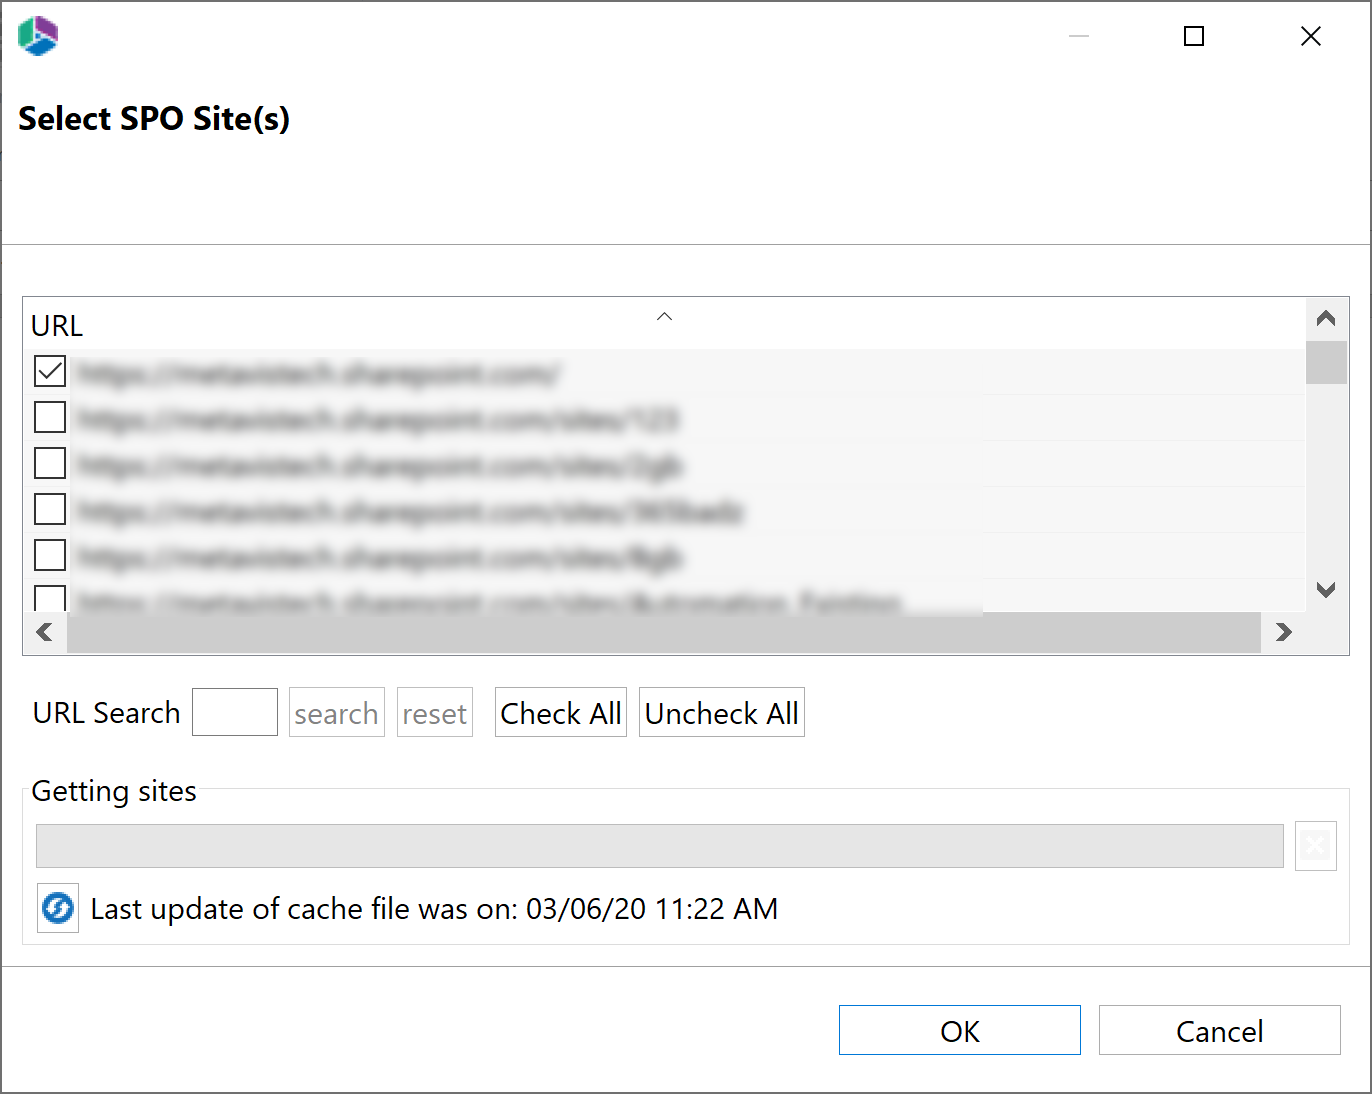
5.The Select SPO sites, Select Sites with Groups, and/or Select OneDrive sites windows will appear, depending on the web application names you chose (if you selected more than one, they will appear in succession), select the accounts you would like to connect to for each. Click Ok.
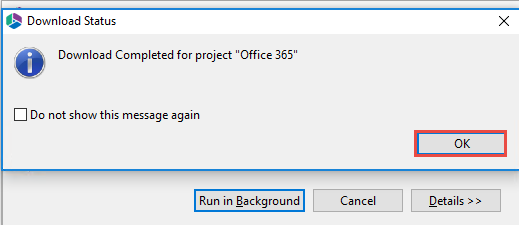
6.The operation will start to run, connecting to the accounts you specified. You will be notified once it has completed, click Ok.
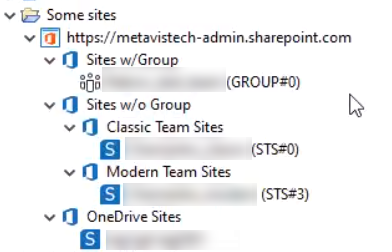
7.This connection is now available in the Navigator Pane. Here you can see the differentiation between Classic Team sites and Modern team sites, as well as an indication of what the site's template is (ex Group#0, Blog#0, etc. )
Creating Columns
Columns are SharePoint containers for metadata and they can be created directly inside a content type or a column group. There are several ways to create columns.
The simplest method to create a new column is the following:
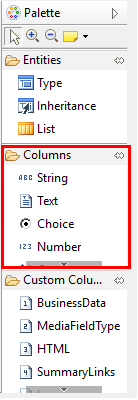
1.Click on the column you need to create in the Palette area.
2.Click on where the content type needs to be located within the Diagram area. You will be prompted to enter a name (which cannot be identical to any other column inside this content type).
|
|
NOTE: The new column will also be created inside the Custom Column Group within this site. |
An alternative method is to create a new column inside a column group and then use that column in the content type. The method to do this is similar to the previous method, except the new column should be dropped inside a column group rather than a content type. Once the column is created you can drag and drop it from the diagram or the navigator into the destination content type.
A final option is to drag an existing column from any other content type or column group into the new content type. If a column already exists, this is not only the preferred method but the recommended one. This will reduce the number of similar columns that need to be maintained.
After creating the column, navigate to the Properties Tab in the Properties and Information area to add or change individual properties. These will vary based on the column type.
Creating Content Types
Content Types are used by SharePoint to organize and group metadata. They are associated with Lists and Libraries to categorize and tag content stored there.
1.A new content type in SharePoint must be inherited from an existing one. Using the navigation pane, locate the content type that will serve as a parent and navigate to it in the diagram. SharePoint is delivered with many out of the box pre-built content types.
|
|
NOTE: If they are not visible in your diagram, enable Inherited Content Types in the View menu. |
2.Select "Type" from the Entities section of the palette and click on the diagram (near the parent type) to create the content type.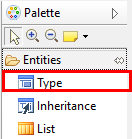
3.Enter a unique name and refer to the properties tab for additional settings.
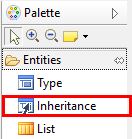
4.Select "Inheritance" from the Entities section of the palette.
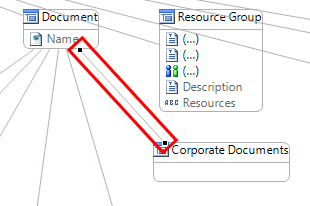
5.Click the mouse on the new content type and without releasing, drag the arrow to the parent type to create an association.
6.You may add new columns directly to the content type (refer to the Creating Columns section) or drag and drop existing columns from any other object located in the diagram or navigation pane (including content types, lists or column groups).
Creating Lists/Libraries
Lists and Libraries are used by SharePoint to organize and manage content. Based on the type of List, SharePoint creates specific metadata. This metadata may be expanded and altered. Essentials Architect Suite for SharePoint can be used to create and maintain lists and their metadata. Unlike other objects, a list must be created in SharePoint immediately.
|
|
NOTE: Each list is based on a template stored in SharePoint and you must therefore be online in order to complete this action. |
Here is the process for creating Lists:
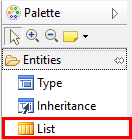
1.Click on the List entity in the Palette.
2.Click in the area of the diagram where the List will be placed. This will display the Create List Wizard window.
Note:
|
|
NOTE: If the List option is not available in the palette, enable All Lists from the View menu. |

3.Enter a name and select the appropriate template from the list.
4.Press Finish to create the List.
5.Select "Inheritance" from the Entities section of the palette.
6.Click the mouse on the new content type and without releasing, drag the arrow to the parent type to create an association.
Essentials Architect Suite imposes specific limitations on lists to comply with SharePoint behavior. Here is what you can and cannot do:
·You can drag-n-drop any existing content type or column into the list.
|
|
NOTE: The "Enable Content Types" property will be automatically set to "Yes" for when a non-default content type is added to a list or library. |
·You cannot remove or modify some reserved content types and columns (e.g.. Folder Content Type, Document Created By column).
·You can remove or modify non-reserved content types and columns.
·You cannot create a new content type within a list.
·You can create a new column within a list.