Create Multiple Index Pages for an Object Type
While Index Pages are typically linked to a specific Object Type, you are not restricted to having just one page per type.
Evolve allows you to create as many Index Pages as you want for any given Object Type.
You might do this to have different Index Pages for different Categories of an Object Type, or to display only those objects associated with another object.
You can then use Sub-Menus to link to link to the different Index Pages you have.
If you do want to use more than one Index Page for an Object Type, there is one important factor you must be aware of:
|
|
The Page Name of an Index Page must be unique. When you create additional Index Pages for an Object Type, the default Page Name is always the same -index-[object type name], such as index-process. You must ensure that you give a unique name to each page to avoid any conflicts. When editing the Page Name, you can only use lower case letters, numbers, dashes and underscores, with no spaces. |
Working with Object Pages
Object Pages Explained
An Object Page is used to present the details of an Object Instance - a web user selects the object on an Index Page or Diagram, and the Object Page displays its properties.
You must have an Object Page configured for each type of Object you want to see the details of in your Evolve Site.
You can organize the information presented in an Object Page into Tabs, and you can present different views of the data using Object Page Views.
In addition to just an object's properties, Object Pages can be used to display Diagrams - both Visualization Diagrams and standard Diagrams that relate to the object - as well as Associated Objects in Lists or Tables.
What do you want to do?
Offer different perspectives with Object Page Views
An Object Page is used to present the details of an Object Instance - a web user selects the object on an Index Page or Diagram, and the Object Page displays its properties.
You must have an Object Page configured for each type of Object you want to see the details of in your Evolve Site.
|
|
You can create more than one Object Page per Object Type. Additional Object Pages you create for an Object Type are displayed as Views. For more information about creating multiple Object Pages as Views, see: Object Page Views. Important: You can only display an individual Property Type, or an Association Type, once on an Object Page, including across Tabs. |
Creating a basic Object Page is a multi-step process. Please follow the steps below.
Step 1 - Create the Page
To create an Object Page:
1.In Evolve Designer, expand the Site node.
2.Right-click the Object Pages node.
3.Select Add Object Page for Object Type.
4.Scroll through the pop-up list to select the Object Type the Object Page represents
The new Object Page is created and is placed at the bottom of the list of Object Pages in the tree. It is given a default name of <object-type-name>.
If you close and reopen Evolve Designer, then the new page will be listed alphabetically.
Step 2 - Specify the page properties
Once you have made an Object Page you should configure its properties.
To specify the page properties:
1.Select the node for the Object Page.
The right-hand panel shows the properties for the page.
2.Edit the page's properties:
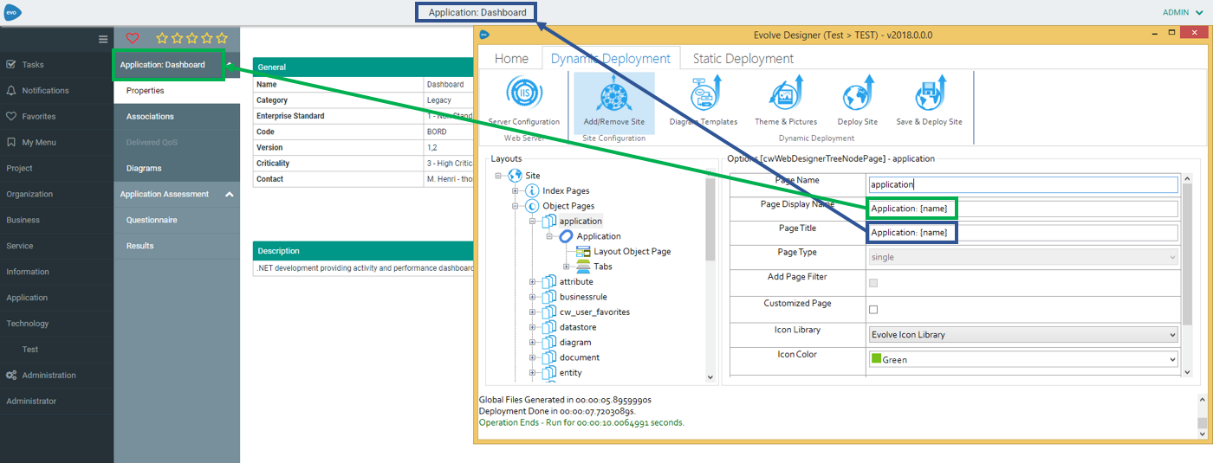
- Use Page Name to specify the name of the page as it appears in the tree in Evolve Designer. Please note you can only use lower case letters with no spaces.
|
|
We recommend you do not change the Page Name, unless you are creating an additional Object Page for the Object Type to act as a View - in which case you must give it a unique name to avoid a conflict. |
- Use Page Display Name to set the name of the page as it appears in Evolve web pages, such as in the menu of Views.
- Use Page Title to set the name of the page as it appears in Evolve web pages, as the title of the Page. Introduced in version 2018, it has possible to use a Custom Display String, to format the Title.
3.Save your Site.
The Object Page's properties are configured and saved.
You have now created an Object Page, but it will not yet display any content.
Step 3 - Show some content
|
|
The instructions here explain how to insert a simple Property Group displaying the basic properties from the 'General' Pane of the object. Object Pages can display much more than this simple element. You can also use Tabs to display more content on Object Pages, including Object Lists for Associated Objects, rather like you would on an Index Page. |
The simplest way to display some content is to show some properties of the Object being viewed.
You do this by inserting a Property Group.
To insert a simple Property Group:
1.Expand the node for the Object Page
2.Right-click the Object Type Name node, for example 'Process', and choose New Property Group > From CM Panel > General
A 'General' node is added beneath the Object Type Name node.
3.Save your Site.
The Object Page is saved.
To read more about Property Groups and how to use them, see Working with Property Groups.