
File Name Tagging
Users cannot rename files directly through the Essentials user interface, but they can tag files and set values for them based on other file's name properties.
This section will walk you through the process of intelligently tagging content using the Name of files.
1.Locate a list or library, containing the content you wish to tag, in the Navigator pane. Double-click on the list to load its contents into the Contents pane.
If the site containing your items or documents is not available in the Navigator pane, follow the instructions for Connecting to SharePoint in order to load it.

2.Turn on Data Analysis mode by selecting the button in the contents tool pane.

3.From the list of files located in the Contents pane, select all the files for tagging. Hold down the CTRL key to select multiple individual files or SHFT key to select multiple consecutive items.
4.Right-click on any of the selected files, and select the Tag option from the drop down menu, or select Tag from the Migrator tab's top menu. This will initiate the tagging wizard.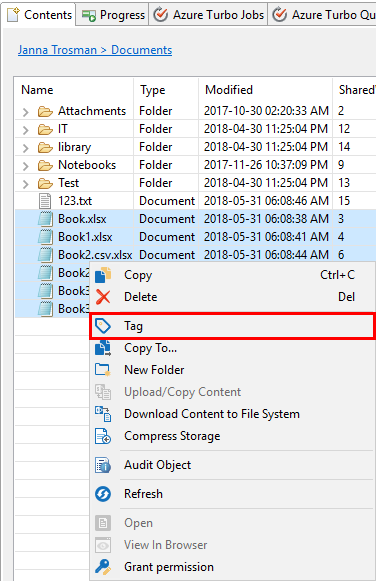
or

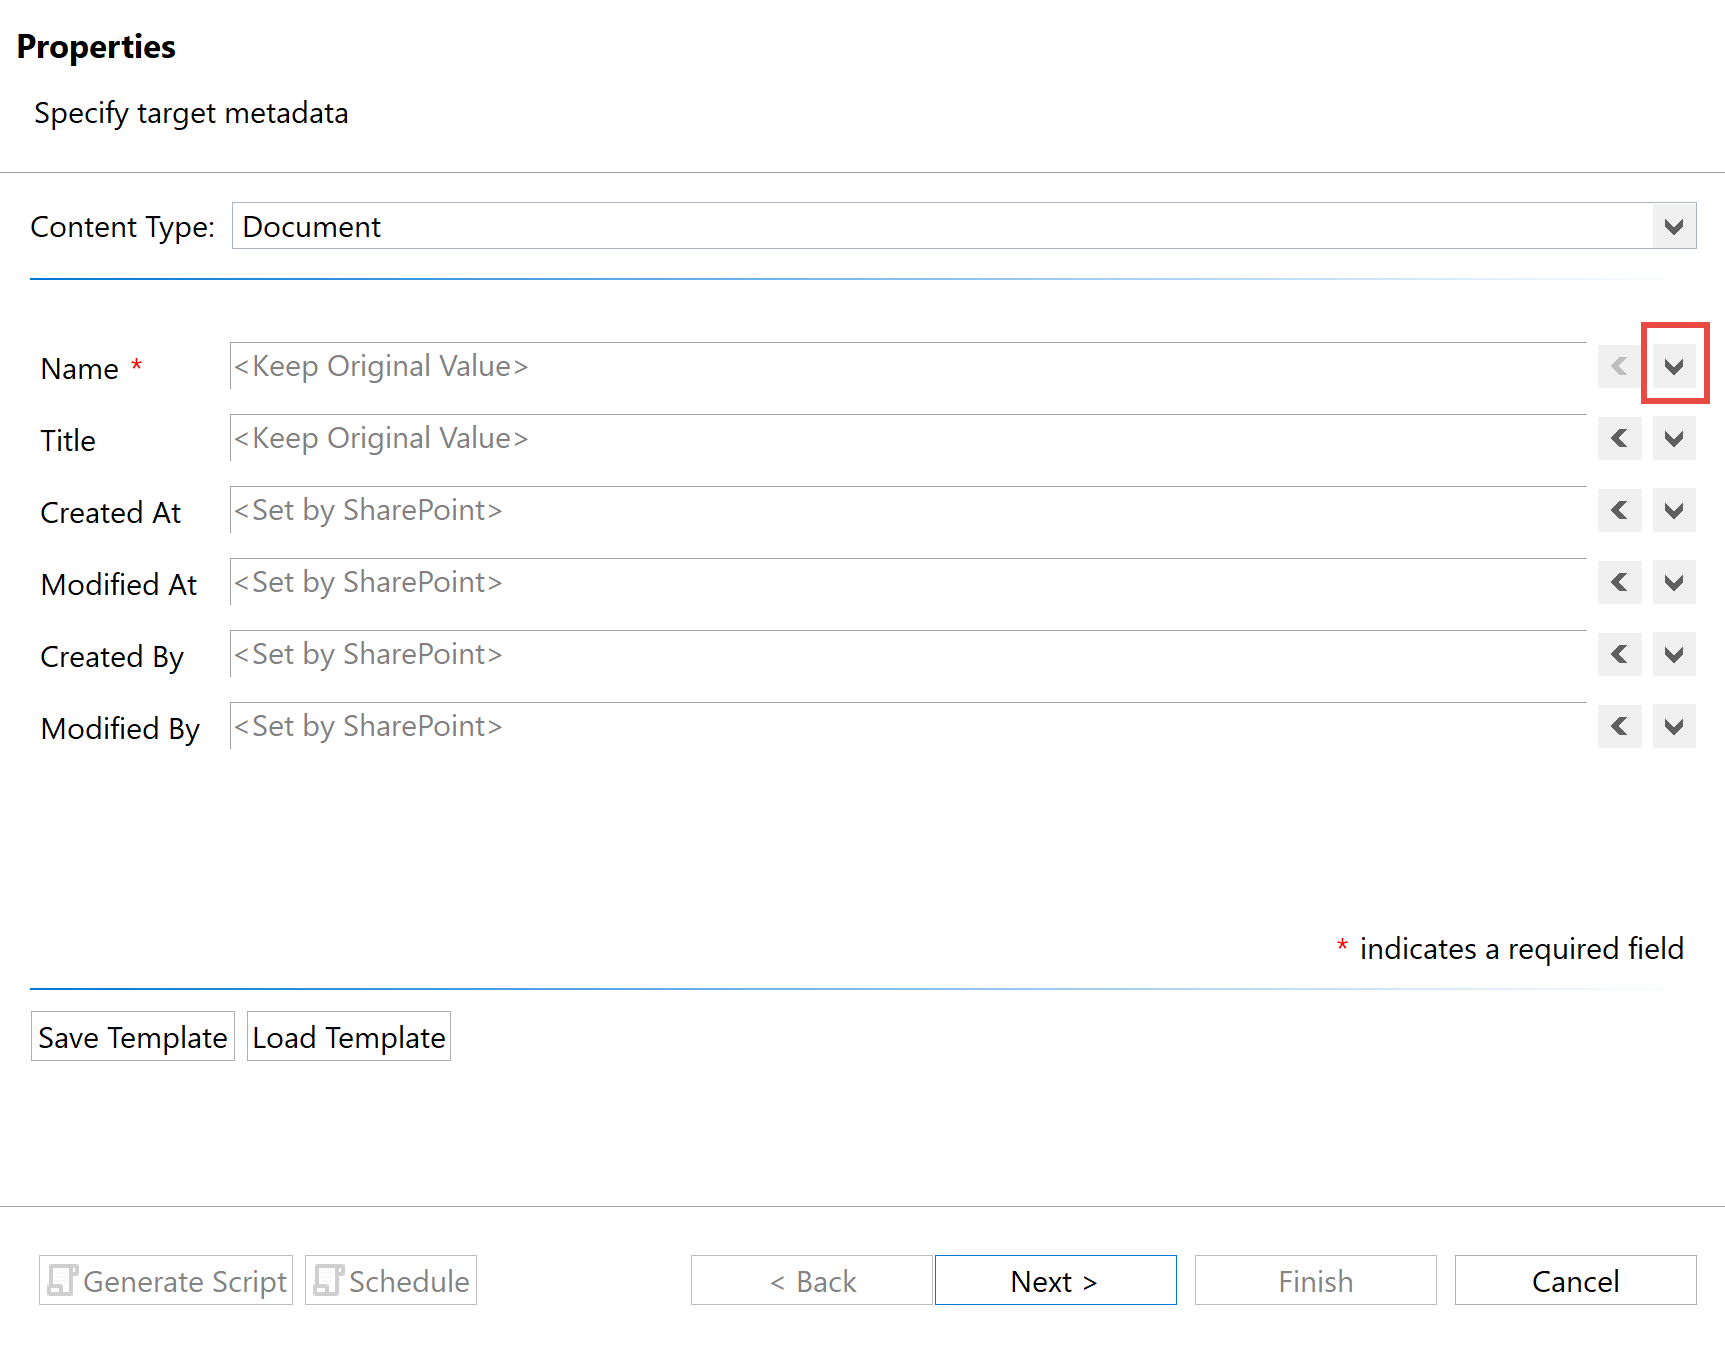
5.In the tagging wizard click the "select a source for value" button next to the Name tagging option.
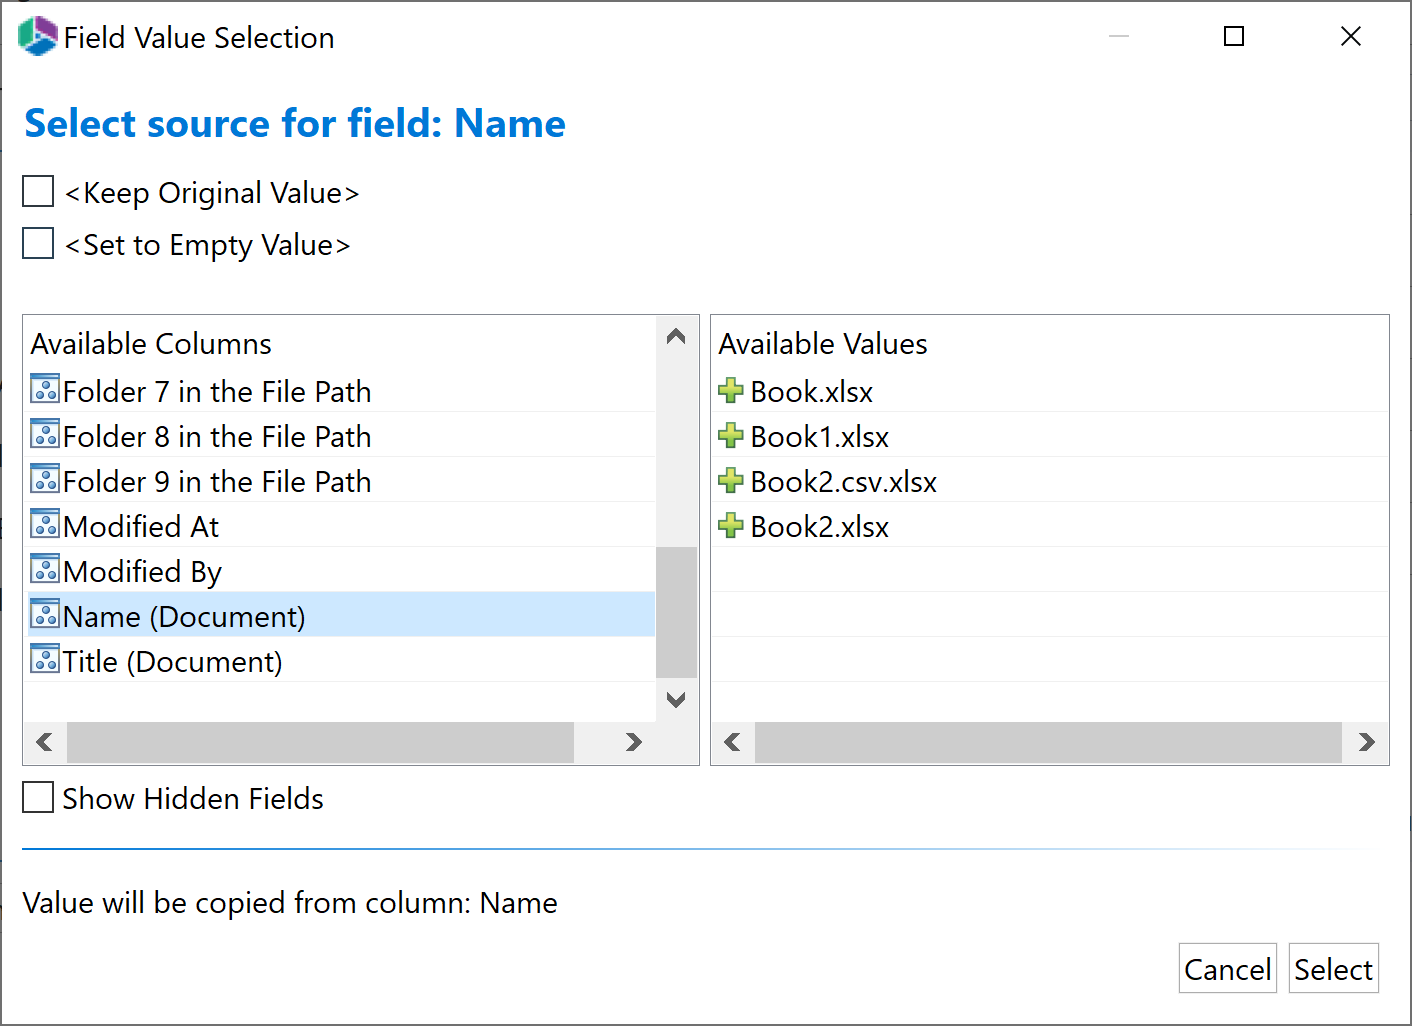
6.Select the source for your Name field, and choose from the available values. Click Select once you have finished your selection.
7.Once the tagging selections are made, press the Next button located at the bottom of the window. A summary screen will be generated asking you to confirm the operation. Press Finish to initiate the tagging. The application will complete the tagging process and provide a notification window.
|
|
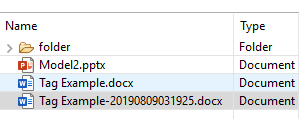
NOTE: After completion of the tagging wizard, files may have the same name. Since this behaviour is not supported by SharePoint, the toll will add a "Created At" value as a suffix to duplicate files. |

|
|
NOTE: ·For the Migrator version of this wizard, users may select the "Create CSV File for Uploading, Tagging and Copying Files", which will create a CSV file that may be edited and used for tagging at a later time (see Copy and Tag SharePoint Items Using CSV). ·For Migrator version of this wizard, in the event any errors are thrown, you may reprocess any failed items after resolving the underlying issues. ·For lists with Content Approval enabled, an Approval Status field will be displayed. This field can be used to bulk approve/reject selected content. |
Incremental/Delta Copy
You can perform an incremental/delta copy:
OR
·for an existing job, to copy changes on the source made after a full migration.
Incremental Copy/Delta Migration During Content Migration
There are multiple scenarios where copying only incremental changes from the source environment to the target are preferable to create a full copy of all content.
Migrator supports incremental copying of content into both libraries and lists but there are several key differences when using the Incremental Copy feature (Advanced Options).

|
|
NOTE: The use of Incremental Copy has a significant impact on performance and it is recommended that users apply a filter (e.g. modified at, property is greater than migration date) to reduce the duration of this operation. |
Libraries implement incremental copies using the file names. When the Incremental Copy option is selected any duplicate items on the target will be replaced with the source item.
Lists (unlike Libraries) implement incremental copies through an internal attribute (item id). This attribute is automatically generated and sequenced by SharePoint and cannot be overwritten. Therefore, a different approach is used to identify new and updated items, but the result is the same as for Libraries. Any duplicate items will be replaced with the source item.
The Incremental copy option has a filter that allows for the determination of the number and age of the changes that will be brought over during the incremental copy. By selecting the number of days, weeks, or months, you can choose to only bring over differences from the last full copy that was made in the determined time.
Delta Migration - If selecting "0" as the value for the incremental filter, the tool will do a content analysis of both source and target and bring over any content that is identified as differential. In the case of this migration, if a file exists on the source that is not on the target, said file will be copied to the target. In the event that the item exists in the target, the tool will check to see if the item on the source is newer than the one on the target (based off of the last modified date). If the item on the source is newer, then the item will be copied from the source to the target.
|
|
NOTE: ·This operation is extremely time, processor, and memory intensive as it has to scan every item on both your source and target environments. We only recommend using the "0" delta migration in cases where it is absolutely necessary. Otherwise, set a filter which will specify a time period for the comparison. ·Due to their inherit complexity, Wiki Page libraries and Discussion lists will not be processed during incremental or delta migrations. |
Incremental/Delta Copy for an Existing Job
Once a full migration has been run, an incremental or delta copy can be run without the need to create a new project.
IMPORTANT: By default, Azure is enabled as a recommended migration method, although it can be changed in the Profile Manager. However, it is not recommended that you use a different migration method for incremental copy. For example, if CSOM was used for the full migration it should also be used for the incremental copy.
To run an incremental/delta copy on an existing job:
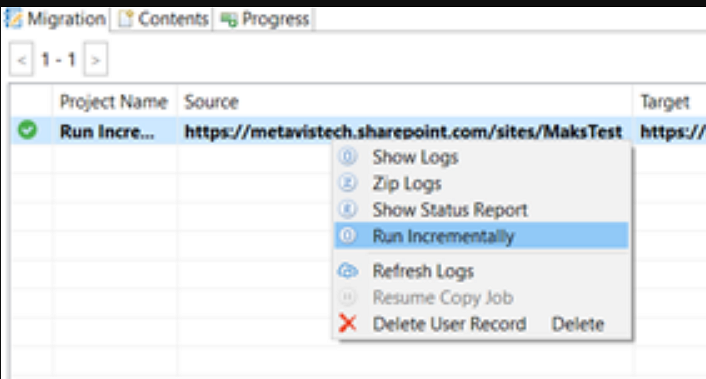
1.In the Migrator tab, select the job for which you want to run an incremental/delta copy.
2.Right-click and choose Run Incrementally.
3.In the Run Incrementally dialog, select the appropriate option. Use the information in the following table for guidance.
|
If you want to .. |
Then select ... | ||
|---|---|---|---|
|
copy content that has changed on the source using the Last Start Date as a filter |
Incrementally from Last Start Date. | ||
|
have Essentials compare source and target content and replace older content on the target with newer content on the source |
Run Delta.
|