This section explains how disable domain rewrite service for your users using On Demand Migration Domain Rewrite.
-
Log in to On Demand
-
Navigate to Migration, select the project and click on Domain Rewrite.
-
Select the Domain Rewrite project previously configured.
-
Click on the Total Users link. Select a user with Rewrite Source Address enabled and select Disable Email Address Rewrite from the drop down action menu and click Apply.
-
Select Disable Email Address Rewrite and ensure the Keep Mailbox Fowarding Rule In Place option is un-selected. Click on Submit.
-
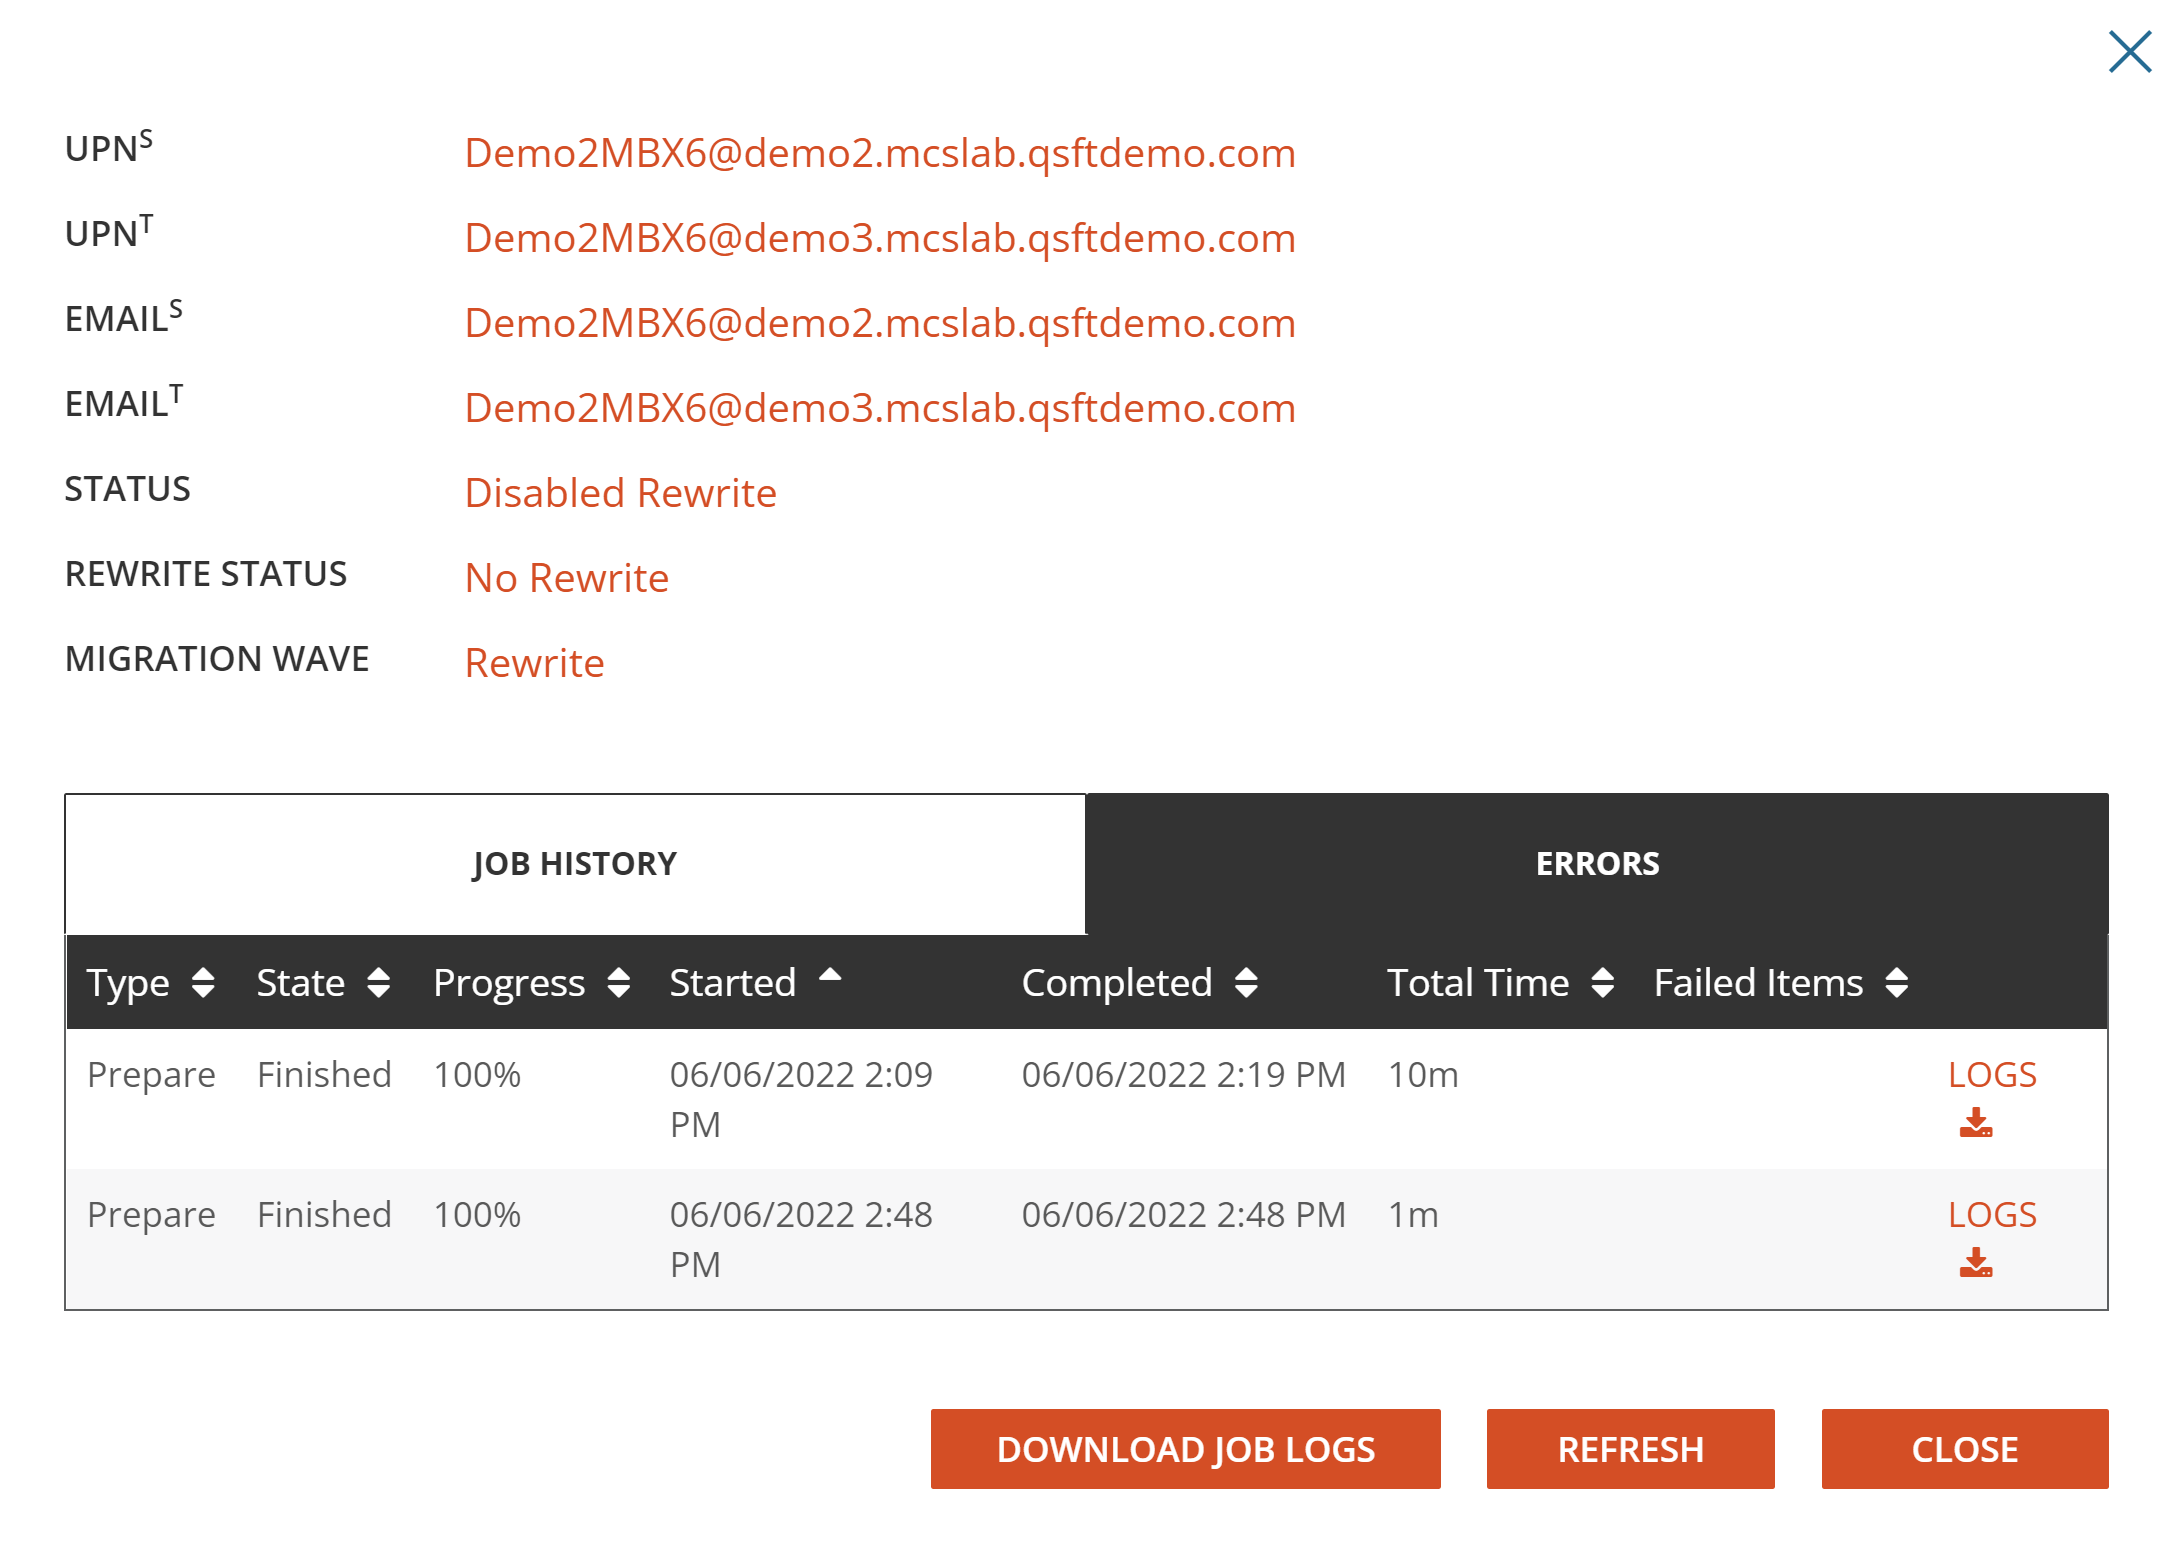
Allow the Email Rewrite Prepare job to finish. After the job is completed, the User Status should be set to Disabled Rewrite, and Rewrite Status should be set to No Rewrite.
-
Review the prepare job log and validate the following:
-
The Source tenant mailbox’s forwarding rule should be cleared per job setting.
-
Send an email from the target mailbox to an external user and verify the sender’s email address is not rewritten as the rewrite has been disabled.
-
-
Click on the Total Users link. Select a user with Rewrite Target Address enabled and select Disable Email Address Rewrite from the drop down action menu and click Apply.
-
Select Disable Email Address Rewrite and ensure the Keep Mailbox Fowarding Rule In Place option is selected. Click on Submit.
-
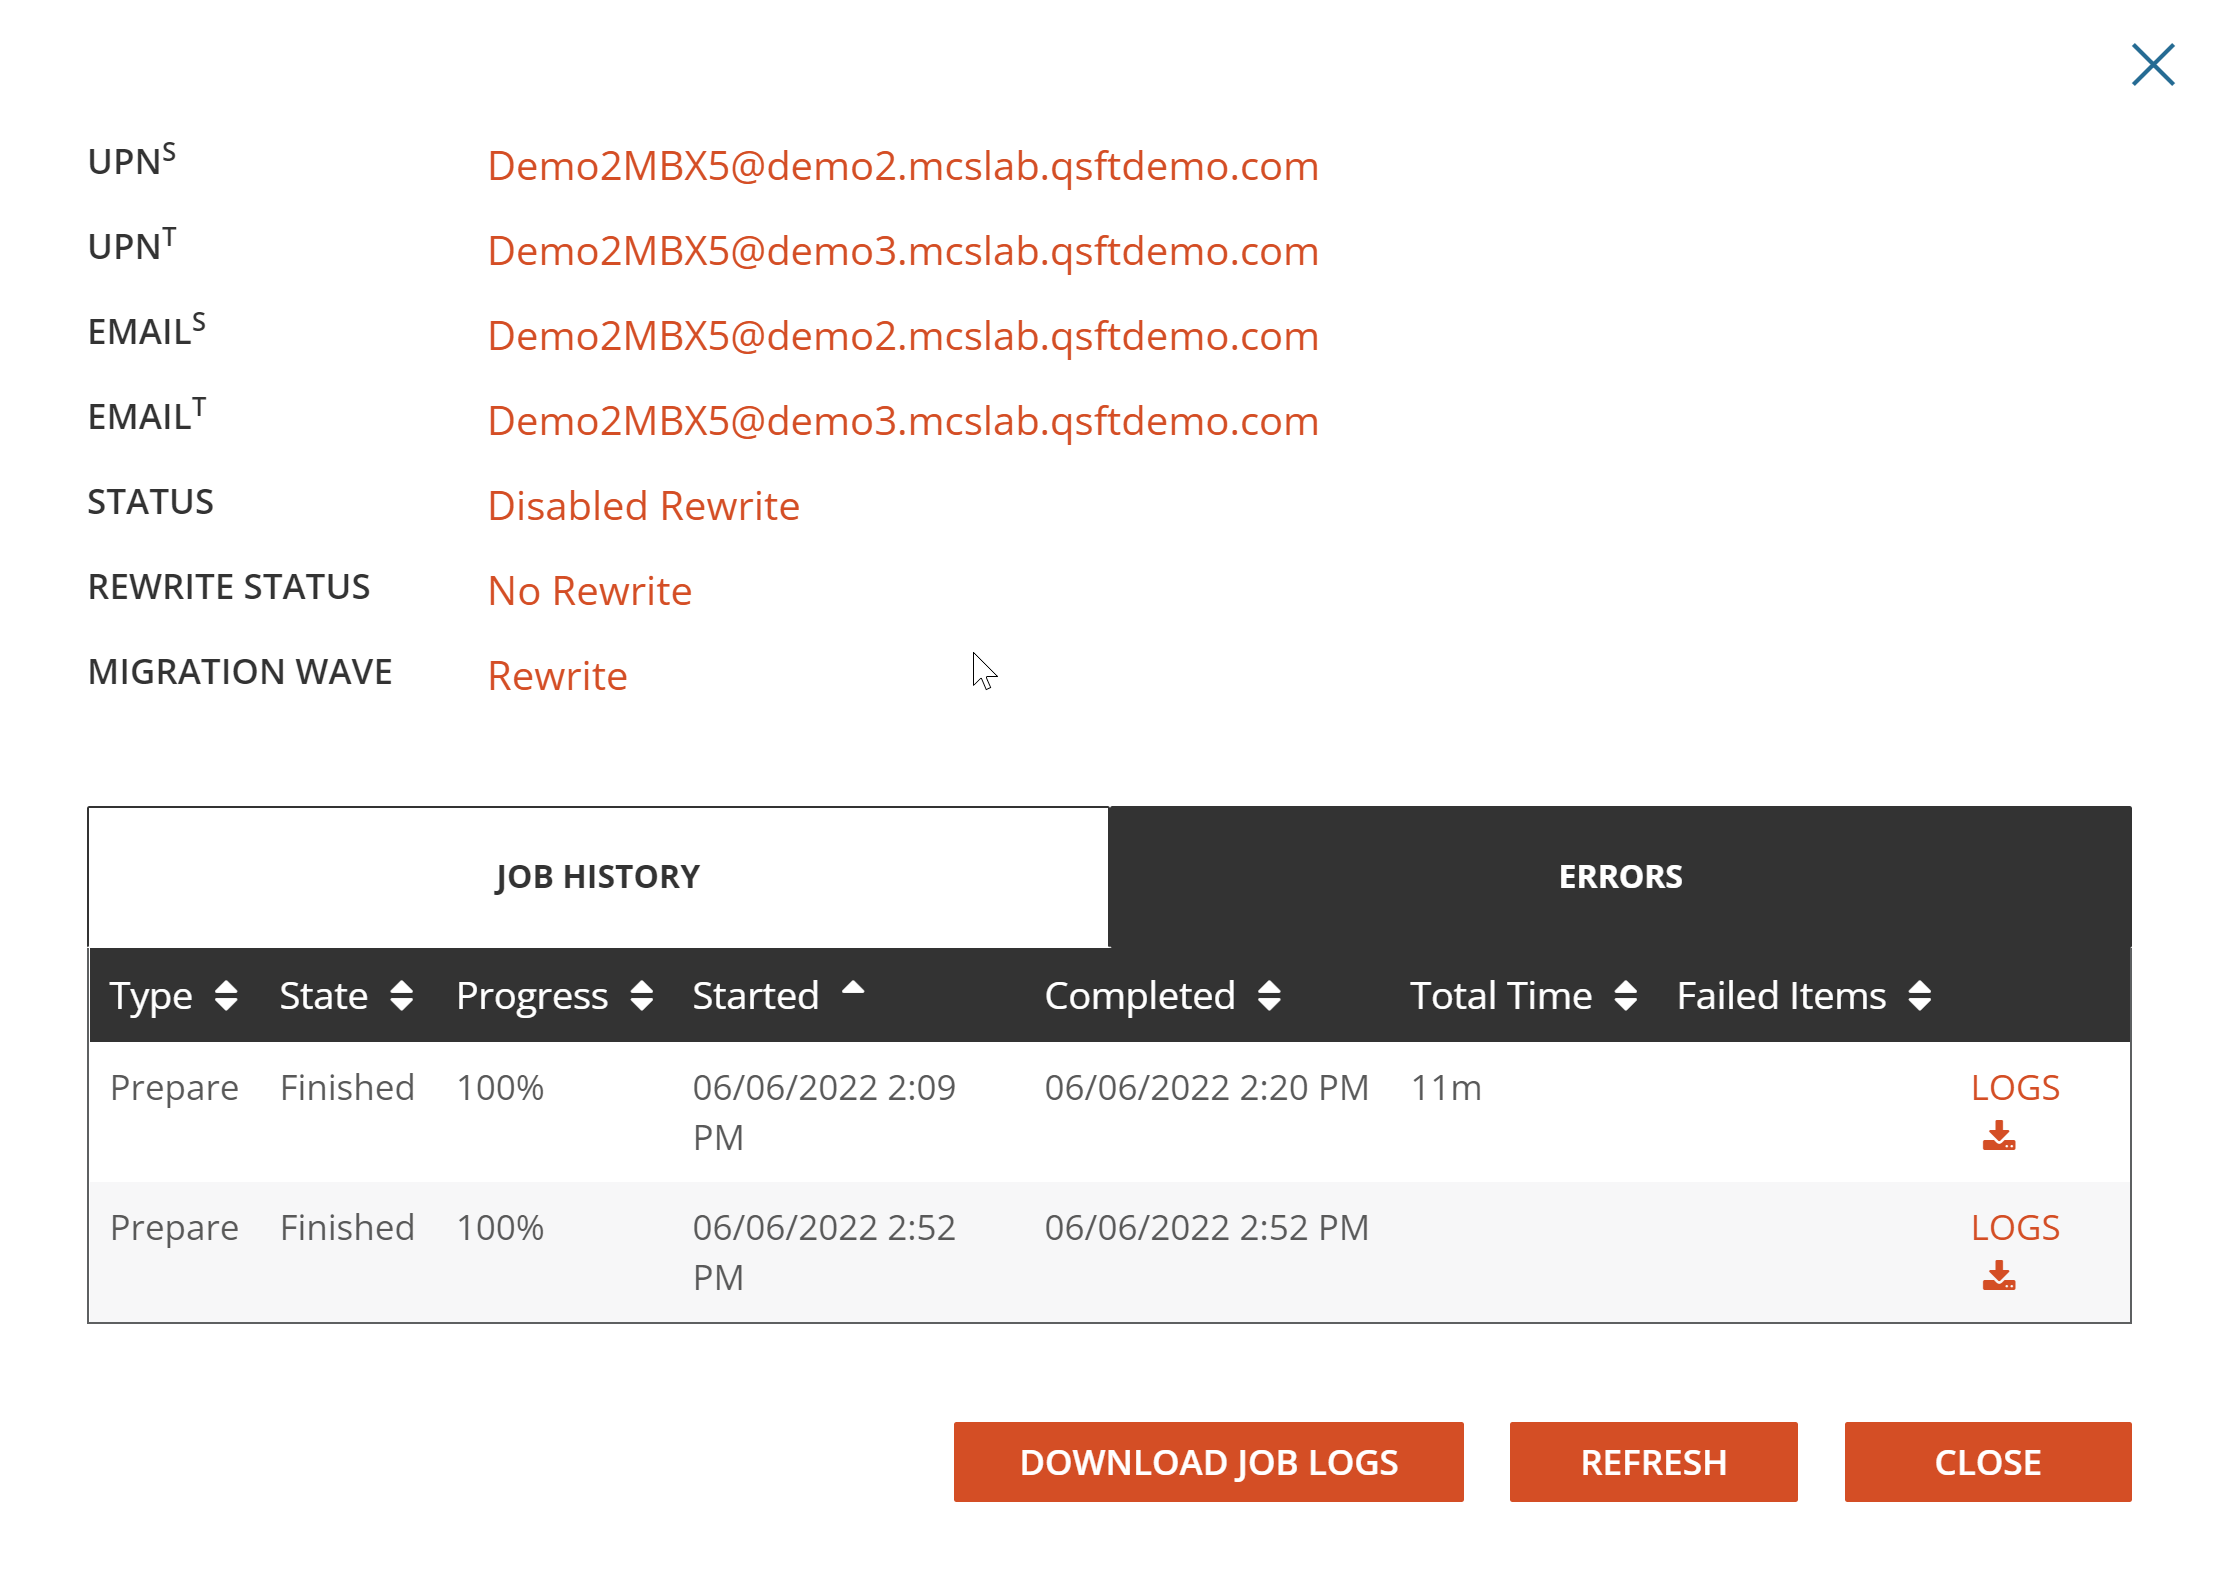
Allow the Email Rewrite Prepare job to finish. After the job has completed, the User Status should be set to Disabled Rewrite, and Rewrite Status should be set to No Rewrite.
-
Review the prepare job log and validate the following:
-
The Source tenant mailbox’s forwarding rule should still be configured and pointed to the source mailbox per job setting.
-
Send an email from the source mailbox to an external user and verify the sender’s email address is not rewritten as the rewrite has been disabled.
-