
Copy Dropbox to Microsoft Teams
This option allows Dropbox Business and Office 365 administrators to copy content from within Dropbox Business drives to an Microsoft Teams site in a single migration.
|
|
NOTE: If you attempt to connect or open a Dropbox drive through the software and it does not respond, please review the section Alternate Framework. |

This operation has the following requirements for use:
·The account used to perform the migration from Dropbox Business needs to have Team Admin access to the Dropbox Business tenant.
·The account used to perform the migration into Microsoft Teams needs to be a minimum of Site Collection Administrator in this Office 365 tenant.
·The person performing the migration will need to know the relationship (user mapping) between each user's Dropbox user account and their corresponding Microsoft Teams name and account.
·The Microsoft Team must already exist.
To migrate content of a Dropbox Business Account(s) to Microsoft Teams, perform the following:
1.On the Drives tab click Copy Dropox and select the "Copy Dropbox to Microsoft Teams" option.

2.Give your project a name.

3.Enter the username of your Dropbox Administrator.
4.Make sure Dropbox Business - Connection Requirements are met.
5.Use the information in the following table to determine the appropriate action to take.
|
If ... |
Then ... |
|---|---|
|
you have long-term Access Token obtained prior to Metalogix Essentials version 2.10 |
a)Provide the token in the Access Token field. b)Click Connect. |
|
you do not have a long-term Access Token obtained prior to Metalogix Essentials version 2.10 |
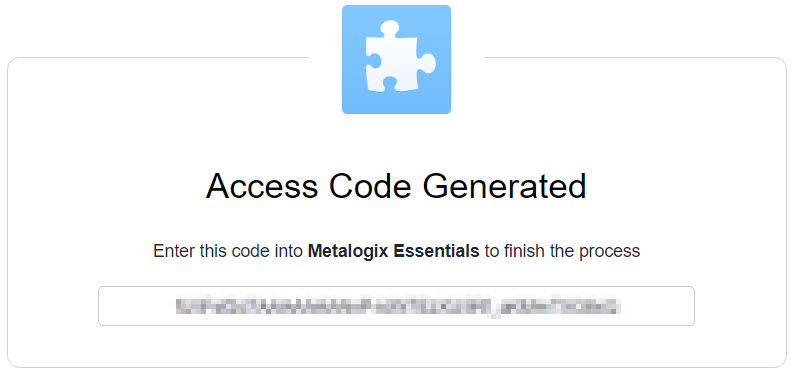
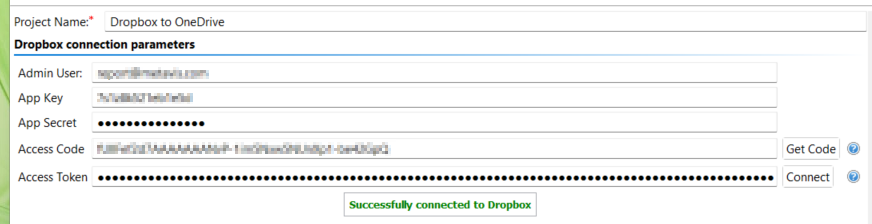
a)Provide the App Key and App Secret obtained from the app Settings page. b)For Access Code, click the Get Code button to connect to the Dropbox OAuth authorization page. c)Click Allow to provide the app with the applicable access permissions and generate an Access Code. d)Copy the generated Access Code and paste it into the Access Code field. e)Click Connect. The Access Token field will be populated automatically and will be refreshed as needed during the course of a migration to prevent the token from expiring. |
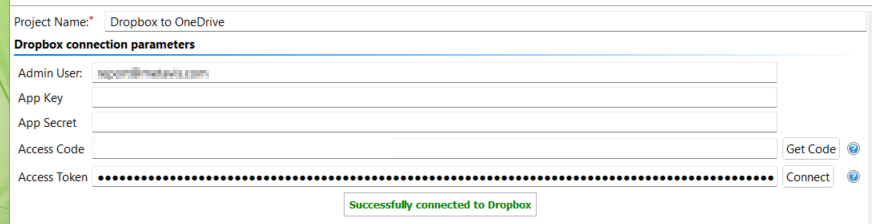
If you receive any message other than Successfully connected to Dropbox, double check your supplied information and try again. If you are still experiencing issues, please contact Support for further assistance.
|
|
NOTE: If you attempt to connect or open a Dropbox drive through the software and it does not respond, please contact support for a updated version of the required framework. |
6.In the Target Office 365 Connection Parameters section, specify your tenant SharePoint Administration Center URL and then click Connect (i.e. https://tenant-admin.sharepoint.com). When prompted, enter your Administrator login and password. Click Connect. If you receive any message other than Successfully connected to SharePoint Admin, double check the URL and make sure you are supplying a Administrator login for this tenant. If you are still experiencing issues, please contact Support for further assistance.

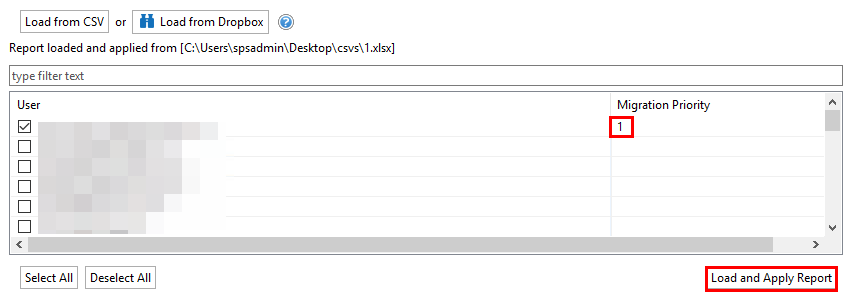
7.Click the Load from Dropbox button to load in a list of available Dropbox Business drives to include with this migration. For performance reasons, if you have a large number of Dropbox Business drives in your tenant you may wish to CSV file with the user accounts and choose the option to "Load from CSV" instead. Select the Dropbox Business drives that you wish to include with this migration.
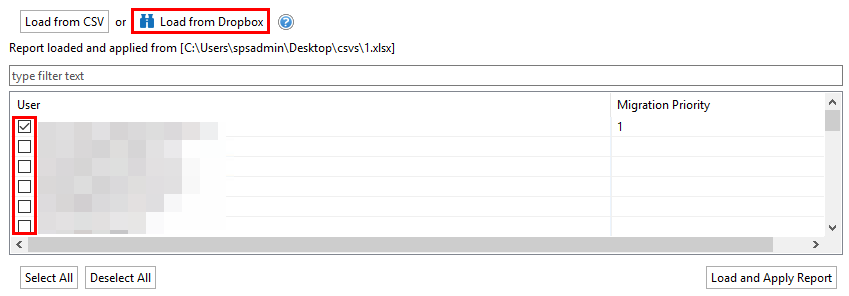
8.You can also choose to Load and Apply report option, which allows you to load and apply an Analyze Dropbox report, which then sets the Migration Priority for each user mentioned in the report. Click Next to continue.
|
|
NOTE: Each Migration Priority value can be changed if you click on the value in the Migration Priority columns (without user selection). It changes the migration queue but does not change the original report file. Priority in the wizard is not saved after the wizard has been closed. |
9.Select Re-Map Users option and load your mapping CSV file. Group mapping is required (user mapping may also be included) so the software can properly resolve the differences between your users' Dropbox account and the corresponding Microsoft Teams name as well as maintain content authorship. If your user accounts differ between Dropbox and Microsoft Team then you will want to add your user mapping to this same file.
In the example below, lines 1-3 illustrate mapping a source Dropbox to an Microsoft Team by name while lines 4-5 in the same file are used to map the Dropbox user accounts to their respective Microsoft Teams user accounts to maintain item authorship.

sales@company.com,MicrosoftTeam Name
marketing@company.com,MicrosoftTeam MarketingGroup
IT@company.com,IT Group
scott@company.com,swilson@contoso.com
bill@company.com,bgeorge@contoso.com
If you wish to migrate one or more source accounts to a single Group library while also remapping the user account for the purpose of metadata and sharing, please use the following format in your mapping file.
user@dropbox.com,MicrosoftTeam GroupName(user@contoso.com)
The software will migrate the content from the source drive "user@dropbox.com" to the Documents libary in the group "Microsoft Team GroupName". The metadata and shared permissions of Dropbox user "user@dropbox.com" will be mapped to the Microsoft Team user account "user@contoso.com".
If you would like to migrate source accounts to a target Teams channel, use the following mapping.
scott@company.com,swilson@contoso.com,ChannelName
The third column in this CSV will map the users to the specific target channel.
|
|
NOTE: When using the Teams Channel, keep the following in mind: ·When adding a Teams Channel to your CSV be sure to enter the name exactly, it is case sensitive. If the name is entered improperly Essentials will assume it is a folder and will create a folder with this name on the target site collection. ·When the channel column is missing in the mapping then the migration will use the General channel by default. ·When the channel is missing on the target, then a folder will be created with the channel's name in the Shared Documents section of MS Teams. |
10.Click Check MS Team in order to begin the validation process. This process will validate that the supplied user mapping is correct (MS Teams were located) and check to determine if each Team currently has a Site provisioned. Click Next.
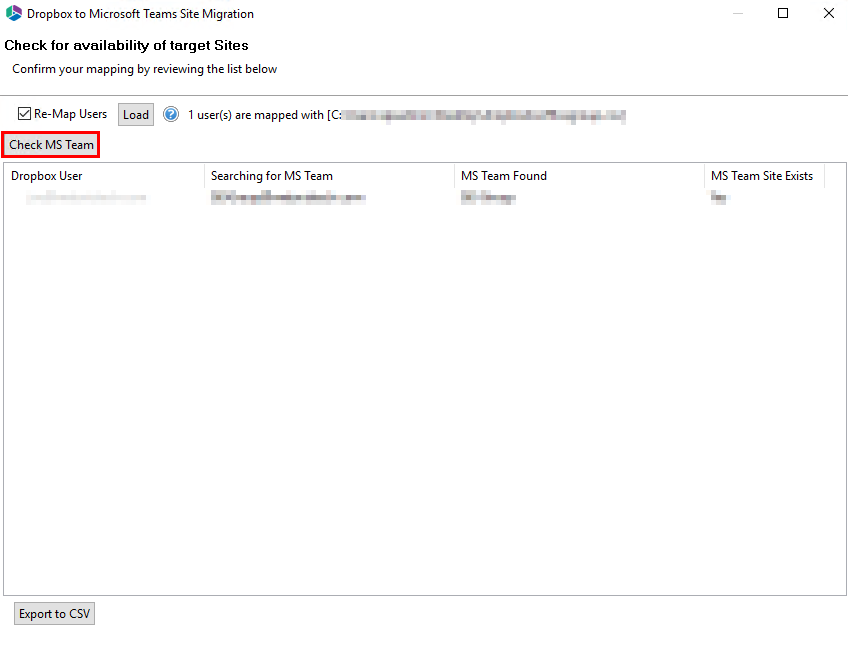
If the group is not found you may continue, however no content for this mapping will be migrated. Alternatively, you may go back one page and remove the selected source Dropbox account or modify your mapping file, reload the CSV and click the Check button again.
11.If necessary, change content and file format conversion options as described below.
Content Options

Copy Content - A flag to determine if content is or is not included with this operation. When not included the remainder of the options will become disabled.
Include Versions - The process in which Dropbox revision history will be converted into Microsoft Teams versions. Please note that this option is only referring to the major revisions (those shown as the "less detailed revisions") and not those that are automatically generated within Dropbox (those shown as the "more detailed" revisions).
Incremental Copy - When enabled, the migration process will identify and migrate only that content which was created, modified or versioned within the defined interval (days, weeks or months).
Skipped Non-Owned Folders - This option addresses the scenario where folders appear in a user's Dropbox which are not owned by this user; meaning the user is a folder collaborator and not the folder "Owner". Skipping these folders will prevent duplicates from being migrated into Microsoft Teams because the folder will be migrated only once when the folder "Owner" is migrated. Please refer to the in-application Help button for additional details.
Migrate to Folder - When this option is enabled, you can create a (or use an existing) root folder structure in the destination library where your source content will be migrated. You will need to define the path like this example:
/My Source Content/2017
In the above example, the folder "My Source Content" and subfolder "2017" will be created in the root library of your destination and all source content will be migrated to this folder location.
|
|
NOTE: The 'Migrate to folder' option can be used when migrating to a MS Teams Channel. This option will create a new sub-folder in the channel or use an existing sub-folder by this name. |
Apply Filter - Optionally, select from a series of filterable parameters to include or exclude specific content during migration.
Advanced Options:
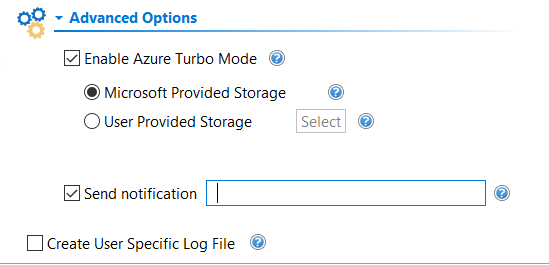
Enable Azure Turbo Mode: When enabled, this option utilizes Microsoft's SharePoint Online Migration API to increase the migration performance and throughput. A recommendation for optimal use of this API is larger sets of data; the more content, the better the throughput. Please review the User Manual for additional information as well as recommended configuration as this process is a resource intensive operation.
Because this API uses Azure storage as a staging area for the migration, it requires that you provide an Azure storage location. The options are to either utilize Microsoft supplied storage or to provide your own Azure storage location. If you wish to use your own Azure account, you must provide both the Azure Account Name as well as the corresponding Acces Key. If you cannot supply this information, please search our online Knowledge Base, User Manual or contact Support for additional information before proceeding or consider using the Microsoft Supplied Storage option. For more information please see the Azure Turbo Mode section.
|
|
NOTE: this function is optional and is only used to increase the migration performance to SharePoint Online or OneDrive for Business in Office 365. It does not provide any additional functionality that is not available when this option is disabled. |
·Microsoft Provided Storage: This option allows you to use Microsoft provided Azure storage instead of providing your own for the purpose of utilizing Azure Turbo Mode.
·User Provided Storage: This option allows you to provide your own Azure Storage instead of using one provided by Microsoft for the purpose of utilizing Azure Turbo Mode. It requires that you provide both your Azure Blob Storage Account Name as well as its corresponding Access Key by clicking the "Select" button to the right. If you cannot supply this information, please search our online Knowledge Base, User Manual or contact Support for additional information before proceeding.
|
|
NOTE: User Provided storage will give you access to Azure logs for a longer period of time than Microsoft provided storage. It will also allow you to perform the migration faster with less throttling. |
Send Notification: When selected, this feature will send emails to the listed recipients once Migrations are completed. Enter a specific user email address. For two or more, separate each email address with a comma. Set up User Notifications here in order to use this feature.
Create User Specific Log File - If you would like a user specific log file (.txt format) created for each migrated Microsoft Team that will be saved directly to that Team's Documents library, check this option before you finish. This log file will contain all the content that was included in the migration with both source and target URLs as well as any file renaming that took place and skipped files due to lack of ownership.

|
|
NOTE: Content permissions are not migrated because Microsoft Teams permissions are maintained and enforced by the team membership and its roles (Owners, Members and Guests). |
12. Click Finish to begin the migration.
Nintex Deployment
The following steps will allow you to deploy your Nintex Workflow and Nintex Forms applications from within Essentials.
1.Select Nintex Deployment from the Drives tab.

2.In the Nintex Deployment window, enter a valid SharePoint URL, and click Connect.
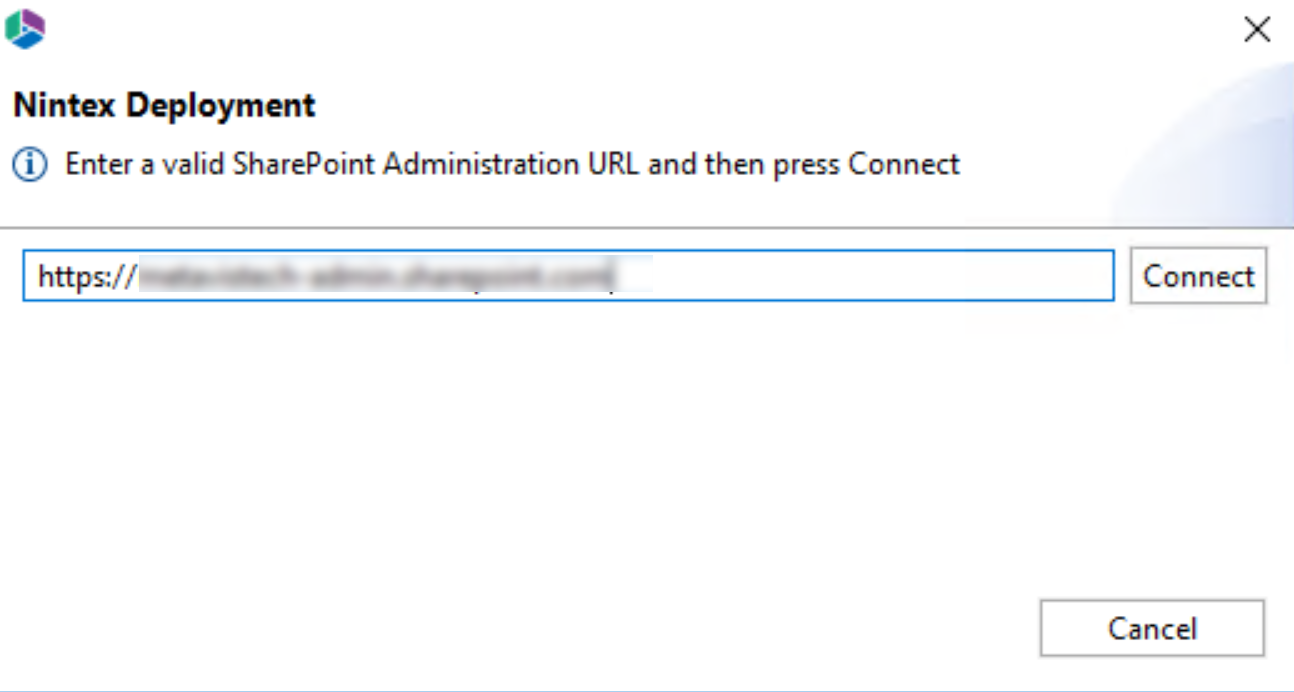
3.Provide your user credentials to connect to SharePoint. Click Connect.

4.This will open the SharePoint Application Catalog. You must switch to classic view in order to perform the deployment, as deployment cannot be done in modern view.
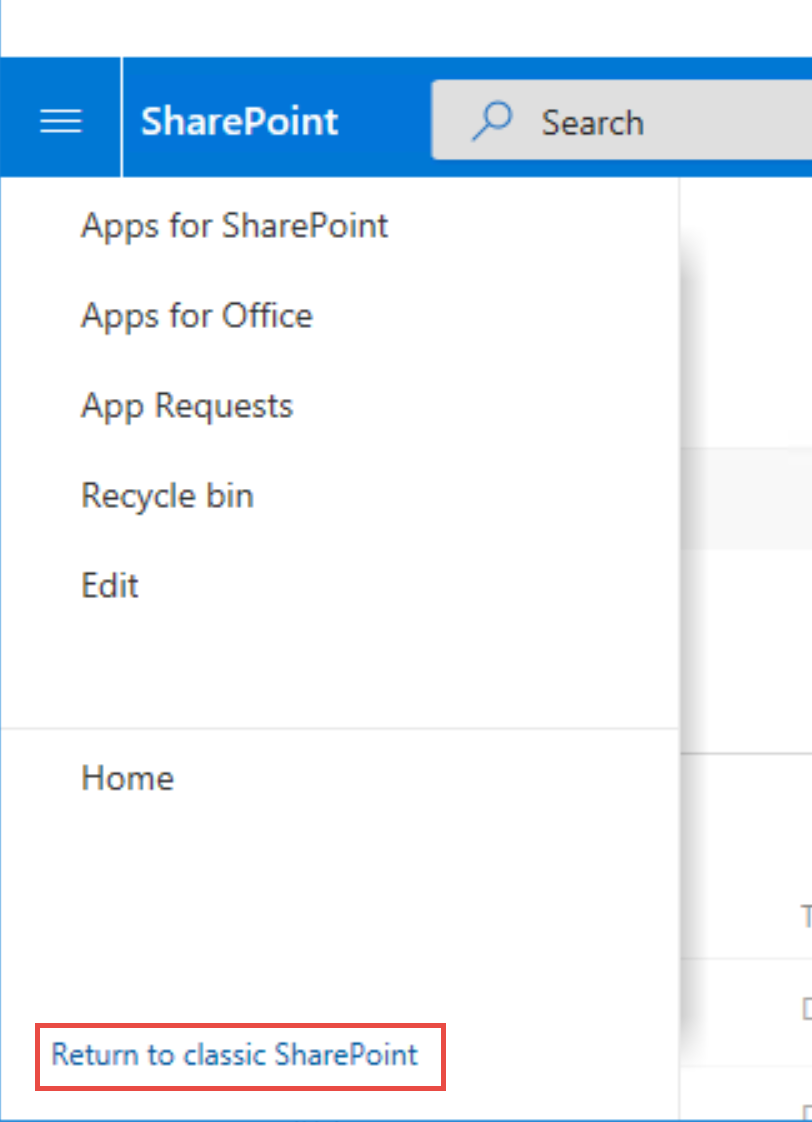
5.If you do not have Nintex Workflows or Nintex Forms as part of your Site Contents, then select Add an App and install the nintex workflows/nintex forms application.
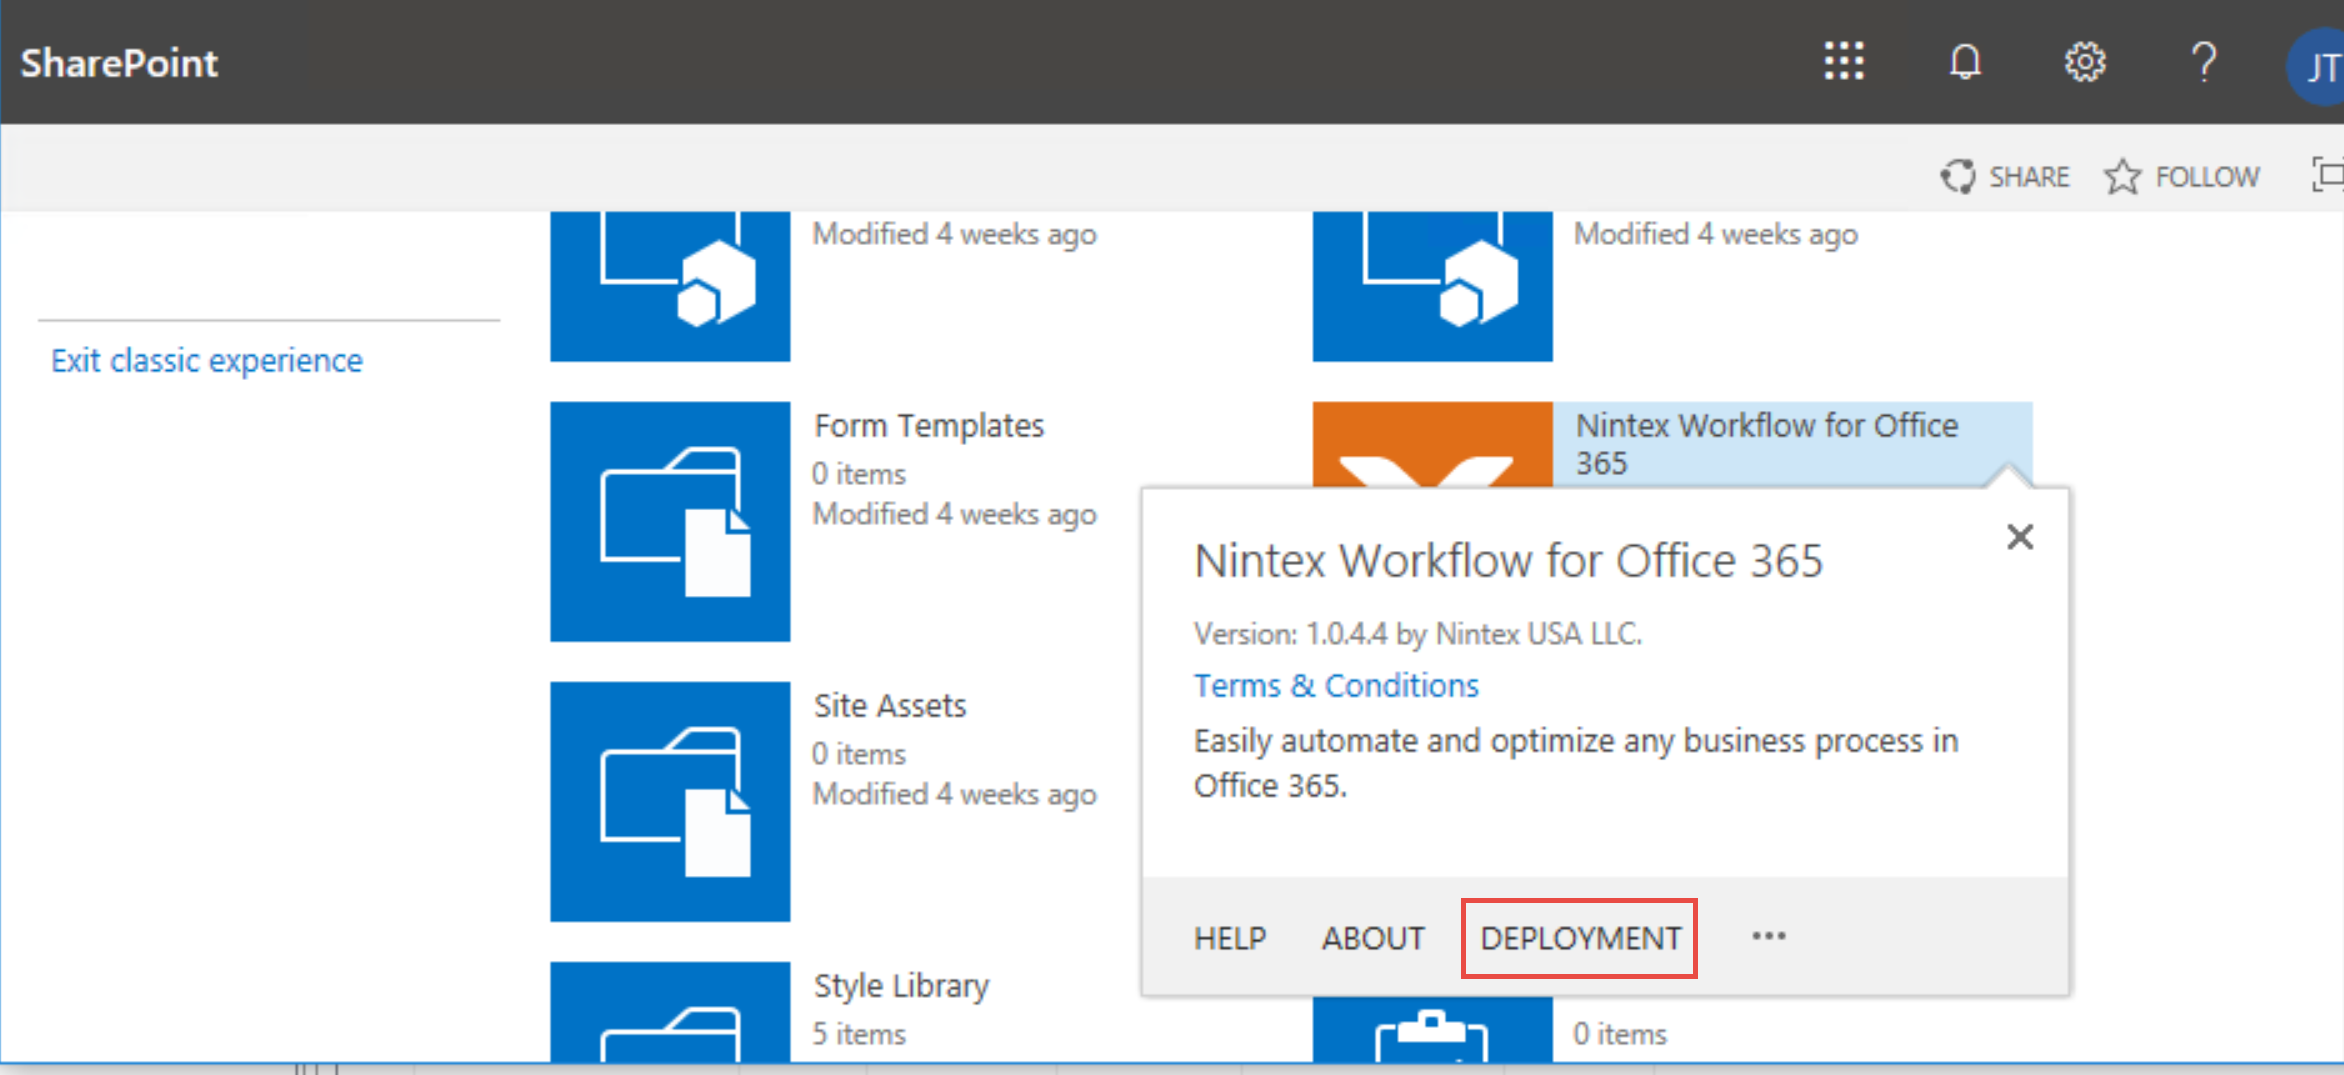
6.On the Site Contents page, Select the ellipses (...) next to the installed Nintex application, and click on Deployment.
7.On the Manage App Deployments page, enter the site collection URL or select one from the list available, select and add the managed paths to deploy to, and select and add the templates to deploy to.
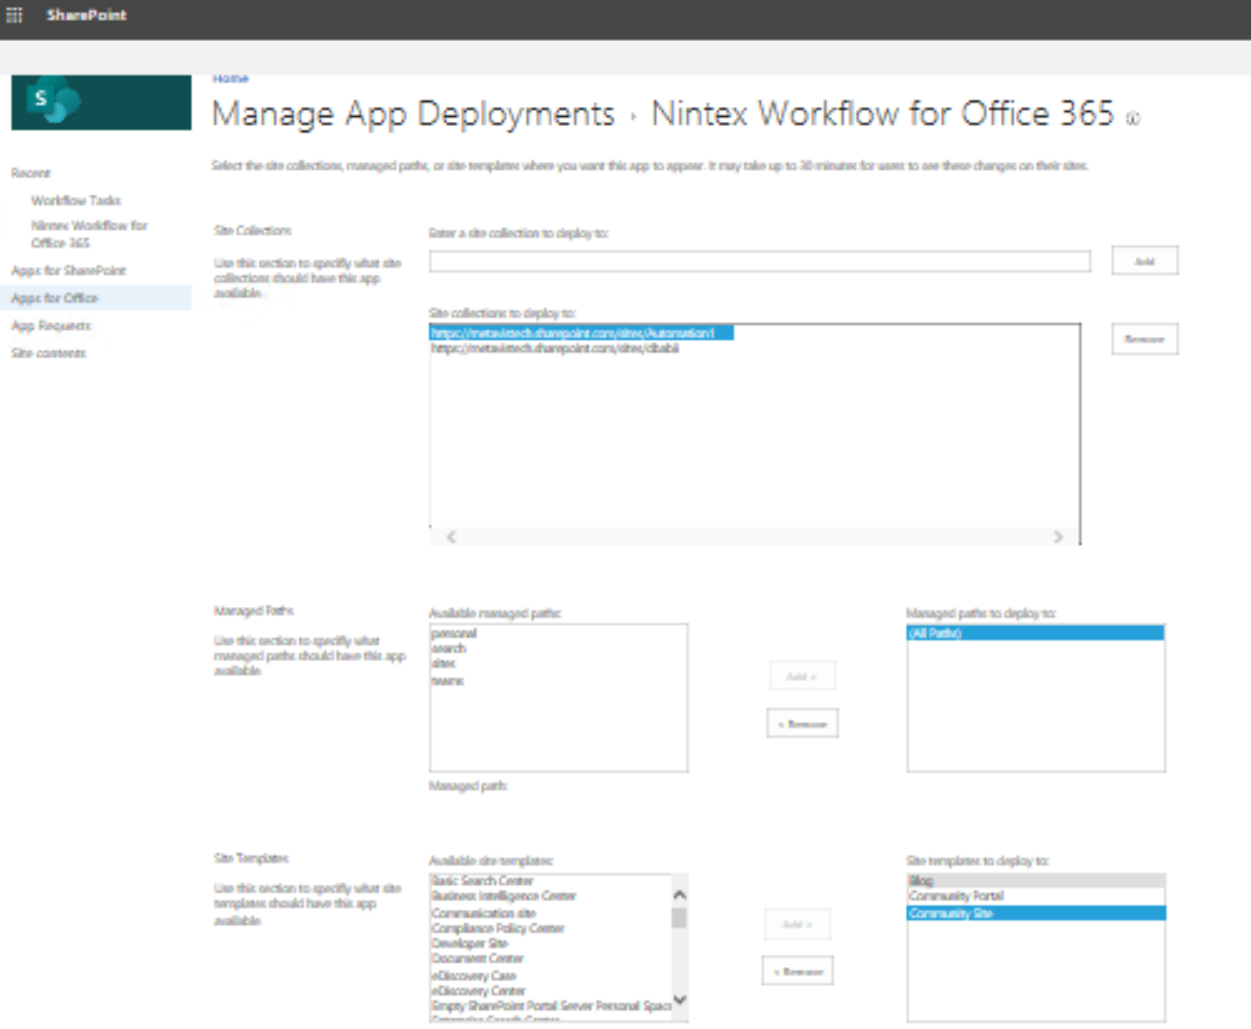
8.Click Ok to apply your selections.
9.When asked whether you trust workflow0365.nintex.com click Trust It. This will start the actual deployment.
Note: Microsoft is now deploying the Nintex app to your tenant. It may take from a minute to hour(s) depending on the complexity of your site collection structure. Please verify your site collection for Nintex apps before starting a migration.
Security Manager Tab
Metalogix Essentials Security Manager for SharePoint is designed to analyze and manage permissions, groups/users and levels across multiple site collections and farms. It aims to both simplify cumbersome tasks and provide in-depth analysis of existing security rights from the convenience of your desktop and without installing anything on your SharePoint servers.
Metalogix Essentials Security Manager allows you to:
·Browse, add, edit and delete groups, users, permissions and permission levels in a visual hierarchical structure of site collections, sites, lists and individual items
·One easy to use interface for managing multiple server farms, domains and site collections.
·Copy groups, users, permissions and permission levels between server farms, site collections, sites, lists and individual items across user directories (LDAP, ADFS, RDBMS).
·Manage permissions for multiple objects at the same time
·Compare an objects permissions to better manage permission templates and identify where permissions do not match the templates
·Analyze a users or groups permissions for any site, list or item
·Analyze which users or groups have permissions for a specific object
·Discover and resolve potential security problems in multi-server farm environments such as sites with no permissions, deleted users with granted permissions, broken chain of permission inheritance, etc
·Transfer roles between users addressing issues such as employee turnover and new hires
·And much more
Interface
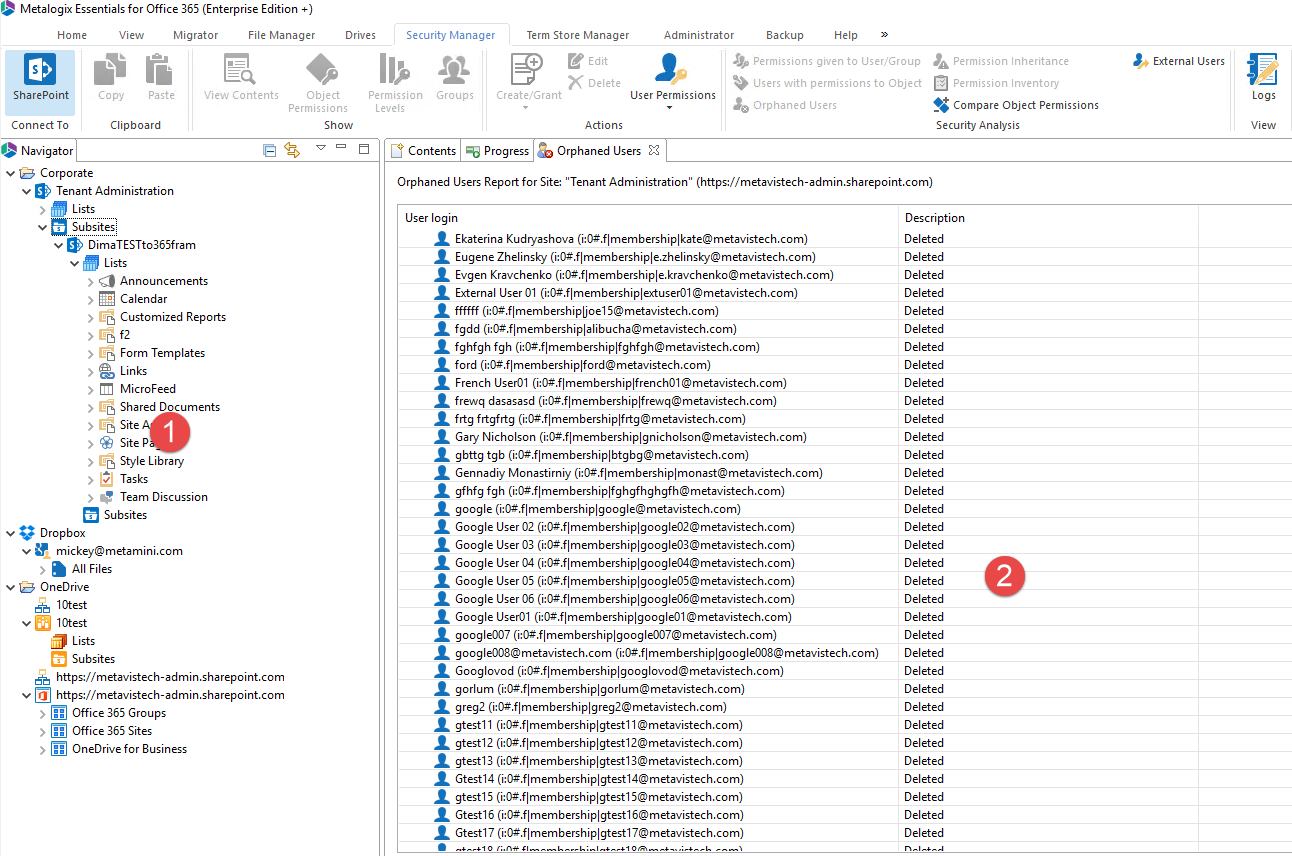
The application consists of two primary panes: (1) Navigator and (2) Contents/Objects Area.
The Navigation area is auto-generated when connecting to a SharePoint environment and provides a hierarchical representation of Farms, Tenants, Sites, Sub-Sites and Lists. The Content area contains screens in a tabbed structure that provide detailed information regarding the object selected in the Navigator pane.
|
|
NOTE: We have found this to be the ideal configuration, but the individual panes may be rearranged, minimized or maximized. |