
Disabling and Enabling Automatic Updates
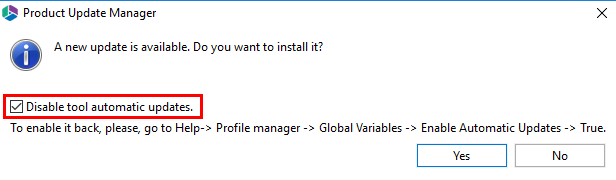
The auto-update feature can be disabled in the Product Update Manager by selecting the "Disable tool automatic updates".
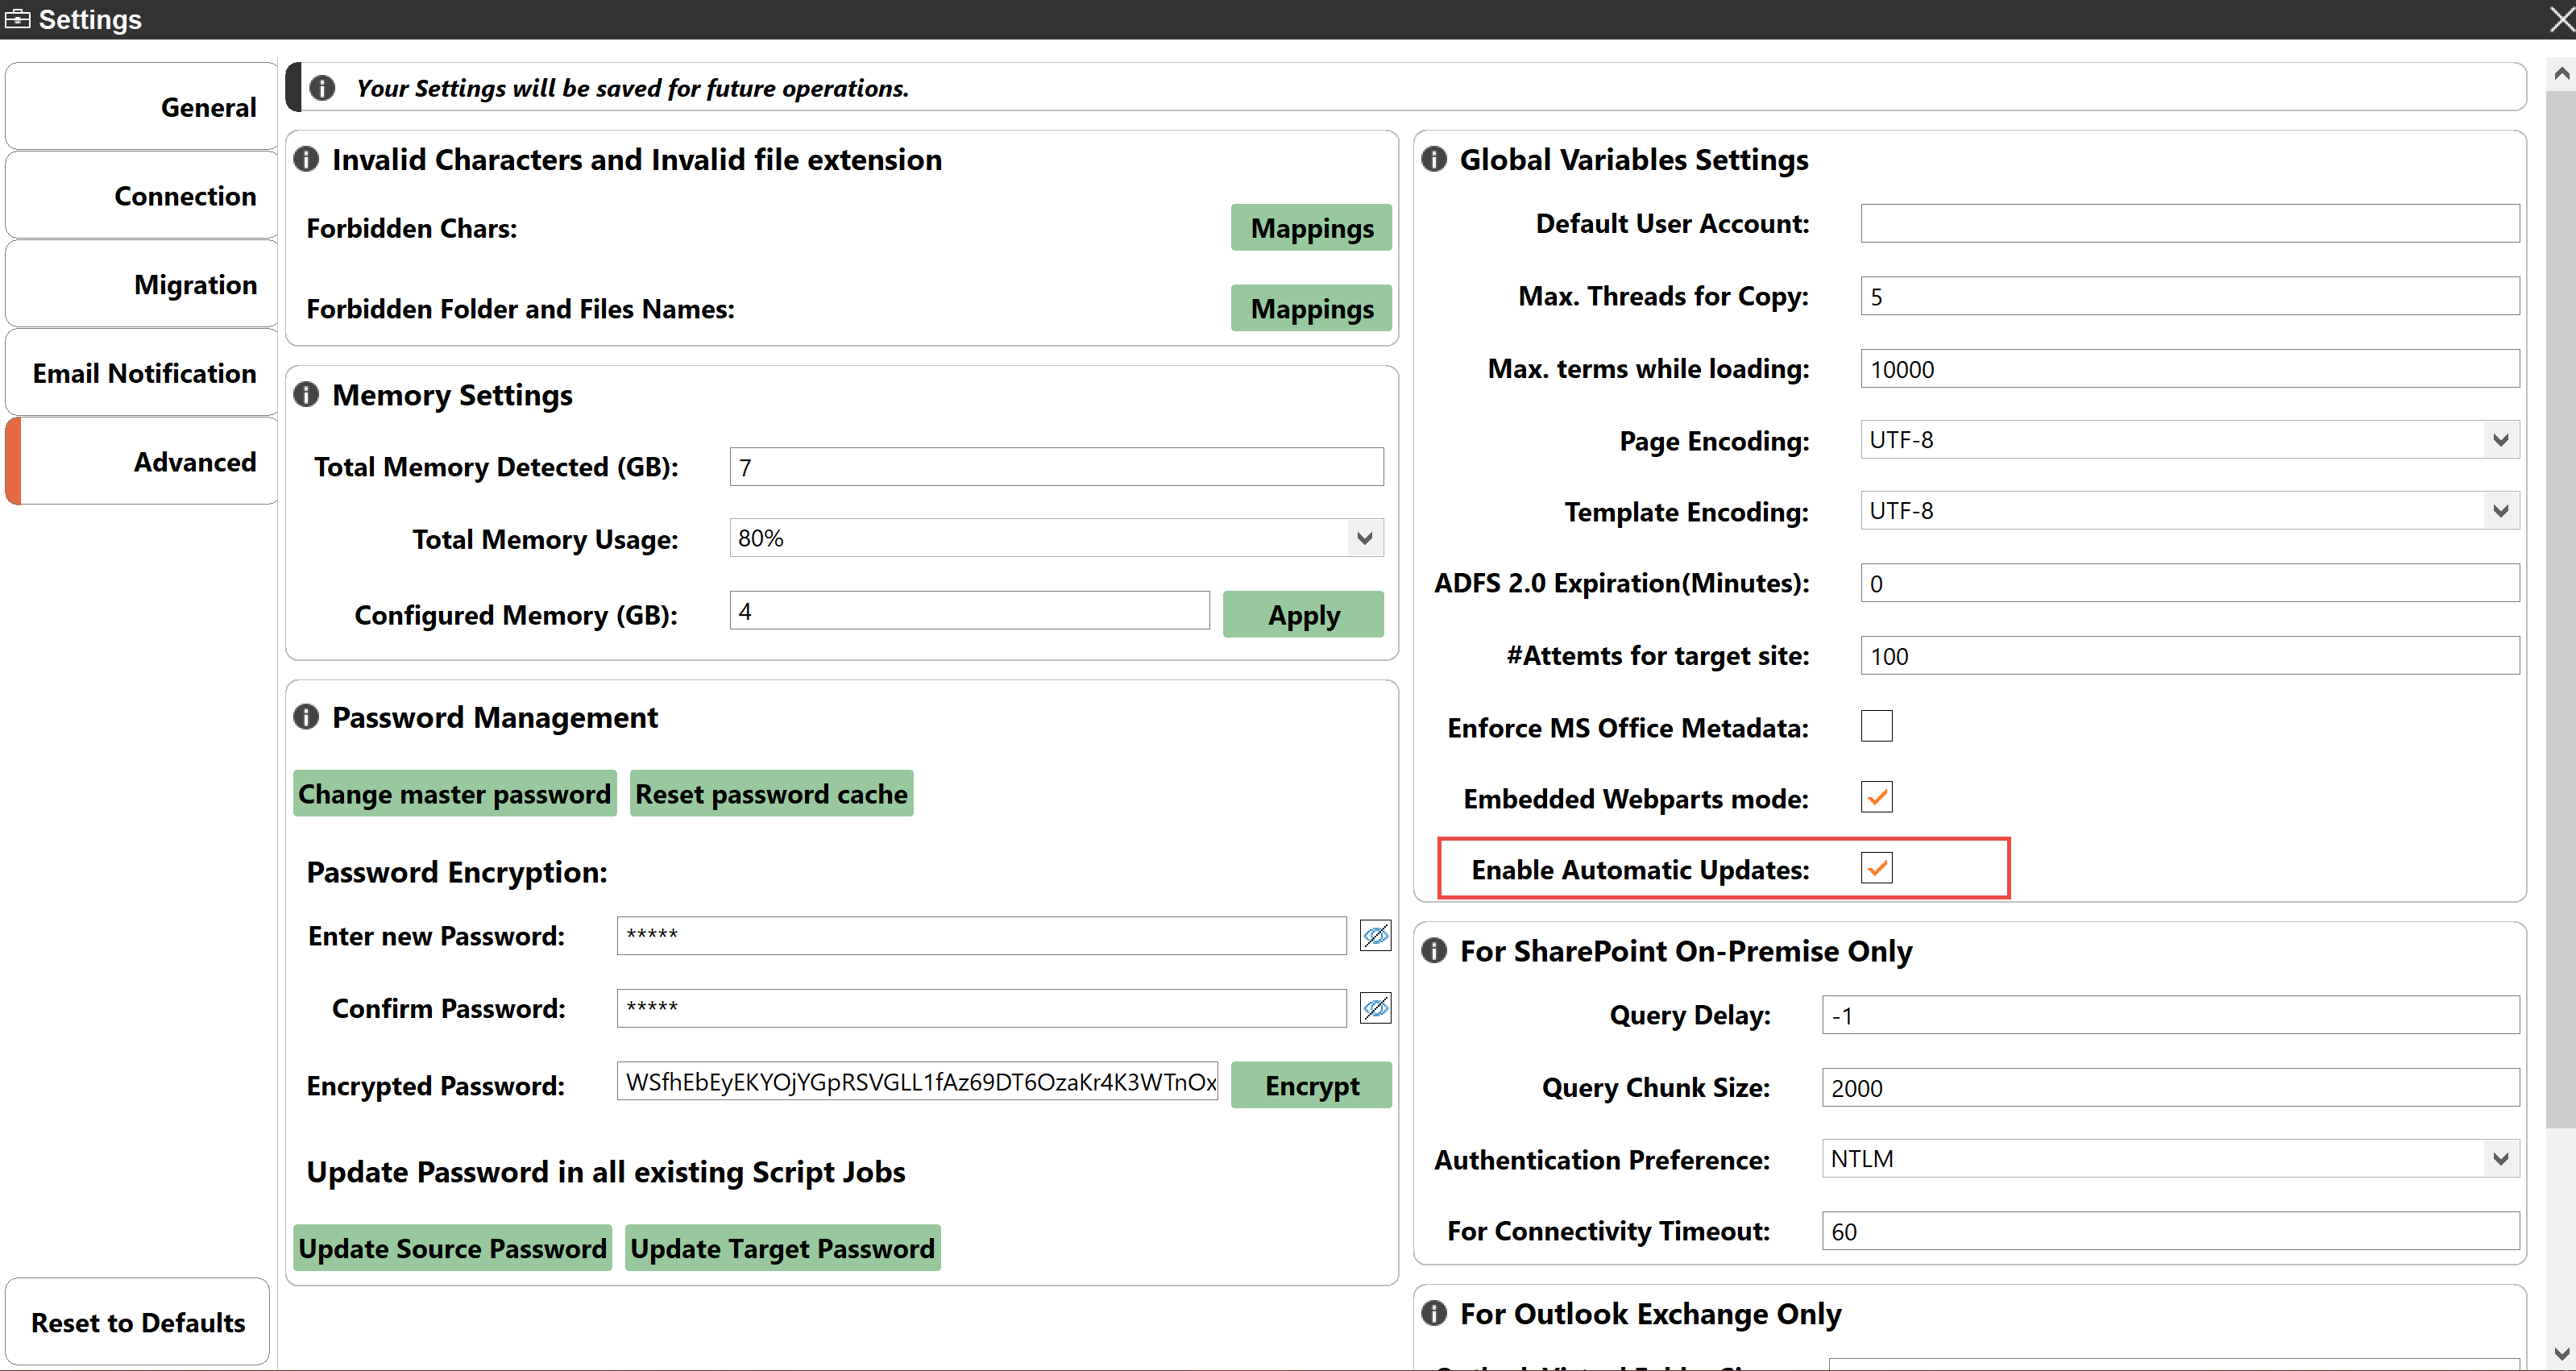
The auto-update feature can also be disabled in the Profile Manager by doing the following:
1.On the Help tab of Essentials, click Profile Manager.

2.Navigate to the Advnaced section of the Profile Manager, and setting the Enable Automatic Updates feature to "False" to disable, and "True" to enable.
Cleaning Essentials Tool Location
You may notice that the Essentials Installation location folder may be growing in size.

This occurs as a result of the tool's auto-update feature. Currently, Essentials framework doesn't support automatically removing outdated packages, so this must be done manually. In order to do so, follow these steps:
1.Close the Essentials tool.
2.Navigate to the Essentials Folder (C:\Program Files\Quest\Essentials), and Run the AppClean.exe file as an Administrator.
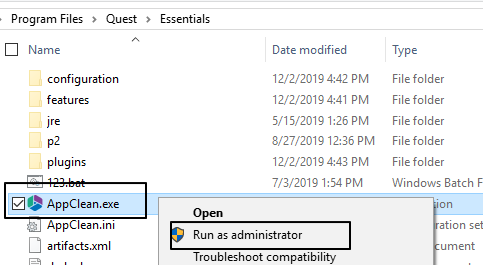
3. The appclean.exe will run, and once it is done running it will close once the clean is done. This folder will now be cleaned (from 10+ GB to 755 MB less) and the Essentials application will work as usual.
Workspace Configuration
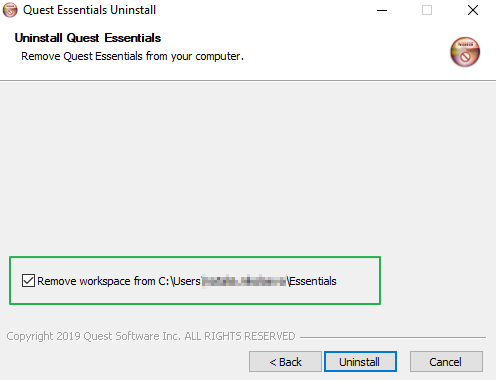
The Essentials Workspace is located, by default, in the following user location "C:\Users\ {CurentlyLoggedInUser}\Essentials". This means that all Logs, Projects, Cogitations and Settings are stored here. This workspace is not deleted automatically when you uninstall the tool, but can be remove when the check box "Remove workspace from..." is selected during an uninstall, or can be done manually afterward.
|
|
NOTE: if you have changed the workplace location, the check box "Remove Workspace will from..." will not delete the workspace, as this functionality cannot access folders in locations outside of the default location. This means you must remove the workspace manually. |

In the event that more than one windows user is using the Essentials tool, or you do not have permissions to create a new folder in the CurrentLoggedInUser directory, change the workspace location by doing the following:
1.Navigate to the location where Essentials is installed (by default its C:\Program Files\Quest\Essentials)
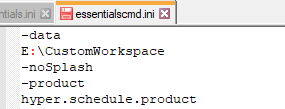
2.Find the following files: Essentials.ini and essentialscmd.ini
3.Add the following 2 lines to the top of files:
-data
path to new workspace

|
|
NOTE: If you create a shared workspace for many users, make sure that each of the users has direct permissions to the created folder, with administrator permissions. Otherwise you will have to always run the tool as an Administrator. |
Resetting Panes, and Resetting "Do Not Show"
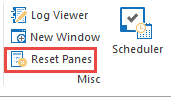
Selecting Reset Panes, accessible from the View tab, will reset the all tab settings to their defaults. This is useful after an update if the new features are not immediately visible.
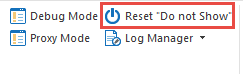
Selecting Reset "Do Not Show", accessible from the Help tab, will reset all the 'do not show' settings on all wizards to their defaults.
Profile Manager
Selecting Profile Manager from the help tab, allows users to access all the various settings available for Metalogix Essentials.
Over the lifetime of the product many options and choices have been included to enable fine control over specific operations. Upon installation, the options are pre-selected with the most common settings. Users always have the option to modify these settings prior to commencing an operation, but they are automatically returned to the default state the next time the operation is run.
In some cases, users need the ability to adjust these settings or create "profiles" that contain selections for common operations that are appropriate for them. Profile Manager is the tool which allows you to create such profiles. Users may alter default profiles or create new ones. The profiles may then be selected during the corresponding operations, allowing the user to set all appropriate options at one time.