
Change Properties for Backup
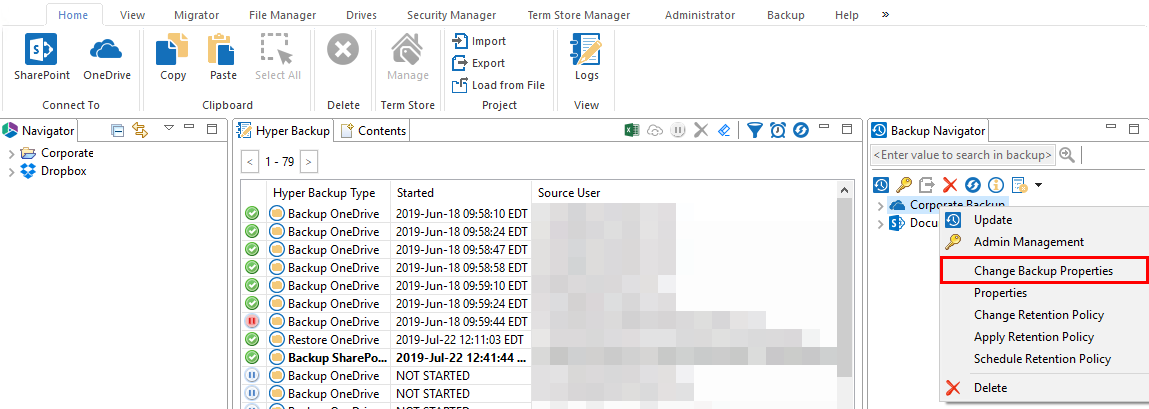
Users can change the properties for their backups after the backups have been configured. To do so simply right click on the backup you wish to update, and select Change Backup Properties.
This opens up the Change Properties for Backup window.
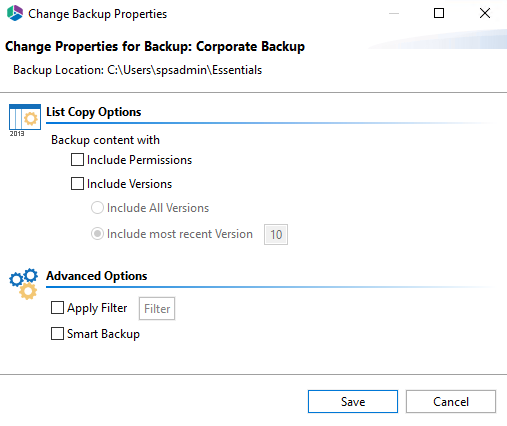
List Copy Options
Backup content with:
Include Permissions - this option will include SharePoint site, list, and item level permissions from each uniquely permissioned object.
Include Versions - this option will allow you to specify how many versions of each item to include with the backup. If left unchecked, no versions will be included, if "Include All Versions" is selected then all versions will be included. If "Include Most recent versions" is selected then only the number of versions specified will be included, starting with the most recent and working backwards (major and minor versions are included).
Advanced Options
Apply Filter - this option will allow you to customize a filter to include/exclude content based on metadata.
Smart Backup - This functionality is only available for Hyper Backups, which can only be performed for OneDrive and SharePoint sites. This feature aids users in saving space on storage. It uses the MD5 algorithm to scan backup files and excludes duplicates. The MD5 message-digest algorithm is used as a checksum to verify data integrity. If the checksum for files is the same, Essentials will save only one file instead of storing two equal files. Click here for more information on Smart Backups.
Admin Management
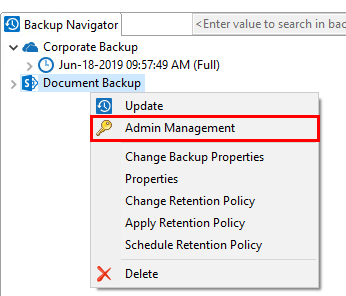
Users can change the Administrative accounts associated with a backup. This option is available from the right click menu.
Once the Authentication and Admin Pooling window opens, you can choose to remove a current admin by selecting the ( - ) beside the admin name, or choose to add additional administrators by selecting < enter username >.
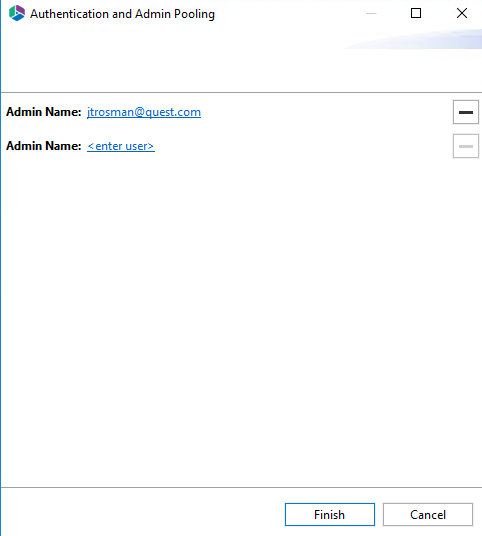
If you choose to enter a new user, you will be asked for the username and a password.
Scheduling Backup Jobs
There are two alternative methods to schedule Backup jobs:
1.The application allows users to create scripts and then run them from a command line, PowerShell, or load them into Windows Task Scheduler. You can learn more about this feature here.
2.Alternatively the application has an integrated User Interface that allows users to schedule and control their backup jobs. You can learn more about this feature here.
How to Schedule Full Backups for SharePoint
Metalogix Backup is a client side application that connects to a SharePoint site or site collection, OneDrive for Business site(s), and Exchange Online Mailboxes and allows the objects contained within to be backed up to a network file share or cloud storage account and then restored back to its original location when needed. Full and incremental backups can be scheduled so they are run based on a predefined recurrence pattern. Metalogix Backup integrates seamlessly with Windows Task Scheduler (version 2) to trigger the backup operations, however, any scheduling application can be used.
We recommend that the User that will be running the Backup is a Local Administrator of the machine. We also recommend that the machine is set to not restart with Updates or go into Sleep Mode.
1.Go to the Backup Tab in the Metalogix Essentials for Office 365 solution.
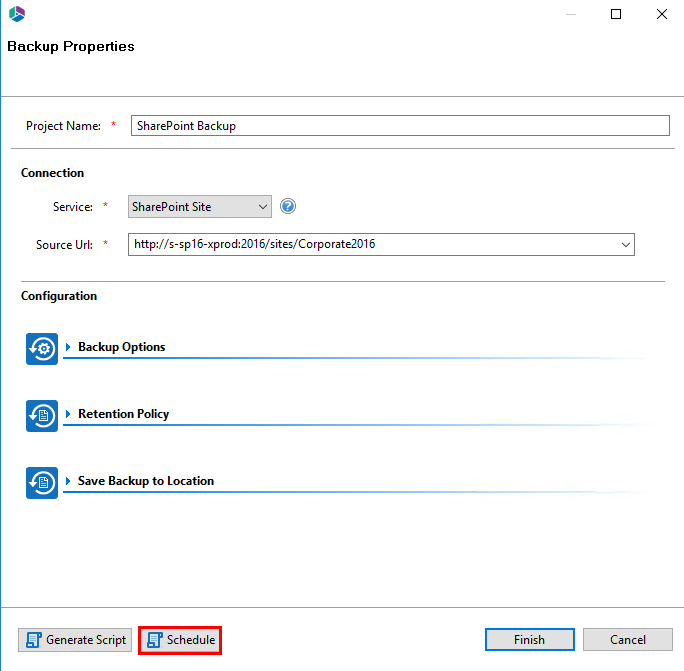
2.In the Ribbon you will select "To Local Storage" or "To Cloud Storage", and the Wizard will open to begin the Backup process.

3.Proceed with the configuration specific to the service you wish to backup.
·SharePoint Online Site Backup
·OneDrive for Business Documents Backup
·Exchange Online Mailbox Backup
4.Select Schedule to use Task Scheduler to schedule your first backup.
|
|
NOTE: the first, initial backup will always be a full backup and can only occur once. After this backup has completed, then you can use the Update Backup option to run or schedule future backups; Full, Incremental and Differential updates. |

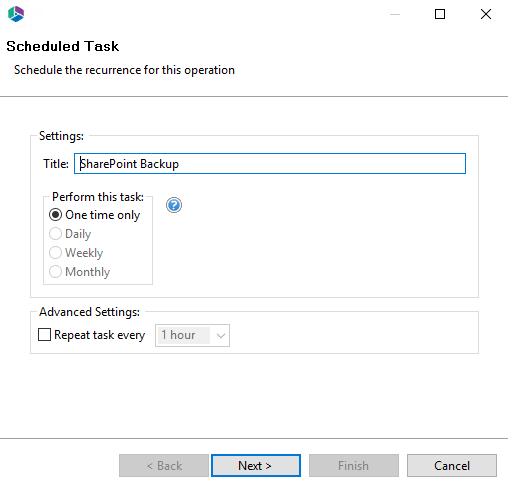
5.Because this is the initial backup for this object, it can only select "One time only" as your option on how often to perform this task. Under advanced settings you can choose to "repeat task every" and then specify the time frame (the time frame options will perform the scheduled task more often than daily with 10 hours as the largest time increment that can be selected). Click Next to proceed.
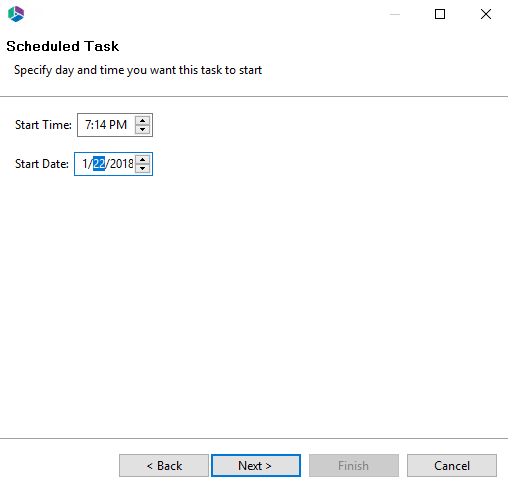
6.Enter the Start Time and Start Date for when you would like the Scheduled Backup to begin. Click Next.
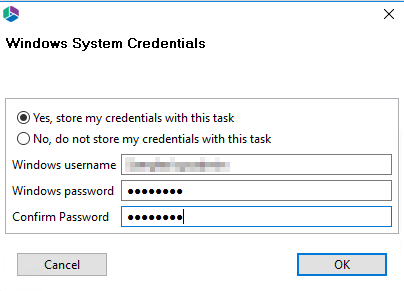
7.Click Finish to create the Backup job. You may be asked for your windows credentials, enter them and click Ok.
If the backup job is failing to start at the scheduled day and time, please try the following configuration.
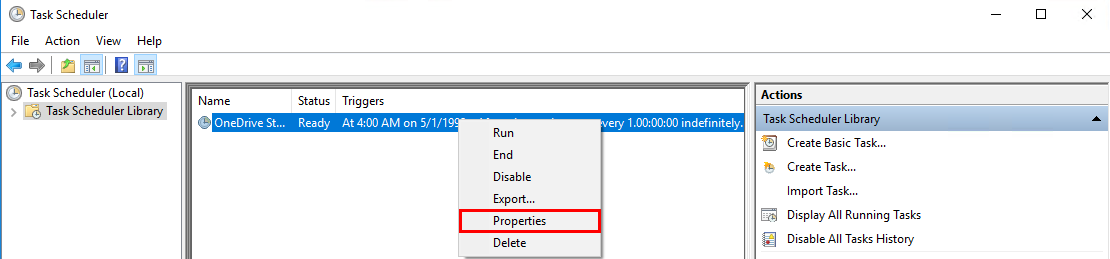
1.In Windows Task Scheduler, right click on the Backup Job and choose Properties.
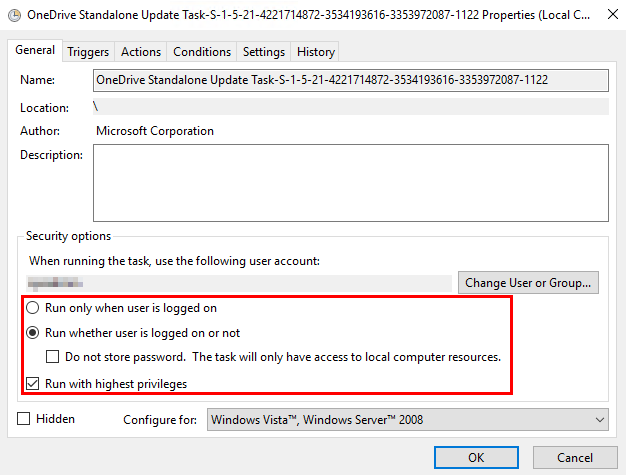
2.Uncheck the box for Do not store password and Check the box for Run with highest privileges.
|
|
NOTE: Only use the "Run with highest privileges" option if you are using a username that is anything other than a Local Administrator. i.e. Domain Admins and Domain Users. |
3.After clicking OK you will be prompted for the password of the Admin account you created the backup with and click Ok.
|
|
NOTE: The username and password will be a Domain or Local Username and Password that you are logged into the machine as. This will not be an O365 email and password even if that is what you are backing up. |
