Follow these steps to setup the Stage Environment Directory Sync Profile. Note, the Staging Environment Profile should be configured on a separate Directory Sync Console as stated in the requirement section.
-
Launch the Directory Sync Pro web portal.
-
Click on the Add Profile button.

-
Click on the Add A Profile option.

-
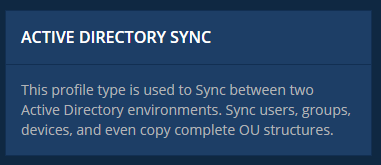
Select the Active Directory Sync option.
-
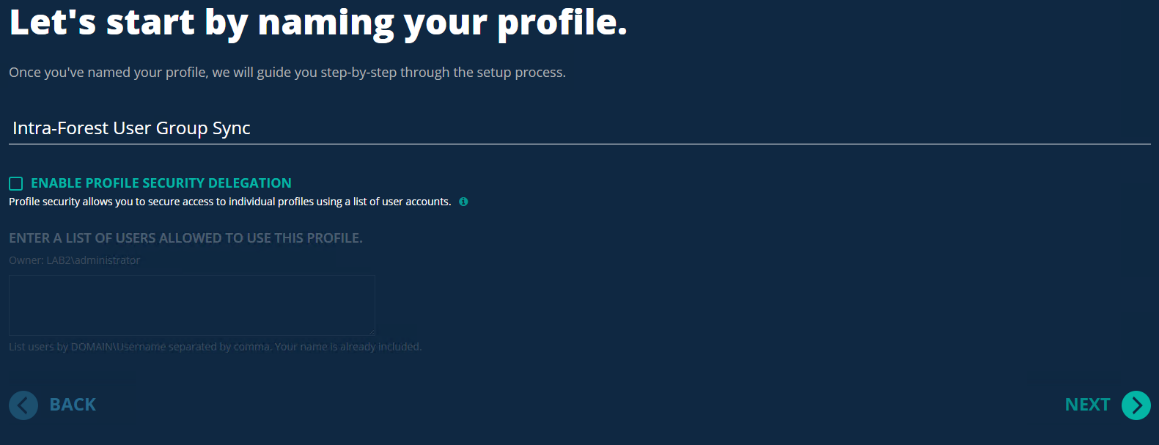
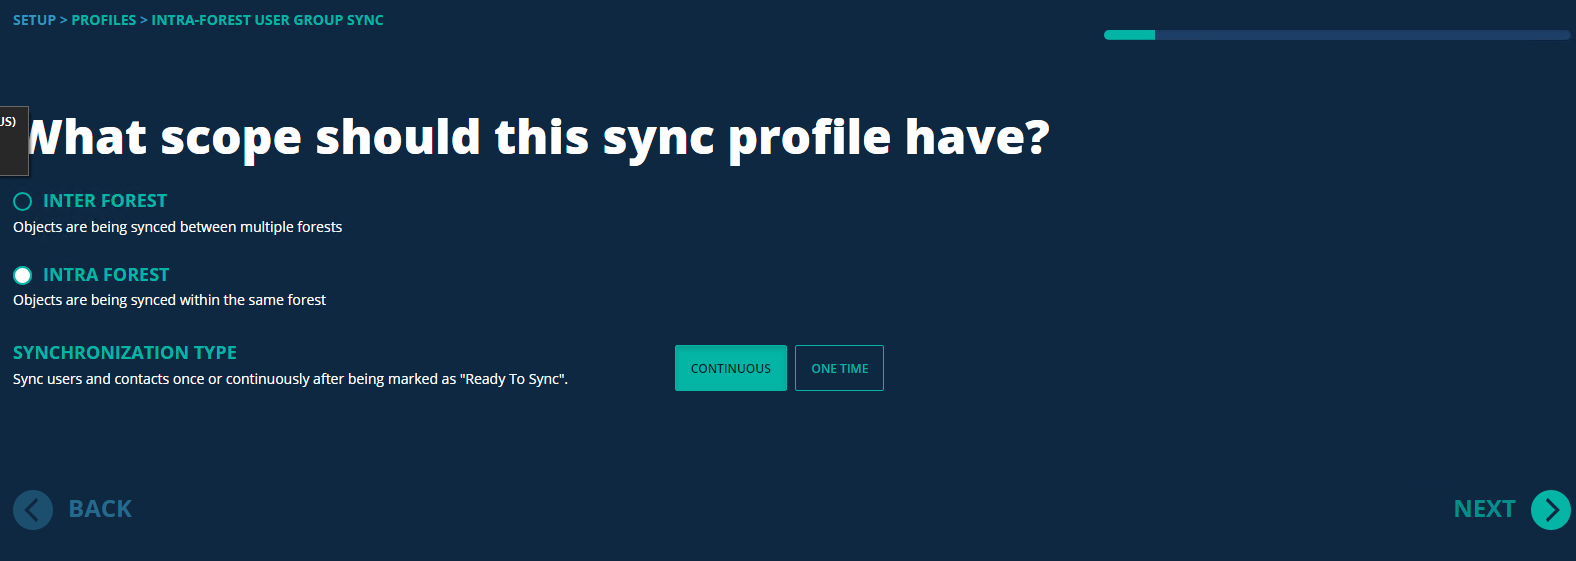
Name the Sync Profile (example, Intra-Forest User Group Sync). Click Next.
-
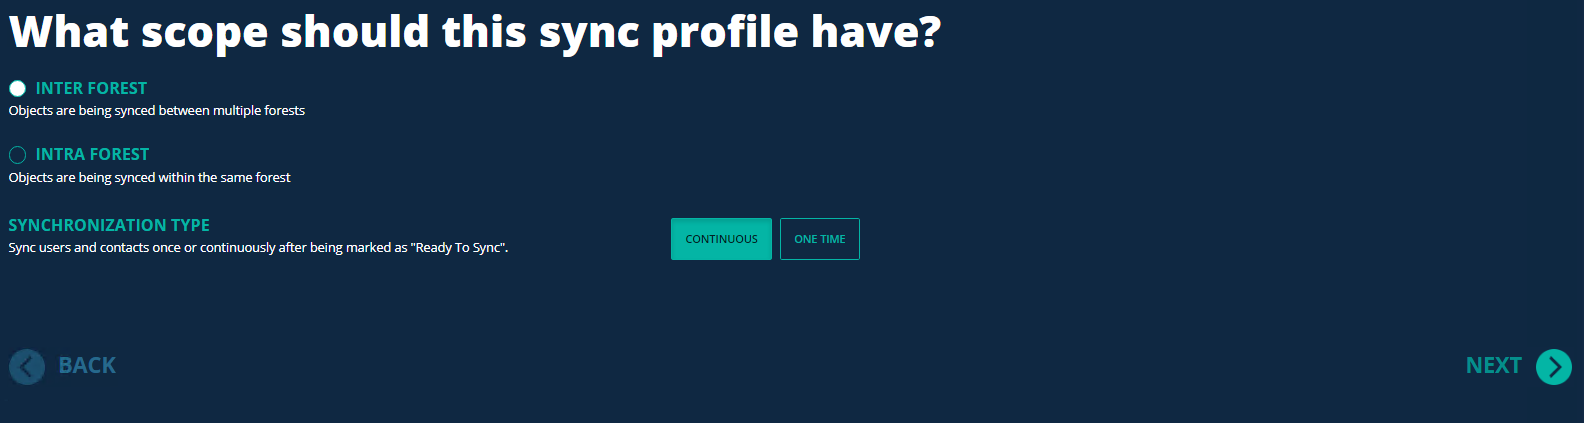
Select Intra Forest. Click Next.
-
Use the default Logging Level. Click Next.
-
Use the default sync interval option. Click Next.
-
Note, configure sync interval if you wish to run the sync profile automatically.
-
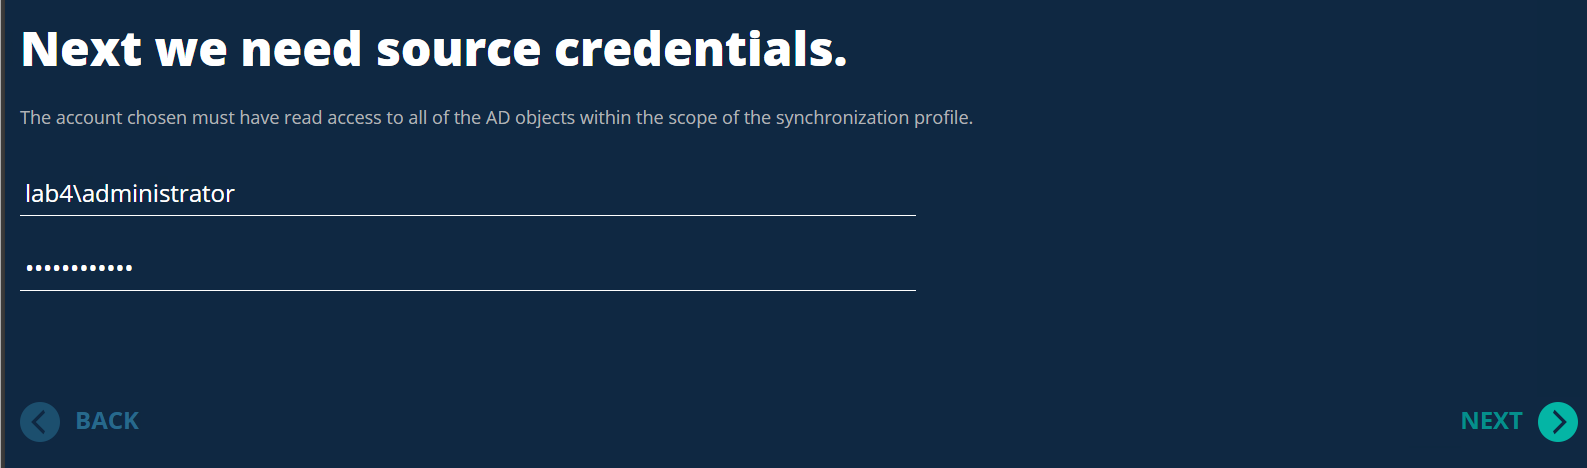
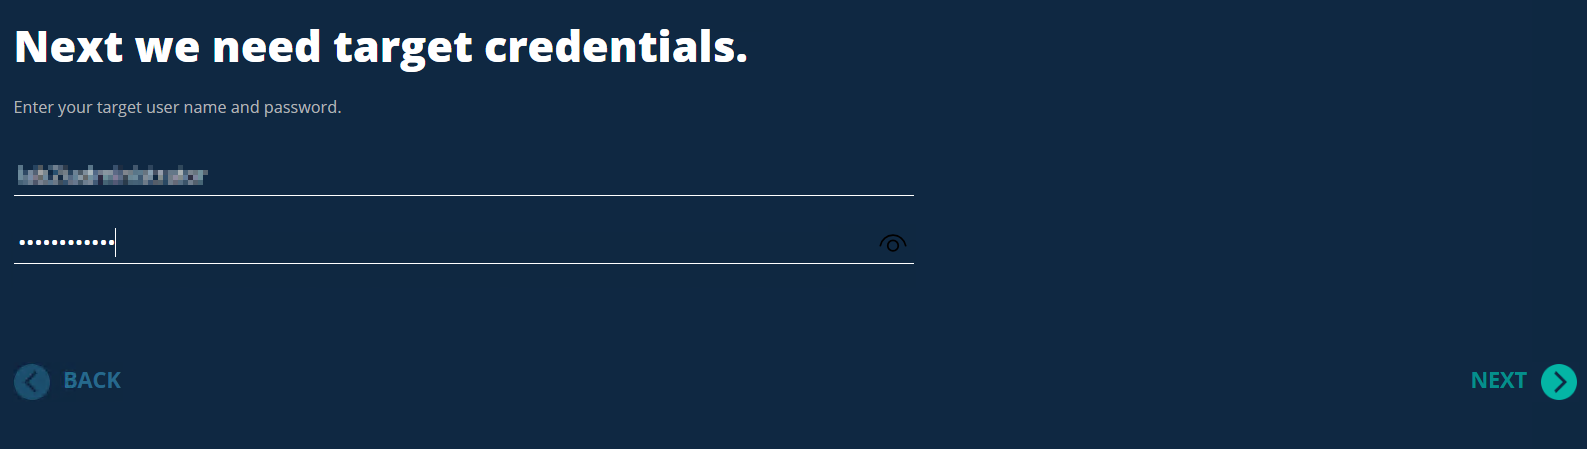
Enter the source credential. Click Next.
-
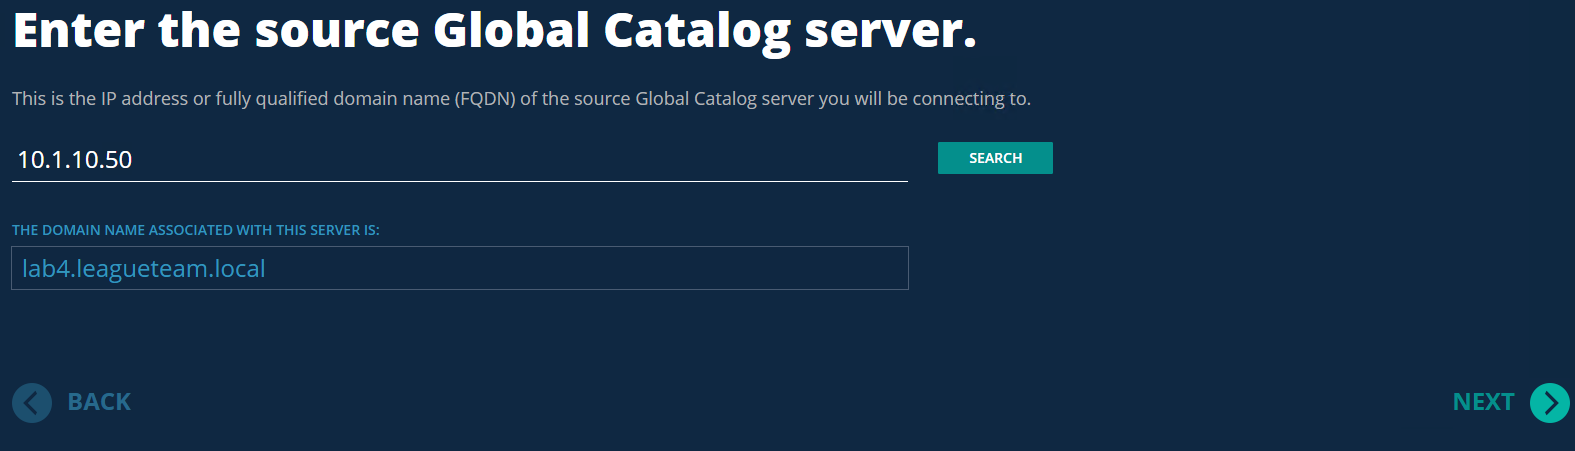
Enter the source Global Catalog Server. Click Search and then Next.
-
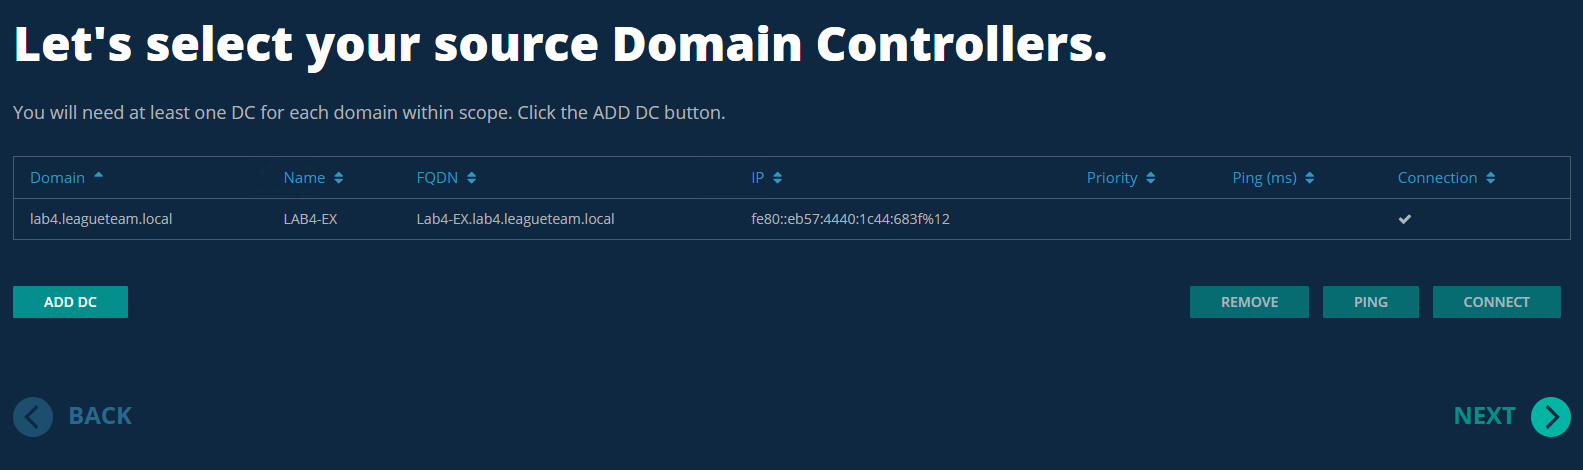
Click Add DC and configure the Global Catalog Server for the Source Domain. Click Next.
-
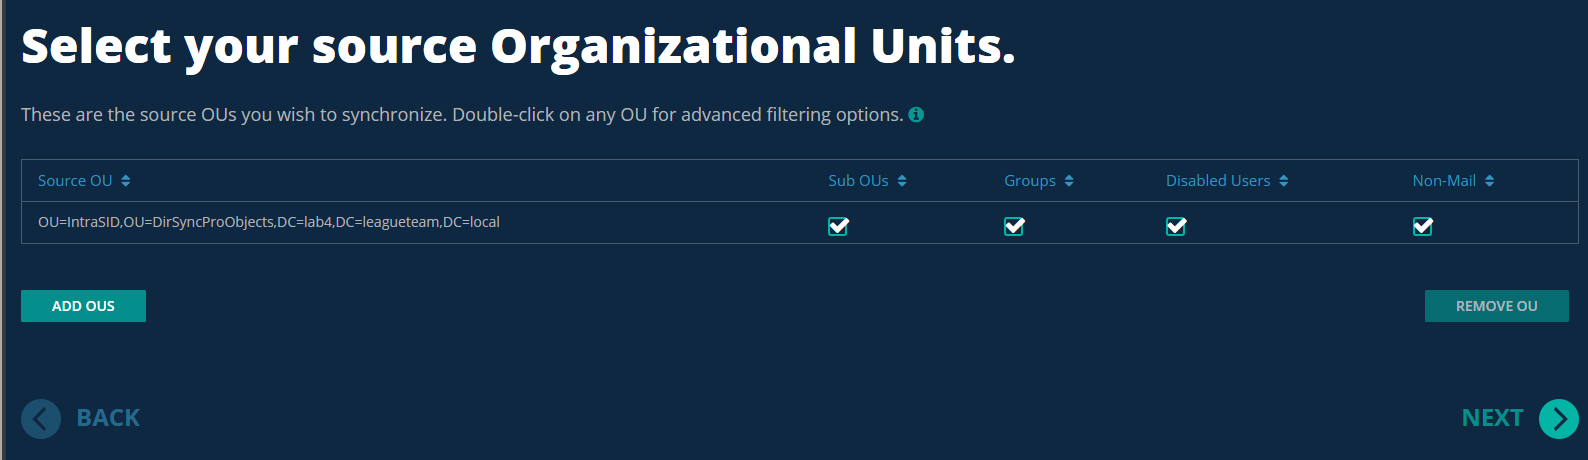
Click Add OUs, and select the Organizational Units for the source domain. Click Next.
-
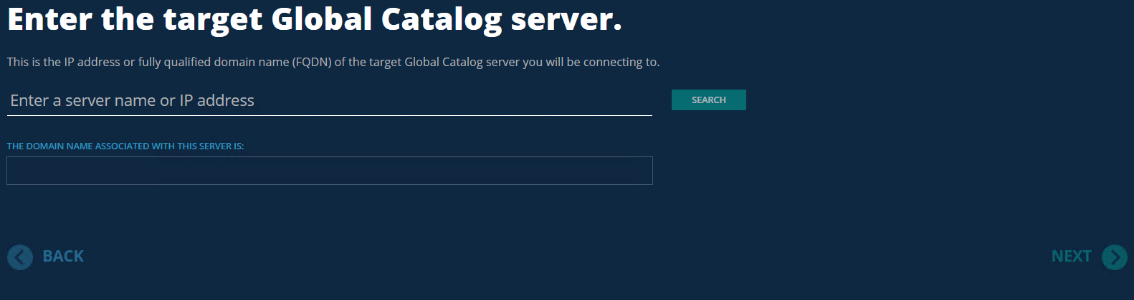
Enter the target Global Catalog Server. Click Search and then Next.
-
Click Add DC and configure the Global Catalog Server for the target Domain. Click Next.
-
Enter the target Global Catalog Server. Click Search and then Next.
-
Click Add DC and configure the Global Catalog Server for the Target Domain. Click Next.
-
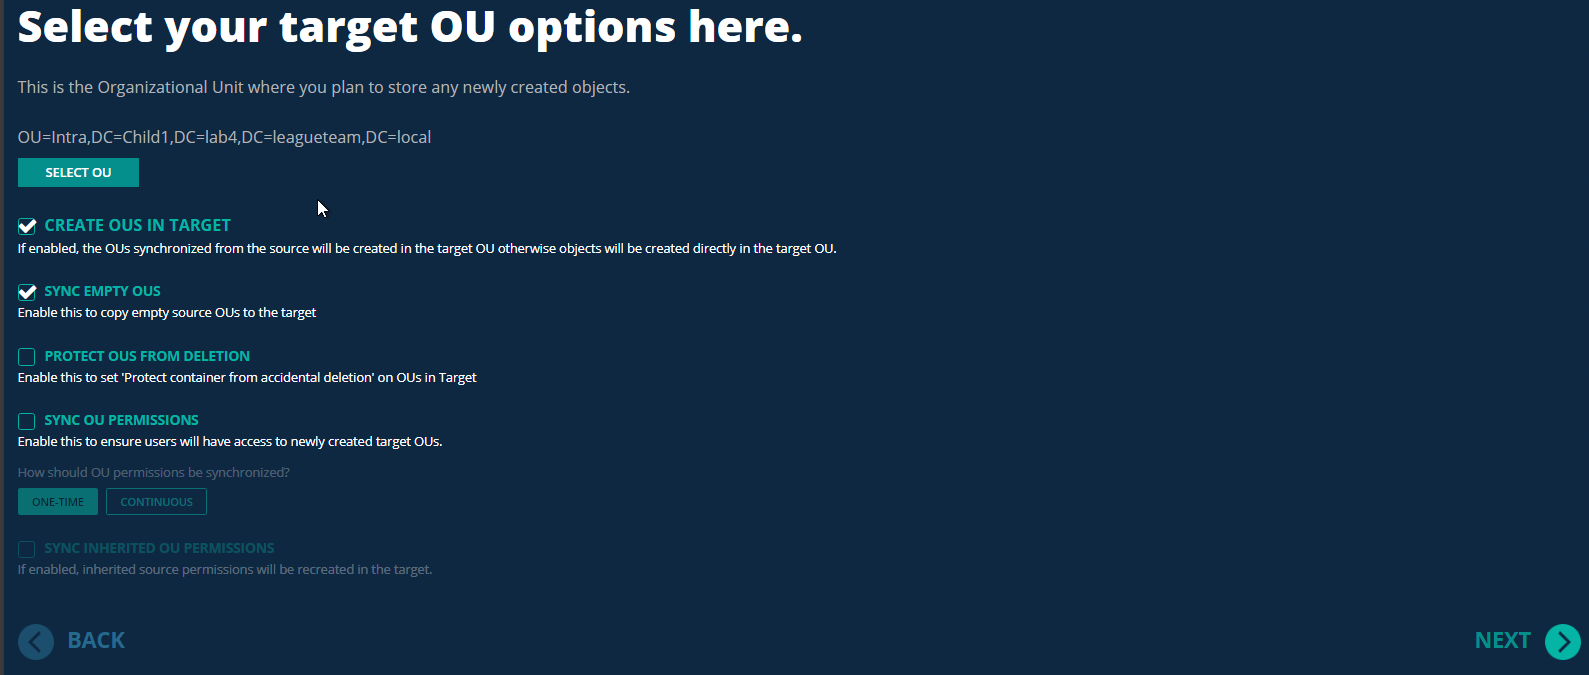
Click Select OU and configure the Organizational Units for the target domain. Click Next.
-
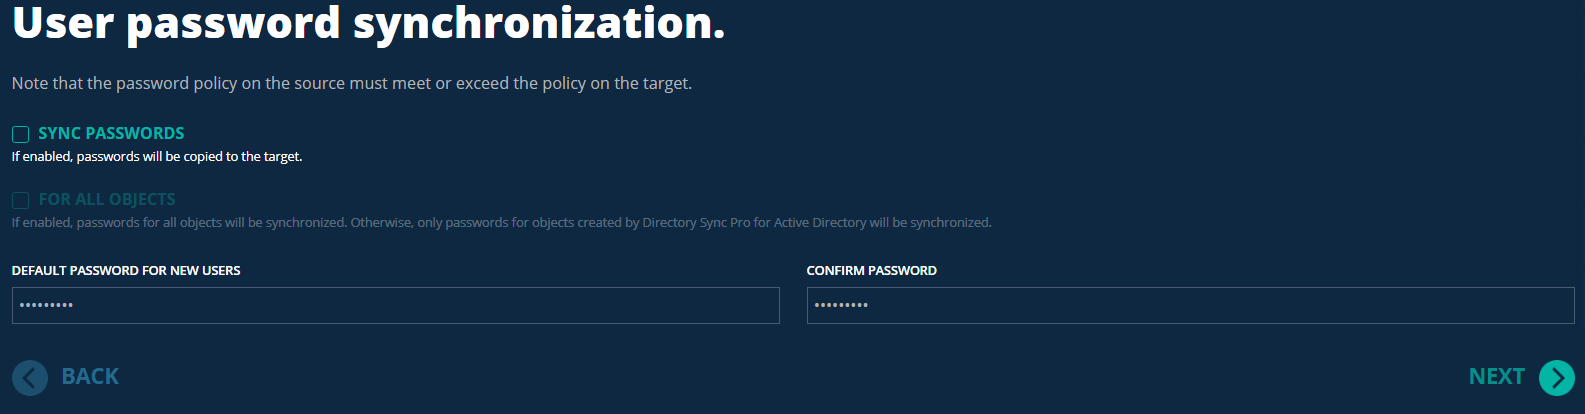
Enter the Default Password for new users. Click Next.
-
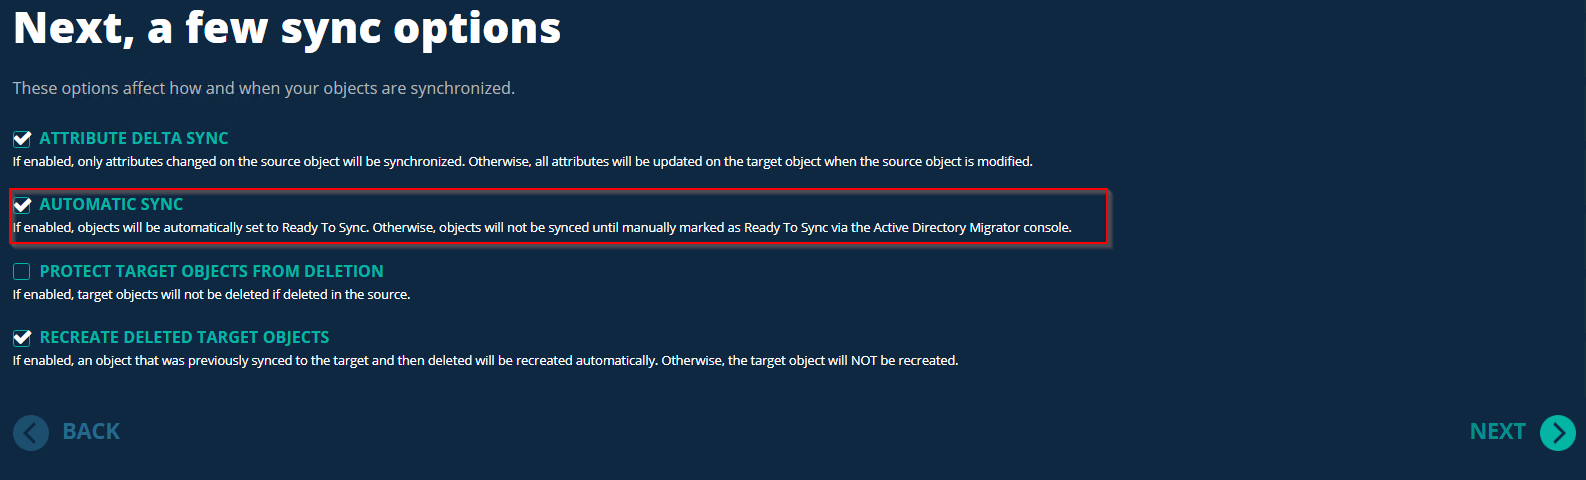
Enable Automatic Sync. Click Next.
-
Configure the Users Sync Options and Conflict Resolution. For this guide, the merge option can be used.
-
Configure the Group Sync Options and Conflict Resolution. For this guide, a merger option can be used. Do not check the Do Not Sync Group Members option for the primary sync profile.

-
For this guide, we will leave Synchronize Accompanying Groups option unchecked. Click Next.

-
For this guide, we will leave Synchronize Members As Foreign Security Principals option unchecked. Click Next.

-
For this guide, we will skip Device Configuration. Click Next.

-
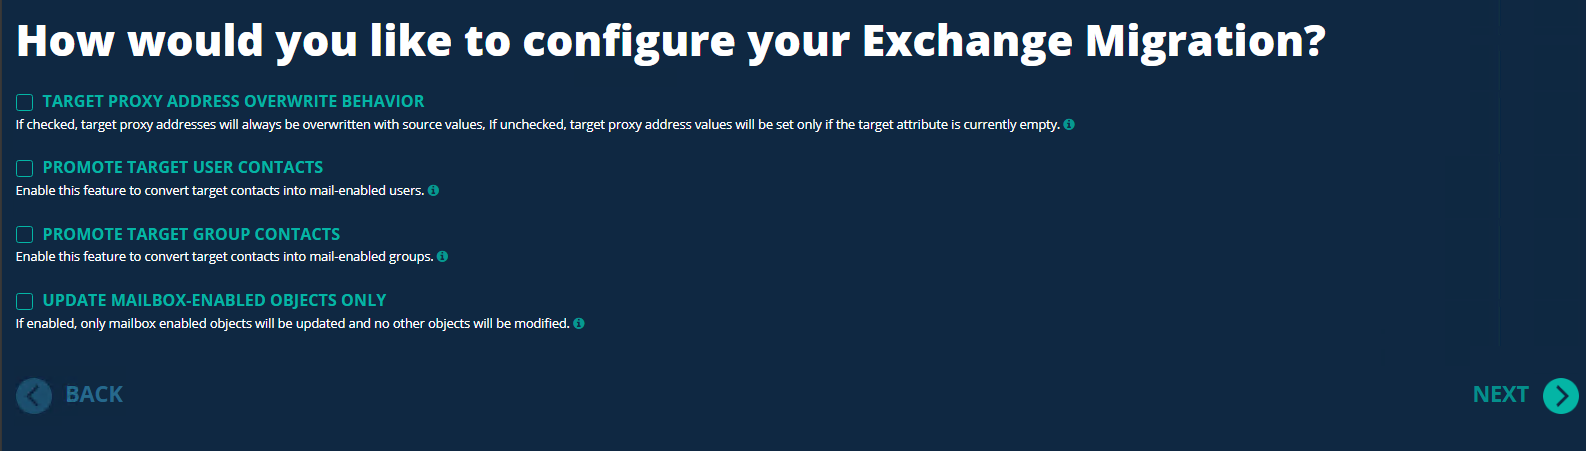
Leave all options unchecked for Exchange Migration options. Click Next.
-
Leave all options as default for Email Address Policy options. Click Next.
-
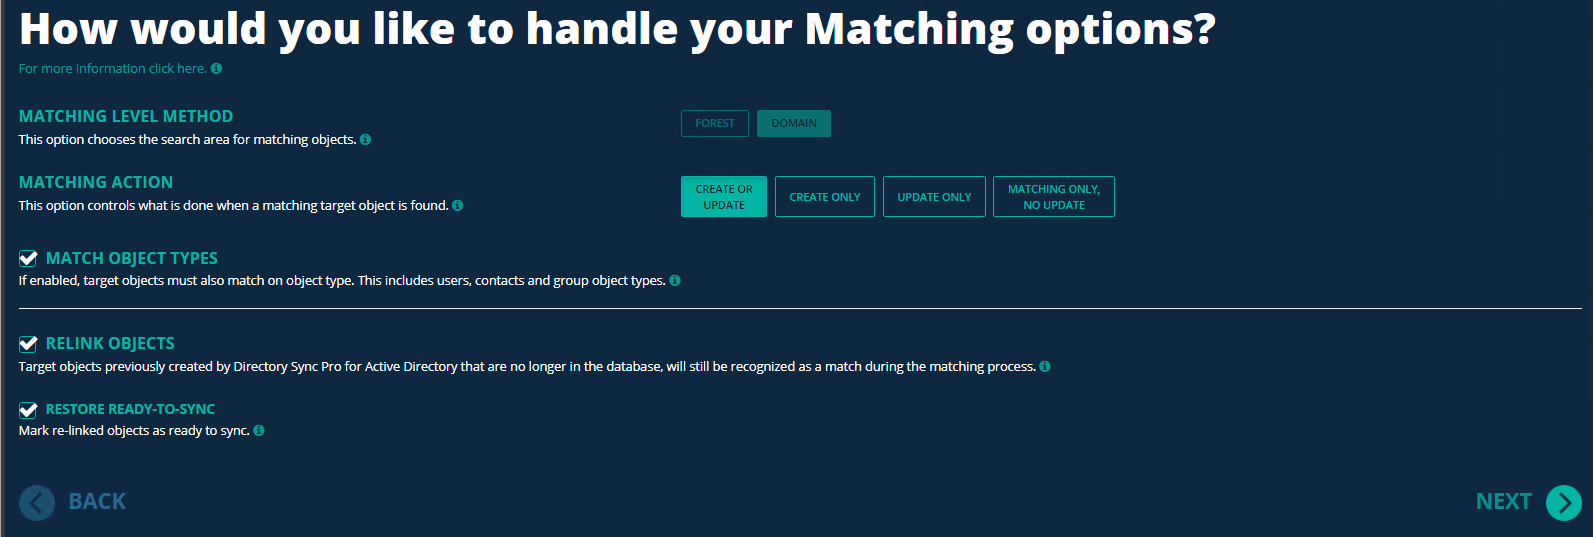
Leave all options as default for Matching options. Click Next.
-
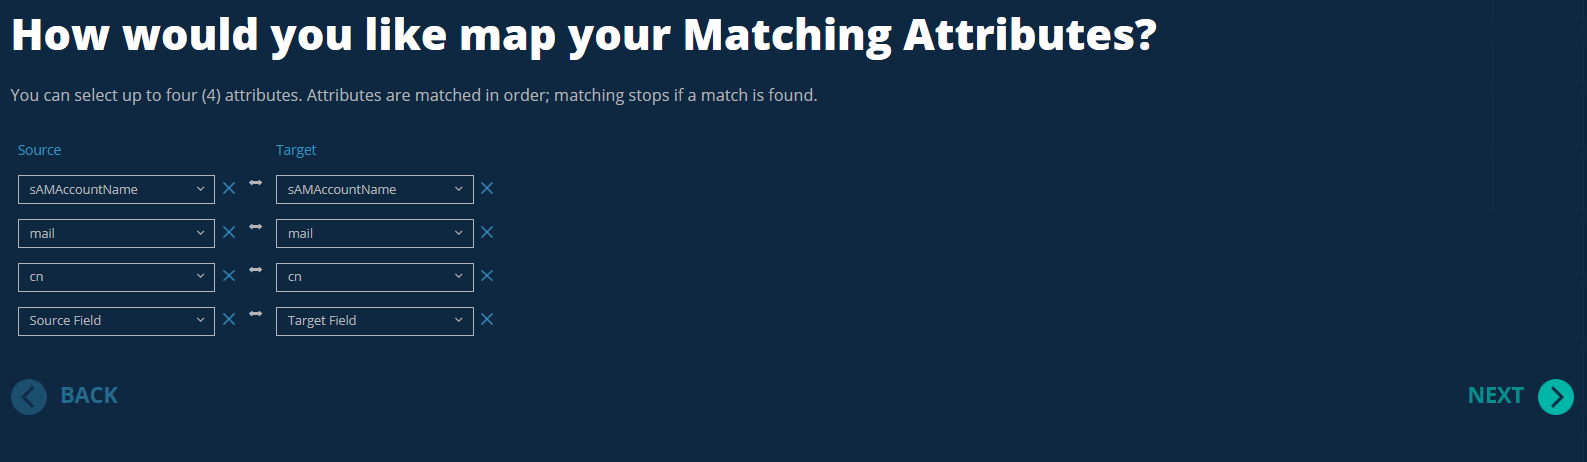
Configure the Matching Attribute option. For this guide we will use the default selections. Click Next.
-
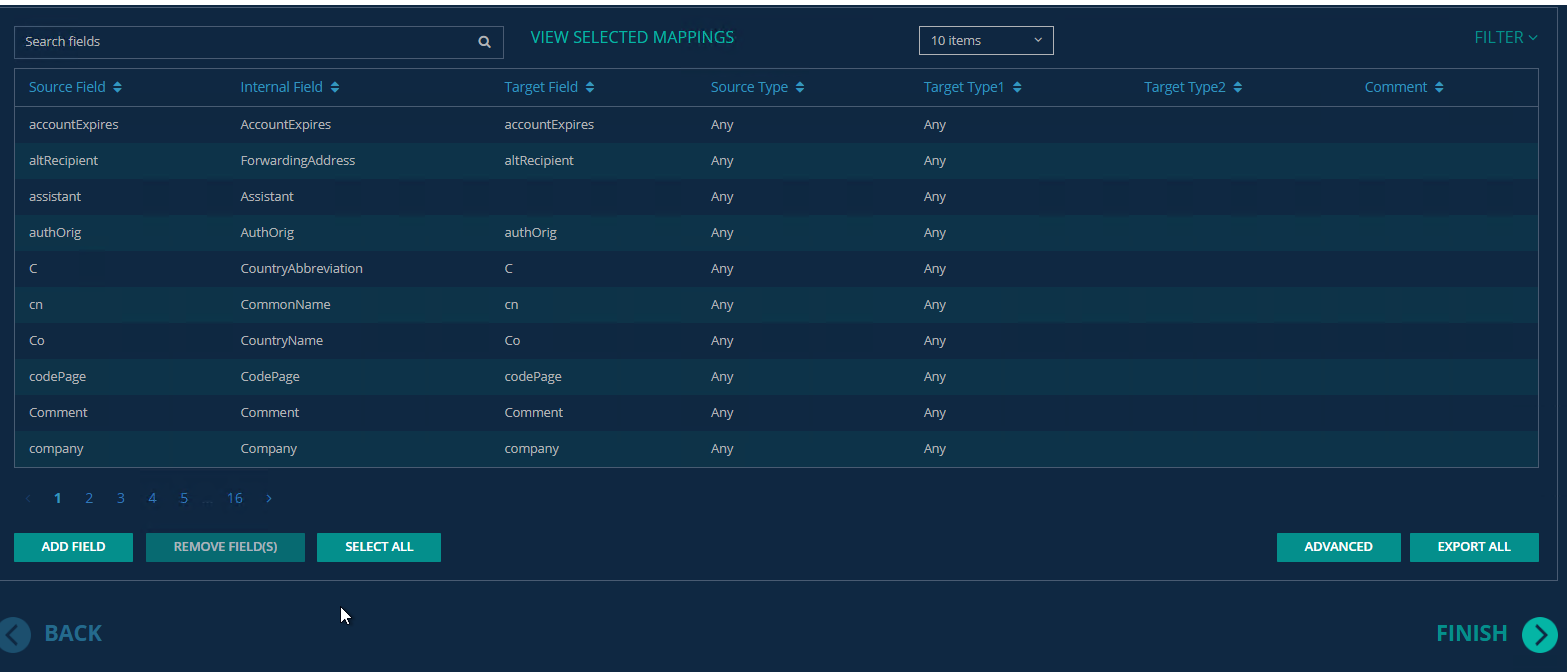
Review and configure the mapping attribute based on the project scope. Click Finish to complete the profile configuration for the Primary Profile.