
Synchronizing an Architect Diagram with SharePoint
One of the key features of Metalogix Essentials Architect Suite is that the user can load a site or site collection into the product and then work on it offline without making changes to the actual environment. This gives you the opportunity to properly vet the design prior to making a change to the SharePoint environment. It also allows you to take a snapshot to use as a benchmark for compliance or monitoring purposes.
However, at some point you will need to make certain updates to either the model or SharePoint. In order to do that, you must run a Compare Report, which will identify the specific differences between the two environments. Please see the section on "Compare With" Menu for options on generating this report.
|
|
NOTE: You may select, compare and update multiple sites at once. Simply select multiple sites in the navigator pane prior to executing the compare. |

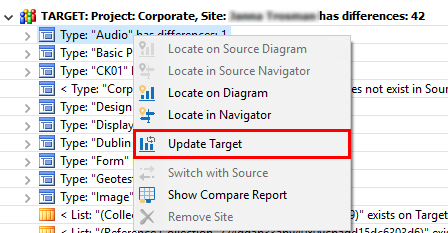
The Compare Report is generated inside the Compare View Tab (for more information see the Compare View Tab section). Besides displaying the differences, the report allows you to run selective or complete updates. Updates are then made by right-clicking on a container in the report and selecting "Update Sharepoint" or selecting the Update SharePoint Icon from the tools of the Compare View tab.

Users can also update the Architect diagram with changes by selecting the object you want updated on the Diagram, right-click and choose "Update Diagram" or select the Update Diagram column.

|
|
NOTE: Updates are applied to all items within the selected container. |
Each update of an item in Sharepoint or within the Architect diagram will will have a status listed next to it within the Status column of the Compare View.

Compare Sites
(also see Live Compare for an alternative approach)
One of the key features of Metalogix Architect is the capability to compare and synchronize the metadata structures of multiple sites. Developers can design and test their schemas in one environment and then roll it out to another. Sites can also be compared for compliance and consistency.
This section will walk the user through the process of comparing two or more sites and then updating a target site with changes.
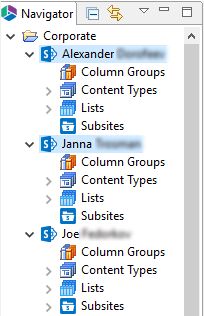
1.Locate all the sites that you wish to compare in the navigation pane. In order to select multiple sites, hold down the 'CTRL' key and click on the sites you wish to select. The first site selected will be the 'source' site.
|
|
NOTE: the source and target can always be switched in the 'Compare Sites View' window. |
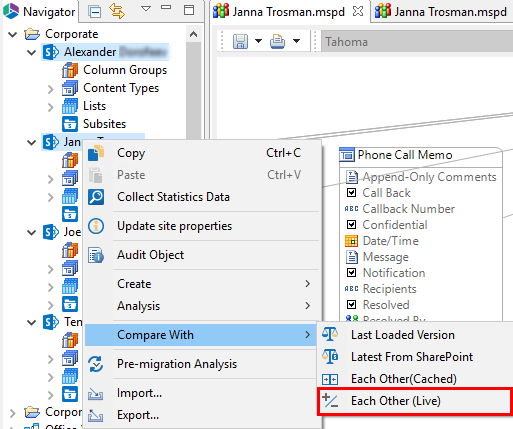
2.Right-click on any of the selected sites and choose 'Compare with' and 'Each Other' from the drop down menu.
You can also trigger a comparison by clicking on the "With Each Other" button in the Compare section of the Architect tab.
3.Proceed to the Compare Sites View pane. The report will contain a full list of differences between the source site and the target site(s). You can navigate and drill down through the report to see details of the differences (see the Compare Sites View Tab section for more information).

4.Updates or synchronizations can be done on an individual item or the entire site. To kick-off an update, right-click on an item to display a list of options. If an item exists in the source site but not in the target site, you have the option to 'Create in Target'. Conversely, if an item does not exist in the source but does in the target, you have the option to 'Delete from Target'. Select the appropriate option to run and acknowledge the confirmation window to proceed.
At this point any updates or synchronizations are only reflected in Essentials Architect Suite. In order to update SharePoint, please follow the instructions in the Synchronizing an Architect Suite Model with SharePoint section.
Each updated item generates a response in the status column. There are three possible responses:
1.Success - the update was successfully completed
2.Pending - this indicates that the item update has a dependency to another update which must be run first. This update will automatically proceed after the dependency is resolved.
3.Error - this indicates that the update was not run. The application will typically return an error code and a reason for the failure.
Public Folders for SharePoint Tab
Essentials for Office 365 Public Folders is designed to migrate and classify content from Microsoft Exchange Public Folders, as well as Exchange Mailboxes, PST Archives and third-party email systems to your SharePoint environments.
The product leverages your Microsoft Outlook installation to gain access to email and public folders. Therefore a local copy of the applicable version of Outlook is required on the computer running the application. Any email systems configured for use by Outlook will appear in the Connections Area.
Interface
In order to access the Public Folders tab, you must click on the Arrows next to the Help tab, at the end of the top panel, and select Public Folders from the dropdown list.

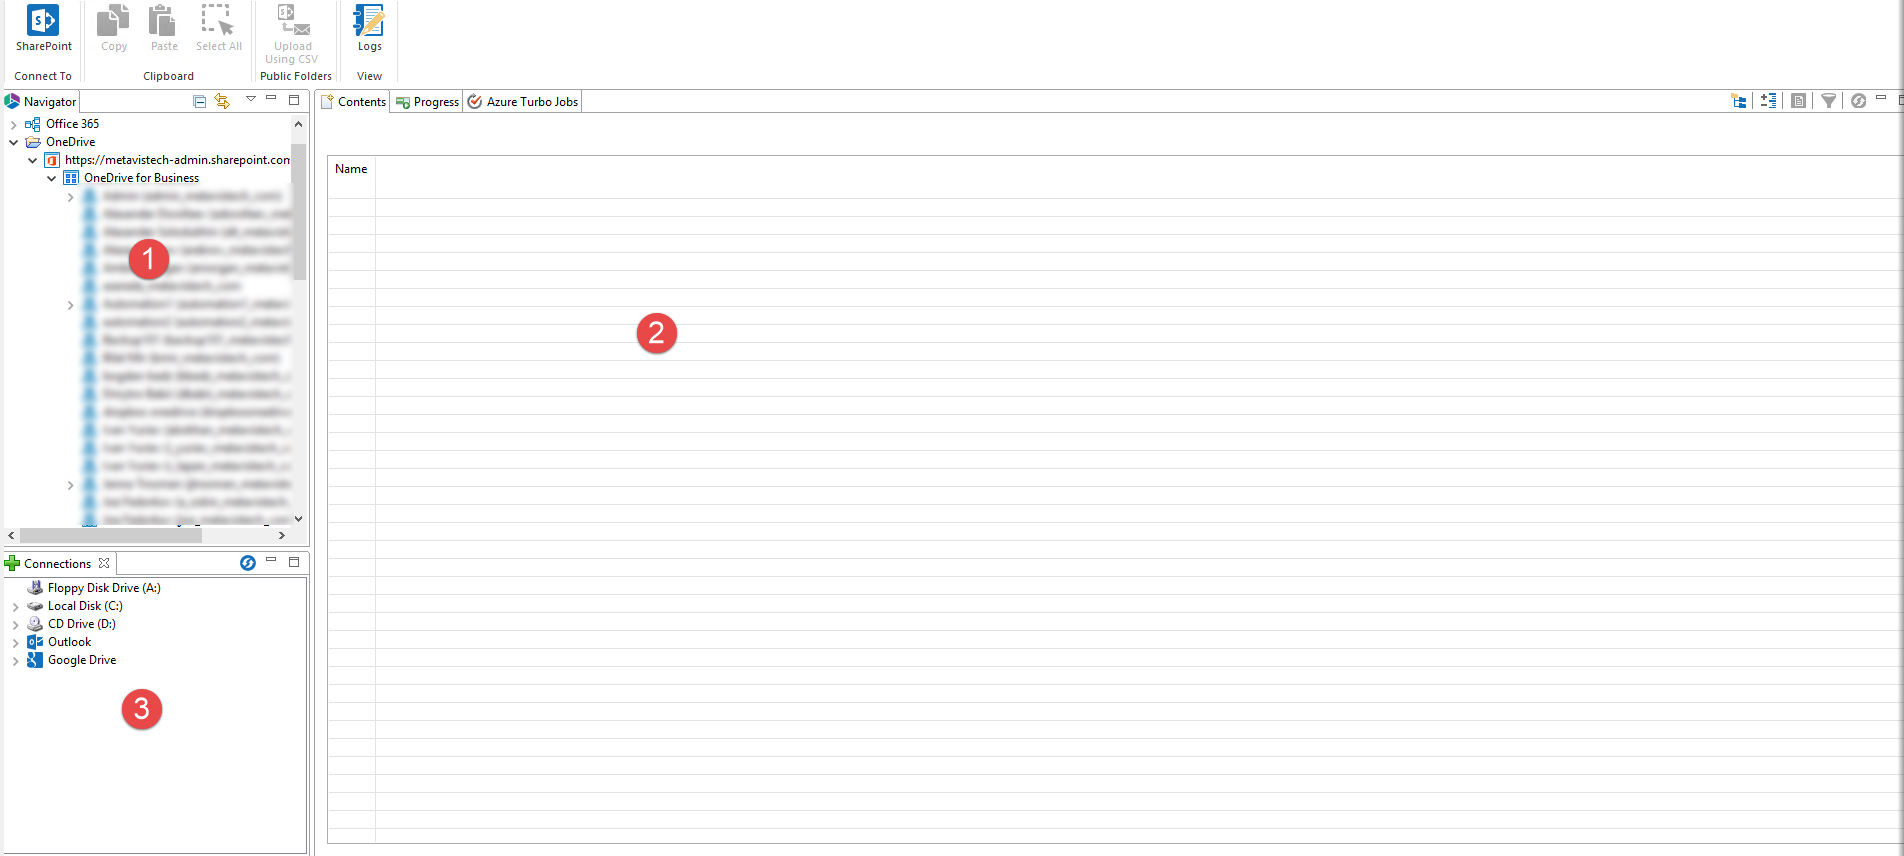
The application consists of two primary panes and one optional pane: (1) Navigator, (2) Contents/Objects Area, (3) My System Area. A set of windows is automatically generated when Loading or Downloading operation is performed.
|
|
NOTE: The picture above represents the default arrangement for these panes. We have found this to be the ideal configuration, but the individual panes may be rearranged, minimized or maximized. |
The following table reviews some of the basic operations that are available from the pane menu bar:
|
|
Collapse All |
This button is available only in the Navigator pane. Pushing it will collapse and close all open folders. |
|
|
One Click Contents Open |
Selecting this button will enable one-click open. To fetch the contents of a list, the user must double click on that list. If this button is selected, the same event will be triggered but now simply by single-clicking on it. |
|
|
Minimize / Maximize Restore |
These buttons are available from all the panes. They allow you to minimize/maximize the pane or restore it to its original size. |


