Run Retention Policy
Do the following in order to run a Retention Policy for outdated Backups:
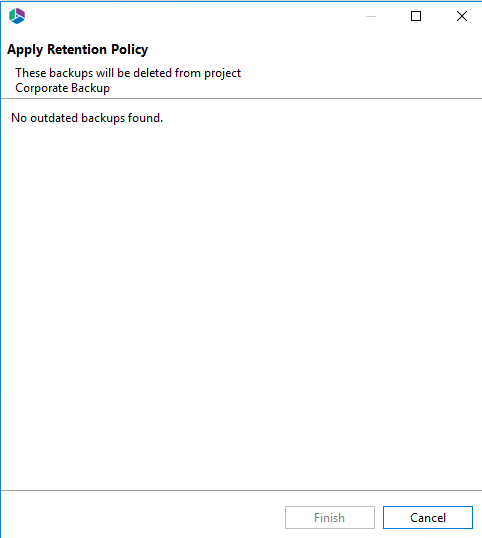
1. Select the Retention Policy button on the Backup Navigator ribbon, and select the "Run Retention Policy" option.
2.Select the outdated backups you wish to delete from this backup project, and select Finish.
Schedule Retention Policy
Do the following in order to Schedule automatic deletion of your Backups:
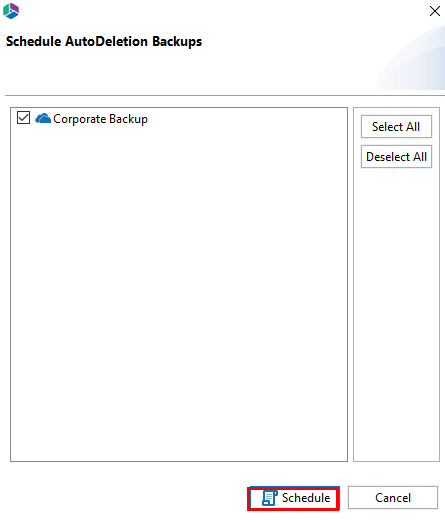
1. Select the Retention Policy button on the Backup Navigator ribbon, and select the "Schedule Retention Policy" option.
2.Select the backups you want to set a schedule for, and click Schedule.
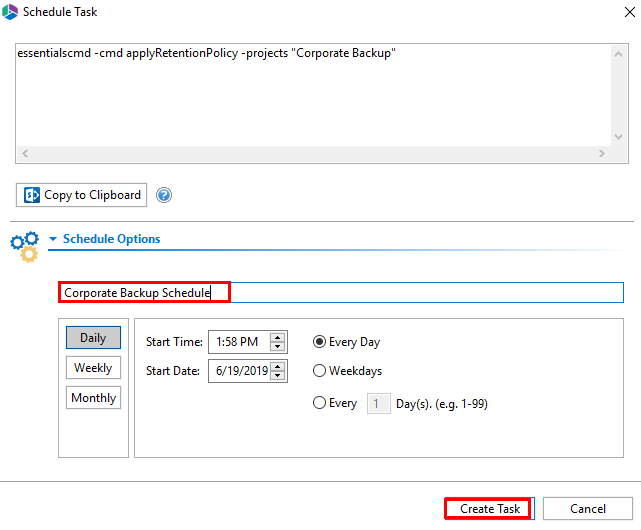
3.Give your scheduler task a name, and select the schedule for the automatic deletion of your backups. Click Create Task.
Storage for Backup
In order to run this process a scheduled Backup must be in place and must have run at least one time. Please follow the steps below to successfully move the file location of your Backup Job.
1.Select the backup job for which you wish to move the file location - the backup jobs are found in the Backup Navigator panel.
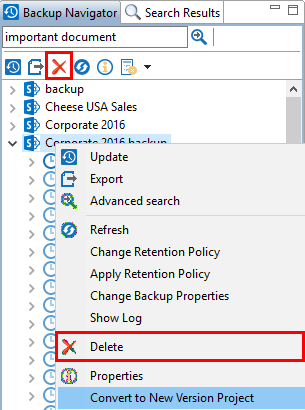
2.Right click on the backup job and select Delete, or click the Delete button from the Backup Navigator ribbon.
3.On the Confirm Backup Delete pop-up, click Ok. Do not check the box to delete content.
4.On the Summary pop-up, click Ok.
5.Restart the Essentials Console.
6.Go to the View tab within Essentials and Select Scheduler.
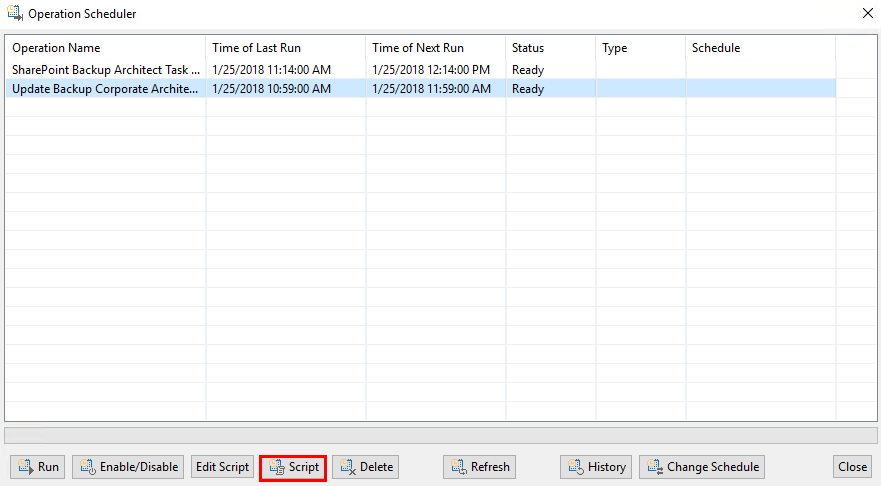
7.Select the Task that you are moving and choose the Edit Script option from the bottom menu.
|
|
NOTE: If your Backup Job was created before July 20, 2015 Select Script to edit the Script. If your Backup Job was created on July 20, 2015 or after select Edit Script to make changes to the Script. |
8.A script window will appear. Within the script find the portion that refers to the project folder location (for example: "C:/Users/username/Essentials/.metadata/tasks/SharePoint-Backup.cmd"), and change the location to where you want the Backup to be saved. Close the script window once you have made your changes.
9.Go to the location of the original Backup and Cut and Paste the entire Archive Folder from the old location to the new location.
10. Restart Essentials and then use the steps for Importing Backup Archives to link the Tool to the new Backup Location.
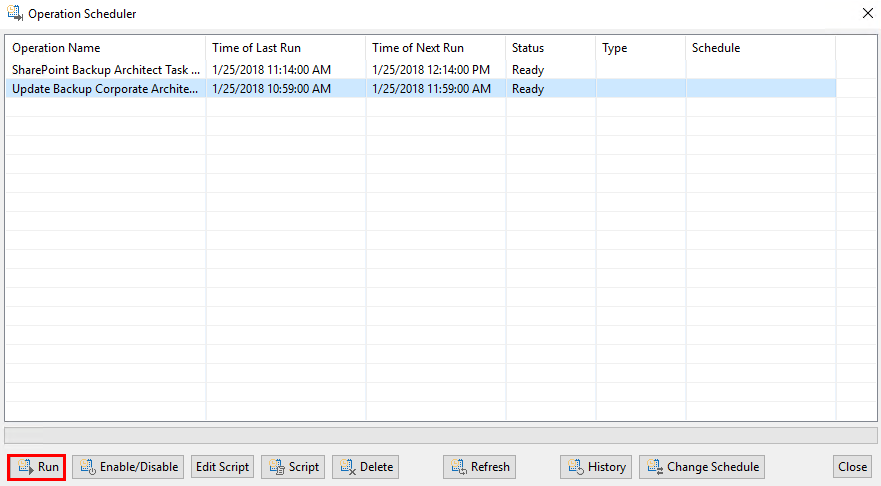
11. Run the Backup from the Scheduler by selecting the job and clicking Run in order to make sure the Backup runs without error.
If you do run into any errors contact Support and we will help you with any issues.
Requirements for Storage
Essentials uses the Apache Derby Database when creating a backup on File System Storage. Its an open source relational database implemented entirely in Java. No extra tools or services are required to be installed. (https://db.apache.org/derby/)
For Azure Storage, Essentials uses the Table Storage Service - a NoSQL key-value store for rapid development using massive semi-structured datasets. In order for this to work, you must have the Table Storage Service. (https://docs.microsoft.com/en-us/azure/storage/tables/table-storage-quickstart-portal)
For Amazon S3 storage, Essentials requires you to have the Amazon DynamoDB service. Amazon DynamoDB is a key-value and document database that delivers single-digit millisecond performance at any scale.
(https://aws.amazon.com/dynamodb/)
If you use Amazon S3 storage with Custom End points in Essentials with Amazon DynamoDBLocal service, then you do not require an amazon DynamoDB. This is because the DynamoDB databases are placed locally on the file system and synchronize with backup project located on Amazon S3 storage. (https://docs.aws.amazon.com/en_us/amazondynamodb/latest/developerguide/DynamoDBLocal.html)


