A report of dashboard information can be exported to a CSV file. Click the CSV icon (without the clock) in upper right corner of the screen. Once clicked, a message will display that the job was started, and to go to the Job Status page to retrieve the report (a link is provided in the message). The messages will refresh when the job is complete, and eventually disappear, or can be clicked to remove them from the page.
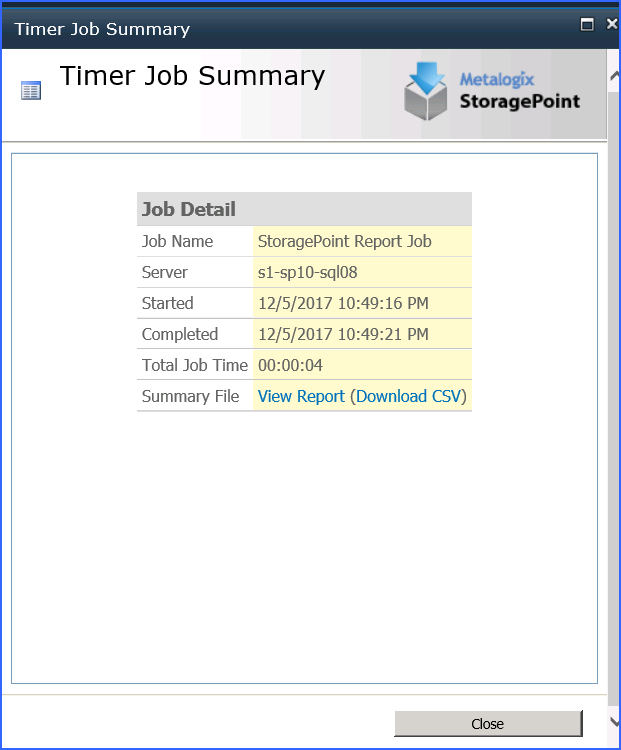
On the Job Status page, click the Summary link for the System Health Report timer job.
Click View Report to open it in a new window, or click Download CSV to download a copy of the report.
The System Health Report csv file contains the following information about BLOBs:
Document ID, Folder Path, File Name, BLOB ID, Dir Leaf Name, Document URL, Endpoint Name, Externalization Type, Size (bytes), Encrypted, WORM Device
The System Health Report csv file contains the following information about BLOBs marked for deletion:
BLOB Id, Document Id, Profile Id, Size (bytes), Encrypted, WORM Device, Endpoint Name, Endpoint Path, Endpoint Adapter, Backed Up
A report of Timer Job Configurations can be exported to a CSV file. The report shows values for currently running and jobs scheduled to run in the next two weeks. This information should be used to modify timer job schedules to help moderate server load.
Click the CSV icon (with the clock) in upper right corner of the screen. Once clicked, a message will display that the job was started, and to go to the Job Status page to retrieve the report (a link is provided in the message). The messages will refresh when the job is complete, and eventually disappear, or can be clicked to remove them from the page. 
On the Summary page, click the View Report link to view the CSV or click the Download CSV link to save the file. The default file name will be in this format: StoragePoint_Jobs_Report_yyyymmdd_hhmmss.
The data contained in the file will show the most recent information:
·Profile - Name of the profile or NA for Farm Wide Timer Jobs.
·Job Name - Name of the timer job (with Profile ID, where applicable)
·Start - Start time of the most recent run of the timer job. The schedule of the timer job will also be shown, if applicable.
·Server Name - Server where the job was run from.
·Job Duration - The time it took for the job to run.
·Status - This will say Scheduled or Running.
·Explicitly Run, - Yes, If the job was run by clicking a button, rather than by being scheduled.
·Master Job ID - The GUID of a controller timer job, if applicable. Otherwise, N/A.
·Worker Job IDs - The GUID of any worker timer job, if applicable. Otherwise, N/A.
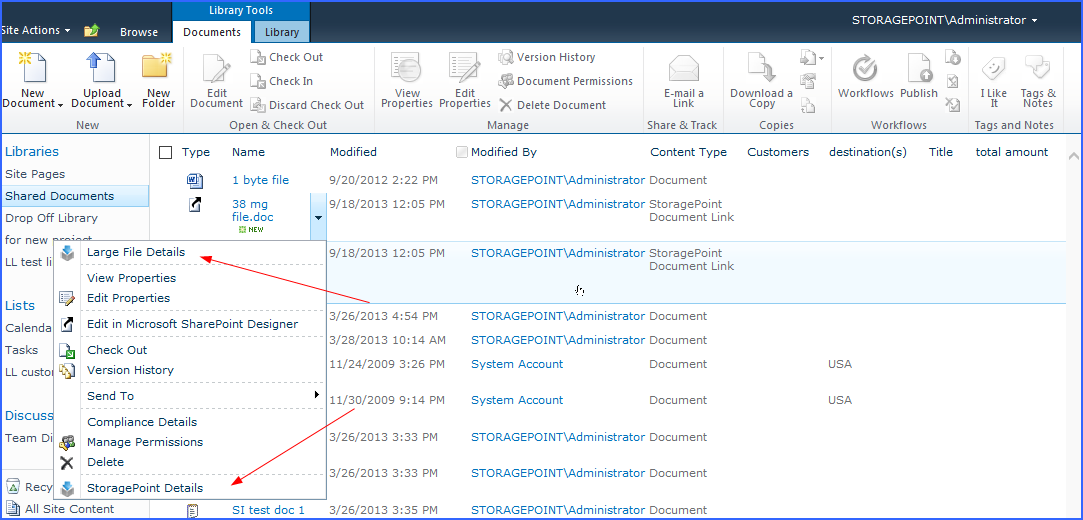
Metalogix StoragePoint has been designed to ensure that SharePoints user experience is not affected and that only those with the proper level of access know where and how to interact with the functionality provided.
SharePoint 2019 and SharePoint Server Subscription Edition (SharePoint SE) have an updated look and feel for the user interface. StoragePoint links will work on this new user interface, but some additional configuration is necessary.
A Site Collection Feature will be deployed to SharePoint 2019 farms as of the 5.9.1 release, and for SharePoint SE as of the 6.2 release. This feature should be enabled on the site collection for full StoragePoint user interface functionality.
Before activating the Site Collection Feature, an App Catalog must be configured for the web application, as well as an App Management service application.
Please reference the following articles for provisioning these resources.
https://docs.microsoft.com/en-us/sharepoint/administration/manage-the-app-catalog
There are some PowerShell script examples in the PowerShell and API Guide for provisioning these resources.
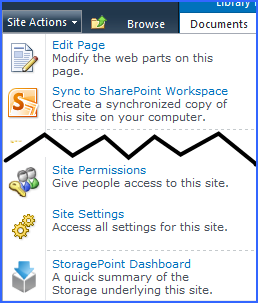
When these steps are done, open the Site Collection Features (Gear Icon>Site Info>View All Site Settings), scroll to StoragePoint Custom Actions and SPFx Extension and click Activate.