Product Licensing
As of the 2020.1.1 release of erwin Evolve Suite / Web Platform, licensing is migrating to the standard Quest Inc. license system. During the migration, there will be a grace period, whereby existing customers can continue to use their existing Casewise licenses. Quest do not intend to force customers onto the new licensing and will work with them to ensure a successful migration.
|
|
If you are considering upgrading to 2022, you should not be concerned with the new licensing system, as its usage is optional at the moment. |
Activating your Quest License
The process for activating an erwin Evolve license is:
1.Support will provide you with one or more license files per Server machine that requires licensing.
For example:
2.Having installed the software, copy this file to your server's desktop.
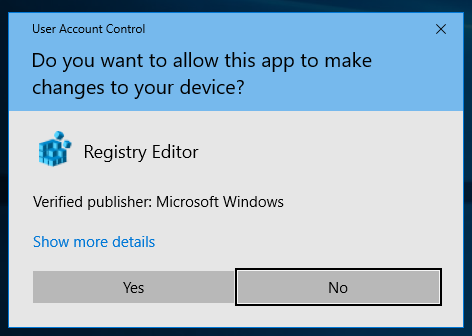
3.Double click on the file. You will be presented with a warning:
4.Click Yes to allow the tool to change the registry.
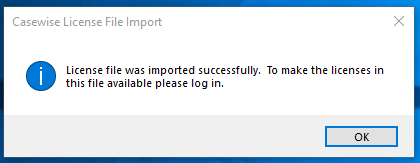
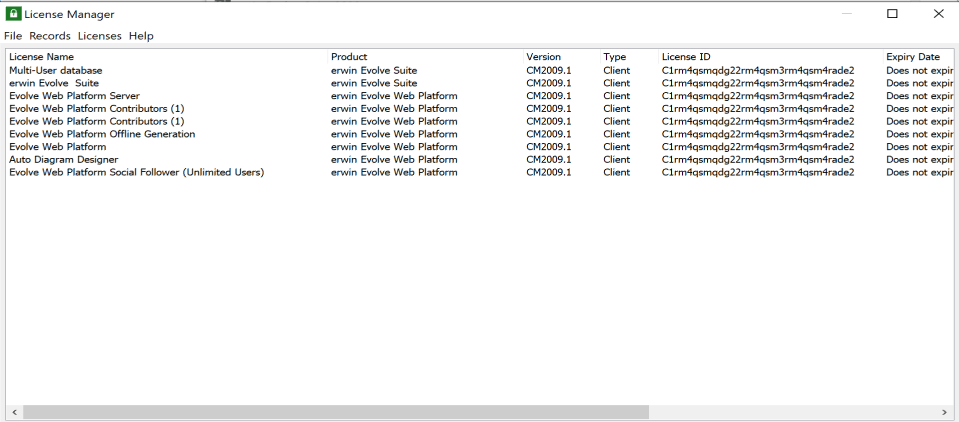
5.The software now has the purchased licenses activated on the server. To verify this, load the License Manager.
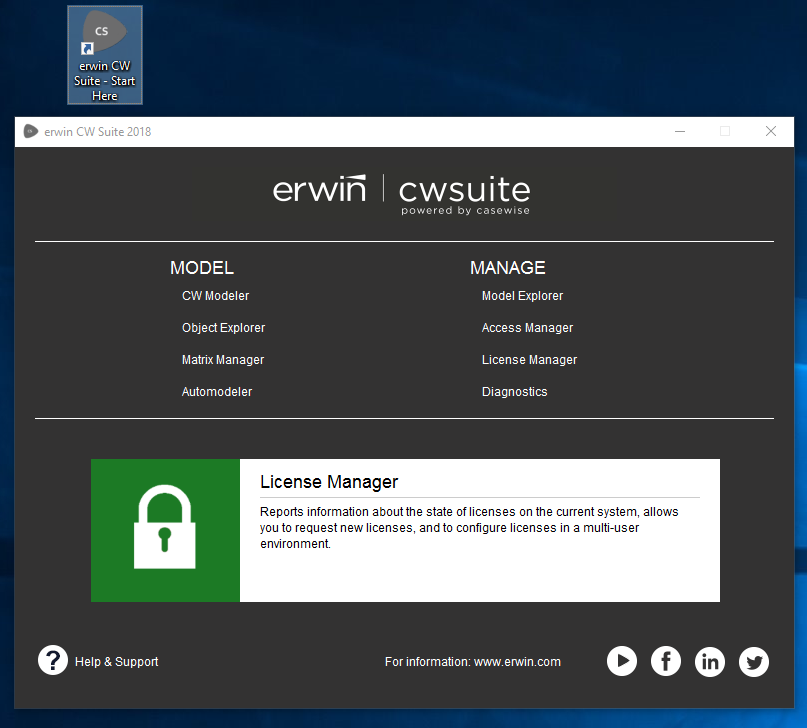
Open erwin Evolve suite - Start Here.
6.Click License Manager, and login.
7.License Manager will show the license code, and various other attributes.
Returning your erwin License
If you need to move the license from one server to another, you must contact support, who will assist with the migration.
URLs, File Paths and Directory Structures
This page explains how the URLs, file paths and directory structures work in Evolve.
Evolve Site URLs
There are three different URLs you can use to access Evolve, depending on how your deployment is configured.
Accessing the main Evolve IIS Site
|
|
The main Evolve IIS Site is only accessible if you use Evolve Dynamic Sites. If you use only Evolve Static, then this site is still created, but does not display anything. |
When you install Evolve and Configure the Server, it creates a top-level Evolve IIS Site.
The Site is used to provide the Evolve login dialog, as well as to show the page displaying the list of Model Sites that are available.
The site can be accessed using the following URL:
http://<server-name>/<evolve-IIS-site-name>/
where <server-name> is the name of your web server machine, and <evolve-IIS-site-name> is the name you specified in the Server Configuration application.
Depending on which authentication method your Evolve server is configured to use, when you access the Evolve IIS Site you log on and are then shown a list of all the Dynamic Model Sites you have access to. You can click any of the Model Site links to visit that Site.
Accessing a Dynamic Site
Dynamic Sites are published at the following URL:
http://<server-name>/<evolve-IIS-site-name>/sites/<site-url-name>/
Accessing a Static Site
Static Sites are published at the following URL:
http://<server-name>/<evolve-IIS-site-name>/statics/<site-url-name>/
File paths and directory structures
This section explains the folder structure used by Evolve on the web server machine. The names used are the default names for a typical configuration.
The Evolve files are typically found at C:\Casewise\Evolve
Within this directory, the following directories exist:
|
Folder |
Description | ||||||
|
Data
|
This folder contains all the necessary site-specific files created when you publish a Site. Includes the following sub directories:
| ||||||
|
Site |
Contains all the application files required for Evolve to run. Also is the home of the custom folder used to store customizations such as js, css, themes and images. Log files. | ||||||
|
Content |
This folder will only exist if you have had a previous version of Evolve on the machine. | ||||||
|
Static |
This folder will only exist if you have had a previous version of Evolve on the machine and had a Static Site published. |
Accessing object pages directly by the URL
There are two ways to access content directly in Evolve using URLs.
The Standard URL
Using the 'Share' button:
Will allow a user to share a page with another user. It is also possible to gain the same behaviour by copying the address bar URL from your browser and sharing this with other users. These URLs are model and site dependent. This means that they will only work for a given site, generated by a given model. This is because the identifier for the object is an ID that is local to the model. This is normal, and in almost all cases, is exactly what is required.
A sample of a Standard URL:
localhost/evolve/sites/voxdnoev/index.html#/cwtype=single&cwview=process&lang=en&cwid=1767
Where: cwid=1767 is the local ID for an object.
The UUID URL [Evolve 2016.1.1 and above]
A UUID based URL differs in the way that it identifies objects in Evolve. A UUID URL is still site dependent, in that the first part of the URL identifies the Evolve web site, however the latter part can be used with any site that supports the given object type, and has an object with the matching UUID. This means that objects which have been copied, or transfered by XML (or other means) from one model to another, will still be considered to be the same object.
A sample of a UUID URL:
localhost/evolve/sites/voxdnoev/index.html#/cwtype=single&cwview=process&lang=en&cwuuid= f0a9ed615e7b11e48273a08869a4da20
Where: f0a9ed615e7b11e48273a08869a4da20 is the UUID of the object.
How does this work?
When you access a URL using the cwuuid, Evolve will do a lookup in the model and redirect the page to the matching cwid.
|
|
If both cwid and cwuuid are supplied in the URL, Evolve will ignore the cwuuid parameter. |
Why might UUID based URLs be useful?
Take an example where you are running a master model in English, and take copies of this model to translate into French. You want to add the ability to reference the translated object from the English object. However, the IDs of the objects within the French model, may differ from those in the English model. It is therefore not possible to create a simple reference.
In this instance it is possible to use the UUID based URL. You can simply take the site portion of the French URL, and add the Object UUID from the English URL, and you have a new URL that can jump from French to English.
NB: To find the UUID of an object, either display this in your Evolve site design, or if you are developing a custom view, look to the JSON data structure that is returned by the Evolve server.
Creating your First Evolve Site
If you are new to Evolve, once you have familiarized yourself with the Key Concepts, Metamodel Considerations and how to Run Evolve Designer, you can use the following pages to help you get your first Site up and running.
Once you have completed these tasks, you should have a simple working Site containing all the fundamental elements. Only once you have done this do we recommend that you go on to try different options.
3.Create a basic Index Page displaying a simple list of objects
5.Create a Menu to link to your Index Page
6.Publish your Site
Once you have published your Site and tested that it works, you can go on to explore how to extend your Site by creating more adventurous pages using the information in the Layouts and Behaviors section.
|
|
Important factors to remember when extending your site As you go on to add more content to your site, remember these important factors: •You must create an Object Page for each type of object you want to view. •Your CW model must contain a Template Diagram with the same Category and Rule combination for every Diagram you want to display in Evolve. |
Creating Sites and Pages