Working with the Custom URL Layout [2018.0.2+]
The Custom URL layout is a display function used to display a URL property as a hyperlink, with a custom display string for the caption.
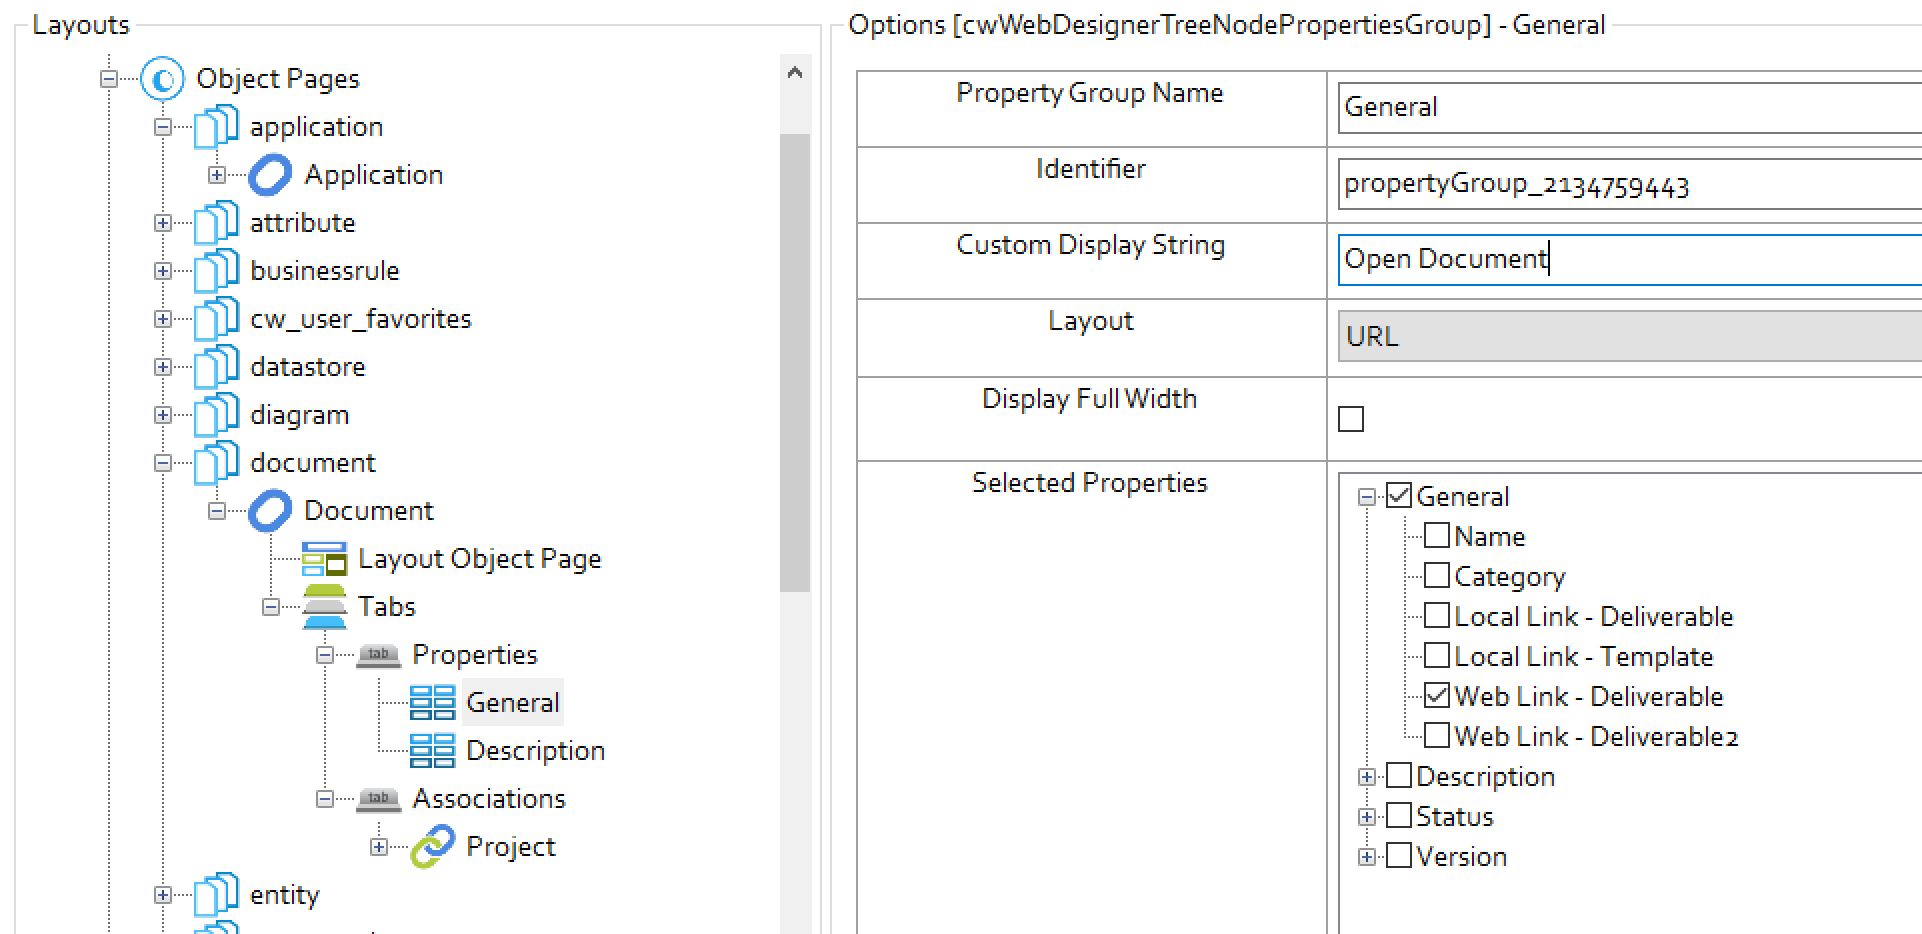
1. Create a property group, and select a single property to display in that group.
2. Use the Custom Display String to define the text to display to represent the link.
3. Select the Layout 'URL'
4. When the property is displayed in the page, it will now show the Custom Display String, but have the original URL.
|
Fig. URL Property |
Related Topics
Working with Text Editor
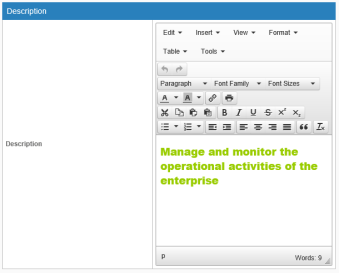
The Text Editor incorporates an HTML content editor to provide rich text formatting options for multi-line descriptive fields. The Text Editor option is only available for the Memotext Property Type with the Enhanced Multi-line Text Control setting enabled on the Property Type Page.
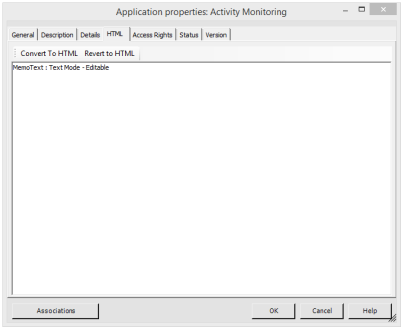
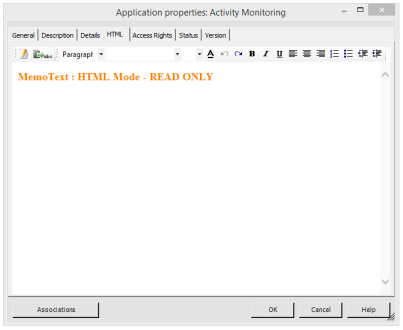
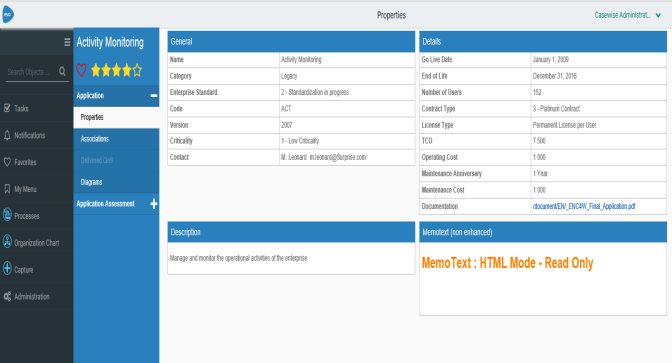
Use of Memotext without the Enhanced setting, will provide either a read only HTML text field, or an editable plain text field, dependent on the content stored in the property. For example in Object Explorer, if the content is edited in Text mode, it is possible to edit the related non-enhanced Memotext field on your Site. Should the text be converted to and edited as HTML content in Object Explorer, it will no longer be available to edit on your Site, even when edit mode is selected:
|
|
|
|
|
|
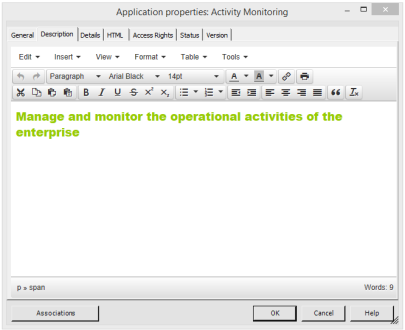
With Text Editor all content is defined as HTML by default, and so is always available to edit on your Site. Text Editor also provides additional formatting options (commonly associated with word processors) for enhanced content editing:
|
|
|
Additionally, the Text Editor can be used to:
oEnter HTML code directly (including hyperlinks and images)
oPrint the contents of a multi-line text field
oCopy and paste formatted text and HTML code to and from other applications, such as Microsoft Word.
|
|
Content pasted will have the formatting simplified to match the capabilities of the Editor. Styles such as Headings will be mapped to equivalent HTML styles. |
|
|
The Text Editor uses an open source TinyMCE program and can be found in the following location: Bin>WebDesigner>JS>External_async>TinyMCE |
|
|
*TinyMCE is a platform independent web-based Javascript HTML WYSIWYG editor control and is released as open software under the LGPL license. It is sourced from www.tinymce.com and is used in many popular web applications. |
What Do You Want To Do?
Enable Enhanced Multi-line Text Editor for Internet Explorer
If using Windows Internet Explorer as your web browser, it will be necessary to enable a font setting on your server in order to use the Enhanced Multi-line Text Editor.
To enable Enhanced Multi-line Text Editor for Internet Explorer:
A second settings box will display.
Enhance Multi-line Text Editor will now be enabled for use with Internet Explorer.
|
|
This change to your settings will not take effect until Internet Explorer is restarted. |
1. From your Control Panel, open up the Internet Options settings.
2. Select the Security Tab.
3. Click on the Local Intranet icon to open up your local Intranet settings.
4. In the 'Security level for this zone' box, click on the Custom Level button.
5. Scroll down to the 'Font Downloads' section and select the Enable setting.
6. Click on the OK button to close the settings box.
7. Click Apply, then OK on the Internet Options page to apply the change.
Enable Enhanced Multi-line Text Editing
To enable the Text Editor:
1. Open CW Suite Model Explorer and click on the Design tab.
2. Select a Model and Object Type. Double click on the Object to reveal its properties (Model > Object Type > Properties).
For help with creating new Object Types and associated Properties, see Object Pages Explained
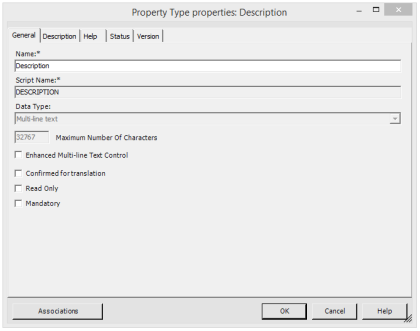
The properties dialog for that Property Type will display:
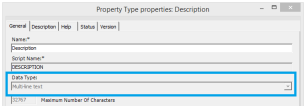
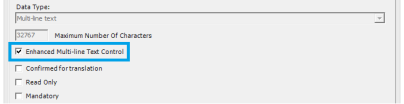
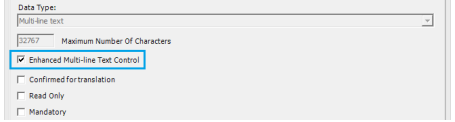
3. Ensure that Multi-line Text is selected as the Data Type before selecting the Enhanced Multi-line Text Control option.
|
|
|
Selecting the Enhanced Multi-line Text Control check box will prompt a caution dialog box to display. After reading the message, click on the OK button.
The Enhanced Multi-line Text Control check box will be ticked and the Text Editor will now be available for use with this Object property in both CW Suite Desktop products and your Evolve Site.
4. Click on the OK button.
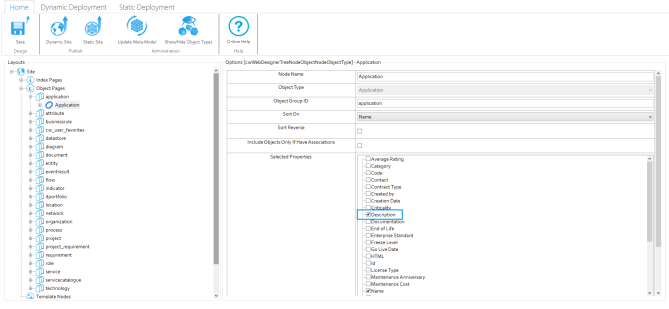
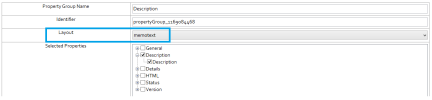
5. Open Evolve Designer and select the check box of the modified Object Property type:
6. Publish the changes to your Site. See Publish your Site.
7. Open the Evolve Site and locate the desired Application Object to view its related Property Types.
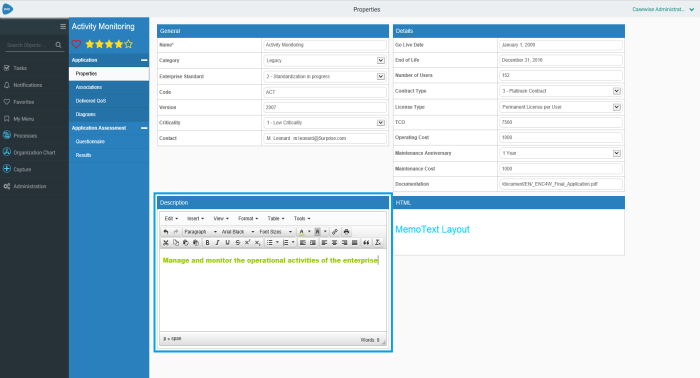
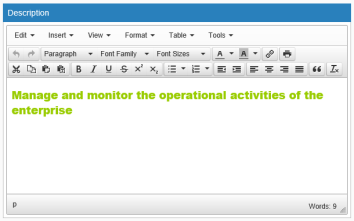
8. Click on the Edit button at the top of the Object Page to switch into Edit mode and the Text Editor will open up as part of the newly configured Property Type.
The text of that Property Type can now be edited with enhanced formatted options using the Text Editor.
|
|
The Text Editor will not function under two Object Property Types simultaneously. We recommend that the Text Editor is assigned to one Property Type per page. |
|
|
Memotext vs Table Layout It is possible for the Text Editor to display in a constricted state. This occurs when its Layout property is set to display in a Table view. For optimal editing functionality, we therefore recommend that Memotext is selected as the default Layout for the Text Editor in Evolve Design. |
|
|
|
|
|
Grid Mode In Grid Mode, it is not possible to edit text placed within a text field. Any text previously entered in CW Modeler will display as read only, even when Edit mode is enabled. |
Save and Send Changes for Approval
To save and commit any changes made using the Text Editor:
1. Make any desired changes to the text of a Property Type then click on the Save button (located in the top right-hand corner).
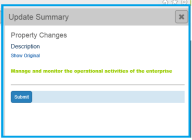
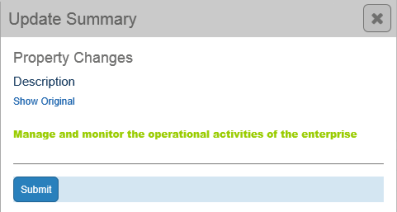
A third panel will open up on screen, displaying a summary of the new changes made using the Text Editor.
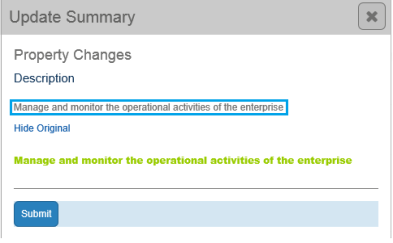
The Update Summary area presents a summary of the changes made using the Text Editor to the User. Clicking on the Show Original instruction will reveal the original state of the modified text.
|
|
|
Click on the Hide Original instruction to once more remove the original unaltered text from view.
2. If happy with the changes made, click on the Submit button to send on the changes for approval.
Review and Approval Notifications
If Workflow has been enabled for your site, when a text field has been altered using the Text Editor and a user desires to save the changes made, the designated Approver is sent a 'Pending Changes' notification email. Any changes made will not be implemented until authorized by the Approver. The Approver will receive an email stating: 'This property contains HTML content. Please review this change in Evolve'. -prompting them to access Evolve and assess the detail of all HTML changes made. This content is not included within the email as email systems will often display this incorrectly and cause confusion for the user.
Displaying Diagrams
This page explains how to display diagrams created in CW Modeler in your Evolve Site.
Any diagram in your model created in CW Modeler can be displayed in your Evolve Site.
You can display diagrams on any Object Page where the focus is the Diagram Object Type, or on Object Pages where the focus is a different Object Type, but a Tab is used to display diagrams the object appears on or details.
You can also display diagrams on Index Pages where one or more diagrams are returned. For performance and usability reasons it may not be appropriate to display multiple diagrams on one Index Page, however you could easily use the page filters so that only one diagram is returned in the results.
The default method for displaying CW Modeler diagrams is to use the CW Modeler Diagram behavior, but you can experiment with a newer behavior - Vector (HTML5) - which provides improved quality and scaling.
Display a CW Modeler diagram
|
|
These instructions detail how to display a CW Modeler diagram on an Object Page for the Diagram Object Type. You can of course show Visualization diagrams in other places, such as below an Association node in a Tab on an Object Page, or below an Object Type node on an Index Page. |
To display a CW Modeler diagram:
1. In Evolve Designer, expand the Object Type node
2. Right-click the Layout node and select Switch Layout > CW > Diagram
A Layout Diagram node is added.
3. Right-click the Layout Diagram node and select Add Behaviors > CW > CW Modeler Diagram
The CW Modeler Diagram node is added.
4. Select the CW Modeler Diagram node and edit its properties:
oUse Full Screen to specify if the diagram should be shown in full-screen mode.
oUse the Diagram Popouts area to specify any Diagram Popouts you want to configure for this page.
5. Save and Publish your Site.