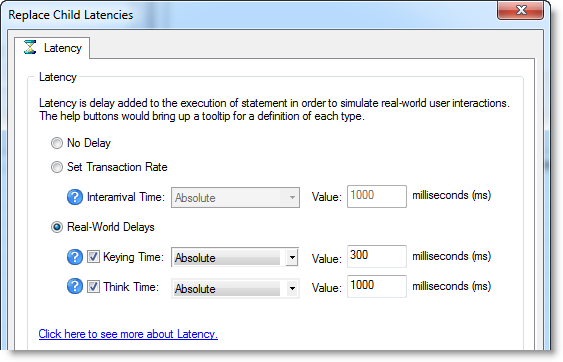
If you select to apply latency to transactions in a workload, Benchmark Factory allows you to either specify a fixed value (Absolute) for the delay time or use a distribution model for determining delay time.
Use Absolute when you want a fixed value for delay. For example, if a 2000 ms delay is specified for Keying Time and a 3000 ms delay is specified for Think Time, when a transaction executes, Benchmark Factory waits 2000 ms, then starts the transaction, and then waits an additional 3000 ms before deciding which transaction to execute next.
If Interarrival Time is used with an Absolute delay of 2000 ms, Benchmark Factory marks the time, executes the transaction, and waits until two seconds has elapsed from the marked time (assuming the transaction finishes in less than two seconds) before determining which transaction to execute next.
Review the following distribution models provided by Benchmark Factory.
Selecting a Uniform delay instructs Benchmark Factory that random delay should be chosen, with an equal probability of being the minimum value, the maximum value, or any value in between. Uniform delays are chosen when it is suspected that the delay is highly random within a range or a minimal amount of statistical analysis has been performed to determine how the actual users react.
Suppose a uniform Keying Time is selected with a minimum value of 1000 ms and a maximum value of 1500 ms. If the transaction is executed more than 500 times, there is a high probability that each possible delay has been selected at least once. With the other delay types, this is not the case.
If 2000 ms to 2500 ms uniform delay is set for Interarrival time, the tester essentially is setting the test so that a server sees the transaction every 2 to 2.5 seconds, instead of exactly two seconds as in the Absolute delay time.
Similar to the Normal distribution, Negative Exponential inserts a random delay based on a mathematical model. A Negative Exponential distribution should be chosen when most users have latency of the mean latency or less. Negative Exponential is weighted heavily toward smaller latencies being selected relative to the mean and maximum latency.
Normal distributions differ from Uniform delays in that most of the delays chosen by Benchmark Factory will be close to the average, but can vary by as much as ±10% of the mean. While a Uniform delay is used when users have latencies within equal likelihood of being anywhere between two values, Normal distributions are chosen when all users fall within a range, but most of the modeled users have a latency close to the average latency.
A Poisson distribution is very similar to the Normal distribution and can be used most places where a Normal distribution delay could be used. The biggest difference between a Normal distribution and a Poisson distribution is that Poisson selects discreet values.
Latency is delay added to the execution of a transaction to control how fast transactions are submitted to the system-under-test. You can use the Replace child latencies dialog to quickly modify latency for all the direct children of a test. For example, when an Oracle trace file is imported, the latencies are automatically set to replay the transactions at their original rate, but changing these to a set value can replay the transactions in a shorter period of time.
To replace child latencies at the test level
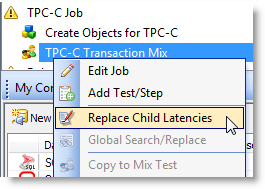
In the New/Edit Job Wizard, right-click a test and select Replace Child Latencies.
In the Jobs View pane, right-click a test and select Replace Child Latencies.
In the Replace Child Latencies dialog, modify latency options. See Specify Latency for more information.
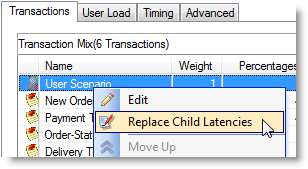
To replace child latencies at the User Scenario level
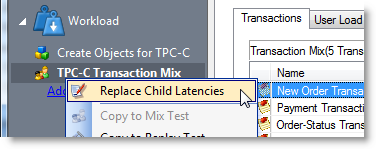
In the Transactions tab, right-click the user scenario and select Replace Child Latencies.
When running a load test, you have the option of staggering user startup. This allows you to adjust startup loads if, for example, you are having issues with overloading of servers when all of the users attempt to start at the same time.
To stagger user startup
Use the Job Setup tab of the New Job wizard or Edit Job wizard to schedule a job, set up email notifications (alerts), add performance counters, and manage global variables.
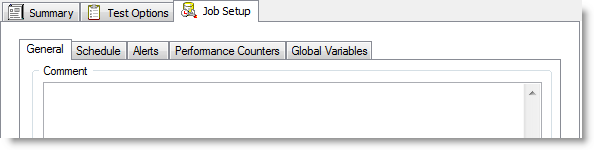
To specify Job Setup options
Use this tab to specify job-level options, such as the job schedule, alerts, or performance counters. Review the following for more information:
| General tab | Enter a comment or specify error-handling behavior. |
| Schedule tab | See Schedule a Job. |
| Alerts tab | See Alerts - Job Setup. |
| Performance Counters tab | See Performance Counters Tab. |
| Global Variables tab | See Global Variables Tab. |