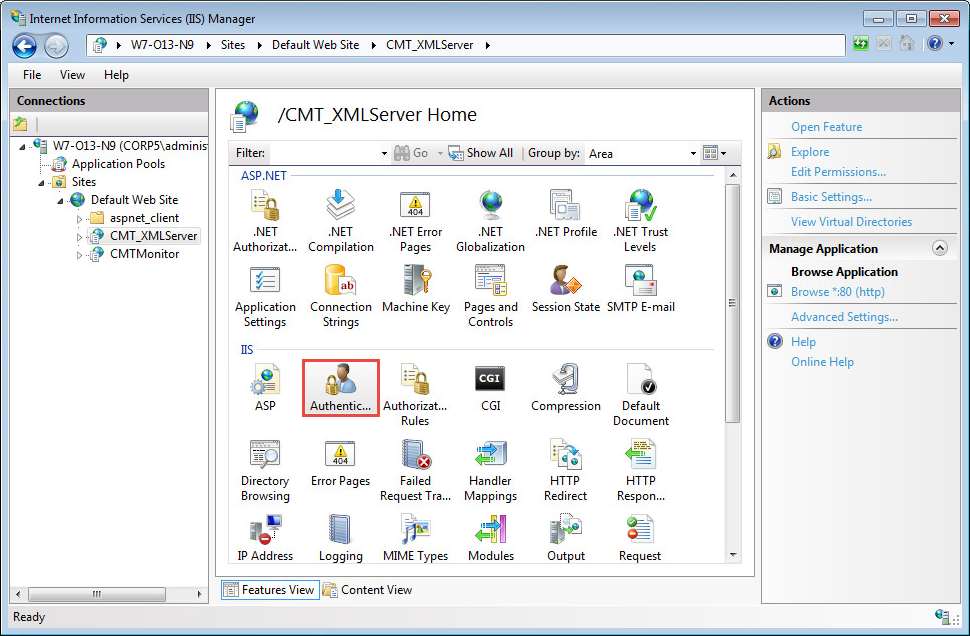
Expand Web services in the Internet Information Services (IIS) management console, and select the CMT_XMLServer site; open the Authentication options:
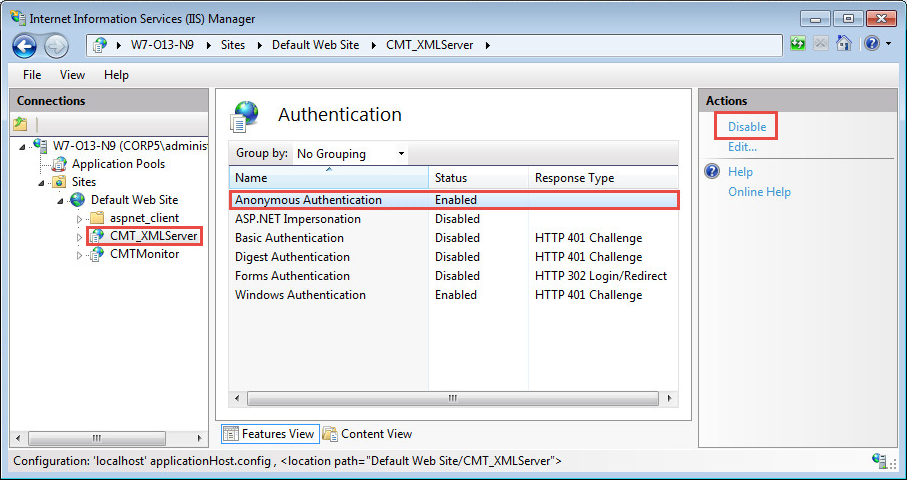
Select Anonymous Authentication, and click Disable:
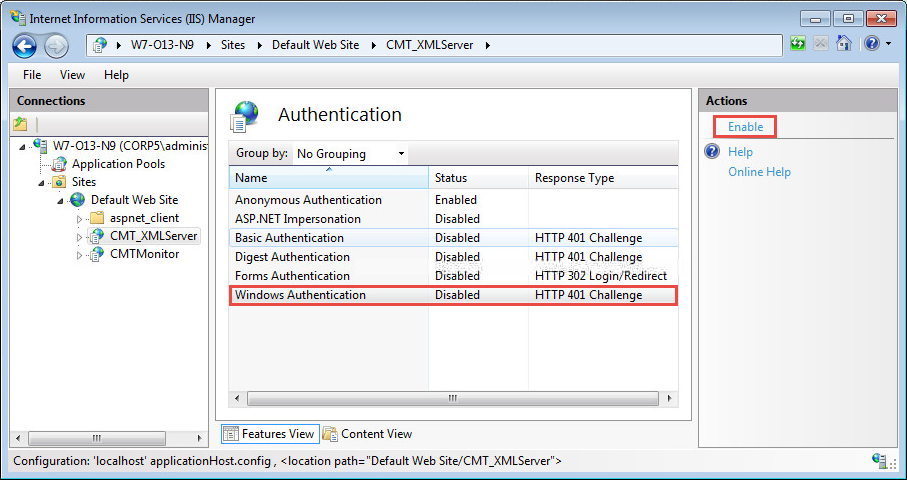
In the Authentication options, select Windows Authentication, and click Enable:
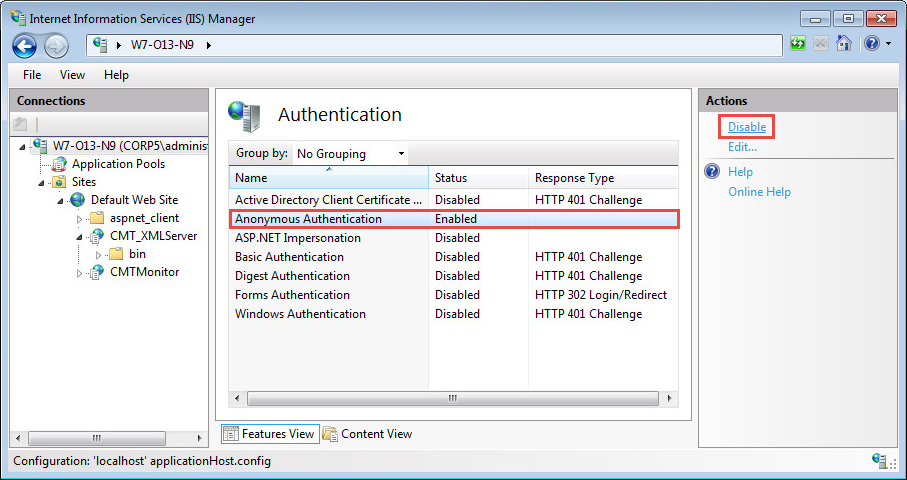
In the Authentication window, you can disable Anonymous access to the web server at this point. Highlight Anonymous Authentication, and click Disable:
Open a web browser, and access the web services page at http://servername/cmt_xmlserver/cmtxmlservice.asmx, where servername is the IP address or name of the system hosting the CMT XML server. You should be prompted for credentials to use when accessing the site. Enter the user credentials in the form of “MyDomain\Username”.
|
|
Do not use a browser session on the MCC or localhost addresses when verifying security of the web services. IIS treats localhost requests differently than pages containing an IP address or domain name. In addition localhost is added to the ‘Trusted Sites’ section of Internet Explorer (IE) by default, so in typical configurations IE will automatically pass credentials to the web server. |
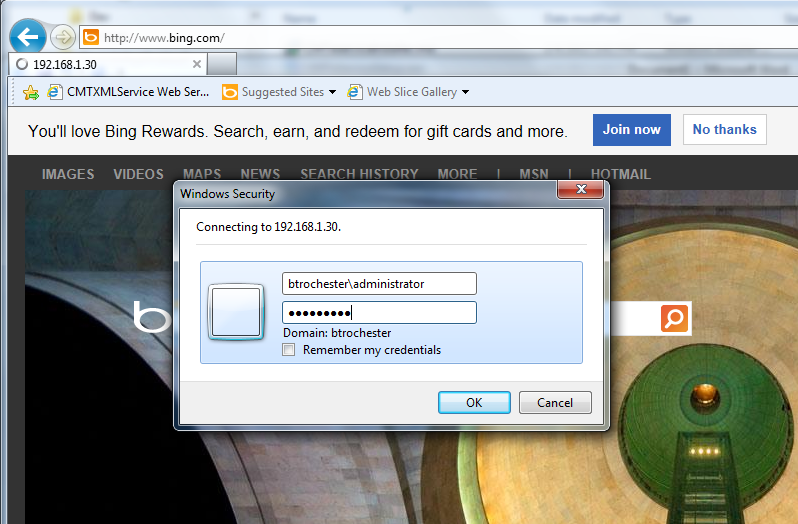
You should see the XML service page:
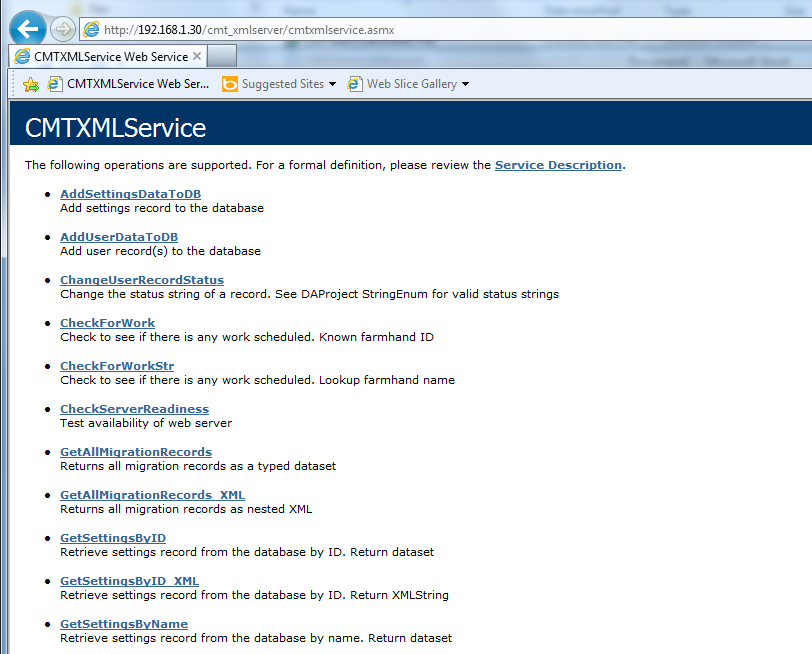
|
|
If you are logged in to the domain, and have your site listed as a ‘trusted site’ in Internet Explorer, you will see the web page without prompting for username and password. It is recommended that testing the security of the server be done without the xml server added as a trusted site. To check your configuration, open “Options” in internet explorer, click “Security”, highlight “Trusted sites”, and click on the “Sites” button. |
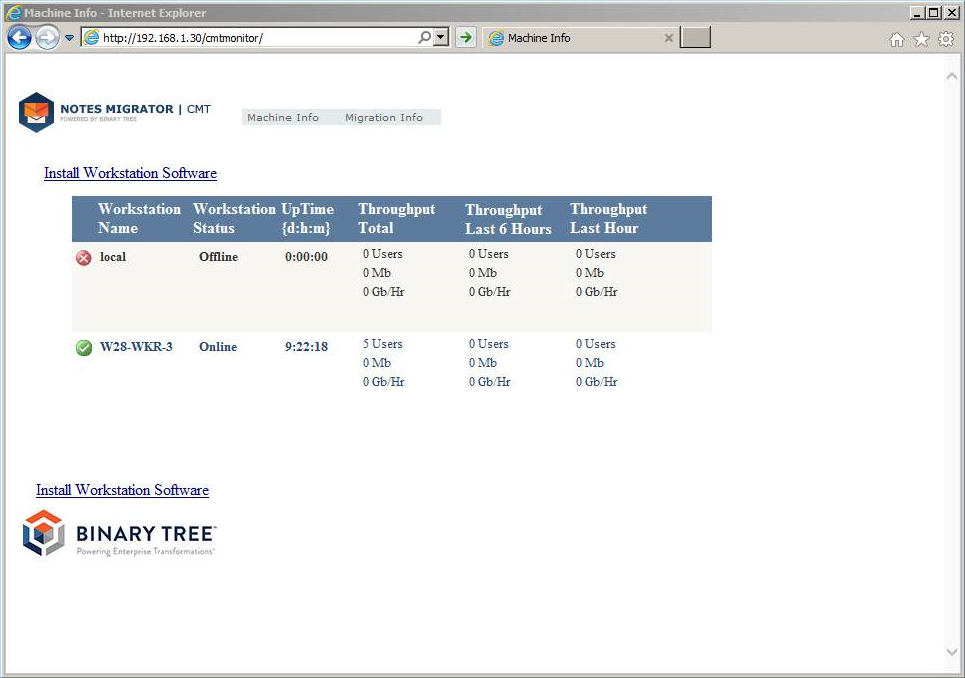
Open a web browser, and access the monitor page at http://servername/cmtmonitor, where servername is the IP address or name of the system hosting the CMT XML server. You should be prompted for credentials to use when accessing the site. Enter the user credentials in the form of “MyDomain\Username”.

You should see the Migrator for Notes Monitor page.
The PowerShell Connectivity to Microsoft 365 does require an Application (Client) ID to be created in the tenant to process the updates for accounts and permissions application for migrations to be completed.
The process to set up an Application ID can be found in the Configuring an Azure AD Application Registration for Microsoft Graph section. The steps are based on Microsoft configuration at the time of release, refer to Microsoft documentation if these are changed.
The details for the Application ID are applied to the Migrator for Notes Settings | Required Settings | Additional tab under the PowerShell Settings section. This does require the Settings to be configured for an Office 365 (Microsoft 365) migration.
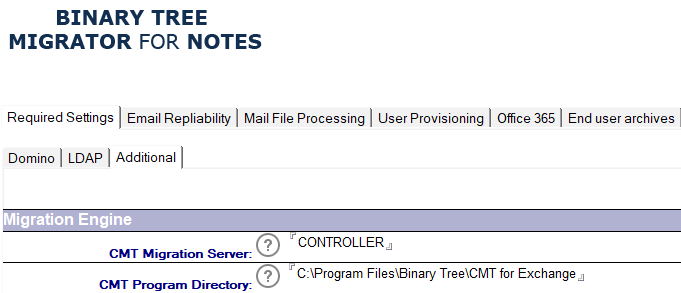
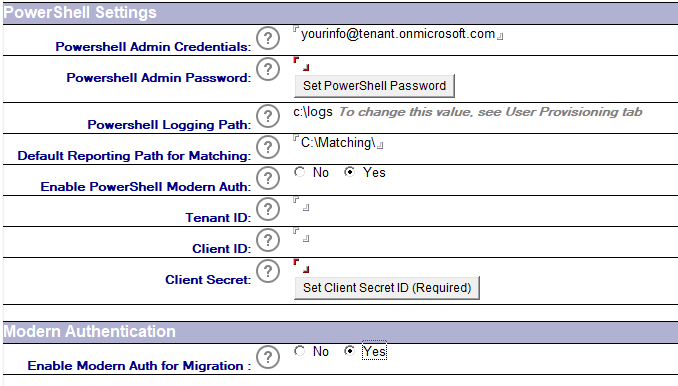
The following table describes the values for each setting.
|
Settings |
Description |
|
Enable PowerShell Modern Auth |
A Modern Auth configuration is required and should be set to ‘Yes’ |
|
Tenant ID |
Target Tenant ID, this is displayed with the Application ID setup as the Directory (Tenant) ID |
|
Client ID |
Application ID created in the target tenant; this is displayed as the Application (Client) ID during the setup. Review the configuration guide for Configuring an Azure AD Application Registration for Microsoft Graph to create this. |
|
Client Secret |
Application ID secret. Review the configuration guide for Configuring an Azure AD Application Registration for Microsoft Graph to create this. Use the button to input this value to ensure that it is hashed when it is stored using the AsSecure PowerShell method. |
|
Enable Modern Auth for Migration |
A Modern Auth configuration is required and should be set to ‘Yes’ |