This option allows the user to create a CSV file that will copy files located within SharePoint rather than in a file system. A typical scenario for this is to copy many files but with unique metadata changes for each file. This can be done by creating and modifying the CSV file and then using the Upload Copy Content Using CSV option.
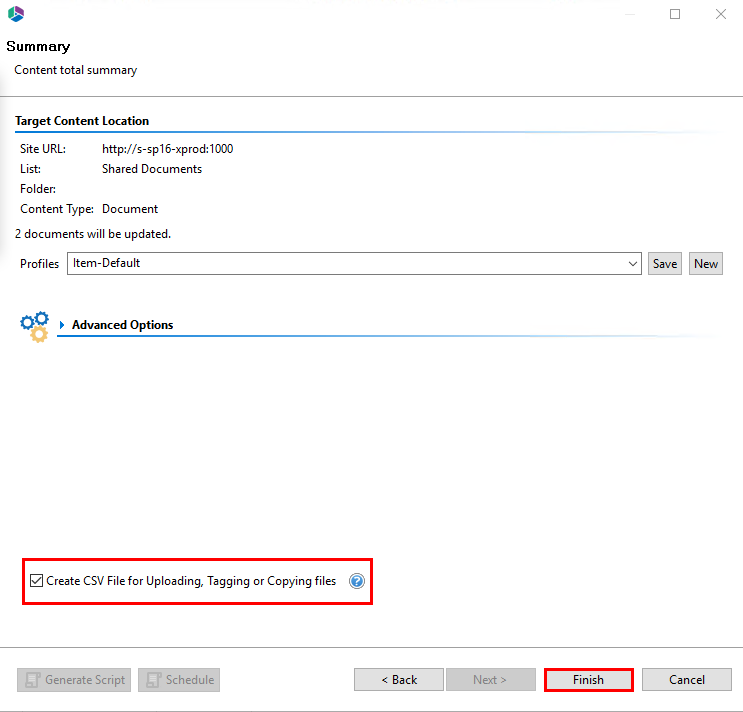
1.To run this operation follow the instructions in the Copy, Move, and Tag SharePoint Content section. Don't forget to select the "Create CSV File for Uploading, Tagging or Copying files" option on the final summary page of the wizard. Click Finish.
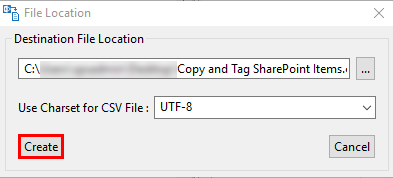
2.Enter the location and name of the CSV file in the provided dialogue and press the Create button. Please reference CSV Column Reference Guide for additional information.
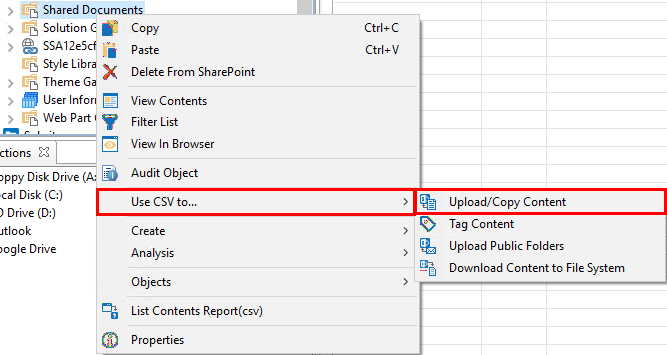
3.In order to upload/copy content using the CSV you just created, you need to select a Library or Folder from within the Navigator Pane and right-click. Select "Use CSV to..." and then select Upload/Copy Content from the right-click menu.
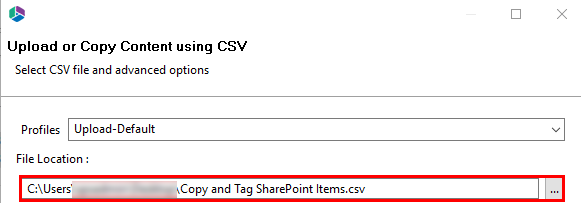
4.In the Upload or Copy files using CSV wizard, identify the destination of the CSV file created in step 2.
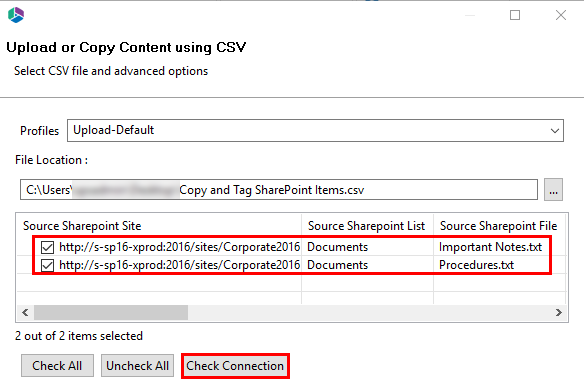
5.Select the Source SharePoint Sites from the list that your CSV provided. You may check individual items or the Check All button at the bottom to select everything. Click Check Connection to check the connection to the source sites.
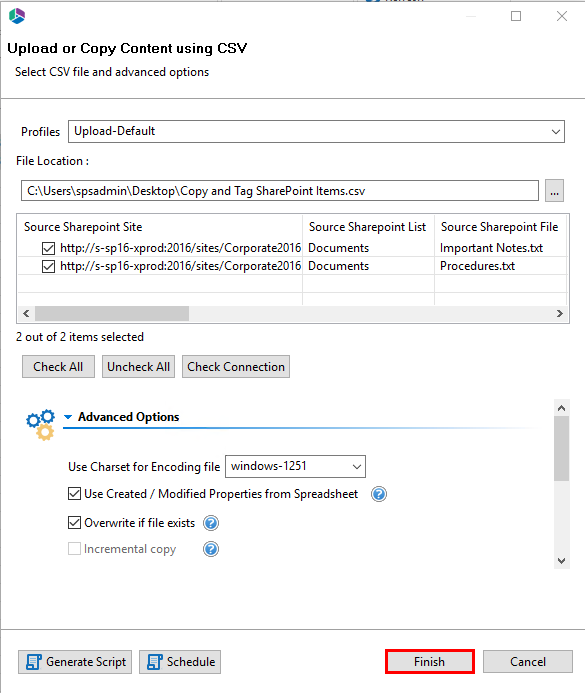
6.Specify any options you wish to include as part of your migration. Click Finish.
|
|
NOTE: When copying/tagging a library with versioned documents, using the CSV will apply the information entered for the file to each of the versions. |
Copy of items using CSV is available in the following suites:
·Architect Suite
·Migration Suite
·Office 365 Bundle
Copying items via CSV is also available in the following standalone products:
·Migrator for SharePoint
·Change Manager
The Alerts Collector must be installed and running on your source SharePoint server. The software will extract all alerts from the selected Web Applications or Site Collections into a CSV file.
|
|
NOTE: · In order to copy alerts, additional software called Alerts Collector is required. If you need this software, please open a support ticket using the Contact Support button located in the application's Help tab. ·Hosted or Office 365 source environments are not supported. |
1.Download and run the Alerts Collector Application. It may take a few minutes to retrieve your farm structure.
2.A window will appear requesting to specify a CSV file name and destination.
3.Select the Web Applications or Site Collections of the Alerts to be extracted.
4.Once satisfied with your selections, click OK and upon completion a 'Success' window will appear. Select OK and the application will close.
The CSV file that is generated must be accessible to the migration software. If your application is installed in a different location, copying the file to that location is advisable.
Essentials allows users to migrate orphaned users from a source to a target.
|
|
NOTE: You can also display orphaned users and manage them individually from the Security Manager tab. |
In order to migrate orphaned users see the following steps:
1.Navigate to the Migrator tab in Essentials.
2.Select Orphaned Users Copy within the Advanced section of the header.
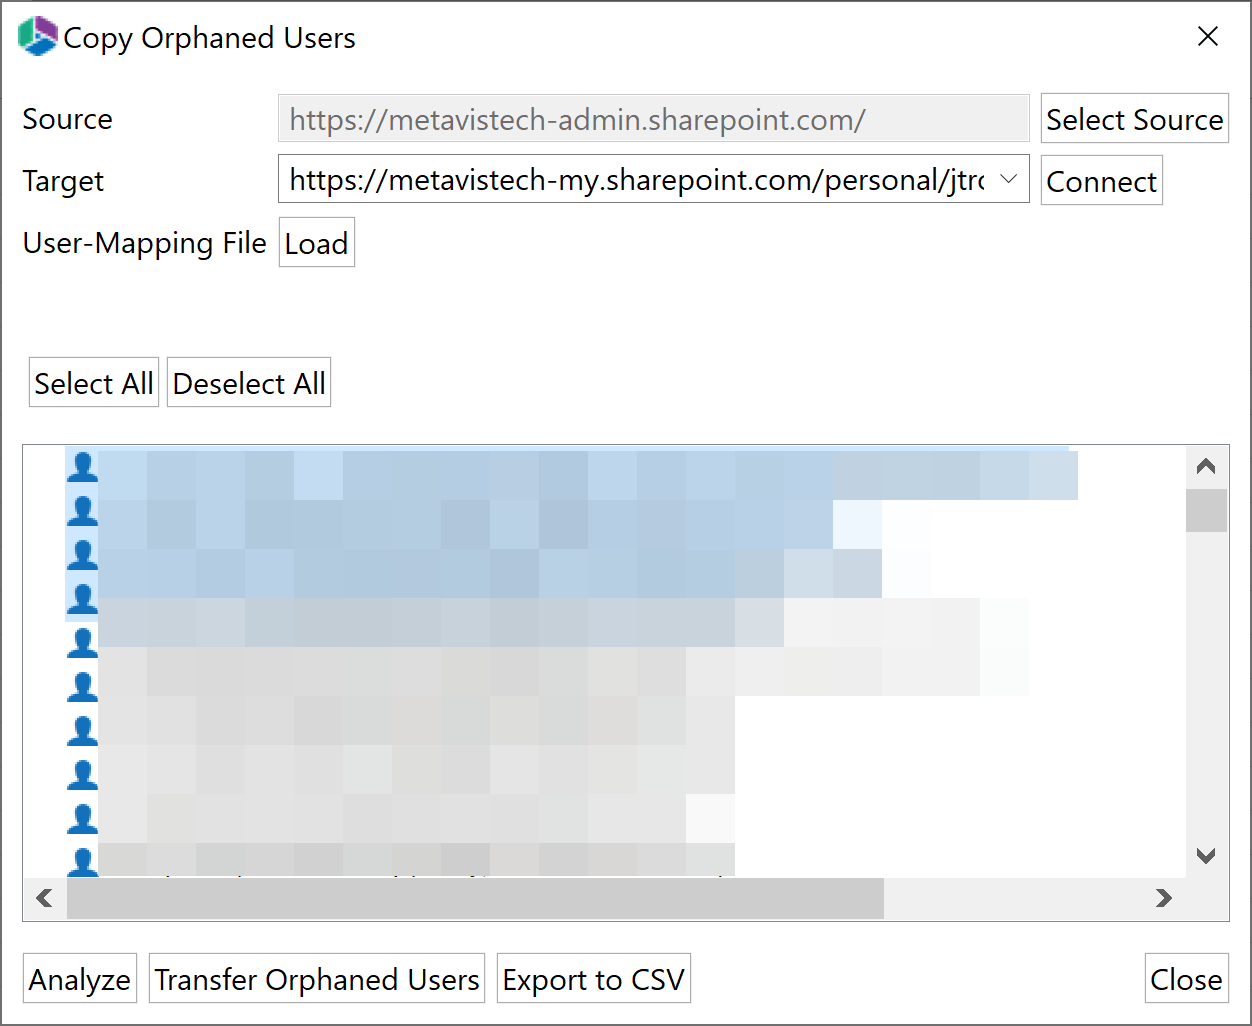
3.In the Copy Orphaned Users wizard, select your source by clicking Select Source.
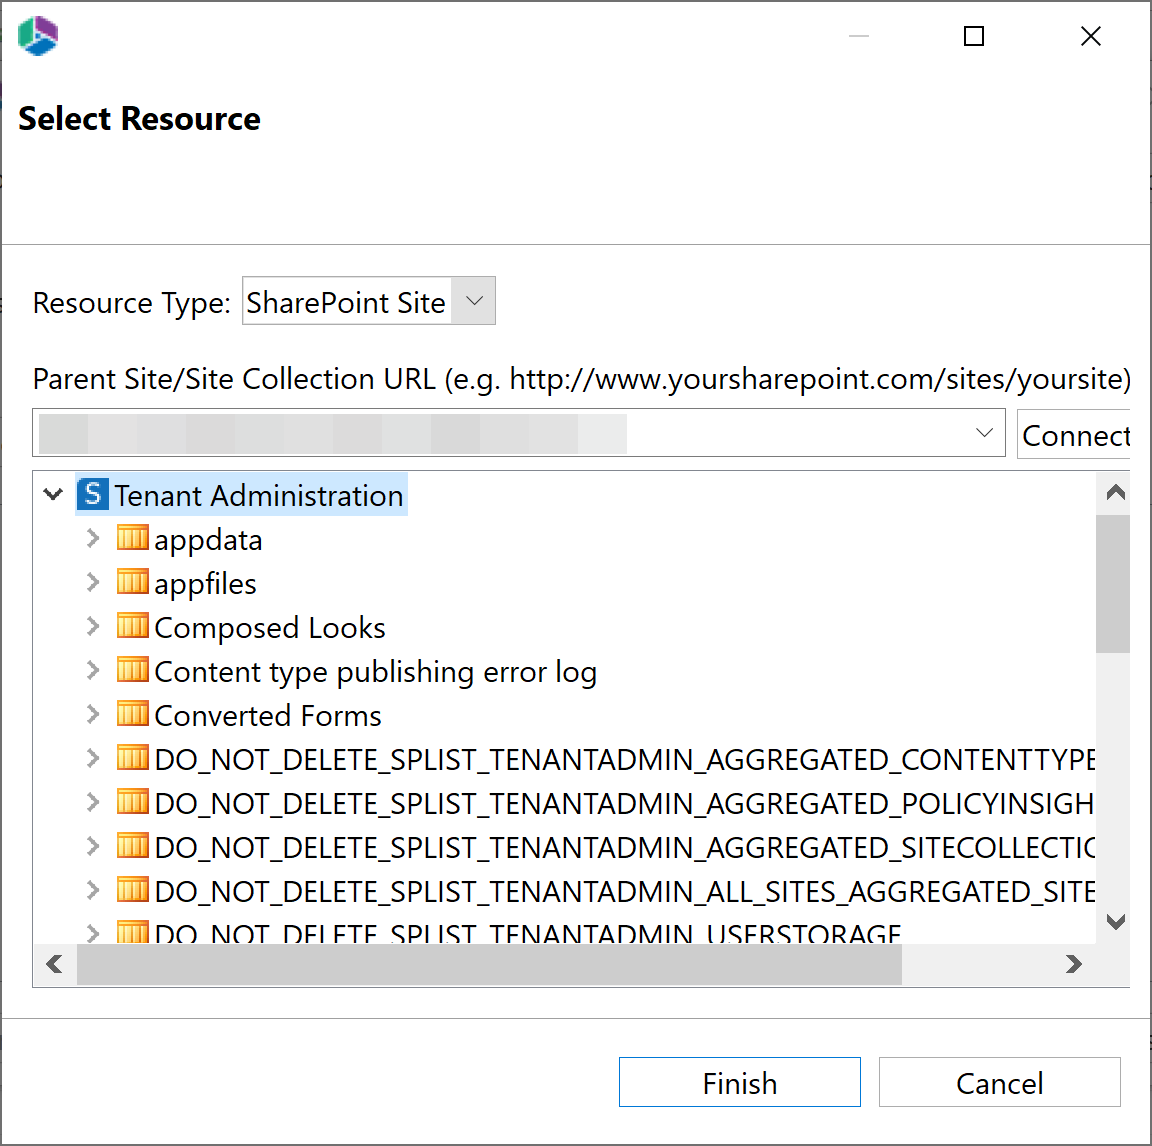
4.In the Select Resource window, use the drop down menu to select a parent site/site collection URL. Click Connect and input your credentials if prompted. This will populate the list below with your available sites. Select one for your source and click Finish.
5.Select a target from the drop down list in the Copy Orphaned Users wizard, and click Connect. Enter your credentials if prompted.
6.Load a User Mapping file, by selecting the load button, if you need to map specific users to alternate accounts.
7.Select Analyze to begin the scan for orphaned users.
8.Once the analysis is complete, select the users you would like to manage. Then select whether you would like to transfer these orphaned users, or whether you would like to export the list to a CSV for your records.