CSV Import
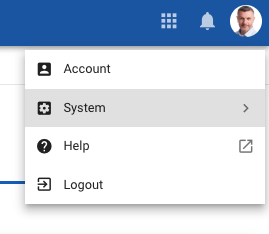
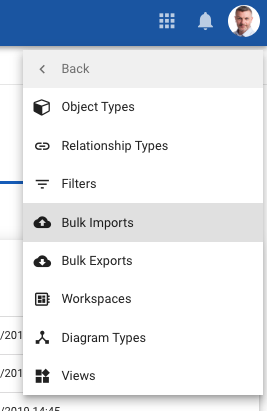
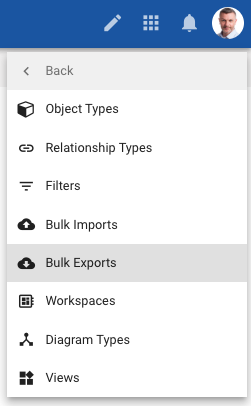
1. Go to the System Menu then select Bulk Imports
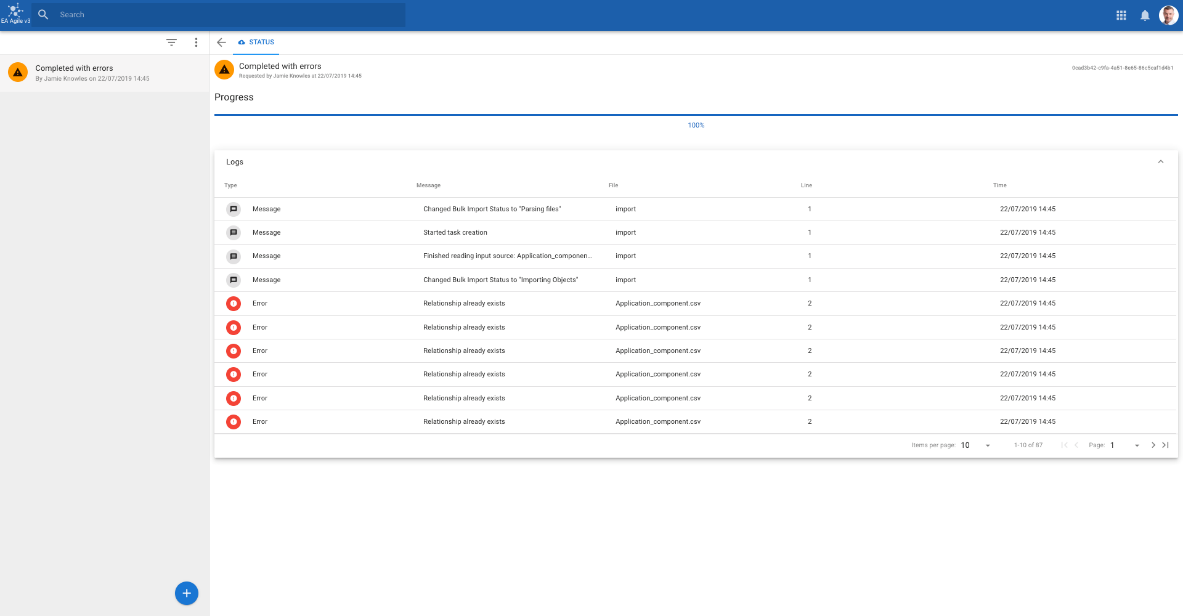
2. You will be presented with a list of all previous imports, if you wish to start a new Import click the blue + button.
3. Select your Column and Value delimiter, then either drag your file into the selection box or click the button to navigate through your file manager.
4. Once you have selected 'Import' your file is added to the import queue. You are then able to track the progress of the import and then once completed see a report of what errors have occurred.
CSV Export
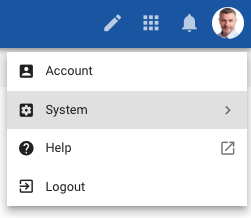
1. Through the system menu navigate to Bulk Exports.
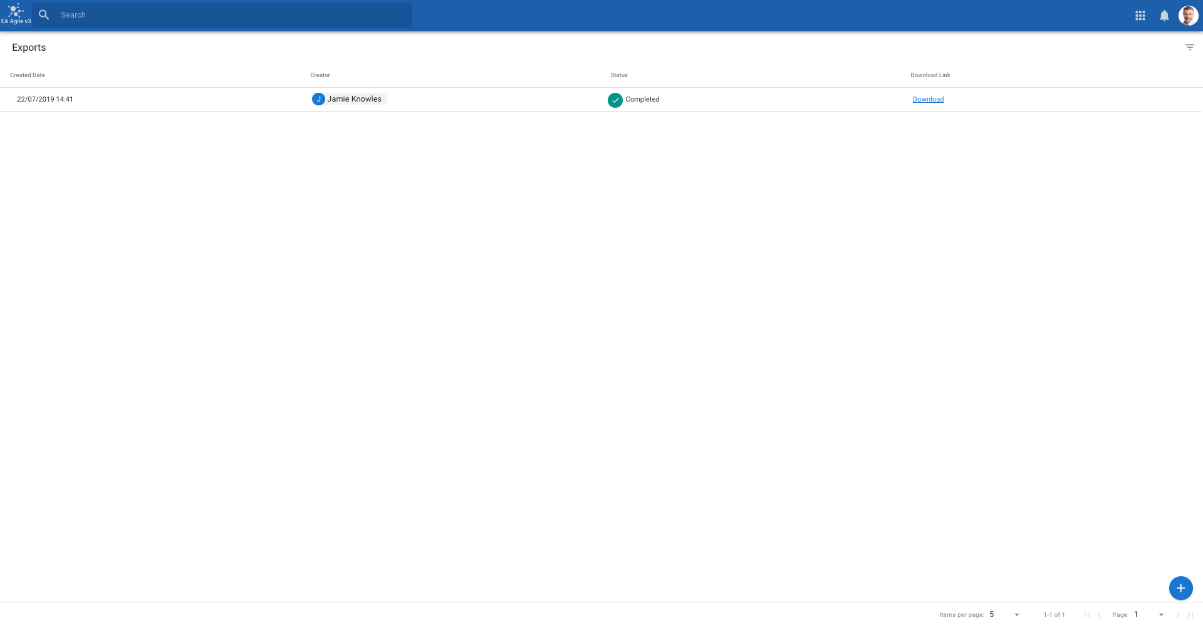
2. You will be presented with a list of all previous exports, their status, and a download link for the file. If you wish to create a new export press the blue + button in the bottom right corner.
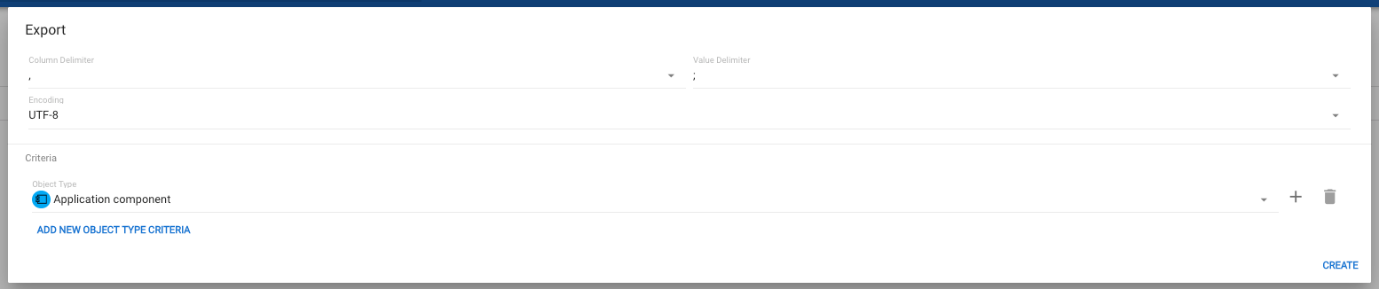
3. Select your Column and Value delimiter and then your object selection.
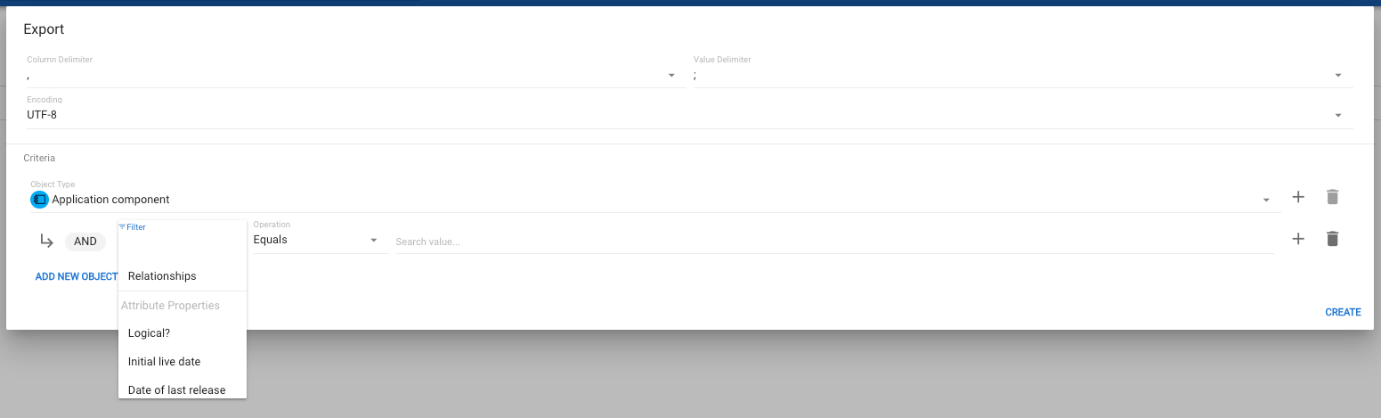
4. You can select a single object type or multiple and also define further criteria e.g. status equals or has a relationship with object X
5. You will receive an email when your export is complete.
Communities
How Do I Create a New Community?
Communities allows Administrators to place Users into groups. Which Community a User is place in will define their experience within the erwin EDGE Platform.
When creating Views within the erwin EDGE Platform you have the opportunity to restrict the view to a certain Community or multiple Communities. To find out more visit our ‘How Do I Restrict a View to a Select Community?’ help page below.
1. Go to Settings > Account
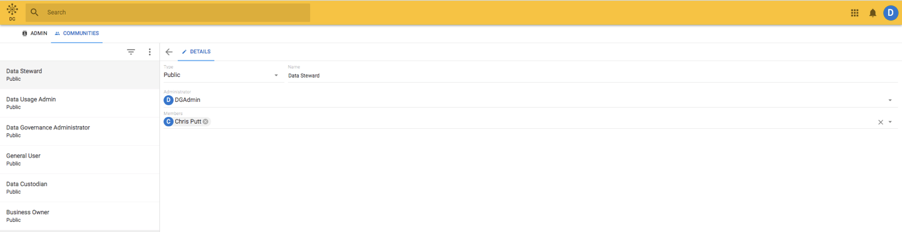
2. Click on the ‘Communities’ tab
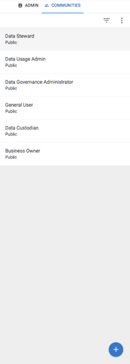
3. A list of Communities appears on the right of the screen, clicking on a Community in the list will bring up its details
4. To add a new Community, press the blue + button at the bottom of the list view
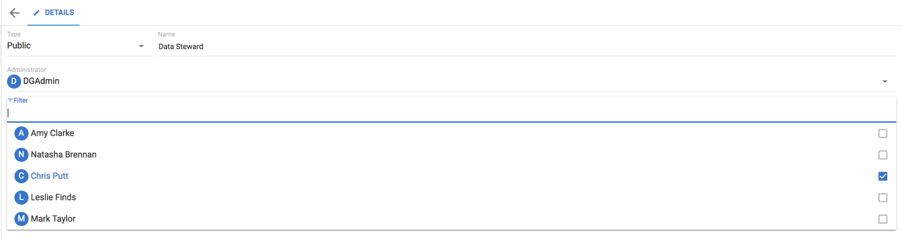
5. This will bring up an empty Details form
a. You can set your Community to be either ‘Public’ or ‘Private’
i.A Public Community is visible to everyone
ii.A Private Community is visible only to those within it
b. Enter a Name for your newly created community
c. Choose an Administrator from a list of Users.
d. Select the members you wish to be a part of the Community.
6. Click Save’ in the bottom right of the screen
How Do I Add or Remove Users to An Existing Community?
|
|
Only the administrator of a Community has the ability to add or remove members. |
1. Go to Settings > Account
2. Click on the ‘Communities’ tab
3. A list of Communities appears on the left of the screen, clicking on a Community in the list will bring up its details
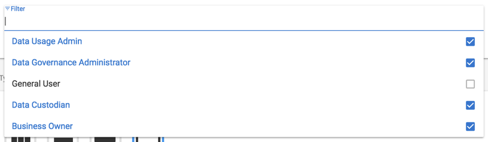
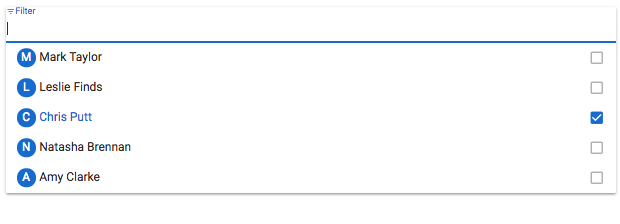
4. Click on the ‘Members’ field and a pick list will appear of all Users on your erwin EDGE Platform.
a.Those Users with a blue tick next to their name are members of the Community
b.To add or remove a User click their name
5. Click ‘Save’ in the bottom right of the screen.
|
|
For more on Users, including how to create a new User & assign them a Person Object visit the Create New User help file. |
How Do I Restrict a View to a Single Community or Set of Communities?
|
|
When creating Views within the erwin EDGE Platform you can restrict the view to a certain Community. To allow a view to be seen by all Communities simply leave the field blank. |
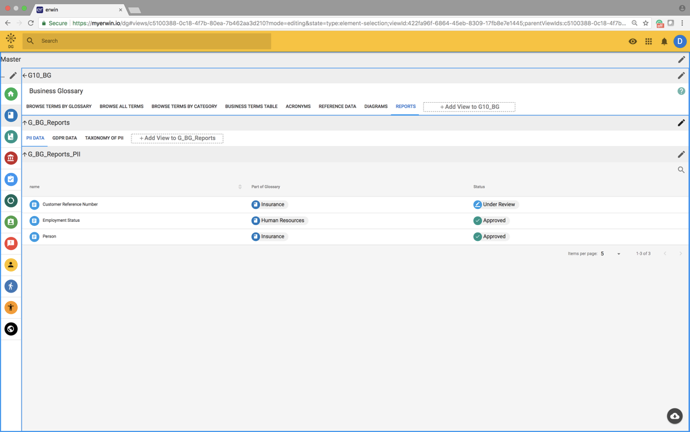
1. Select the View you wish to restrict by clicking on the pen Icon of that View
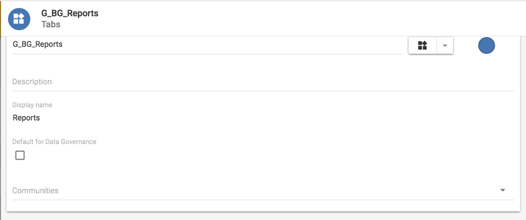
2. All Views have a Communities field
3. Click on the field to reveal a pick list of all your Communities
4. Select the Communities you wish to restrict the view to by clicking on their names
5. Click ‘Save’ in the bottom right of the pane to finish.
Registering a new user of EA Agile
|
|
For EA Agile there are multiple steps to set up new users. Once you have created a new User you must assign them a community & create and allocated a Person Object (please read below for further guidance) |
1.Create the user
2.Allocate a license
3.Allocate to a Community (Role)
4.Create and allocate a person object (only for active contributor roles)
Create the user
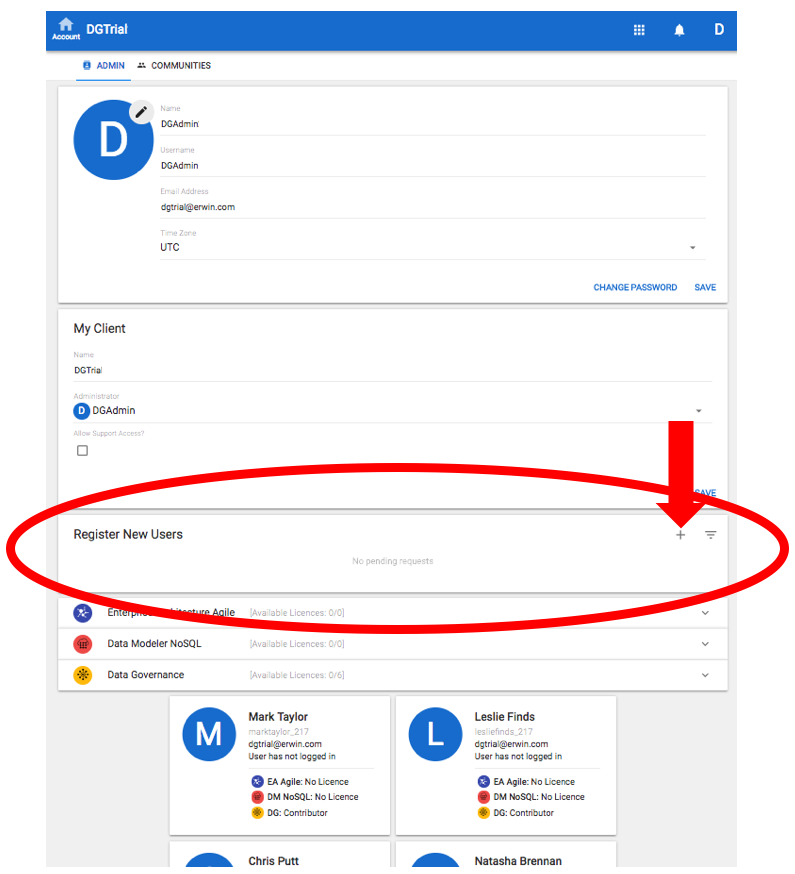
First, log in as the client administrator and go to the account tab.
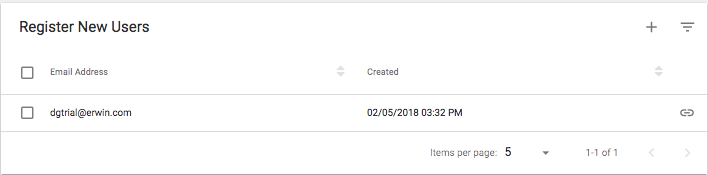
Find the Register New users button
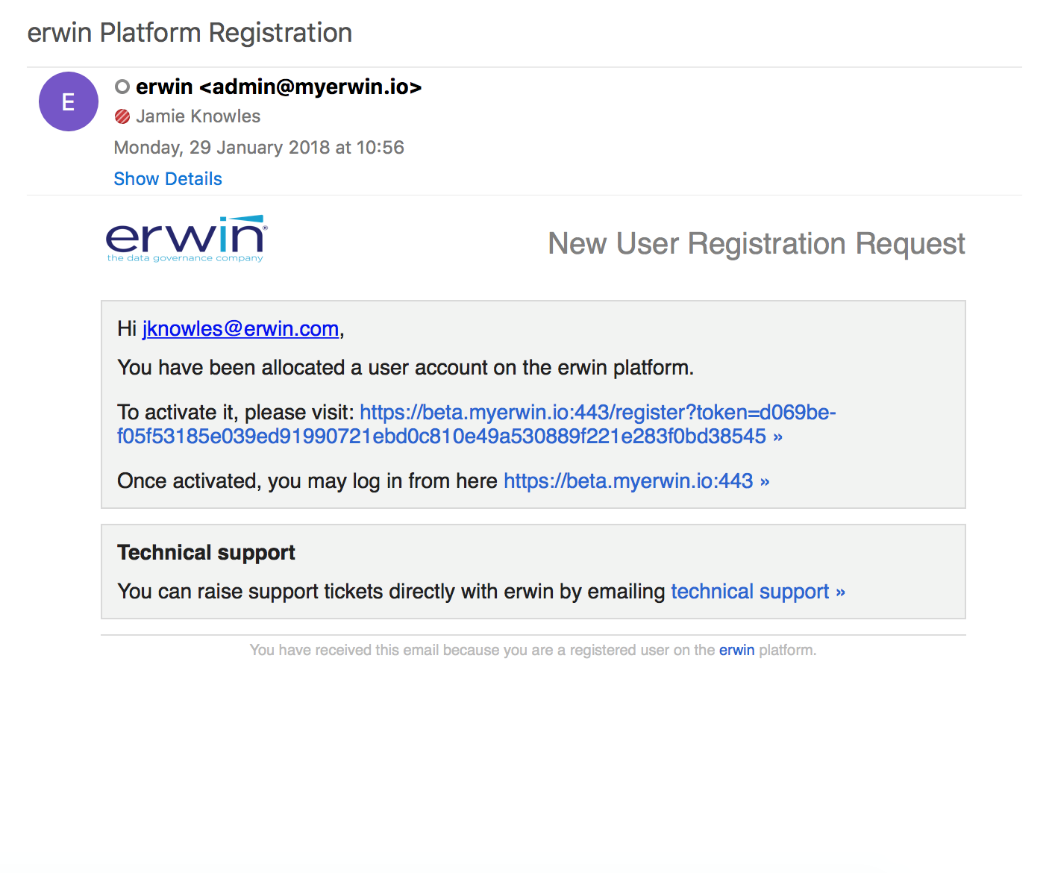
Provide the email address of the user and hit OK.
This sends an activation email to the user which asks them to visit a temporary registration link
You will see a list of users that have been registered users that have not activated their accounts in the Register New users section
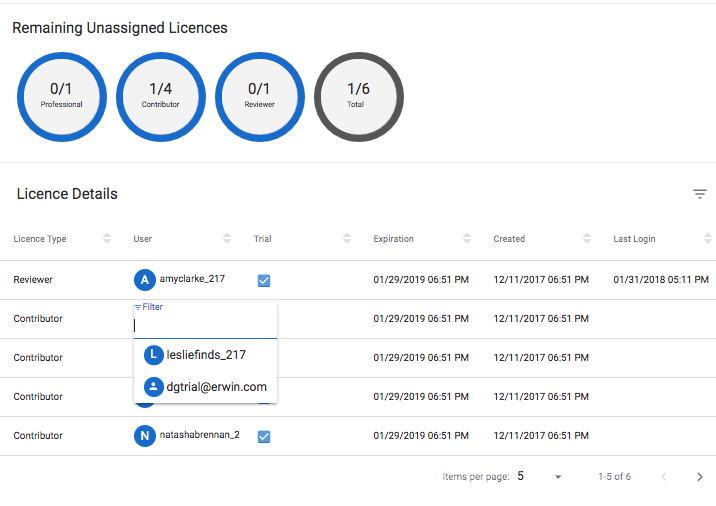
Allocate a License
Even before users have activated their accounts you can allocate them a license.
There are three license types available
Reviewer - used by the General User role. Has read only access to all object types. Can create new objects such as issues but populate only the name, description and create relationships.
Contributor - the 'full' license that allows creation, update and deletion of all object types
Professional - this license allows the modification of the metamodel and views. This is currently restricted but will be available soon to allow customers to modify their own area.
In the product you are assigning licenses for find an available slot and allocate the user. Only users with no license appear in the dropdown.
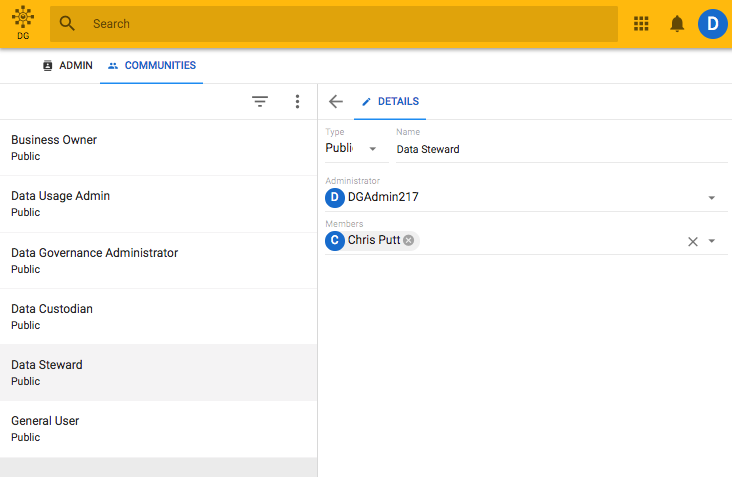
Allocate to a Community (Role)
You now have a user with a license. Now you can assign them to a role
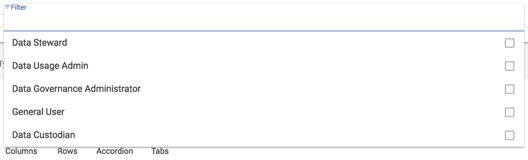
Go to the communities tab
Select the community you wish to add users to.
Clicking on the Members property allows you to add and remove users from this group
Create and allocate a person object (only for active contributor roles)
For all roles that have workflow elements e.g.. Data Governance Administrator, Data Steward, Business Owner, Data Custodian etc you will need to provide them with a Person Object that can hold additional details on the person and appear is selectable dropdowns.
This can be done by the site administrator or the Data Governance Administrator.
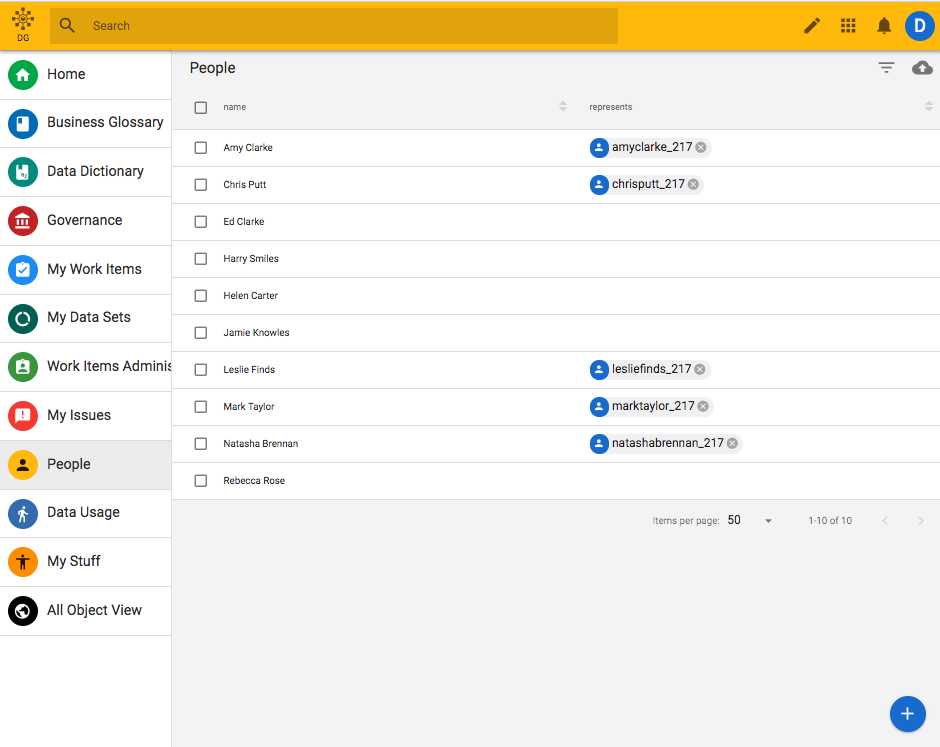
Go to the 'People' tab.
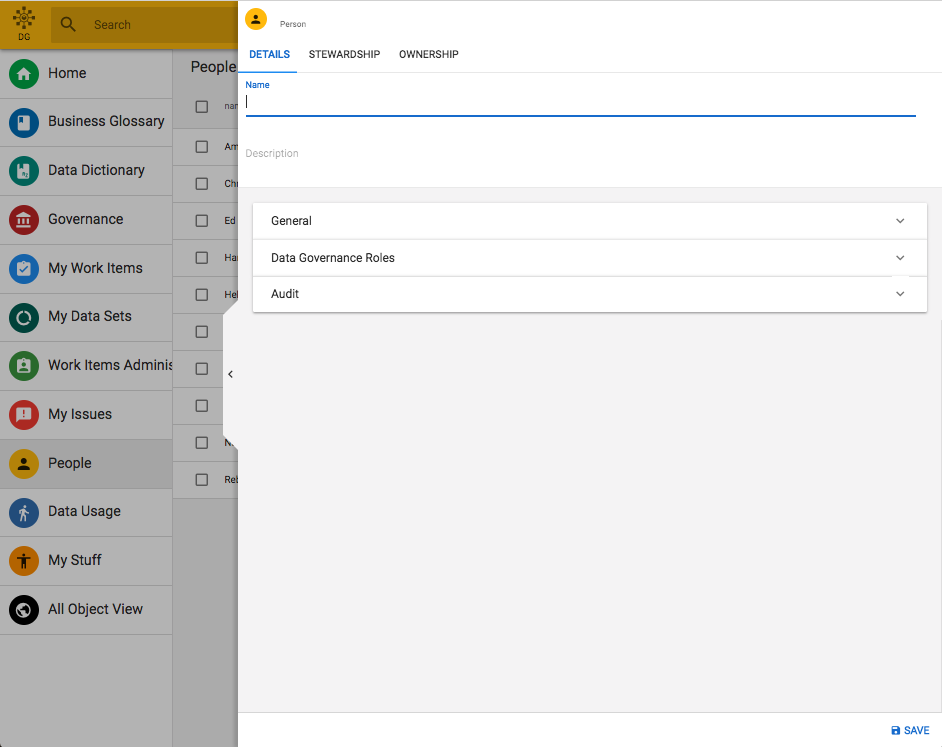
Hit the + sign to add a new Person object
Populate the basic details for the person
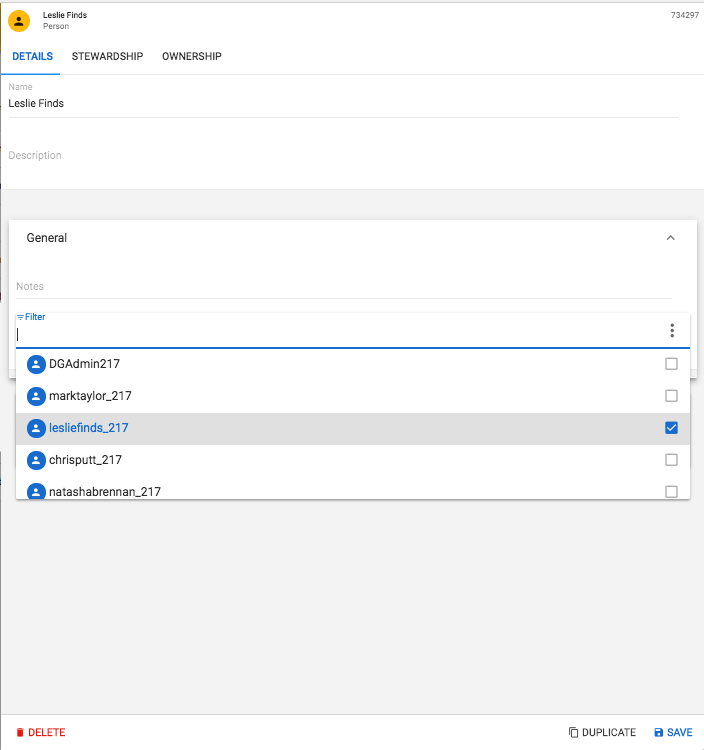
Through the Professional license you can add additional properties to the person object.
Then connect the person to the username they provided and Save the object
The user is now set up and ready to go!