MetaModel
Object Types
How Do I Add A New Object Type?
1. Go to System then Object Types
2. Click the + icon in the list view on the left-hand side of the screen, this will create a blank New Object Type
3. Add in the name of your new object type e.g. ‘Test Object’
4. Add an Icon you wish to assign to the new object type and a color
5. You can now add further details of your new object type in ’Description’
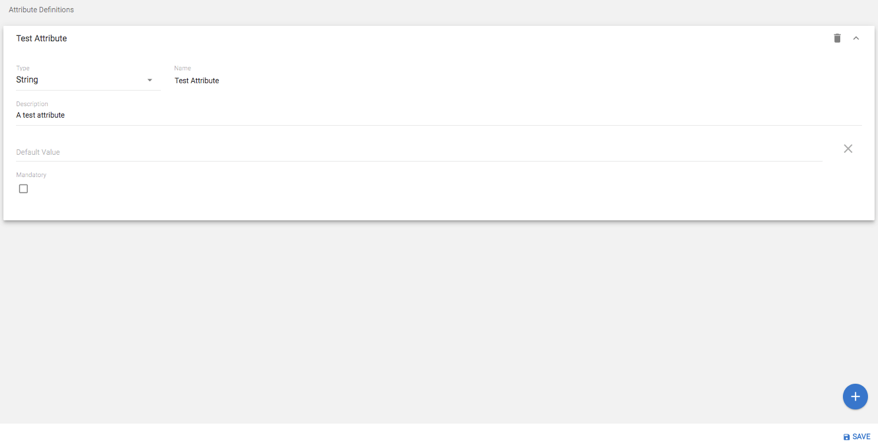
6. To add Attributes and their definitions to the new object type click the + icon in details pane on the right of the screen
a. You can select from a wide variety of Attribute types
b. For each new Attribute you can provide a Name, Description, Default Value and choose if they are mandatory.
Some Attributes such as ‘List’ or ‘Array’ require additional information which are unique to that Attribute type e.g. Key
7. As default views for Object Types are automatically created in the erwin Platform you do not need to define one at this stage. A blue button allowing you to create a view will appear once you save the Object Type (To find out more about creating Default Views for Object please read the ‘Default View’ help page)
8. Once you have finished creating your new Object Type click Save in the details pane to finish. Your new Object type will now appear in the list on the left.
How Do I Add an Attribute to an Existing Object Type?
Available Attribute Types
1.Boolean - Simple true/false attribute
2.Integer - A whole number not a fraction
3.Real - Whole number/fraction/positive or negative
4.String - Text with a limit of 255 characters
5.URL - Set a URL for use as a clickable hyperlink or an Item Action
6.Date Time - Set a single point in time
7.Date Time Range - Define a range of time with a start and end date
8.List (Single) - Create a single choice list
9.List (Multiple) - Create a multiple-choice list
10.Array (Single) - Set a single choice key & value array
11.Array (Multiple) - Set a multiple-choice key & value array
12.Relationship List - Create a pick-list from a defined relationship and object type
13.Long String - Text with a limit of 16,383 characters
Configuring an Attribute
1.Go to System then Object Types
2.You can either manually scroll through the list or search for a specific Object Type to add an Attribute to
3.Clicking on the Object Type in the list to bring up its details
4.Click on the blue + button in the bottom right of the details view
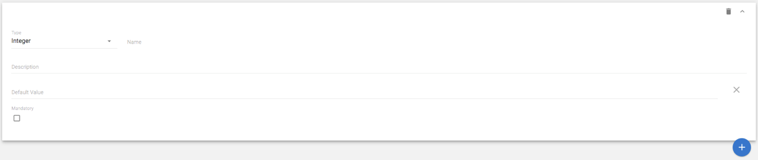
5. This will bring up a blank Attribute
6. Select your Attribute Type
7. Give your new Attribute a Name & Description
8. You can also set a Default Value for new Instances of the Object Type
9. And finally, choose if your new Attribute is Mandatory by checking the box
Some Attributes such as 'List' or 'Array' require additional information which are unique to that Attributes Type e.g. Key
10. Once you have finished click ‘Save’ in the bottom right of the screen.
|
|
For guidance on how to add a newly created Attribute to an existing view on the erwin EDGE Platform please read the Default View. |
Relationships
How Do I Create a New Relationship?
1.Go to System then Relationship Types.
2.Click on the blue + icon in the list view on the bottom left-hand side of the screen, this will create a blank Relationship Type.
3. Select the Source Object Type for your new relationship by clicking on the ‘Source’ field
Once you’ve selected your Source give it a name
4. Select the Target Object Type for your new relationship by clicking on the ‘Target’ field
Once you’ve selected your Target give it a name
5. Select if your relationship is a Composition
|
|
The composition relationship is a stronger form of relationship. If a relationship is a 'composition' relationship, then the child object is unique to the parent in that relationship. For instance, if "Country" object type "contains" "City" object type and the "contains" relationship is a composition then the "City" is unique to the "Country" e.g. "Birmingham" is a city in "UK" and "Birmingham" is a different city in "USA". An object type can have multiple composition relationship types but only one can be populated at any one time. Attempting to populate a second composition relationship for an object will result in an error. |
6. Once you have finished creating your Relationship Type click Save in the details pane to finish. Your new Relationship Type will now appear in the list on the left.
Workspaces
|
|
Important information about workspaces includes the following: There is only one default Workspaces for a client area. All workspaces in the client area, share the same underlying metamodel. Workspaces can be assigned to Communities, for access control. Workspaces are blank after creation. Model Data can be between workspace via export/import. |
How do I create a Workspace?
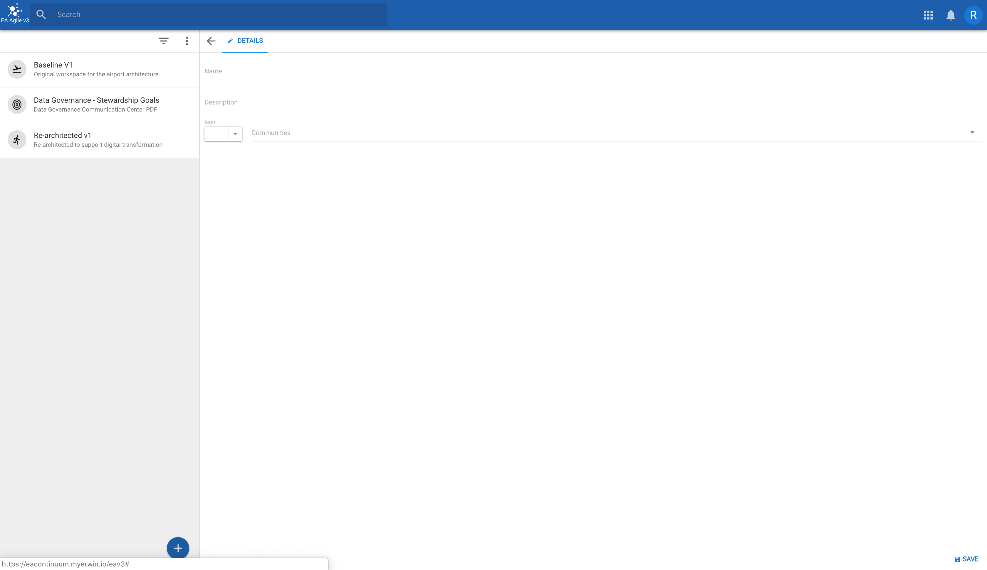
1. Client areas support workspaces. Workspaces may be set up by an administrator using the User Menu > System > Workspaces option.
2. Click the blue '+' button at the bottom of the workspace list, this will bring up a blank form to create your new workspace
3. Enter a Name, Description & Icon for your new Workspace. You can also restrict a Workspace to a community if you wish.
4. Click 'Save' when complete.
How do I add a Workspace picker to a view?
|
|
Workspaces can be selected for any view, parent, or child. If a workspace is not defined for a child view it will take the workspace of its parent view. |
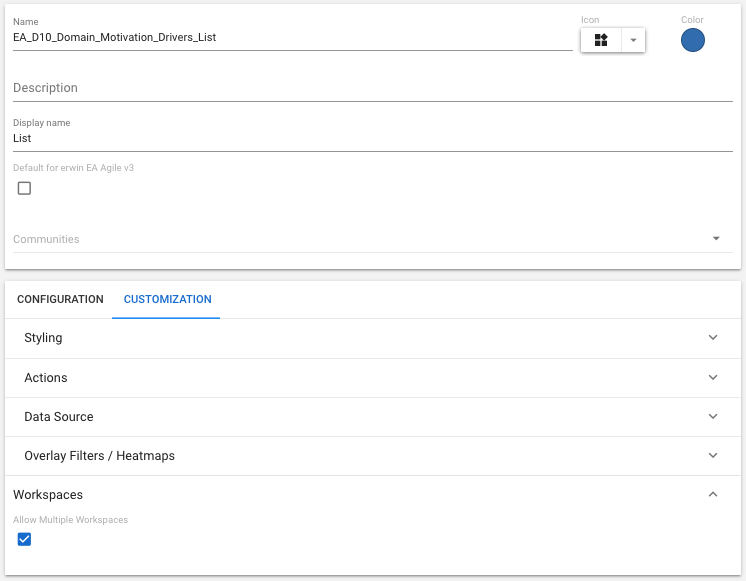
1. Go into the configuration panel for the view you wish to add a workspace picker for.
2. Click on the 'Customisation' tab, open the 'Workspaces' accordion and select 'Allow Multiple Workspaces'.
3. A picker will now appear for the chosen view showing you the name of the workspace you are currently working in. Clicking on the picker will bring up a list of workspaces you can select from.