Introduction
On Demand Migration Active Directory (ODMAD) supports device migrations to a Microsoft Entra ID tenant from Domain Joined, Hybrid Domain Joined, and Entra Joined workstations running Windows 10 or Windows 11 while preserving the User Profiles and File/Folder Security Permissions.
This quick start guide walks you through the steps needed to prepare your environments and On Demand Migration for Active Directory to perform device migration to Microsoft Entra ID.
For device migrations using other On Demand products, please see the following guides:
Requirements
General
- Client is licensed for On Demand Migration Active Directory and Directory Sync
- Client is licensed for On Demand Migration Azure Device Migration Add-on
- One Global Administrator Account for each Microsoft 365 tenant
- One Domain Administrator Account for each On-Premises Active Directory attached to the tenant
- One dedicated server to install the Directory Sync agent
- Permissions to download and install Directory Sync agent
|

|
NOTE Local Account and dedicated server are only needed if the environment is an On-Premises Active Directory or in a Hybrid Tenant setup. |
Hardware
The local agent must meet the following minimum hardware requirements:
- At least one (1) Windows Server 2012 R2, 2016 or 2019
- Additional Windows servers may be deployed; limit of 5.
- CPU: 4 Cores
- Memory: 4GB Free
- Disk: 40GB Free Disk Space excluding Operating System
|
|
NOTE Do not install local agents on AD domain controllers in a production environment. |
Software
The local agent must meet the following minimum software requirements:
- Windows Server 2012 R2, 2016 or 2019
- .NET 4.7.2. NOTE: .NET will automatically be installed if needed.
- TLS 1.2 or higher
Domain and Forest Functional Levels
All AD Functional Levels supported by Microsoft for a Microsoft Windows Server operating system listed below are supported for migration from/to Domain controllers running on that same Operating System. For example, Windows Server 2016 functional levels are supported on Windows Server 2022, Windows Server 2019, and Windows Server 2016. For full details see Microsoft’s documentation of Active Directory Domain Services Functional Levels in Windows Server on Microsoft Learn.
- Windows Server 2003 functional levels are supported only on Windows Server 2016, Windows Server 2012 R2, and Windows Server 2012. That is, Microsoft does not support Windows Server 2003 functional levels on Windows Server 2019 or Windows Server 2022.
- Microsoft's lifecycle for Windows Server 2012 ends extended support on October 10, 2023. Customers should be planning to move their Domain Controllers off of Windows Server 2012 and Windows Server 2012 R2 by that date.
Network
- Directory Sync web interface uses TCP port 443 (HTTPS).
- Agent web connections use port 443 to Directory Sync host application.
- DCs use TCP ports 139, 389 (UDP), 445, and 3268.
- SID History functionality uses TCP ports 135, 137-139, 389 (UDP), 445, 1027, 3268, and 49152-65535. (Optional)
Accounts
Local Active Directory Account (Optional, required for Hybrid Tenant)
- Agent installer will prompt for a domain account with permission to read and write on-premises Active Directory.
- An agent intended to sync all domains in a forest must have rights to all domains and objects used in workflows.
Microsoft Entra ID Application Account
- An account with Global Administrator Role is required to grant permissions and establish connection when adding a Cloud Environment.
Microsoft Entra ID PowerShell Accounts
- Three (3) PowerShell accounts are automatically created to read and update objects in the cloud. To do this, an OAuth token is used from the account used to add the Cloud Environment.
- These PowerShell accounts do not require any Microsoft 365 licenses.
Preparing the Environment
Preparing the Environment
This section reviews the environment setup that will be used to perform Microsoft Entra-Joined device migration. To facilitate the migration, please confirm you have the following:
- A source environment that is either on premise Active Directory or a Hybrid Microsoft Entra tenant including a local on-premises Active Directory with Microsoft Entra Connect configured.
- A source environment that is Microsoft Entra ID only tenant.
- A target environment that is either an Microsoft Entra ID Only tenant or is a Hybrid Microsoft Entra tenant including a local on-premises Active Directory with Microsoft Entra Connect configured.
- A file share that is accessible by the workstation, the file share will be used to store the provisioning package which is needed to perform the Microsoft Entra ID Join. Later in this guide, we will review how to create the provisioning package using Windows Configuration Designer (WCD).
- A Windows Workstation running Windows 10 (Build 1709 or later), or Windows 11.
Device Microsoft Entra ID Join status
For additional detail on how to configure a Hybrid Microsoft Entra ID Join device, please refer to this Microsoft article at Configure Microsoft Entra hybrid join - Microsoft Entra | Microsoft Docs. A sample Microsoft Entra ID Portal Device View is shown below.

Preparing the Provisioning Package
This section describes how to create a provisioning package for a Windows Workstation running Windows 10 (Build 1709 or later), or Windows 11 using Windows Configuration Designer. Additional detailed instructions can also be found at this Microsoft Article Bulk enrollment for Windows devices - Microsoft Intune | Microsoft Docs.
- Download the Windows Configuration Designer (WCD) from the Microsoft Store. Windows Configuration Designer(WCD) should be downloaded and installed on the workstation used by the migration administrator to prepare the enrollment package. It does not need to be installed on the workstations that are being migrated.
- Launch the Windows Configuration Designer by clicking on the icon on the start menu.

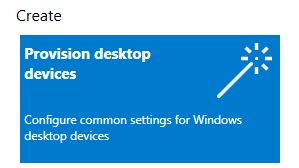
- Create a new package by clicking on the Provision desktop devices icon.
- Provide a project name and click Finish.

- Specify a computer name using the on-screen instructions. Leave all other settings with default. Click Next.

- Disable the Wi-Fi setting if devices will have a wired network connection, or you may enter a Wi-Fi SSID in your environment, Click Next.

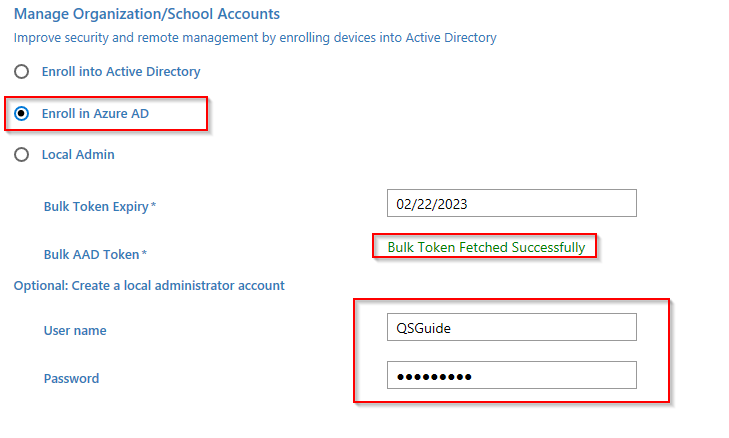
- Perform the following steps in the Account Management section, and click Next when completed:
- Select the Enroll in Azure AD option.
- Click the Get Bulk Token link to generate a token that will be used for device join. You will be prompted by Microsoft 365 to enter your tenant credential.
- Optionally you can also specify a local administrator account and password. If you do not have any local administrator account configured on the device, it is recommended that you create this optional local administrator account as your source Active Directory Admin account will not work after device migration. The account will be created on the device.
- Leave the default setting for Add Application section and click Next.
- Leave the default setting for Add certificates section and click Next.
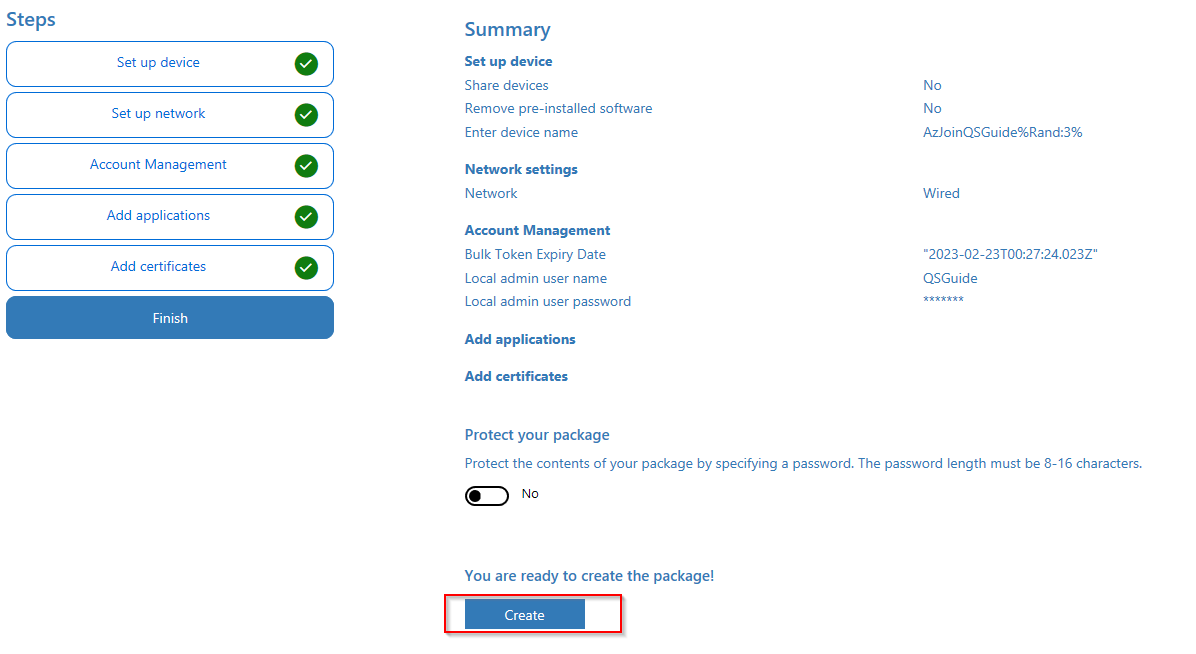
- Review the package setting and click Create.
- Store the package file in a Shared Folder which is accessible by the Workstation for later use. The Share Folder UNC path must be defined later in On Demand Migration Active Directory.
