This section provides a step-by-step guide on how to perform the Device Migration to Microsoft Entra ID Join including Device ReACLing, and Device Cutover.
- Log in to Quest On Demand.
- Navigate to Migrate > Active Directory.
- Click Devices + Servers in the left navigation menu.
- Step 1: Define the target environment for the device in the Ready Devices tab.
- Select the device.
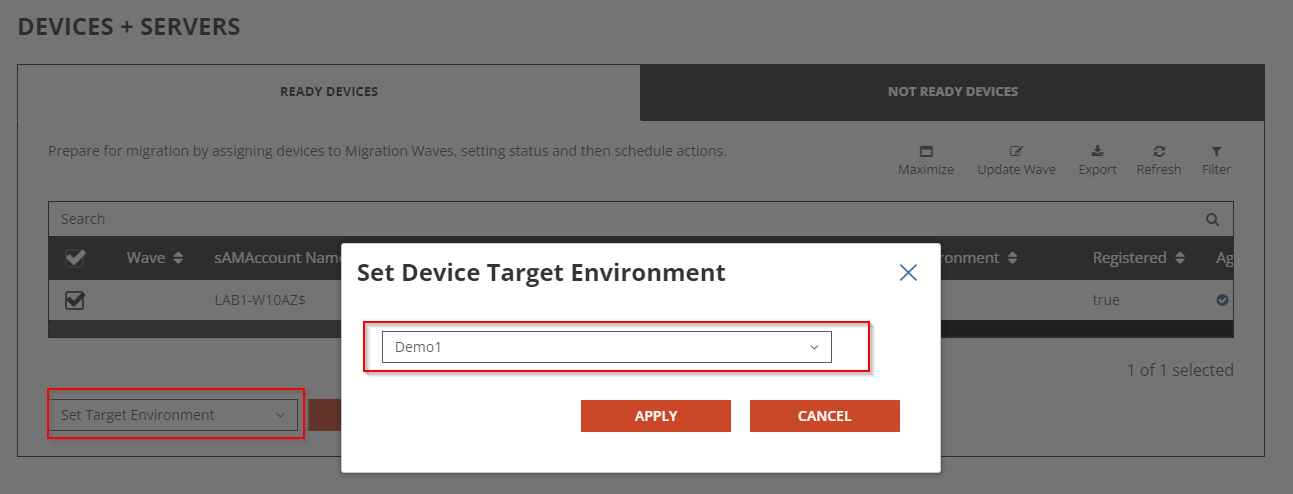
- From the Select Action dropdown, select Set Target Environment, and click Apply Action.
- In the Set Device Target Environment pop-up window that opens, select the target Microsoft Entra tenant and click Apply.
- Step 2: Perform the Device ReACL in preparation for Microsoft Entra ID Join cutover.
- Select the device.
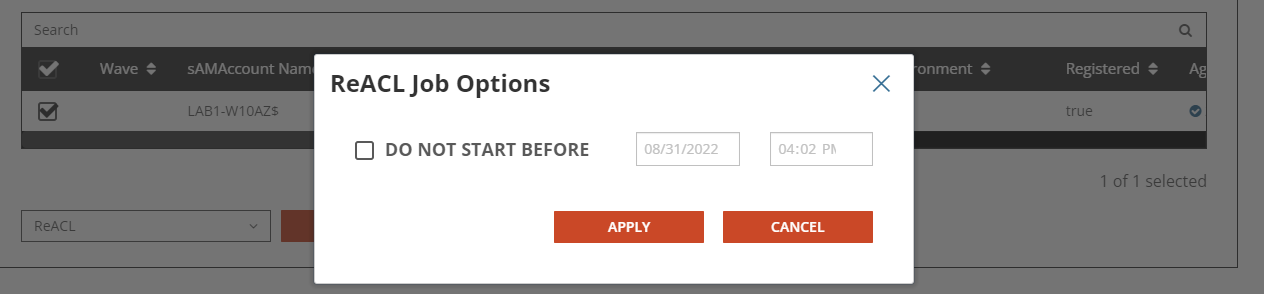
- From the Select Action dropdown, select ReACL, and click Apply Action.
- In the ReACL Job Options pop-up window that opens, keep the checkbox unchecked and click Apply.
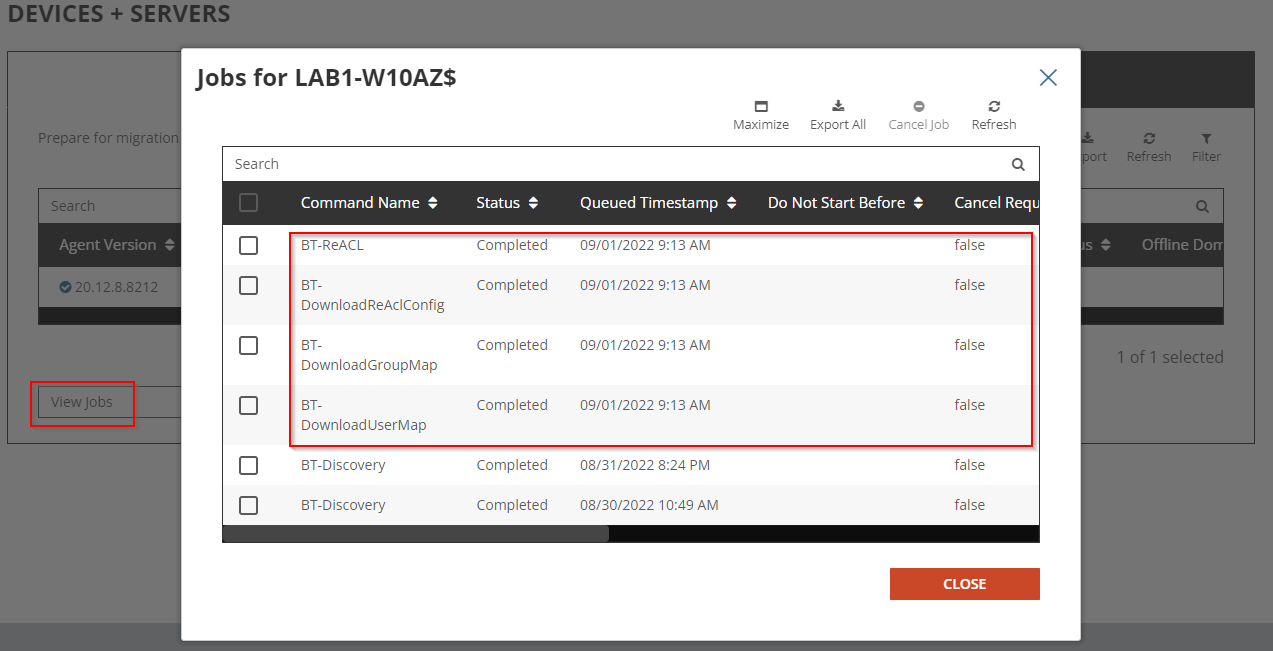
- The Device will receive the ReACL job shortly and complete the processing. You can check the job status via the ReACL Status.
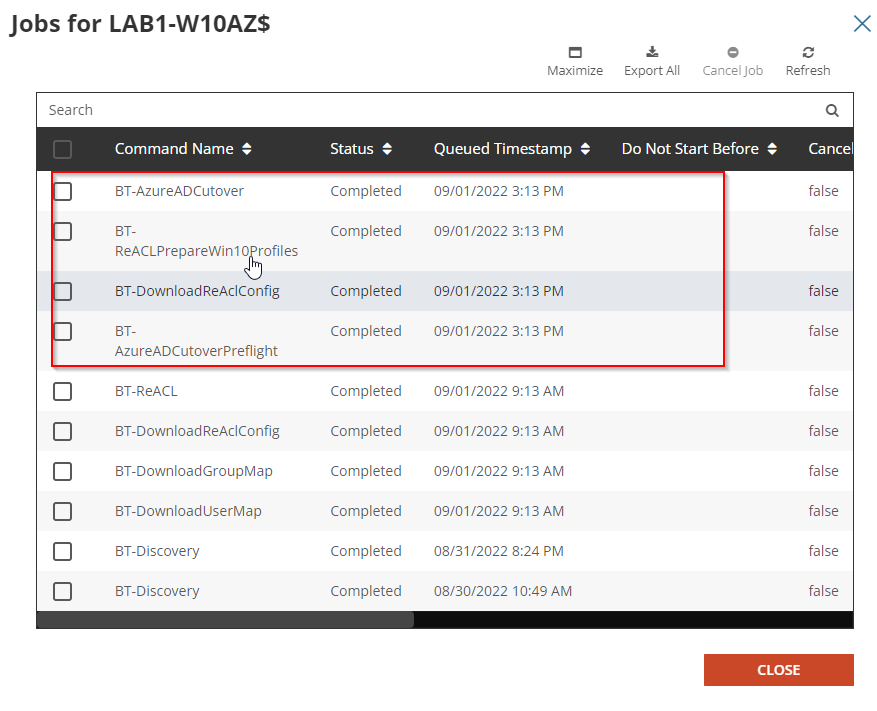
or select View Jobs from the Select Actiondrop-down menu. Click Close when you are done.
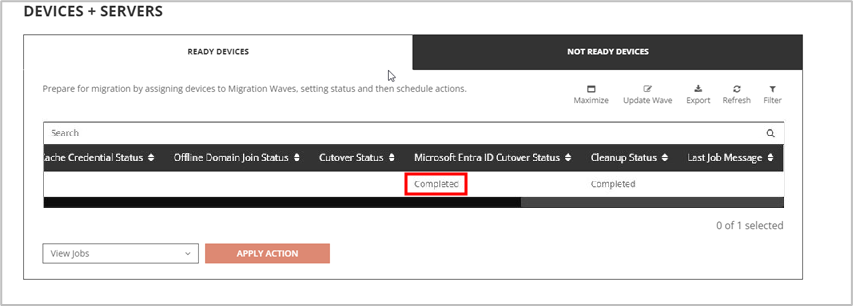
- Step 3: Perform the Microsoft Entra ID Join device cutover.
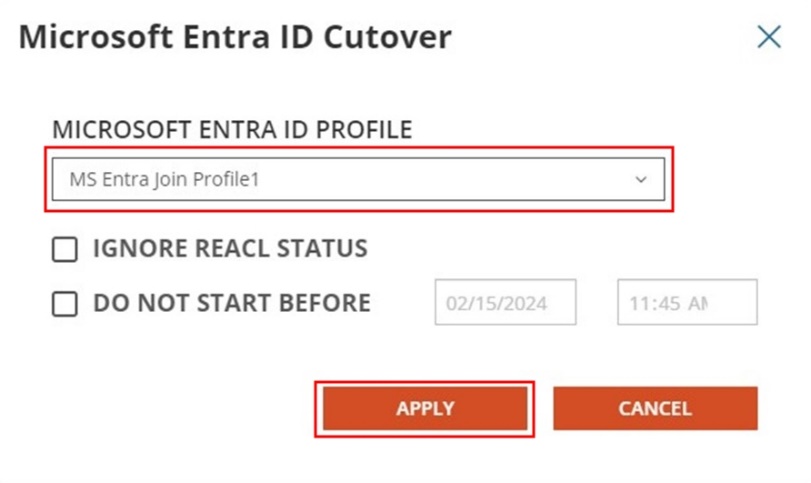
- Select Microsoft Entra ID Cutover from the Select Actiondrop-down menu, and click Apply Action.
- In the pop-up window, select the Microsoft Entra ID Profile configured earlier and click Apply.
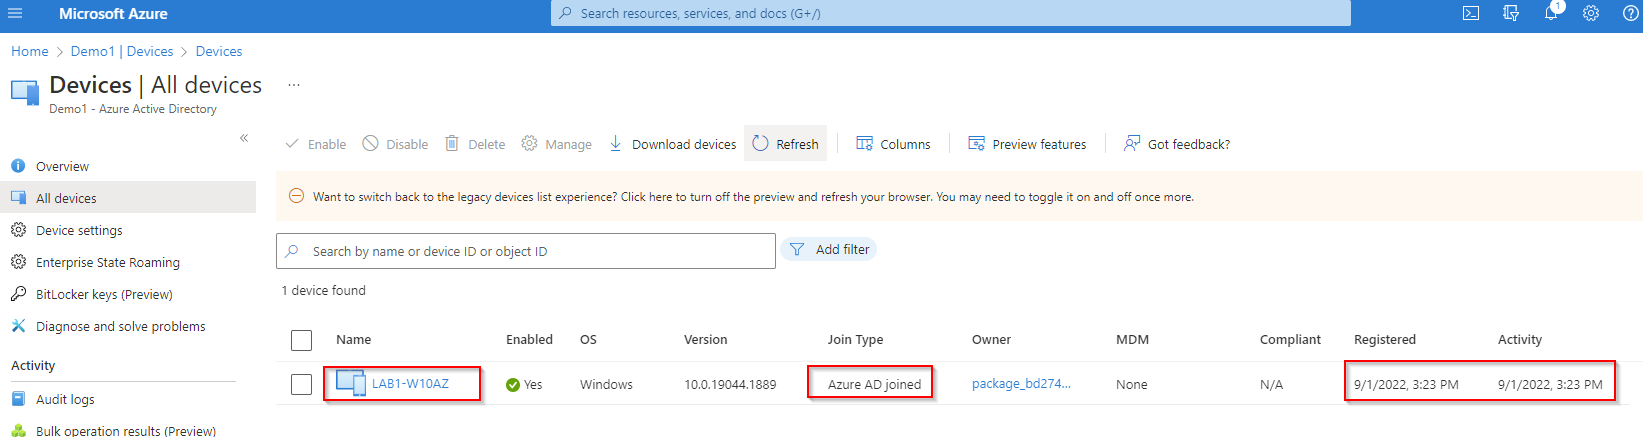
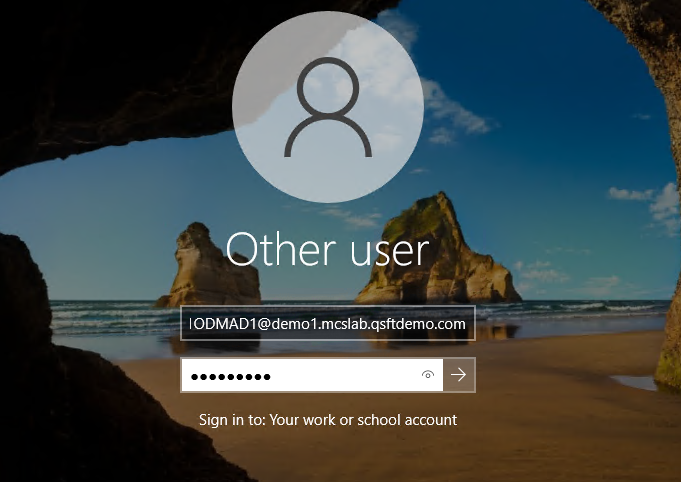
- The device will receive the Microsoft Entra ID Cutover job request shortly and perform the reboot to complete the Microsoft Entra ID device join. You can check the job status via the Microsoft Entra ID Cutover Status.
or select View Jobs from the Select Actiondrop-down menu. Click Close when you are done.