Follow the steps described below to configure the Directory Sync Workflow.
- Log in to Quest On Demand.
- Navigate to Migrate > Directory Sync.
- From the Workflow section, click New to start the workflow wizard.
- Enter the workflow Name and Description. Then click Next.
- Select the discovered environments that you would like to use with this workflow. For the purpose of this guide, select the Local and Cloud Directory Sync environments added previously. Click Next.
- Select One Way Sync and click Next.
- The workflow wizard will have four(4) workflow tasks pre-selected. They are Read, Match, Stage and Write. You must configure all 4 tasks.
- Read – Select the environments from which you wish to read the objects.
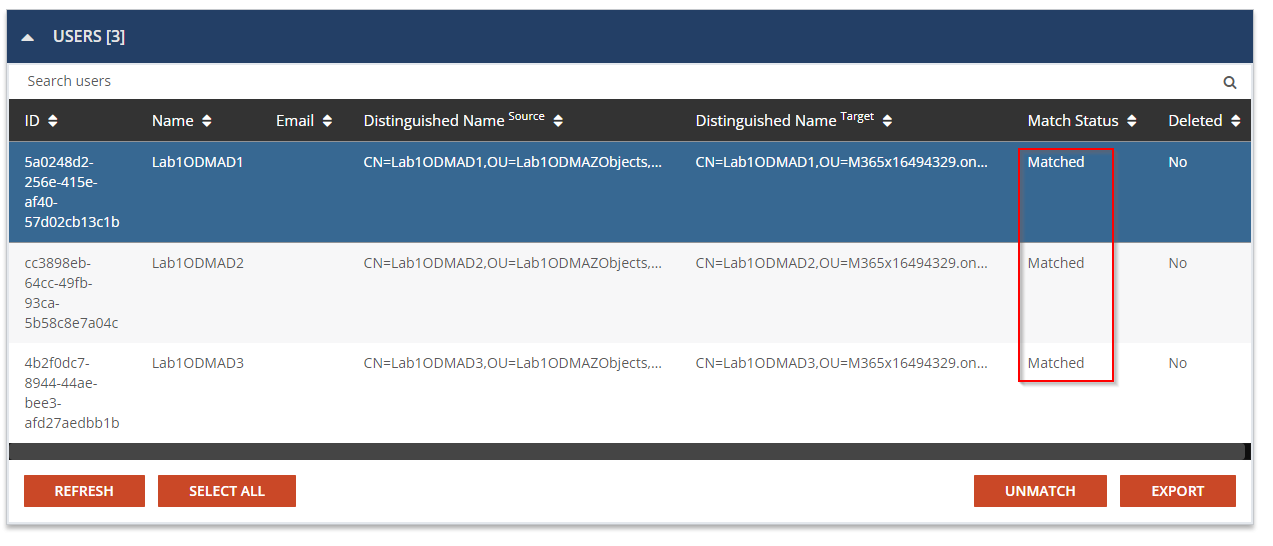
- Match – This is the step where you will decide how to match existing objects across your Microsoft Entra ID directories. Matching is conducted by pairing sets of attributes to find corresponding objects. Your two (2) environments may already have some attributes that can be used to find similar objects between the different directories, or you may need to populate some to ensure accurate matching. For a successful Directory Synchronization, it is most important that existing objects are correctly matched. For the purpose of this guide, DisplayName and Name will be used for matching.
- Stage – Configure how objects are synced using the sync template. The Stage data step is required and if you do not wish to create any objects in the target environment, you may modify the template option and select “Skip” or “Do Not Create” for each object type.
- Select the Sync Template. Click Next.
- Select the source environment. Click Next.
- Select the target environment. Click Next.
- Choose the target domain name. Click Next.
- Select the Source Organizational Units. For the purpose of this guide, select the OUs you have defined in the Local environment which contains your in-scope Users, Groups and Devices. Click Next.
- Configure any Stage Data filters by double-clicking the OUs. It is highly recommended to setup a filter to limit the scope when performing a test on the first sync as part of the validation. Click Next.
- Review the stage data summary and click Finish.
- Write – Specify the environment you want the changes to be applied to and click Next. This task can be removed from the workflow if you do not need to create any objects in the target environment.
- Configure the Sync Interval. For the purpose of this guide, select Manually and click Next.
- Configure the Sync Alert. For the purpose of this guide, we do not want to setup any alerts. Click Skip.
- Review the workflow summary and click Finish.