Follow the steps below to create your own boundary:
1.Select the organization you would like to apply the boundary to.
2.Click Add Boundary.
3.Create a boundary name, and add a description if required.
4.Check the Anonymize sensitive information for selected users box if you would like to have sensitive information, such as names and email addresses, hidden for your selected users. See Data Anonymization on this page to find out more about this.
5.Enter the name of the user to add to the boundary, and click on the name from the drop down list.
6.Once all of your chosen users have been added, select Add Users.
7.Revise your selected users. You can remove a user by hovering over the chosen user, checking the circular box, and clicking Remove Users. Once you are done reviewing your users, click Next.
8.Select the data source(s) you would like users in the boundary to see by checking the box. See Data Source Restriction on this page to find out more about this.
9.All data fields are checked by default. Uncheck the data fields you would not like to your users to see, and click Next.
10. Scope Restrictions is where you can narrow the data of the boundary. See Data Scope Restriction on this page to find out more about this. For example, if you would like to narrow the scope of the boundary to apply only to users in the Sales department in the United States:
a.Click Add Filter Group.
b.Click Select field..., then choose Country or region.
c.For Select operator, click is equal to.
d.In the Enter filter value box, enter United States.
e.Click the plus icon, and ensure the operator states And.
f.Click Select field..., then choose Department.
g.For Select operator, choose is equal to.
h.In the Enter filter value box, enter Sales.
i.Click Next.
11. Review the settings you have created. Once you are satisfied, click Create Boundary. This will then appear in the list of created boundaries.
|
|
NOTE: Virtual Business Boundaries will not take effect immediately, and may take up to 30 minutes to operate as normal upon creation. |
Permissions for each user
By clicking on Check Permissions, and entering the name of a user, you can check the list of permissions assigned to that user, the boundary they have been assigned to, and if data is anonymized for that user. You can download the list of permissions for that user into a .csv file by clicking Download CSV.
Downloading boundaries to .csv
You can download a list of created boundaries, including their created and modified dates, to a .csv file by clicking Download CSV.
New users can be added to tenants that you have access so that they can have access to Nova features and services. This is performed in TMS (the Tenant Management System).
These are the steps that you should take:
1.Login to TMS using an account with the System Administrator role.
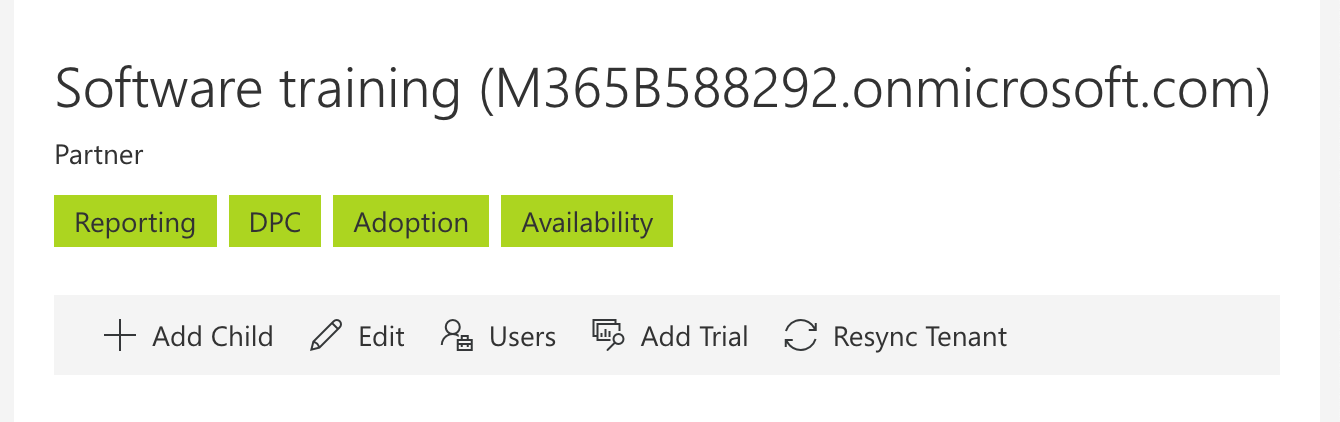
2.Locate the tenant/container where you want to add a new user and click on it.
3.Then click on Users'.
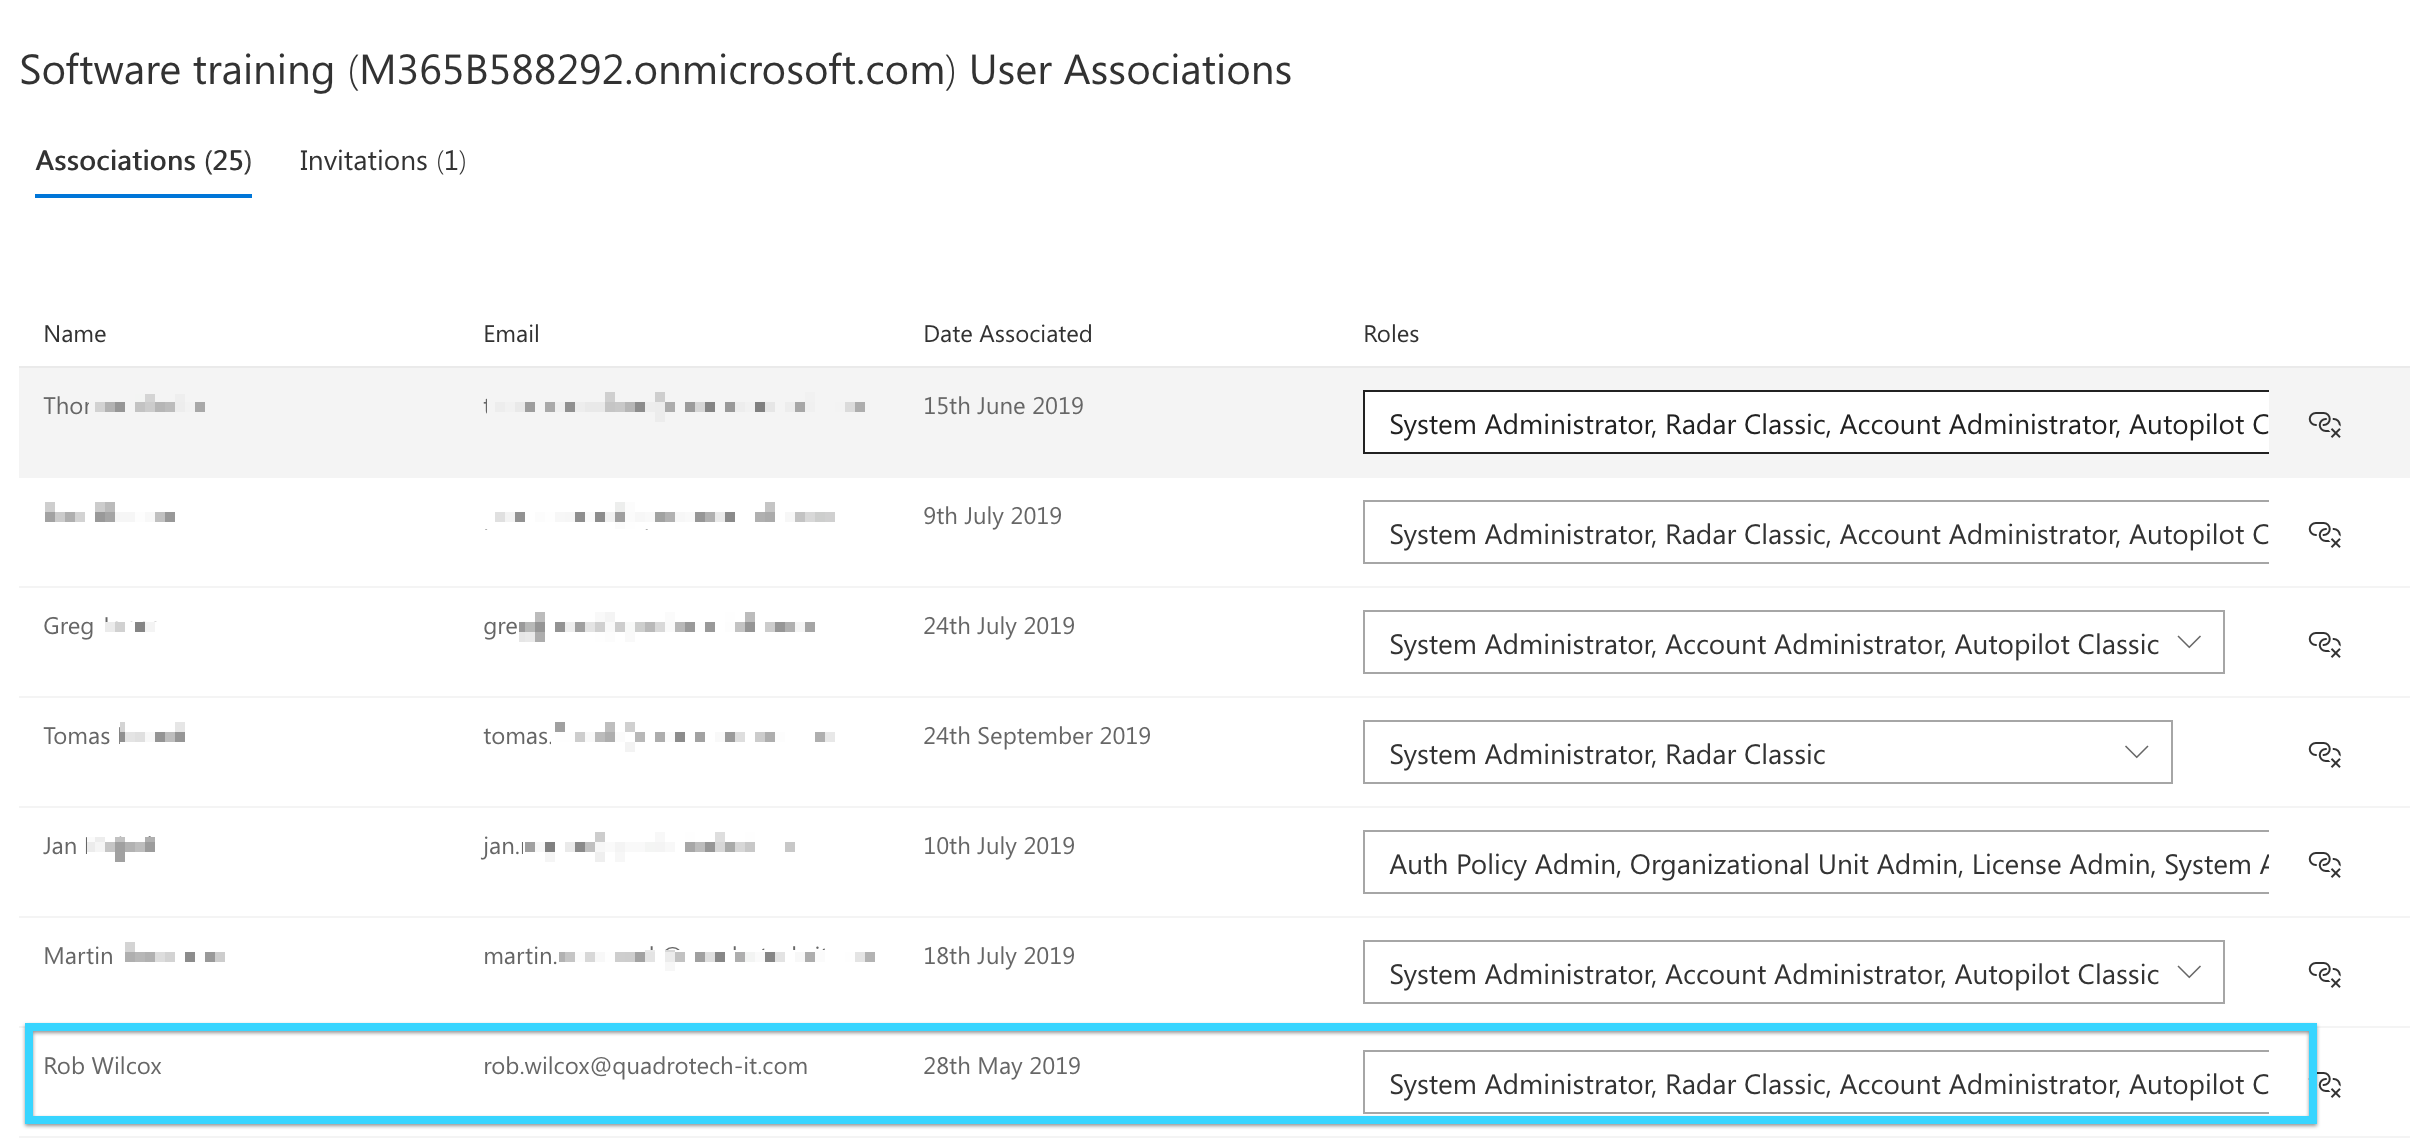
4.You will be shown a list of users who are already associated/invited/active in your chosen tenant. On the invitations' tab, you can invite a new user. Enter their email address, choose appropriate roles, and click on Invite'.
5.Upon addition of the user, the user then needs to accept the invitation using one of the links below (dependent on which platform the user is operating with):
For the Quest platform: https://account.nova.quest.com/invites
You can see invited users on the invitations tab.
Once the user has accepted the invitation, the user will appear on the list of users. They are then associated (or linked) to that container/tenant and have a particular role with associated capabilities within that tenant.
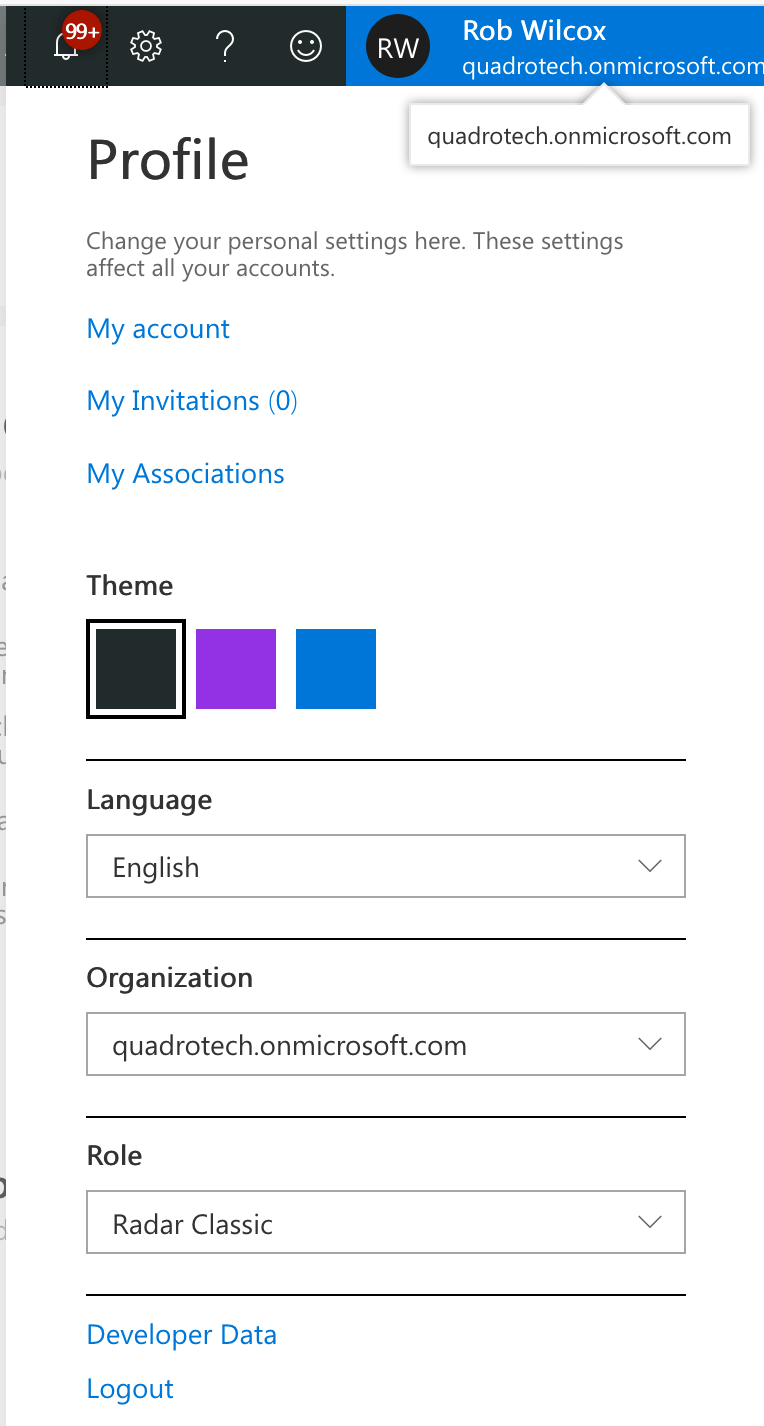
If a user has access to multiple container/tenants then they should use the Persona menu to switch to different tenants:
To learn more about the Persona menu, see this section.
Nova remembers which tenant and role a user was last using, so the next time that user logs into Nova it takes the user back to the same place. This happens across browsers, and across sessions.
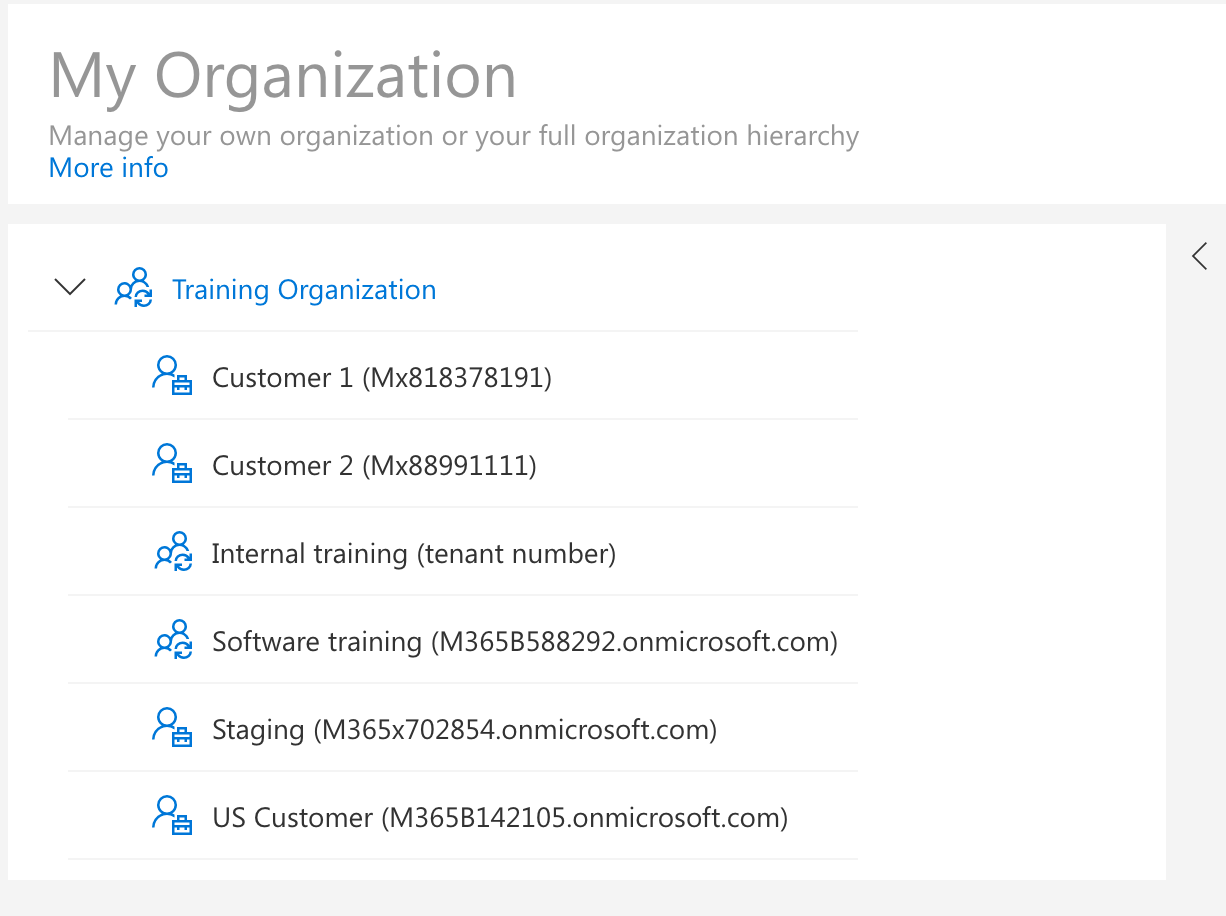
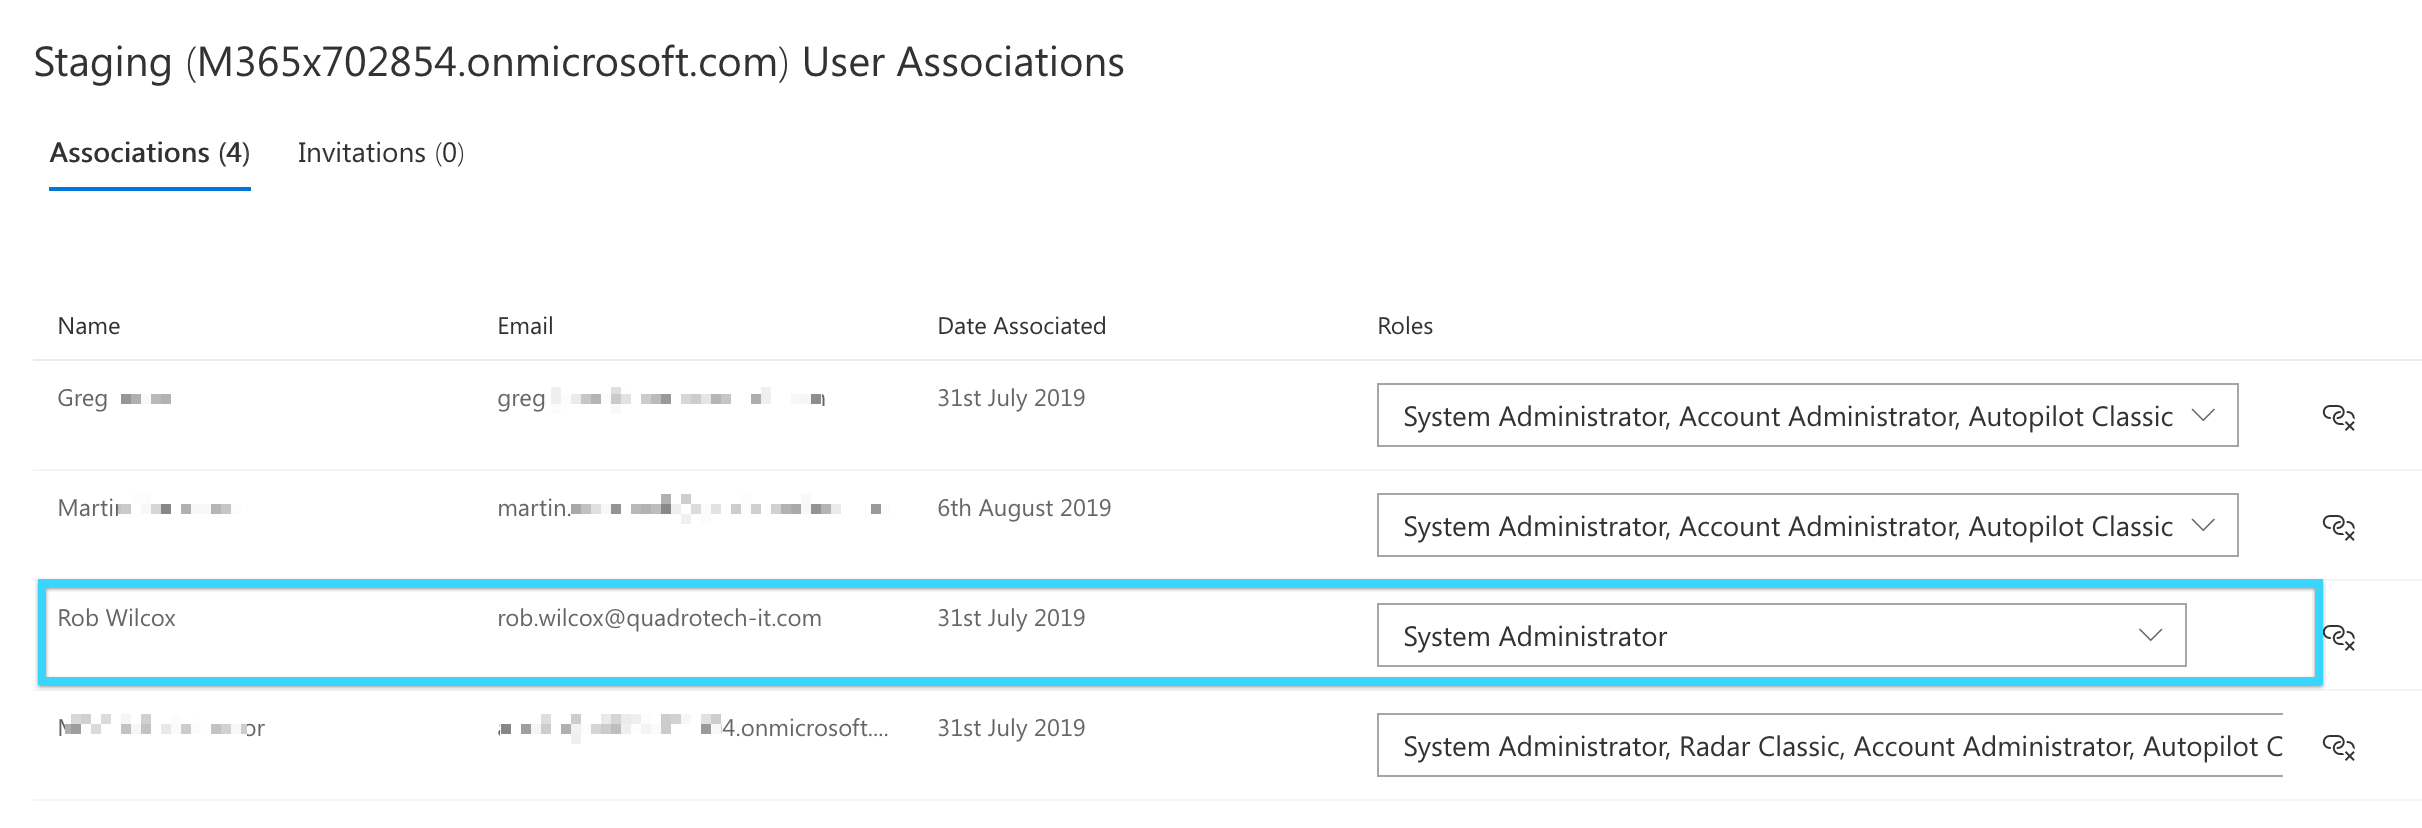
In the above description we have mentioned association' several times, this is essentially a link between your user account, and a tenant, via a particular role. In some organizations there is a one-to-one link, in other organizations a single user might have access to multiple Office 365 tenants. It is also possible for the same user to have different access levels in different organizations. In other words they would have different roles. Let us say we have multiple tenants in an organization, as shown below:
An account, can have different roles in different tenants in this structure.
And in fact might not have access to certain tenants in the structure.
Removing a user
To see how to from your tenant, see this section.
Microsoft 365 implements a series of throttling policies on Microsoft 365 tenants that can inhibit the collection of reporting data for Nova customers.
In order to improve the reliability and speed of the data collection process, we recommend that Microsoft 365 tenants with more than 10,000 users take advantage of our Multiple Service account feature.
By adding multiple Nova service accounts, you will help ensure that reporting data is updated in a timely manner without impacting your Microsoft 365 tenant. These service accounts do not require a Microsoft 365 which means that taking advantage of this feature does not add any cost to your Microsoft 365 subscription.
Getting started
Before we begin, you must create some additional accounts within your Microsoft 365 environment with the correct permissions.
For simplicity, we recommend that these service accounts are named as follows:
NovaDPC@<domain>.onmicrosoft.com
NovaDPC1@<domain>.onmicrosoft.com
NovaDPC2@<domain>.onmicrosoft.com
etc
To create the service accounts for DPC, please follow the steps outlined at this section.
|
|
NOTE: If you are using the SharePoint Online Reports module, you will also need to give this account the correct permissions to the SharePoint Online Site Collections you are reporting on you can find the steps to do so at this section. |
Alternatively, you can create a Security Group in Microsoft 365 with these correct permissions and add the Nova Service accounts into this security group.
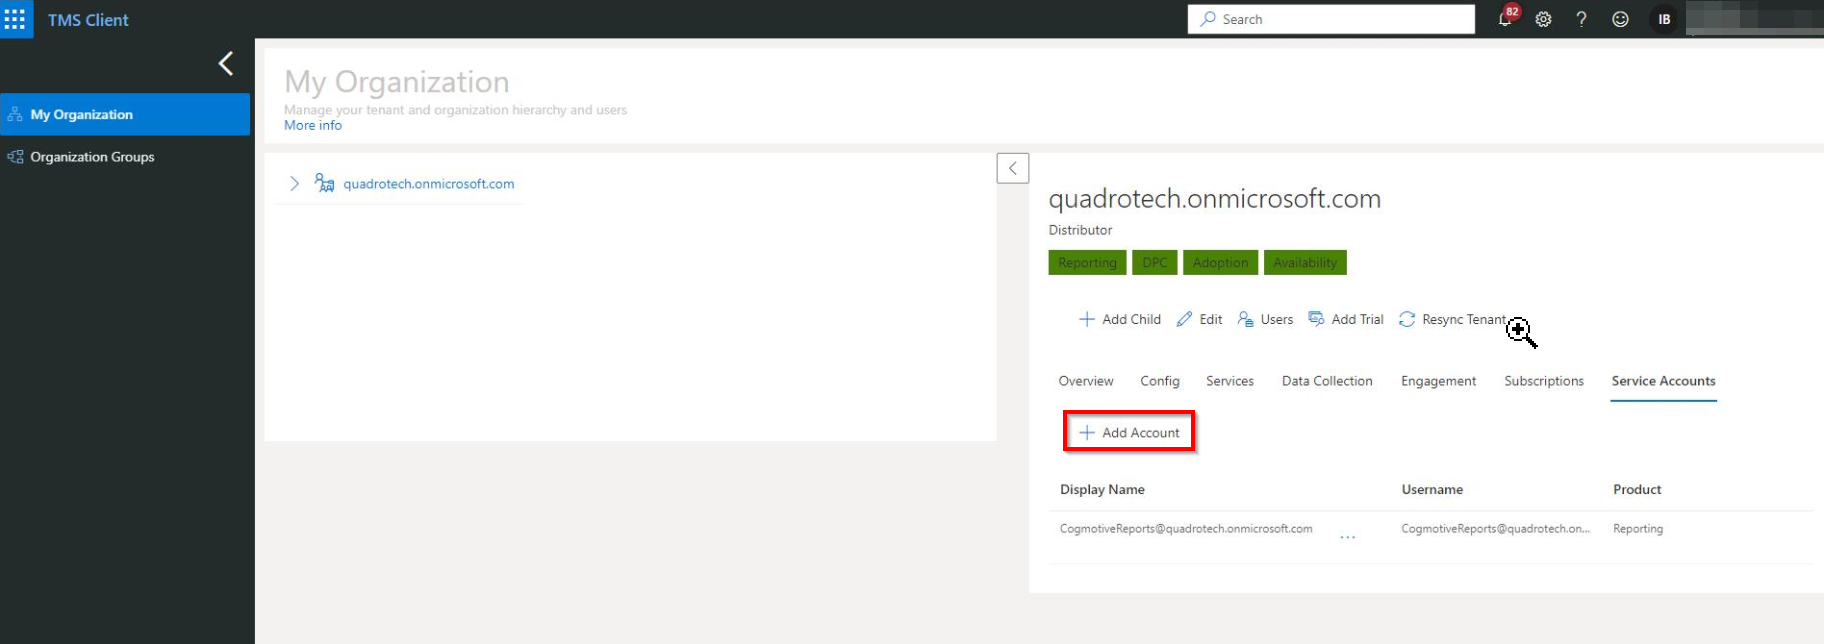
Adding these accounts to Nova
To add an additional service account,
1.Log in to your tenant as an administrator at https://account.quadro.tech
2.Go to the My Organization tab
3.Select your tenant
4.Click add account'.
An expansive section on service accounts can be found here.
From time to time it might be necessary to remove a user from your tenant. We also call this removing the user association. It is easy to do by following these steps:
1.Login to TMS using an account with the System Administrator role.
2.Locate the tenant/container which you want to manage and select it.
3.Then click Users.
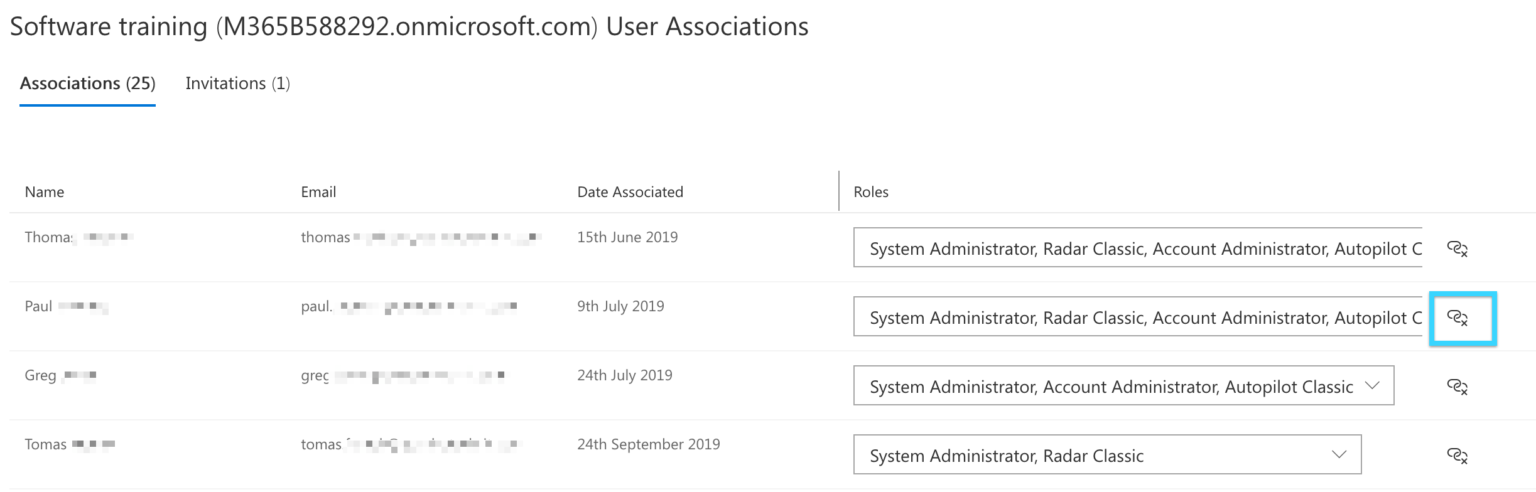
You will be shown a list of users who are already associated / invited / active in your chosen tenant.
Click on the icon to the right of the user and their roles, and it will remove their association with this tenant.
|
|
NOTE: There is no confirmation dialog and the user will be removed immediately. |