On Demand Migration Active Directory Project
This section provides a step-by-step guide on how to configure Active Directory Migration configurations and migrating the source device to target Microsoft Entra ID only tenant.
Install the local agent on the workstation
Install the local agent on the workstation
-
Log in to On Demand.
-
Navigate to Migration, select the project, and click on Active Directory.
-
Click on the Active Directory icon.
-
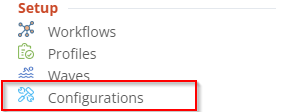
Via the hamburger menu, click on Configurations.
-
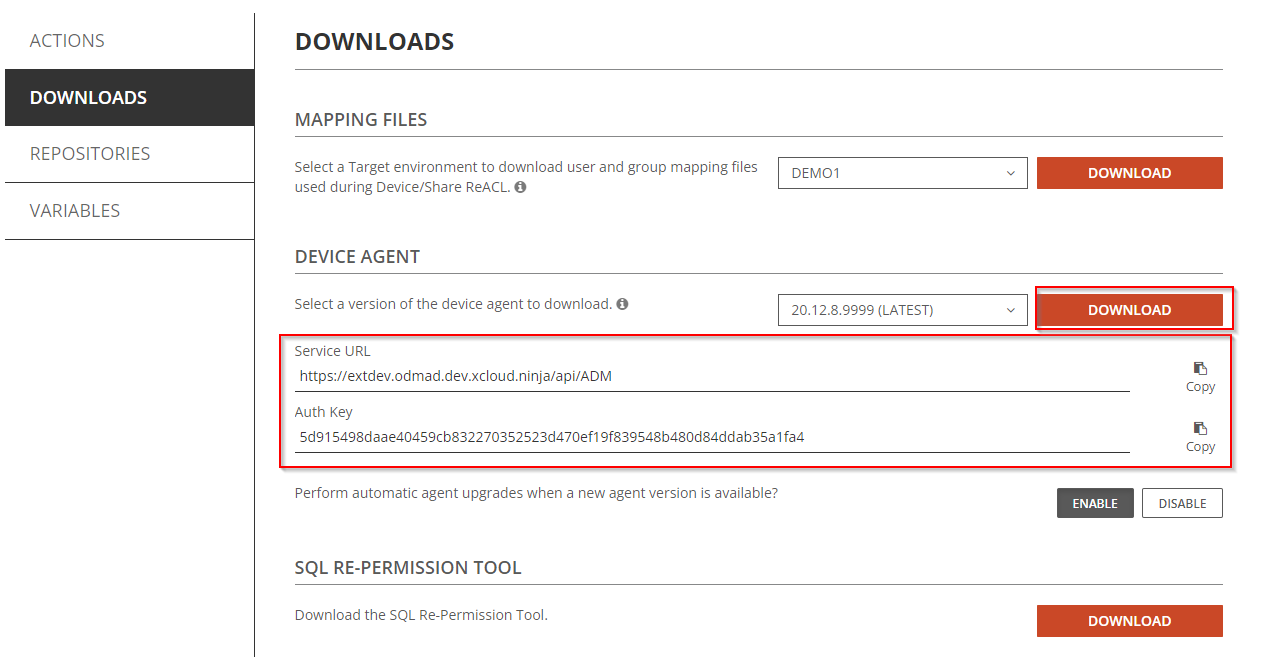
Download the latest device agent and note the Service URL and Auth Key for later use.
-
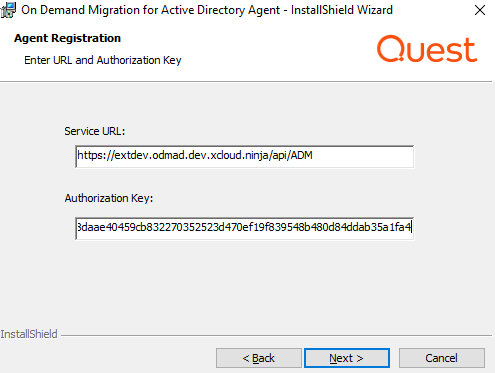
Copy the agent installation file onto the workstation and run the installer. The installer will prompt you to enter the Service URL and Auth Key noted in the previous step. Follow the installer wizard to complete the installation process.
-
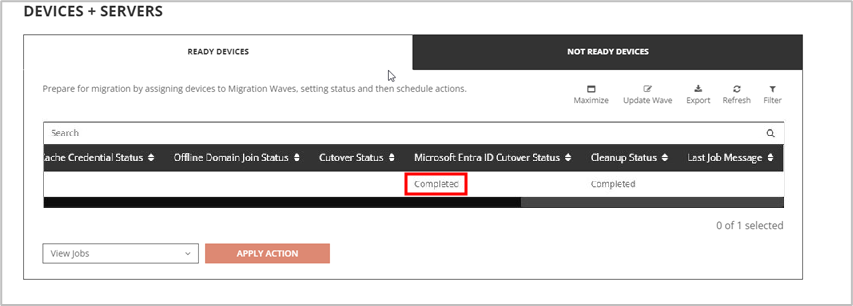
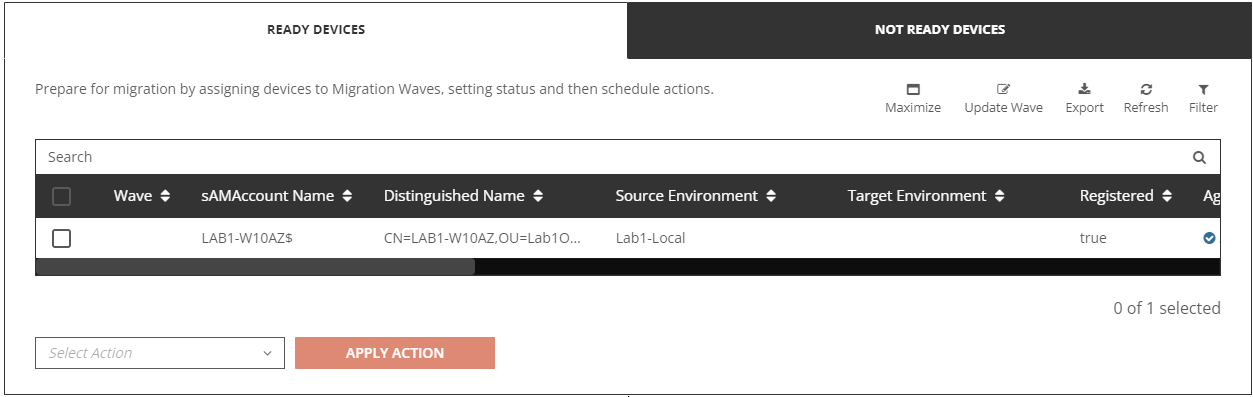
After the agent installation completes, you should see the device under the Ready Devices tab via Devices + Servers in the Hamburger Menu.
Note: by default, when the agent is first installed, it may take up to 4 hours for the agent to be registered and show up in On Demand Migration Active Directory “Ready Devices” view.
Setup the Microsoft Entra ID Bulk Enrollment Repository and Microsoft Entra ID Join Migration Profile
Setup the Microsoft Entra Bulk Enrollment Repository and Microsoft Entra ID Join Migration Profile
-
Log in to On Demand.
-
Navigate to Migration, select the project, and click on Active Directory.
-
Click on the Active Directory icon.
-
Via the hamburger menu, click on Configurations.
-
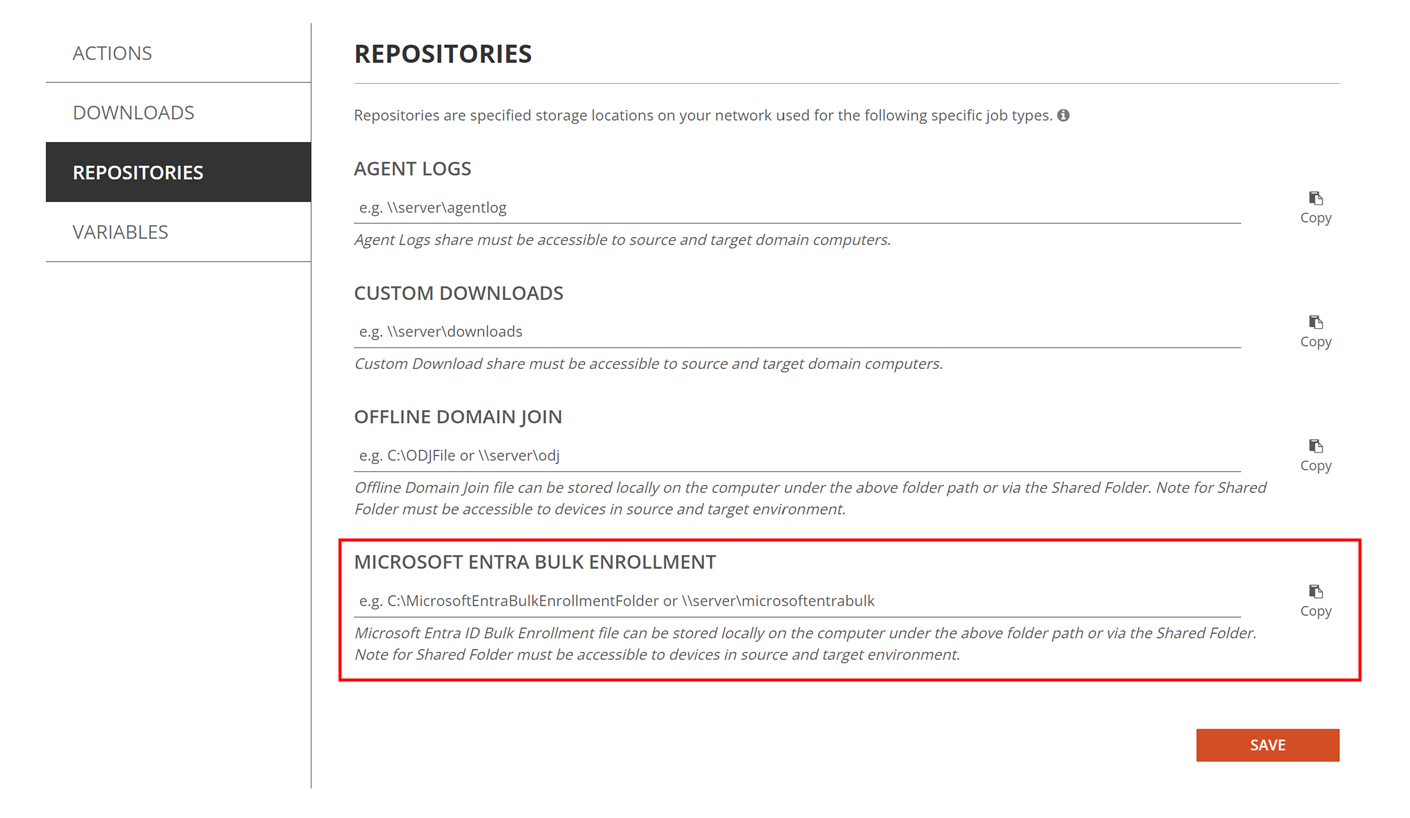
Click on Repositories and fill in the Provisioning Package Local Path or Shared Folder’s UNC Path under Microsoft Entra Bulk Enrollment. Click Save.
-
Via the hamburger menu, click on Profiles.
-
Click on Microsoft Entra Join tab, and click on Add to create a new Microsoft Entra Join Profile.
-
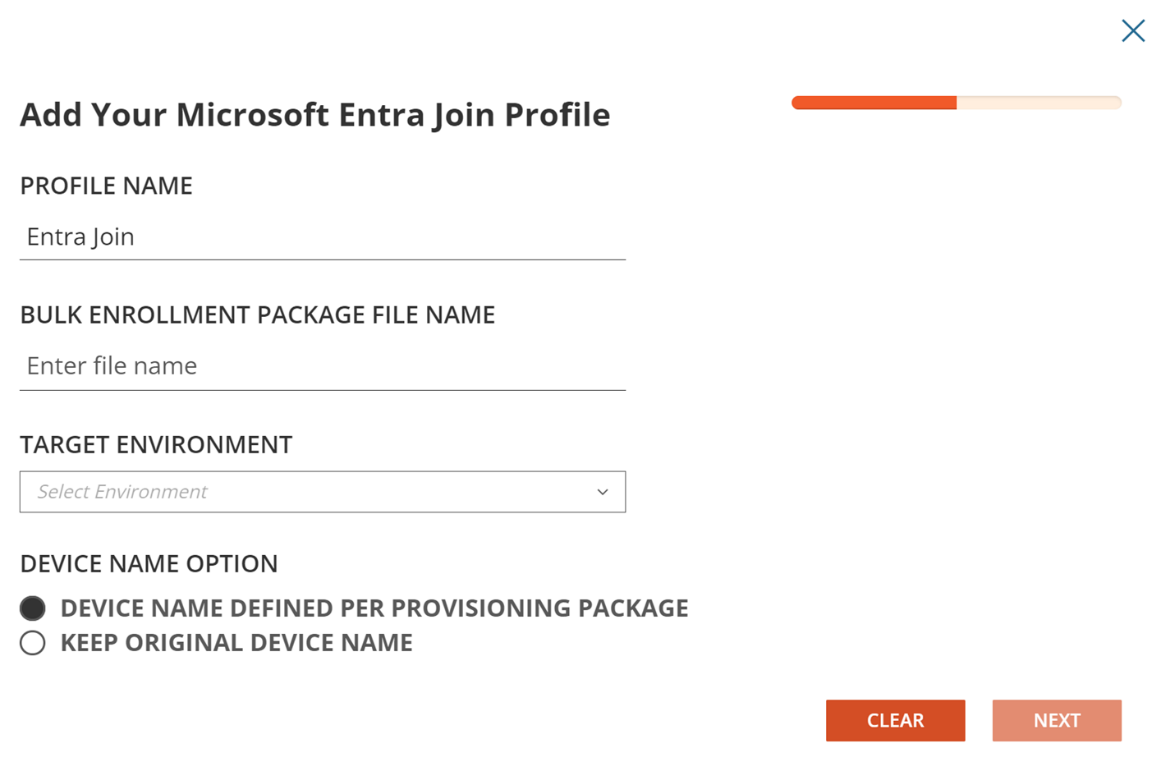
Enter the following information in the profile and click Save.
-
Name of the Profile
-
Provisioning Package File Name
-
Source Domain Credential
-
Specify the target Microsoft Entra tenant
-
Choose an option to either preserve the computer name or use the name defined in the provisioning package.
-
Click Next
-
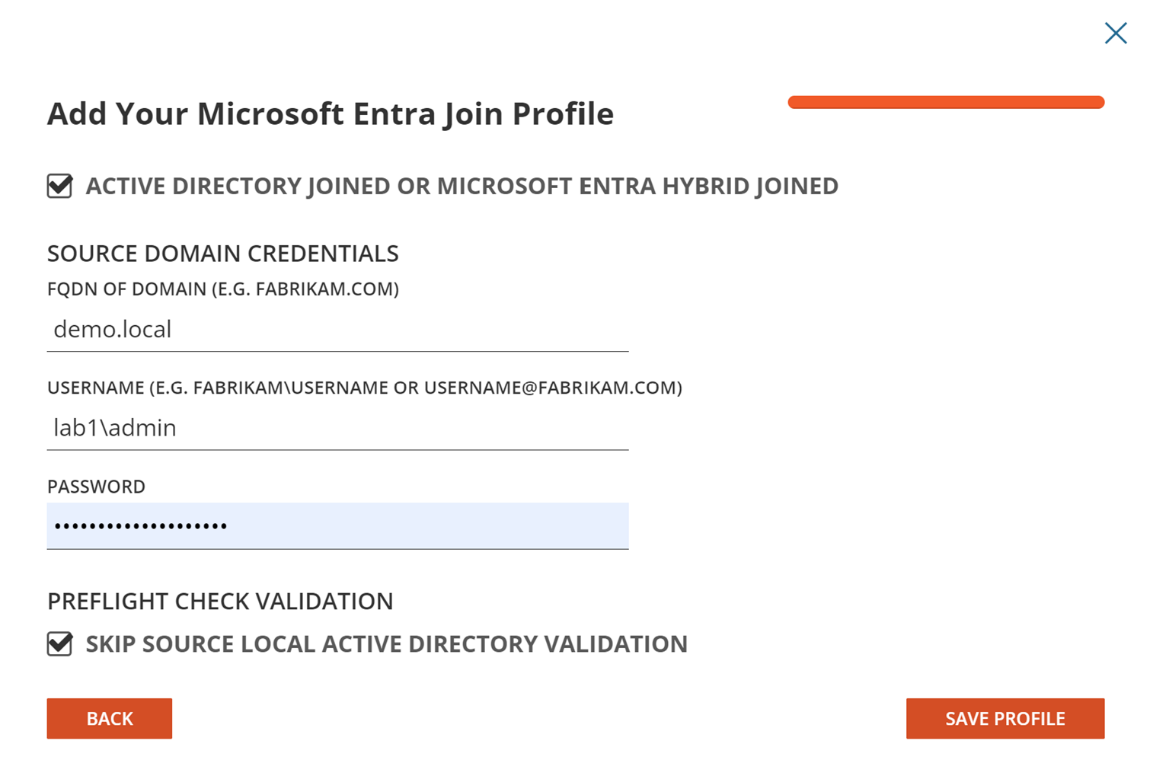
Enter the Source Domain Credential information including the Domain FQDN. Note, if the source device is an Microsoft Entra Join Cloud Only device, you may uncheck the “Active Directory Joined or Microsoft Entra Hybrid Joined” option.
For Preflight check validation, choose this option if the source device is a remote workstation that does not have access to Local On-Premise Active Directory.
-
Click Save Profile
-

Perform Device Migration
This section provides a step-by-step guide on how to perform the Device Migration to Microsoft Entra ID Join including Device ReACLing, and Device Cutover.
-
Log in to On Demand.
-
Navigate to Migration, select the project, and click on Active Directory.
-
Click on the Active Directory icon.
-
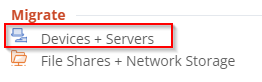
Via the hamburger menu, click on Devices + Servers.
-
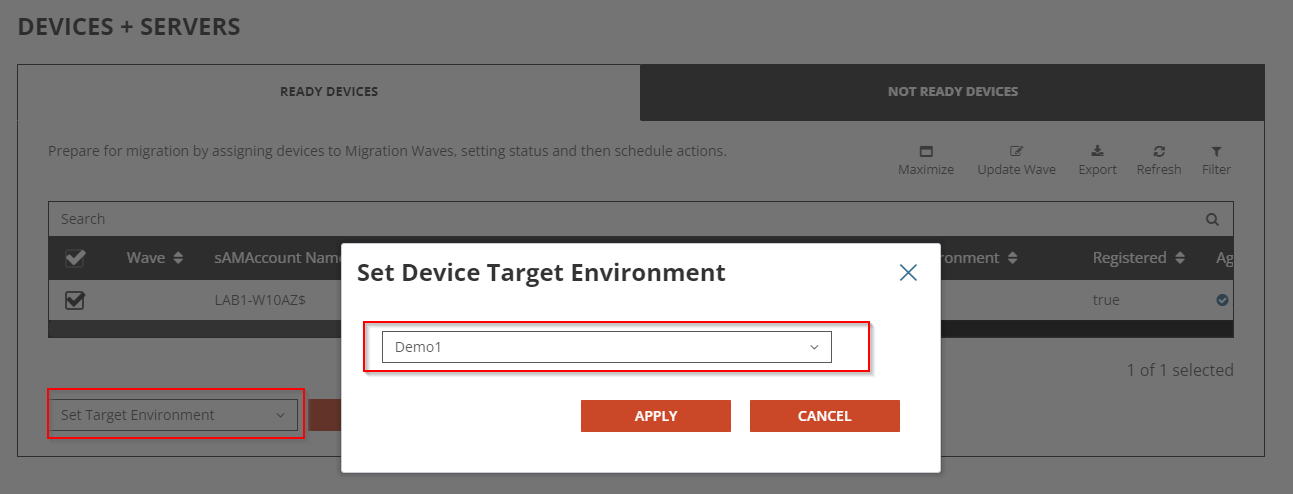
First, we will define the target environment for the device.
Select the device, select Set Target Environment from the drop-down action menu, click Apply Action. In the pop-up window, select the target Microsoft Entra tenant and click Apply.
-
Next, we will perform the Device ReACL in preparation for Microsoft Entra ID Join cutover.
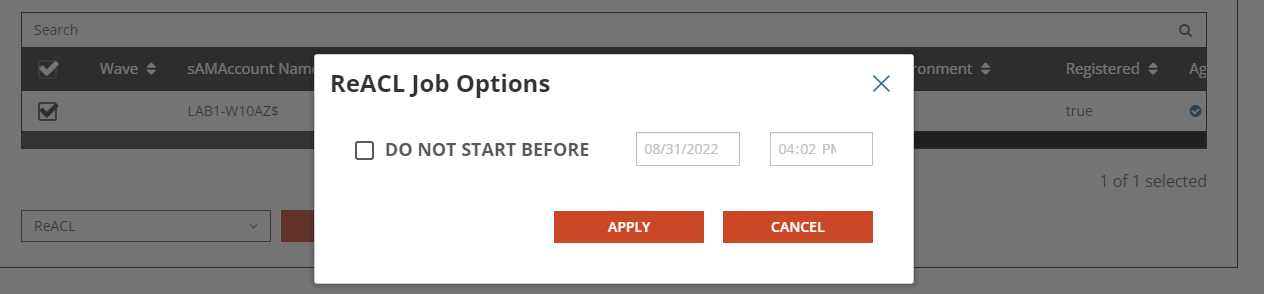
Select ReACL via the drop-down action menu, click Apply Action. In the pop-up window, click Apply.
-
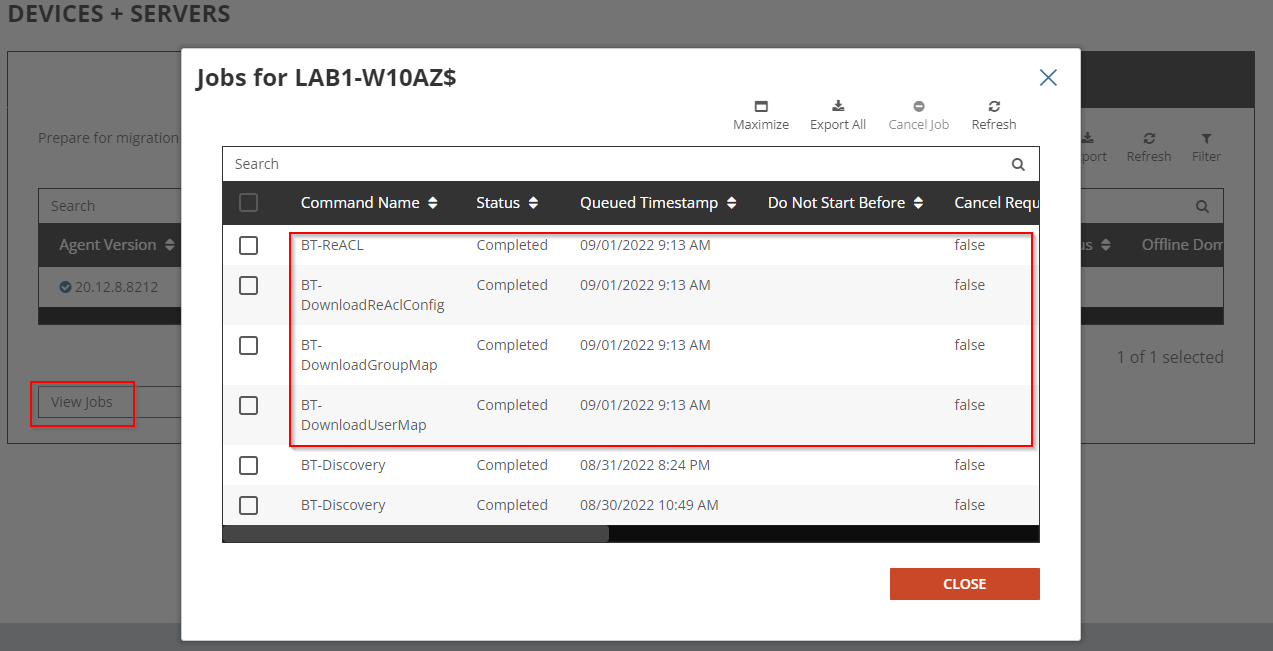
The Device will receive the ReACL job shortly and complete the processing. You may check the job status via the ReACL Status or select View Jobs action from the drop-down menu.

-
Next, we will perform the Microsoft Entra ID Join device cutover.
Select Microsoft Entra ID Cutover via the drop-down action menu, click Apply Action. In the pop-up window, select the Microsoft Entra ID Profile configured earlier and click Apply.

-
The Device will receive the Microsoft Entra ID Cutover job request shortly and perform the reboot to complete the Microsoft Entra ID device join. You may check the job status via the Microsoft Entra ID Cutover Status or select View Jobs action from the drop-down menu.