Use the Add button to add SMS servers to be processed by this task. In the Add SMS Server dialog box that appears, either type the server name in the text box or use the Browse button to select the server from the list.
You can either use the credentials of the currently logged-in user to connect to the server or specify different credentials. In the latter case, either type the username and the password in the text boxes or use the Browse button to select the user. Click OK.
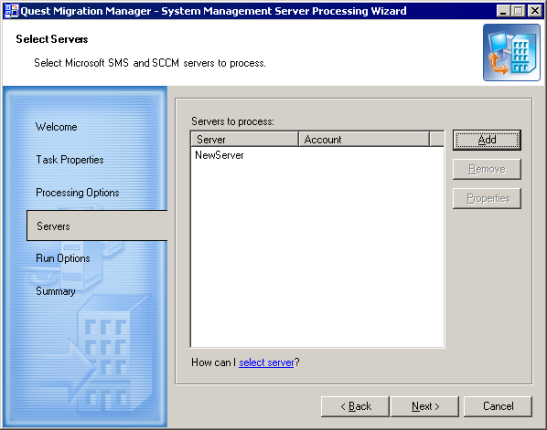
Use the Remove button to remove servers from the list. To change credentials, select the server in the list, click the Properties button, and specify the new credentials in the SMS Server Properties dialog box.
Click Next to proceed with the next step.
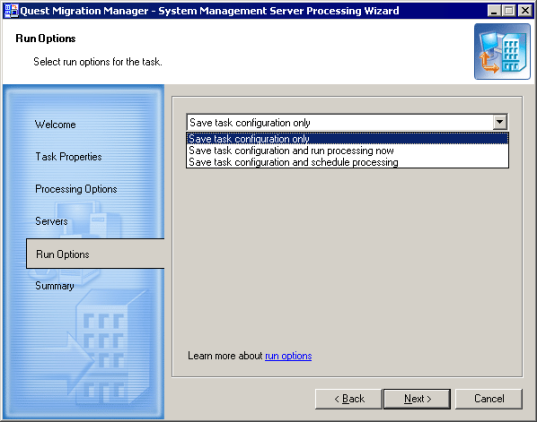
This step allows you to specify whether the task should be started immediately or scheduled.
In this step, the wizard displays all the settings you made in the previous steps. You can print these settings for later review by clicking the Print button and then selecting the printer. You can also save the settings in a text file by clicking the Save As button and specifying the filename.
Click Finish to complete the SMS Processing Wizard. The new SMS processing task will appear under the Tasks container in the Migration Project tree.
To start an SMS processing task from Migration Manager, select the task in the project tree, right-click the task and select the Start command from the shortcut menu.
To view the task execution progress, select the task object in the project tree and switch to the Information tab in the right-hand pane.
If for some reason you want to interrupt SMS processing, right-click the task and select the Stop command from the shortcut menu.
If you stop processing by selecting the Stop command, or the task execution is stopped due to an error, the task acts as follows:
The QsSmsProcessingWizard_<Timestamp>.log file is stored in the %TEMP% folder.
|
|
NOTE: SMS Processing Wizard does not store information about its own activities under the History node in the Migration Manager console management tree. All data is stored in the appropriate log file. |
To reconfigure the task, right-click the task object and select Properties. The SMS Processing Wizard will start and let you specify different options for the task. Refer to the steps above for more information on the available options.
|
|
Caution: If some members of the local groups BUILTIN\Administrators and SMSAdmins on the source were processed by the SMS Processing Wizard, you should process these groups on the source domain controller with Resource Updating Manager to make these accounts members of the corresponding groups. |


