When an administrator buys a license that contains multiple seats, filling up these seats can be done in the following manner.
Select the Manage your license online from the account drop-down list (or use this URL directly from a web browser: https://core-licensing-ui-prod.ism.quest.com/ licensing portal site):
When the log-in process is done, the license portal will be opened. The next step is to click on the desired product:
When the License Detail page is opened, click on the Seats tab (or MANAGE SEATS button):
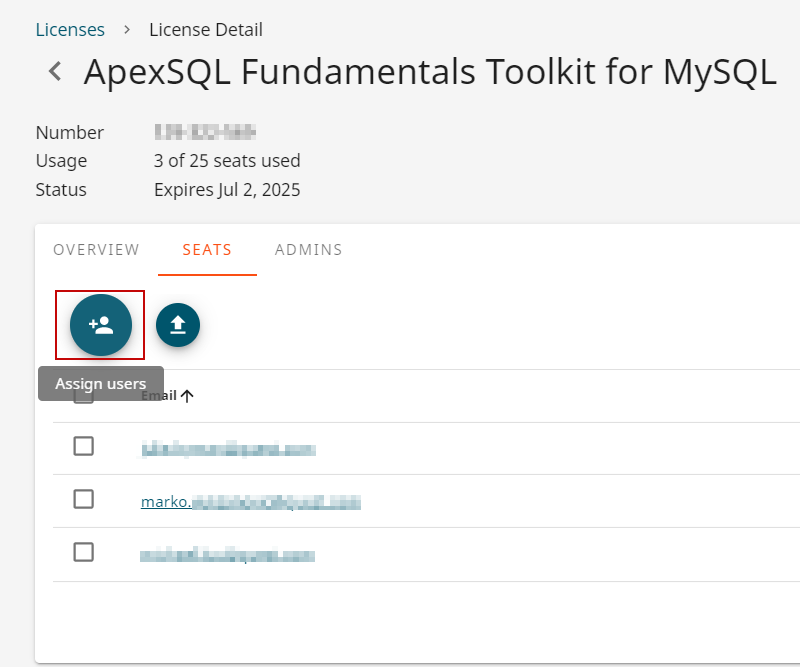
The new page will be opened, click the Assign users button:
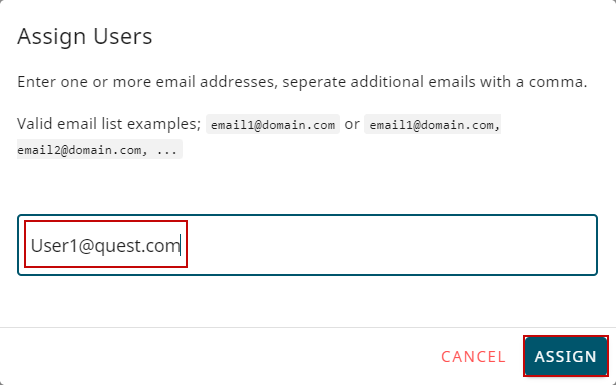
The Assign users pop up will be shown, in the text field type the user’s email and click the Assign button:
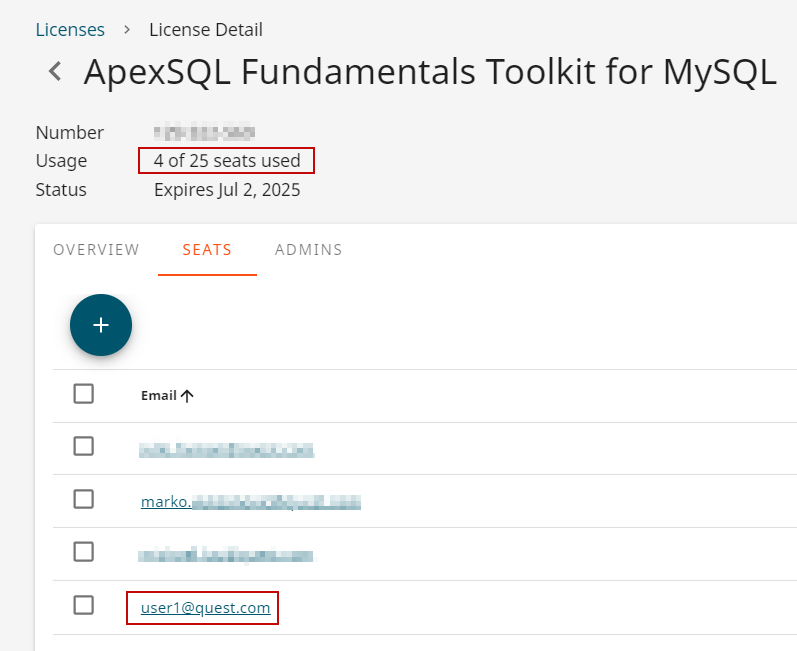
On the License detail page, the newly added user will be shown, and the new state of seats:
Quick tip:
On this License details page administrators can see how many seats are used/free
It is good to note that there is a possibility of adding multiple users at the same time
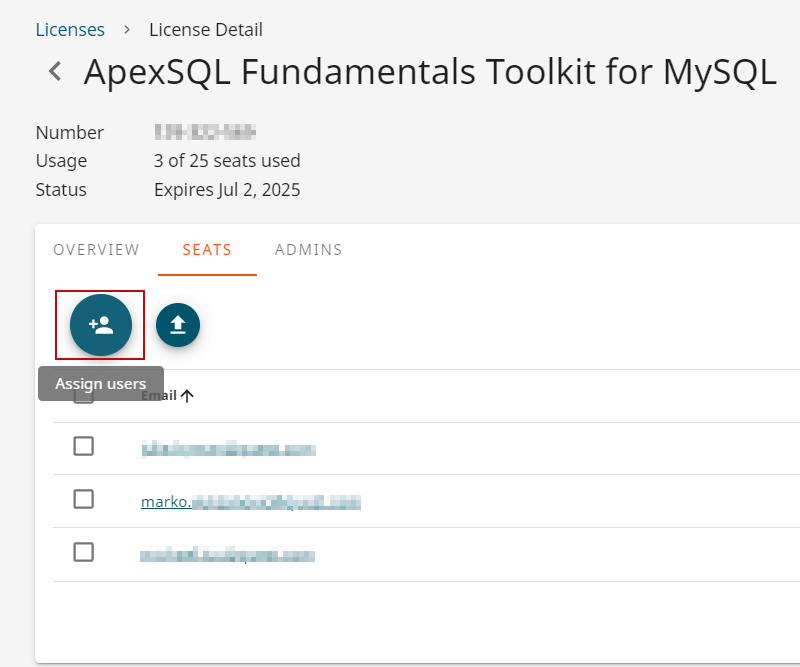
When the desired product is selected and the Seats tab is opened, click the Assign users button:
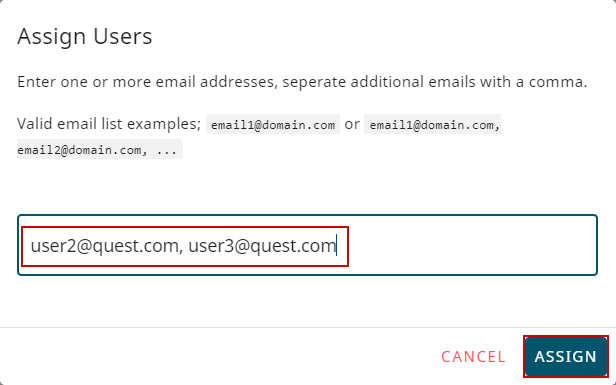
The Assign users pop up will be shown, in the text field type the user’s emails (for example: user2@quest.com, user3@quest.com ) and click the Assign button:
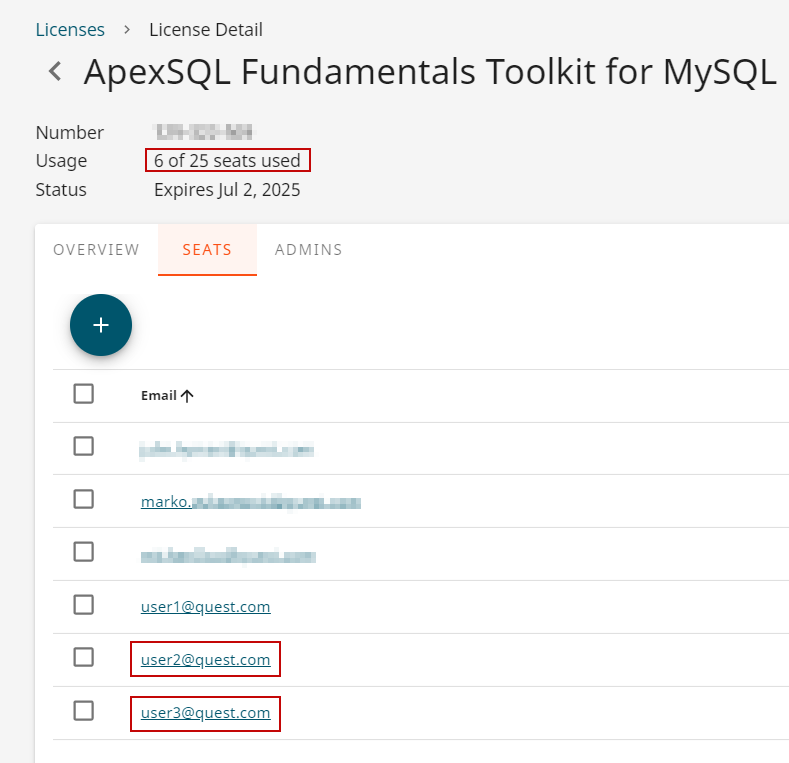
As shown in the image below, the newly added users will be assigned, and the new state of seats will be shown:
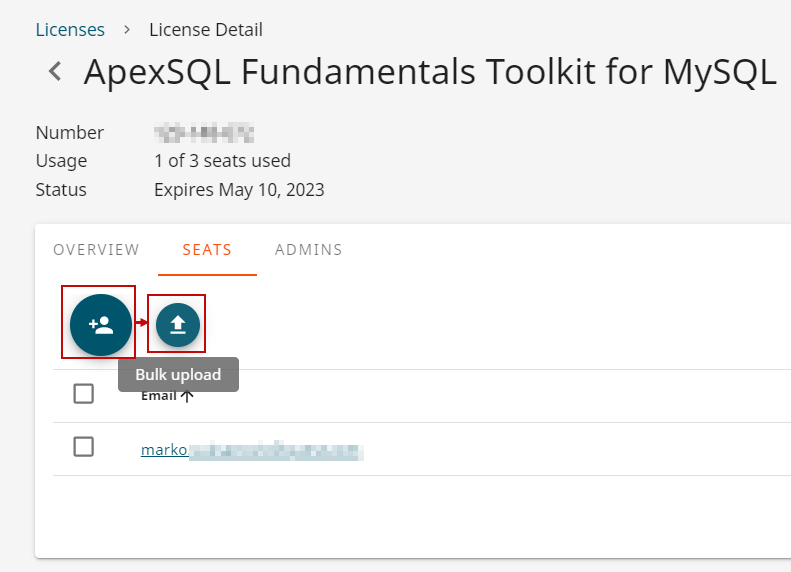
In this example, the ApexSQL Fundamentals Toolkit for MySQL will be used for the demonstrative purpose to show how to add multiple users using a CSV file.
When the License detail page is shown, hover the mouse over Assign users and the Bulk upload button will be shown, click on it:
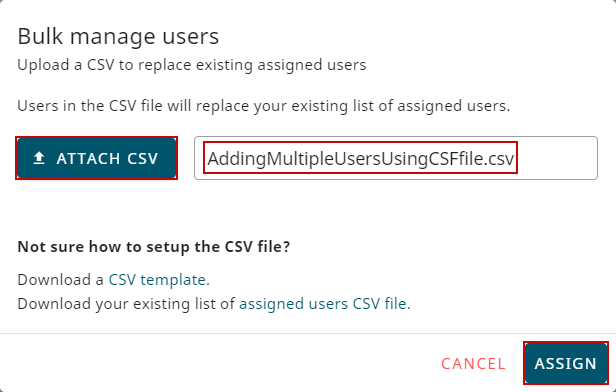
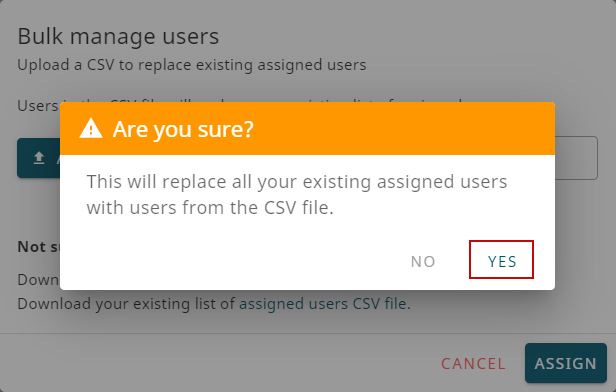
When the Bulk Manage users pop up is opened click on the ATTACH CSV file, select desired CSV file, and click the ASSIGN button:
Import Successful message will be shown, and there will be additional information with the results of this action: