Managing ControlPoint Policies
The Manage ControlPoint Policies action lets you view ControlPoint policies for a selected scope. You can:
·view/edit the details of a ControlPoint policy
·delete a policy, and
·re-register policies when a new Web application, site collection or subsite is added.
NOTE: If you are a Farm Administrator, you will be able to view all policies within the selected scope; otherwise, you will only be able to view policies that you have created.
To manage ControlPoint policies:
1Select the object(s) whose policies you want to manage).
2Choose Automation > Manage Policies.
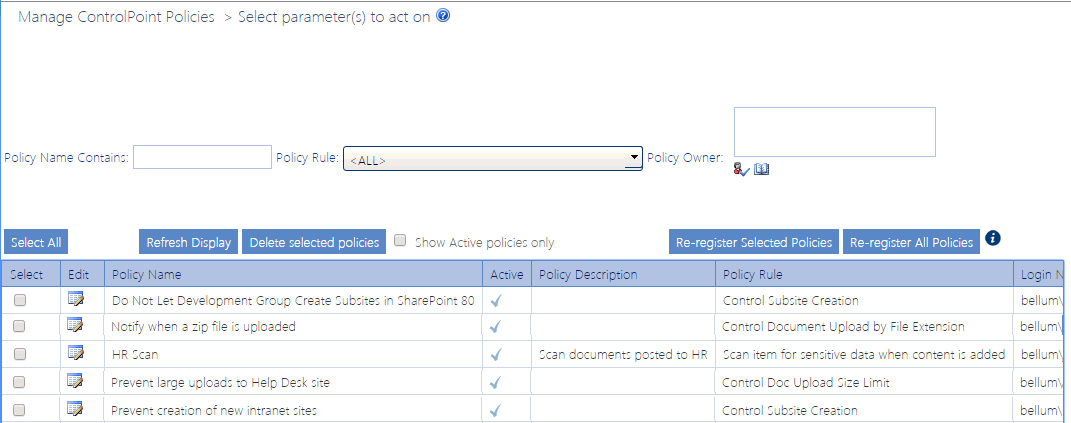
All of the policies that apply to the selected scope display, along with the following information:
§the Policy Name and Policy Description
§an indication of whether the policy is Active
§the Owner (creator) of the policy
§the policy's Created Date
§the user the policy was last Updated By.
3If you want to narrow the list to include only policies that meet specific criteria:
a)Specify one or more of the following filters:
§Policy Name contains
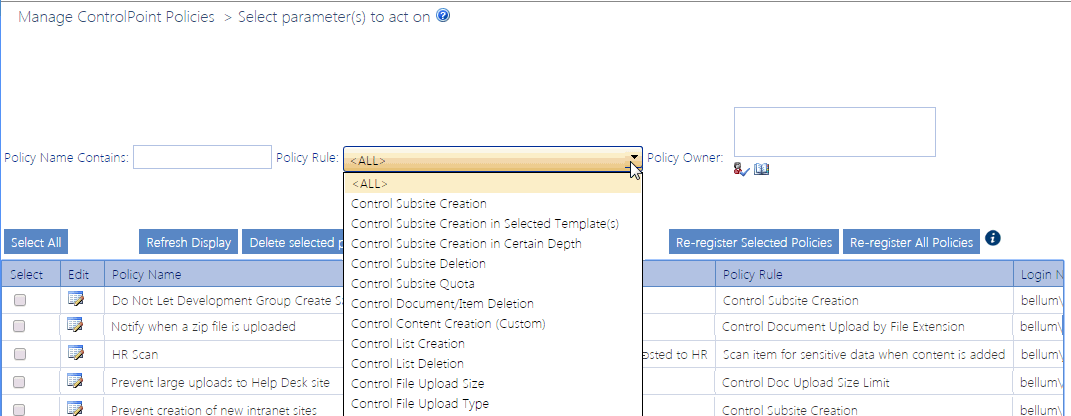
§Policy Rule
§Policy Owner
§Show Active policies only
b)Click [Refresh Display]
Now you can:
·open a policy for viewing/editing
·re-register one or more policies
Viewing/Editing a ControlPoint Policy
From the Manage ControlPoint Policies interface you can access a ControlPoint policy whose details you want to view or edit.
To access a ControlPoint policy's details:
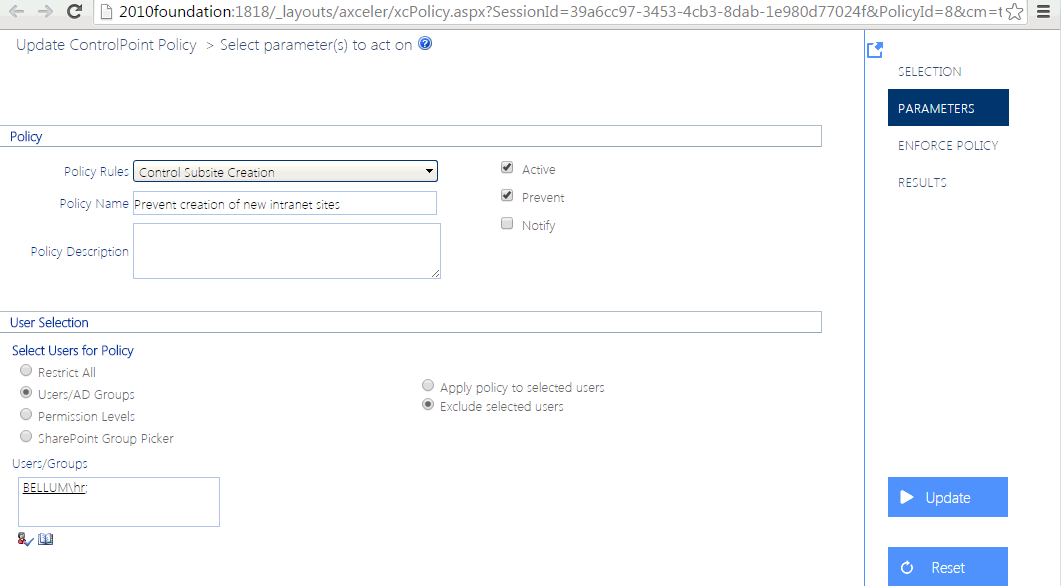
From the Manage ControlPoint Policies table, click the policy's Edit icon (
The Update ControlPoint Policy page opens in a separate browser window.
To edit the policy:
1Modify the appropriate fields as you would for Creating a ControlPoint Policy.
2To save changes click [Update].
Deleting ControlPoint Policies
From the Manage ControlPoint Policies page you can delete one or more ControlPoint policies.
NOTE: If you delete a policy, it will no longer be included in the ControlPoint Policies Report. You can, alternatively, deactivate a policywhich would also give you the option of reactivating it at a later timevia the Update ControlPoint Policy page.
To delete one or more selected ControlPoint policies:
1In the ControlPoint Policies table, check the Selected box for each policy you want to delete.
If you want to delete all policies, click Select All. (Note that, if the ControlPoint Policies table contains more than one page, policies on all pages will be selected).
2Click [Delete selected policies].
Re-Registering a New Site Collection for a Policy
Whenever you add a Web application or site collection to the scope covered by a policy, you must "re-register" the policy so that the new objects will be assigned to the SharePoint event handlers that watch for the actions covered by the policy.
You can either:
·re-register one or more policies in real time (for example, as soon as a new site collection or subsite is added)
OR
·schedule the re-registration of all policies to run either one time or on a regular basis (such as nightly) to ensure that new site collections/subsites will always be added to policies.
To Re-register Selected Policies:
Use the information in the following table to determine the appropriate action to take.
|
If you want to re-register ... |
Then ... |
|---|---|
|
selected policies immediately* |
·Check the Select box each policy you want to re-register. ·Click [Re-register Selected Policies]. |
|
all policies immediately* |
click [Re-register All Polices]. |
|
all policies on a one-time or recurring schedule |
·Open the Schedule Re-Register All panel. ·Schedule the re-registration to run at a later time and/or on a recurring basis. |
*CAUTION: Depending on the number and scope of the policies you are re-registering, the process may be time- and resource-intensive.


