In order to use OAuth Framework Authentication, you must have the Quest Metalogixc Essentials enterprise application installed on the tenant where you plan to use OAuth. Please note: OAuth Framework Authentication only works in Hyper Mode for Hyper Migration and Hyper Backup.
OAuth is enabled by default upon installation of Essentials - if you have left OAuth enabled, start with step 4, in the event that you have manually disabled OAuth, start with Step 1:
1.In Essentials, select that Help tab, and then click Profile Manager.
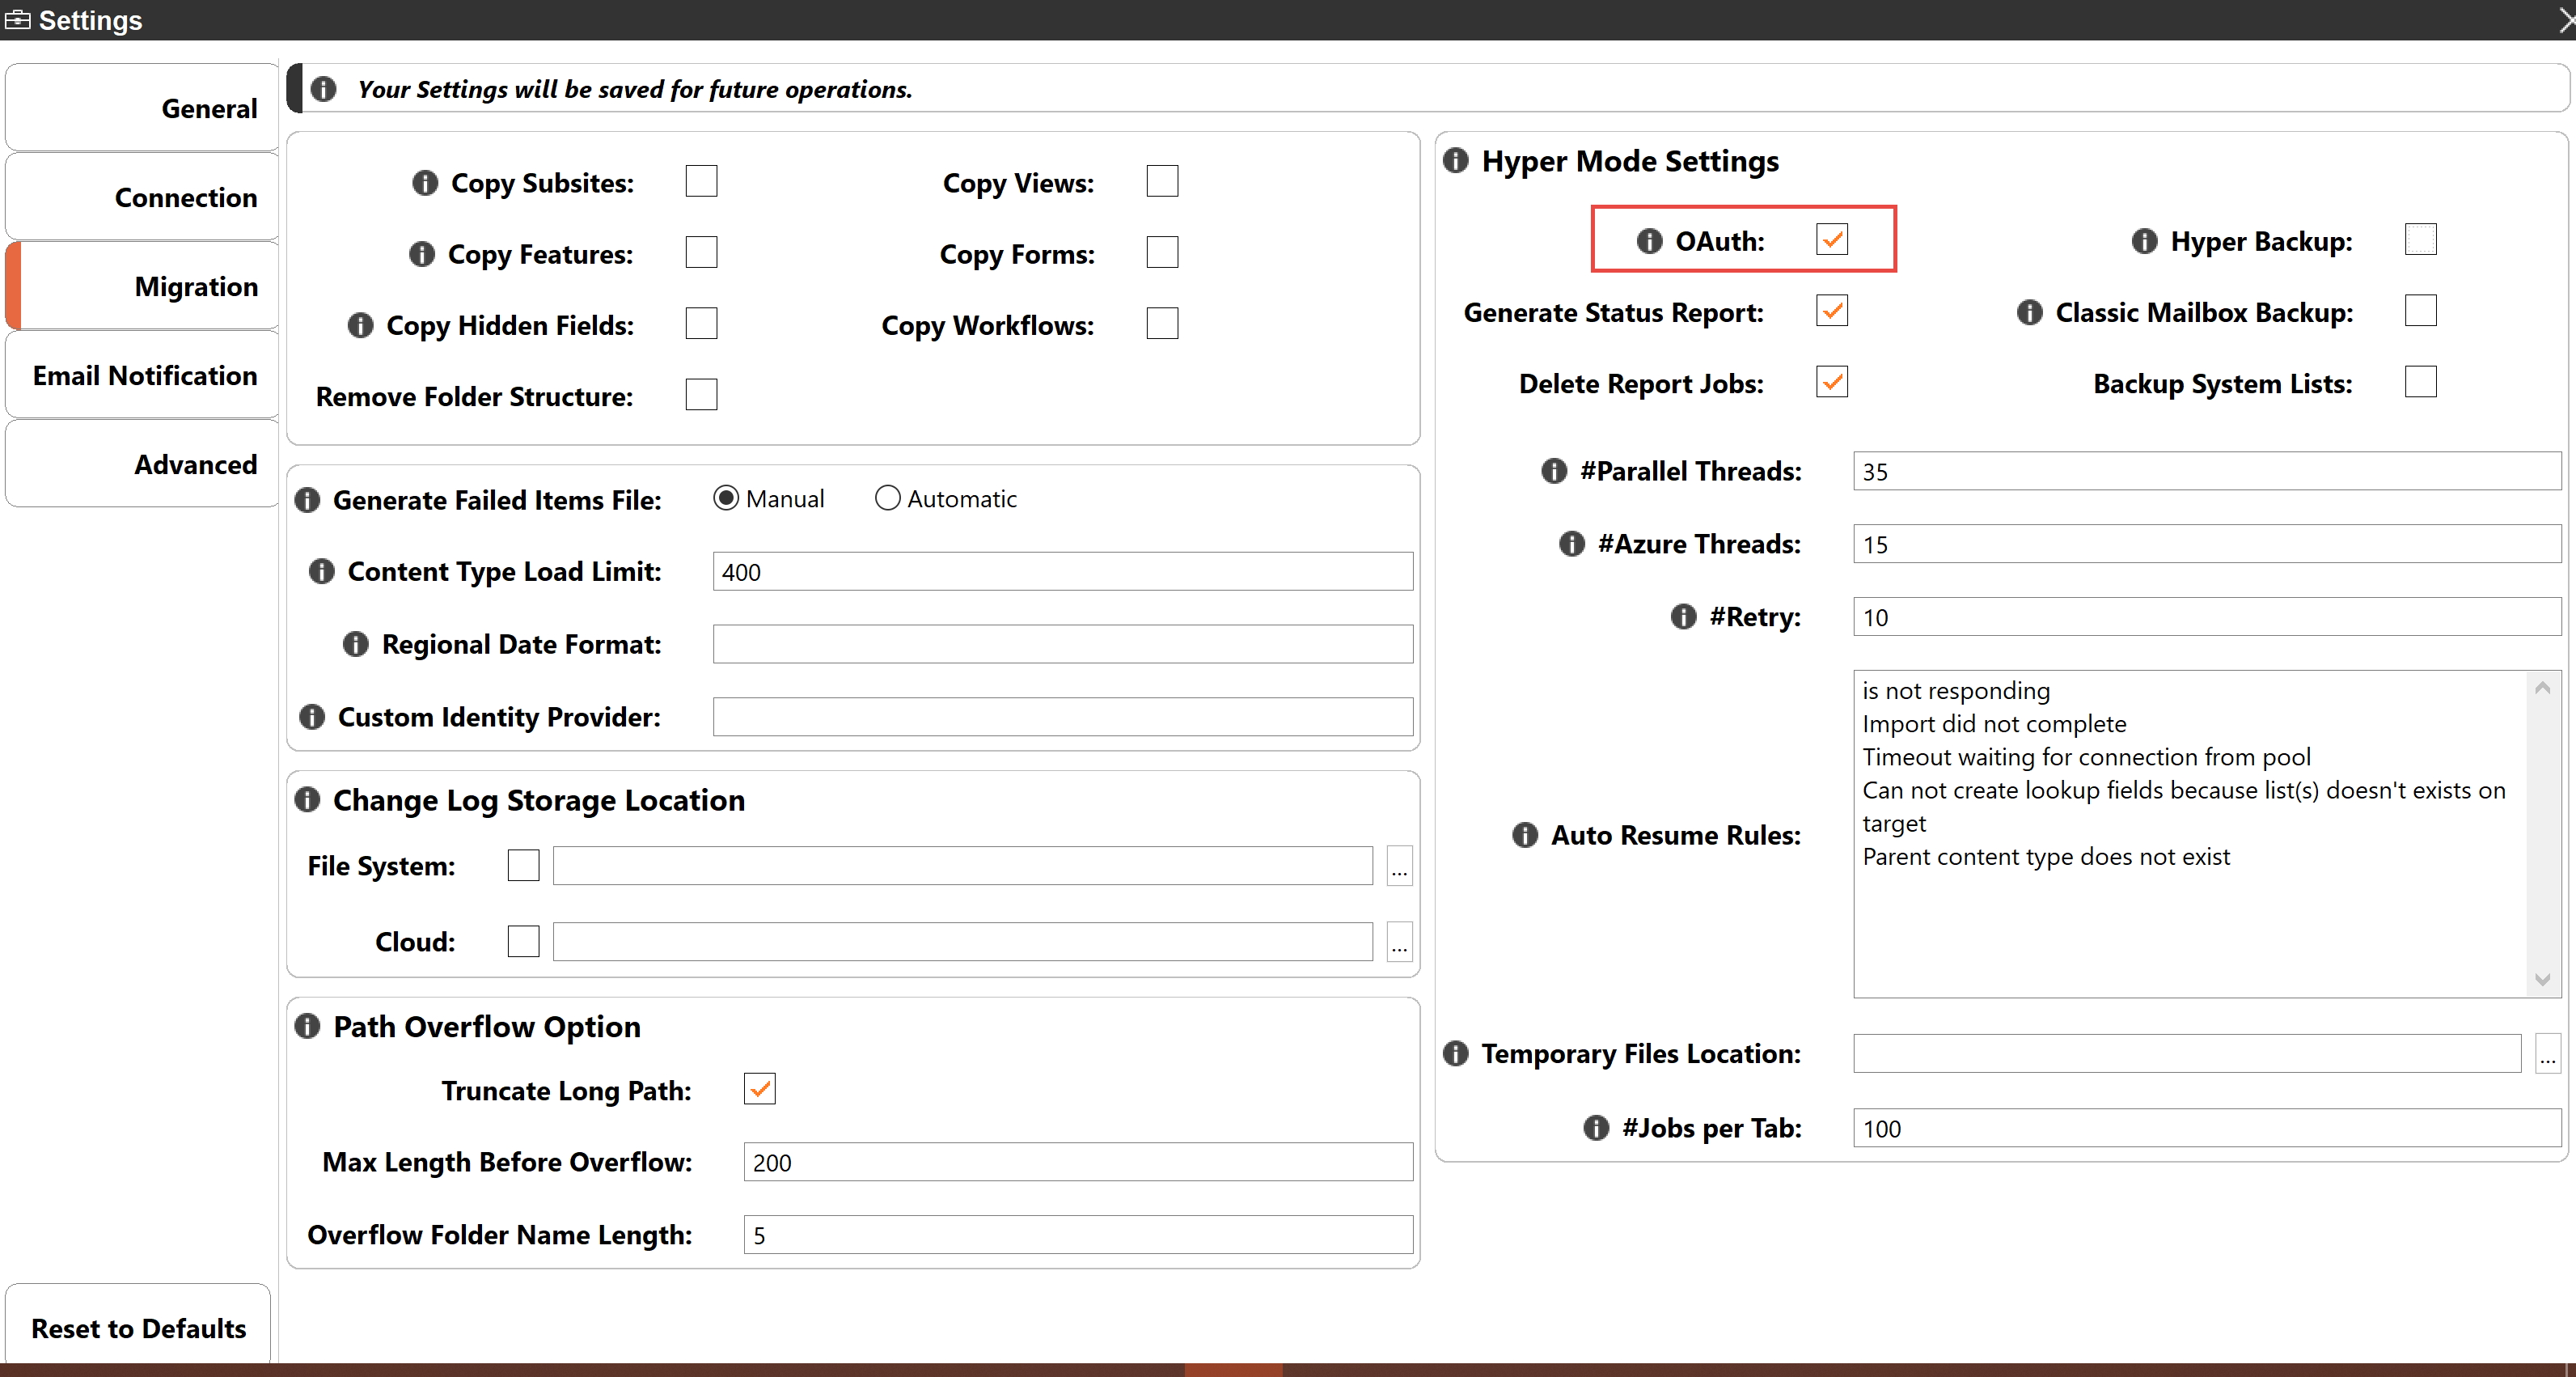
2.Select Migration from within the Profile Manager and Navigate to Hyper Mode Settings.
3.Oauth is enabled by default when Essentials is first installed, unless you have manually disabled it previously.
4.Open any hyper migration wizard or the Drives' tab Connect to Office 365 wizard. When connecting to a tenant (source or target) that does not have OAuth authenticated, you will be asked if you would like to authenticate the app upon clicking Connect in the connection portion of the wizard.
|
|
NOTE: If the tenant you are connecting to already has OAuth authenticated you will not be required to authenticate again, and therefore can skip the following authentication steps. |
5.Once prompted whether you want to authenticate OAuth for this tenant, Select OK. In the window that opens, log into the tenant.
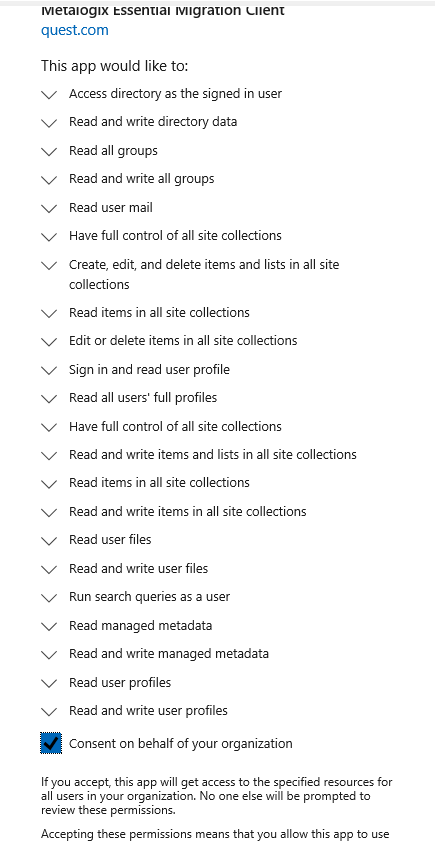
6.Give the app permissions.
7.Once you have completed the above steps, the App is added and you will not need to repeat this process again for this tenant.
|
|
NOTE: the application must be added to all tenants if you want to use OAuth (source and target tenant). |
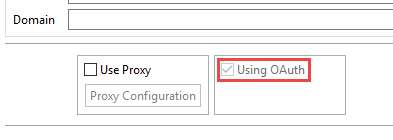
Users will be able to see if OAuth is being used, as It will be indicated on the connection wizard.
By Default, the Essentials tool uses Classic Office365 Authentication. After your credentials have been provided (claims or direct), Essentials uses the generated cookies in various requests. This method of work is similar to the one used when logging into a browser with credentials - it works well for small activities but does not work well when performing bulk operations, as Office365 is throttled a lot in this scenario.
OAuth authentication uses bear tokens when working with SharePoint. This token is generated by the App, which was added to the tenant. This form of performing allows Essentials to avoid throttling during bulk migrations.
Work with OAuth and Claims
Once you have performed the steps in the previous topic, to set up OAuth, continue with the following steps to set up OAuth with Claims:
1.Navigate to the Drives tab and open a migration wizard (in this example we use the OneDrive to OneDrive migration wizard).
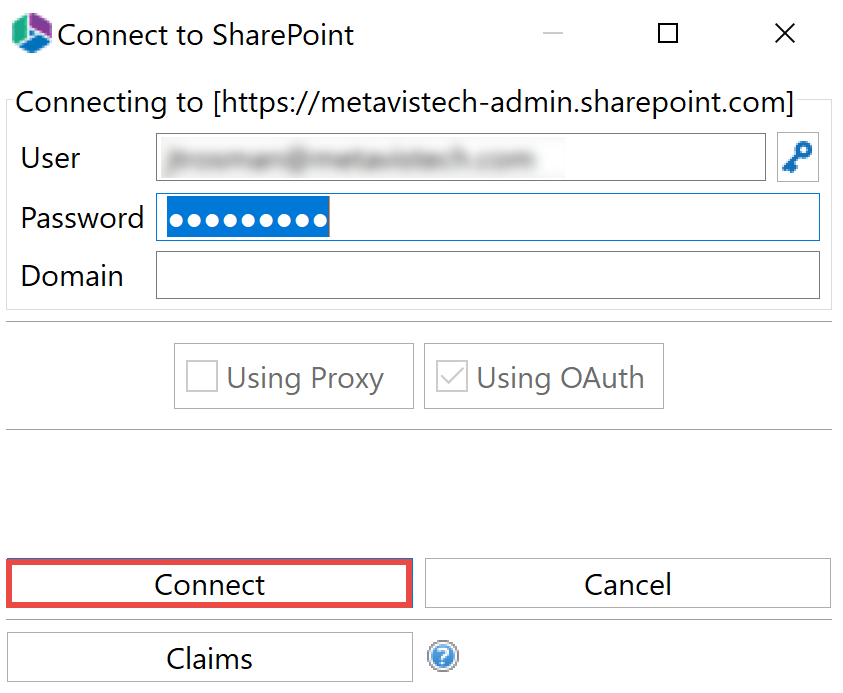
2.In the wizard, provide a URL for the source and click Connect. Within the Connect to SharePoint window enter your credentials and click Connect.
3.Provide a URL for the target, and click Connect
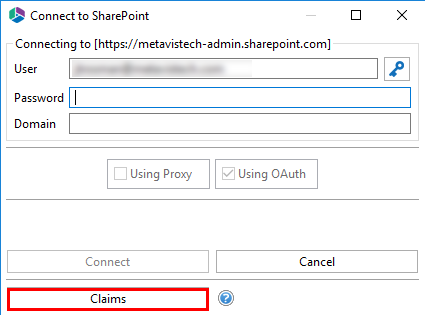
4.Within the Connect to SharePoint window, click Claims.
5.In the window that opens, login to the tenant.
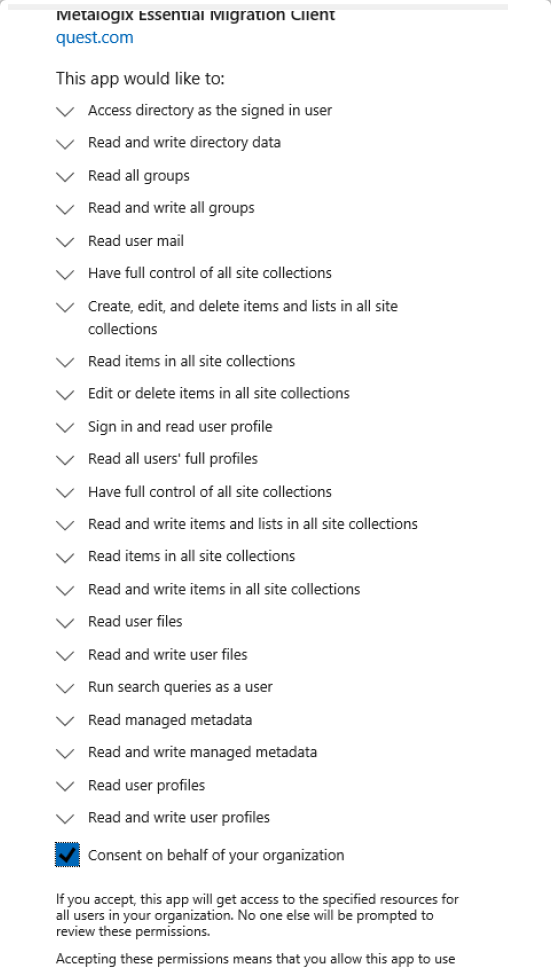
6.Consent to the permissions and click Accept.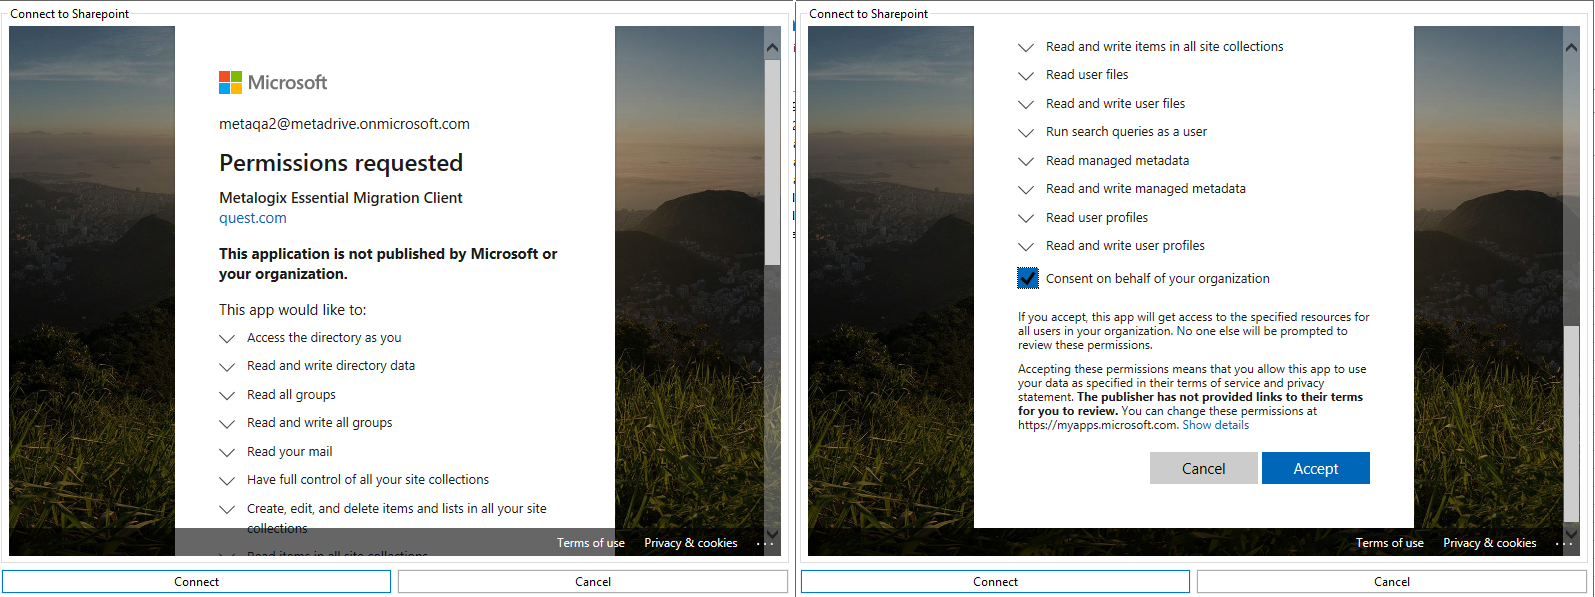
7.A dialogue box for the connection to the required services is opened. Login with your user information, click Connect.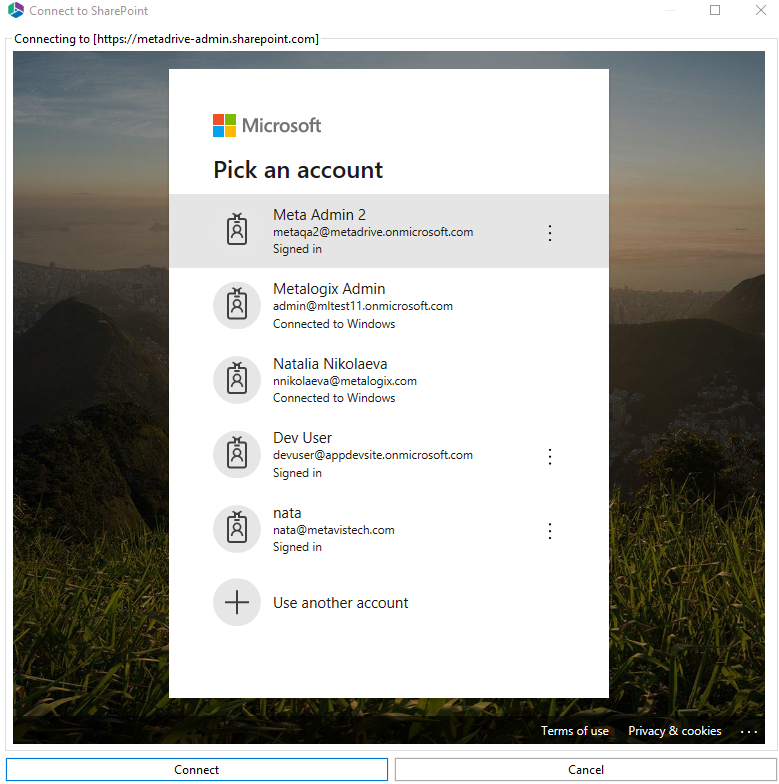
8.Complete your work within the Copy Tenant wizard and begin your migration.
|
|
NOTE: ·If you have already installed the Essentials application in the tenant, you will still get two connection dialogues. This will simply give the tool the ability to check all the settings. ·If you do not use OAuth but use Claims, you will still be asked to log in twice, because the tool uses various services and we require authentication for these services. |
|
|
NOTE: ·OAuth is only supported for Hyper Migration and Hyper Backup. ·OAuth doesnt work with SSO. ·"resume" will automatically use the original mechanism of authentication when resuming a job. |
Hyper Mode performs bulk migration from Non-SharePoint Locations to Office 365 Locations and between Office 365 locations. This feature is only available through the Drive's tab migration wizards not directly from the Navigator.
|
|
NOTE: Only one hyper migration/backup job can run at a time. |