|
1 |
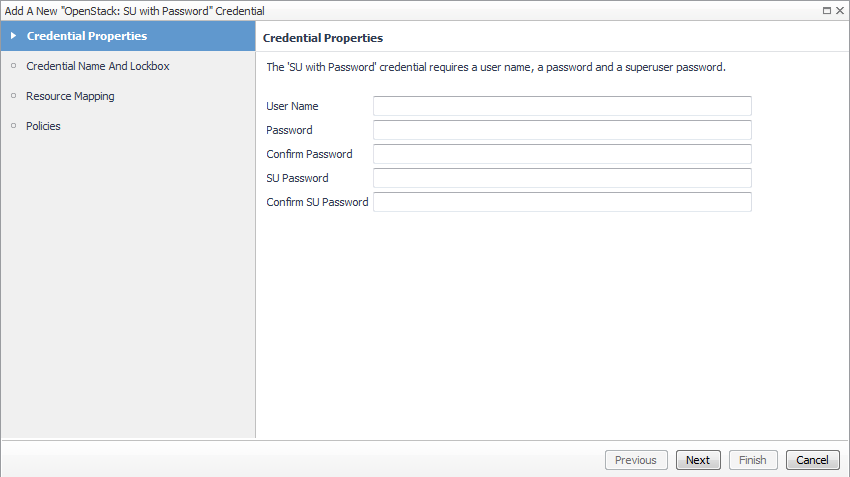
Click Manage Credentials on the Credentials dashboard. |
|
2 |
Click Add. |
|
4 |

|
5 |
On the Credential Name and Lockbox page, provide a name to identify the credential, and select a lockbox in which you want to keep the credential. A lockbox can be used to group credentials for access or security. In smaller Foglight installations, using the default System lockbox should be sufficient. |
|
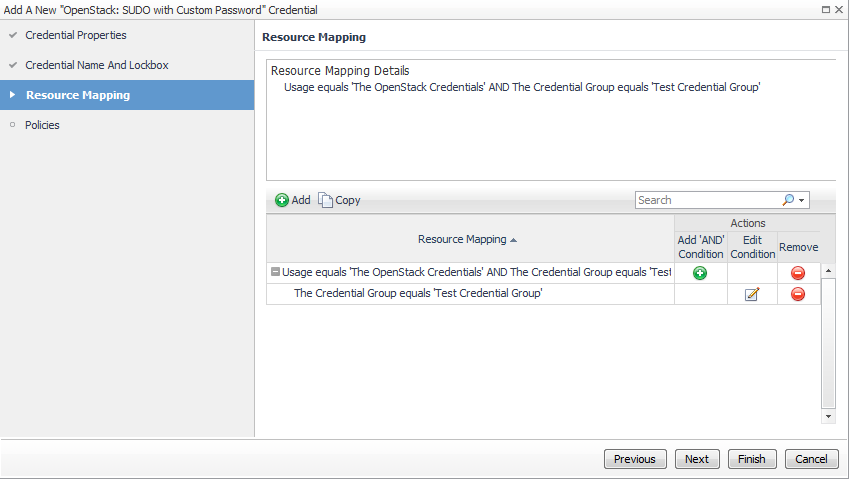
6 |
|
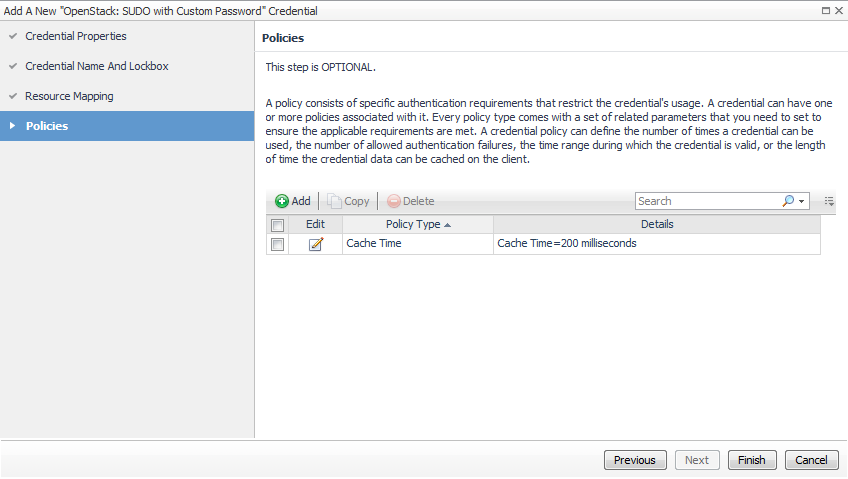
7 |
Optional-On the Policies page, define one or more policies for this credential. |
|
1 |
|
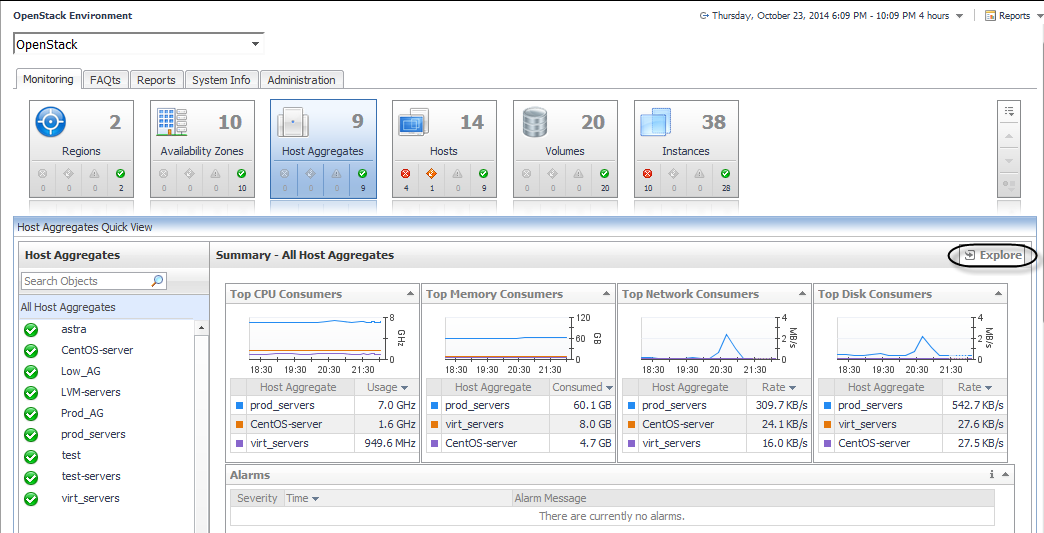
• |
Top CPU Consumers — those members with the highest average CPU utilization. |
|
• |
Top Memory Consumers — those members with the highest memory utilization. |
|
• |
Top Network Consumers — those members consuming most network bandwidth. |
|
• |
Top Disk Consumers — those members with the highest average disk utilization. |

|
1 |
|
3 |
Click Apply. |