When splitting up domain migration into sessions you should consider the way that linked attributes (such as group membership) get resolved:
See the Migration Manager Tips and Tricks document for additional considerations and recommendations for setting up migration sessions.
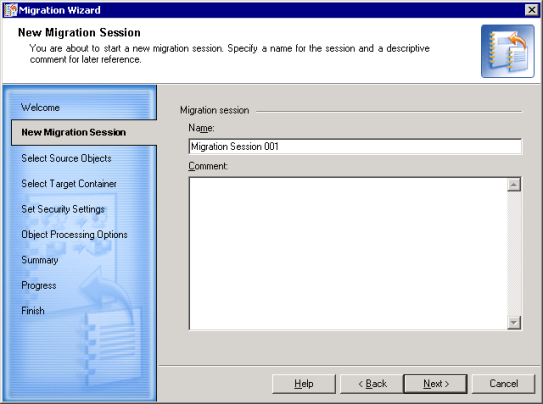
To create a new migration session, right-click the Migration node under the appropriate domain pair and select New Session from the shortcut menu. This will start the Migration Wizard.
Specify a name for the migration session and optionally provide a comment for it.
This step allows you to select objects for migration. The list of objects contains the objects currently selected for migration.
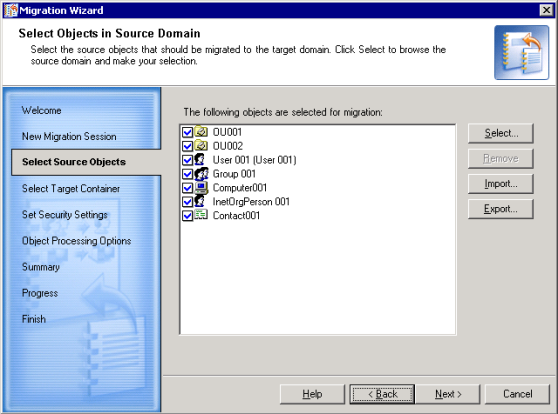
Click Select to add to or modify the selection. In the Browse Source Domain window, select the containers and/or individual objects you want to migrate.
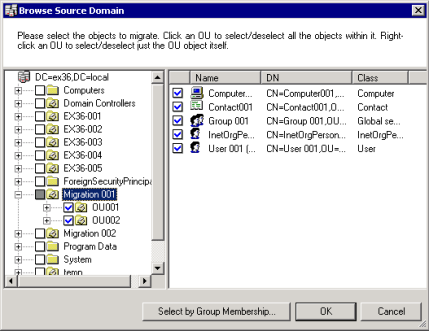
When you select or clear a container, all its sub-objects are displayed in the right-hand pane and are automatically selected or cleared. If you want to select or clear individual objects, perform the selection in the list of objects in the right-hand pane.
To select or deselect containers, right-click the container and click Select or Deselect. Depending on your selection, the checkboxes will be marked as follows:
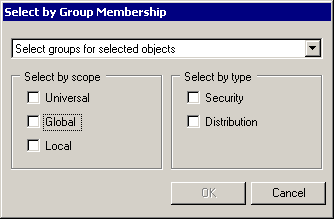
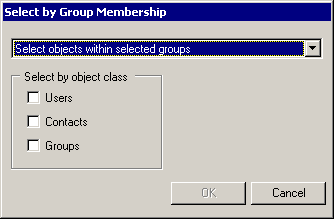
Clicking the Select by group membership button offers you two options:
After the selection is made, click OK to save it and close the window.
To remove an object from the list of selected objects, select the object and click Remove.
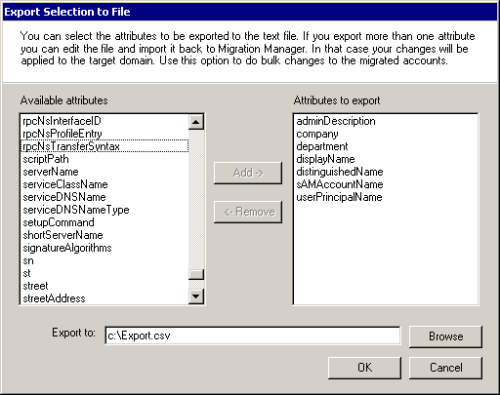
You can also export the current selection to an external text file for later use. The external list of objects is usually used for mass object renaming and populating target object attributes with different values.
To create an export file, click Export. In the Export Selection to File window, select the attributes you want to export for the selected users. This creates a tab-delimited list: the first column is the source object's DN, and the remaining columns are the selected attributes. The administrator can later modify the attribute values in this file and import it back by clicking Import. The modified attribute values will be applied to the target objects during migration.
One common use for such import files is to make Migration Manager rename user accounts and groups as part of the migration. For details about how to edit the import files in this scenario, see the Configuring User and Group Renaming topic.
This step allows you to select the container where migrated objects will be created. Click Browse to select the container where the migrated objects should be placed during migration.
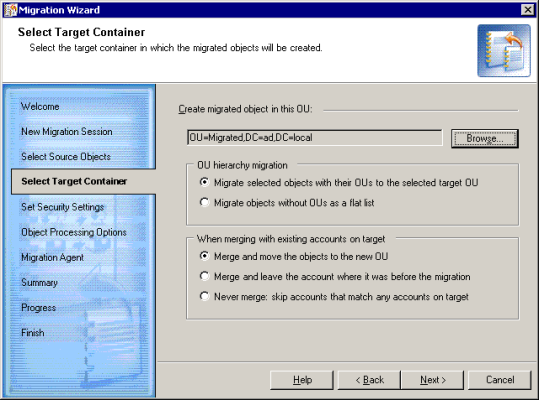
You also can specify whether the OU hierarchy will be migrated and whether the accounts should be merged with the existing target accounts.
In the OU hierarchy migration section, choose one of the following:
In the When merging with existing account on target section, choose one of the following:
This step allows you to specify the security settings for the migration.
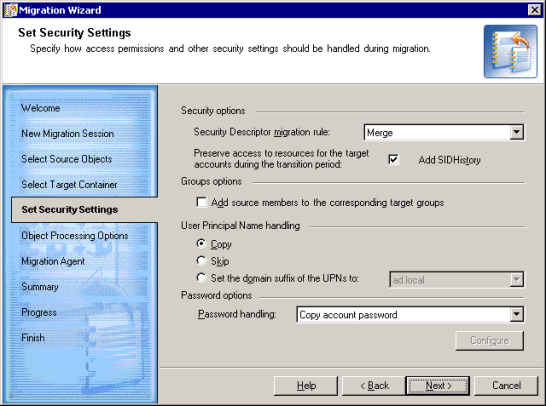
Security Descriptor migrationrule—Select the way security descriptors of the matched source and target objects will be handled.
All objects in Active Directory are securable objects. Each securable object has a security descriptor (SD) that identifies the object’s owner and can also contain the following access control lists:
An ACL contains a list of access control entries (ACEs). Each ACE in an ACL identifies a trustee (a user account or group account) by its SID and specifies the access rights allowed, denied, or audited for that trustee.
You have the opportunity to Merge, Replace, or Skip the security descriptors:
The DACL and SACL security descriptor entries of the source objects are assigned to the newly-created target objects during migration.
Regardless of the option you select to migrate security descriptors (Merge, Skip, or Replace) for each newly created target object, the default security descriptor defined for that object class will also be applied.
|
|
NOTE:Only ACEs explicitly added to the source security descriptor are migrated. The inheritance flag (the Allow inheritable permissions from parent to propagate to this object option on the Security tab of the object Properties) is migrated as well. That is, if the inheritance flag is set for the source object, it will be set for the corresponding target object; if the inheritance flag is not set for the source object, it will be cleared from the corresponding target object. |
During migration, the ACEs of the source security descriptor referencing the source objects (source SIDs) are not translated to the target objects (target SIDs). To translate or clean up the source objects’ SIDs migrated to the target object’s security descriptor, use the Active Directory Processing Wizard.
Add SIDHistory—Select this checkbox if you want to allow the target accounts to access the source domain resources using the SIDHistory mechanism during the coexistence period. For more information on SIDHistory adding, see Adding SID History.
When you migrate accounts and groups, target group membership is automatically updated for the target users. In other words, the target group will have target user accounts as members corresponding to the source user accounts (members of the source group) migrated by that time. If you also want to add source accounts (the members of the source groups) to the corresponding target groups, select the Add source members to the corresponding target groups check box.
The User Principal Name handling section allows you specify how the User Principal Name (UPN) will be formed for each target user:
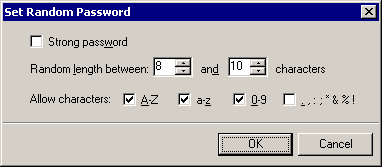
The Password handling option allows you to also specify how user passwords will be handled:
|
|
NOTE: To let users know their temporary passwords so that they can change them, you first need to retrieve the passwords from ADAM or AD LDS. For that, use the utility provided by Quest Support in solution 32124, available at https://support.quest.com/kb/SOL32124. |
Specify whether the target objects should be enabled after the migration session is completed. This setting makes sense if the users start using their target accounts immediately after the migration is completed. You may also want to disable source accounts after migration has been completed. Use the Enable target accounts and Disable source accounts options.
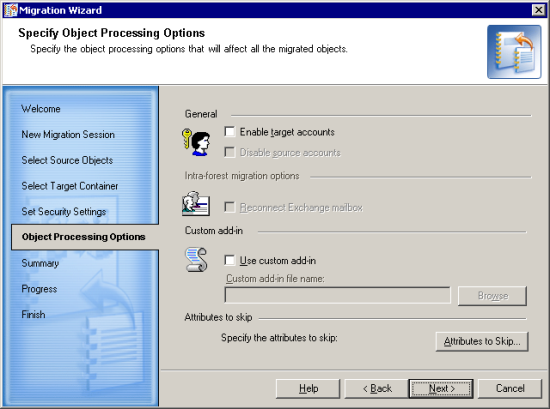
For intra-forest migrations, you can select to reconnect the source Exchange mailboxes to the target users so that users logged on to the target environment can use their source mailboxes until the Exchange migration is performed. Selecting the Reconnect Exchange mailbox check box will reconnect the source user mailboxes to the corresponding target users.
If you are planning to use a custom add-in to process the selected objects after they have been retrieved from the source domain and before they are copied to the target domain, select the Use custom add-in checkbox and browse for the .xml custom add-in file.
If you want to skip particular attributes, click the Attributes to Skip button. Then select the check boxes next to the attributes you do not want to migrate to the target domain.
Use the Save Settings button if you want to use the same settings when you create another migration session. Click Load Settings to apply a set of attribute skipping options you saved earlier.
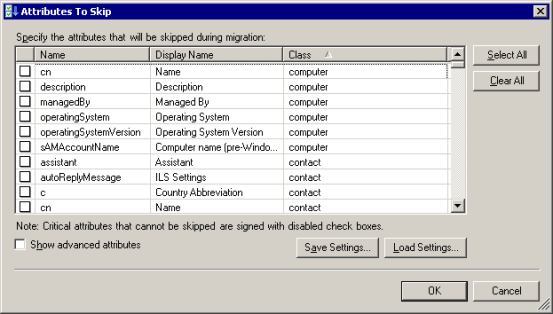
Select the Showadvanced attributes check box to choose from the complete list of attributes you can skip.
|
|
Caution: The Directory Synchronization Agent service attributes used by Migration Manager should never be skipped. Otherwise, Migration Manager will not be able to migrate and synchronize objects. |
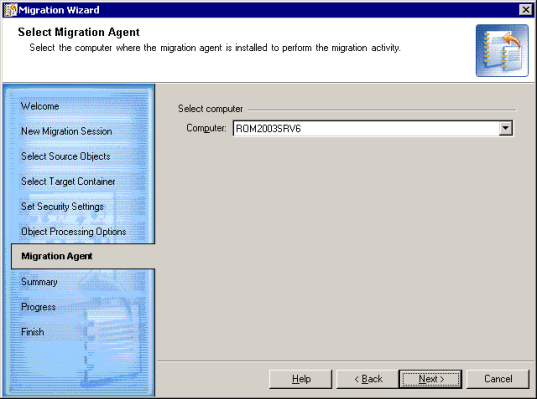
This step allows you to select the migration agent to perform the migration.
|
|
NOTE: If you have only one agent installed in your environment, you will not be presented with this step. |
The wizard allows you to view the settings you made for the session. You can click Back to modify the settings if needed.
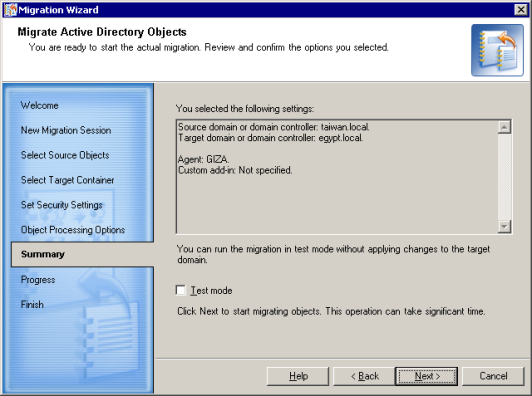
Select the Test mode check box if you want to run the migration in test mode, which does not apply any changes to the real target environment. Running a migration session in test mode allows you to check how the settings you made for the session will be applied to the target directory and decide whether these settings suit your needs. You can review the results by clicking View log after the migration is completed.
|
|
NOTE: You can click Back and clear the Test mode check box to perform the actual migration only if you did not close the Migration Wizard dialog after the migration completed. You cannot clear the Test mode check box when you open the properties of the already-completed session. However, you can use this session as a template when you create a new session to perform the account migration. Refer to the Viewing Migration Session Details topic for more details. |
The wizard now migrates the selected objects to the target domain. All the activity takes place in the target domain only. The wizard displays the target domain directory update progress. Please wait while the wizard completes.
The migration session has been completed. The completed session configuration is now stored in the project database. Click the View log button to see if any errors or conflicts occurred during migration.
You can view the completed session configuration and use it later as a template for other migration sessions. For more information about migration session details, refer to the Viewing Migration Session Details topic.
All changes made to the target environment during a migration session can be rolled back. For more information about undoing a migration, refer to the Undo Account Migration topic.
To view the migration session details, select the Migration node in the Migration Manager console management tree. The list of completed sessions is displayed in the right-hand pane. Right-click the session whose details you want to view and select Properties from the shortcut menu.
You can view the log of a completed session to see the results of migration by selecting the Summary tab and clicking View log.
You can use a completed session as a template to create a new session with the same or similar configuration settings or similar objects to be migrated. For example, you might want to select a session that was previously run in test mode and perform the actual migration of objects using the settings specified in that session.
To use a completed session as a template, select the Migration node in the Migration Manager console management tree. The list of completed sessions will be displayed in the right-hand pane. Right-click the session you want to use as a template and select New Session from the shortcut menu. This will start the Migration Wizard. All the settings you made for the completed session, including objects selected for migration, are preserved and you do not need to specify these settings again.


