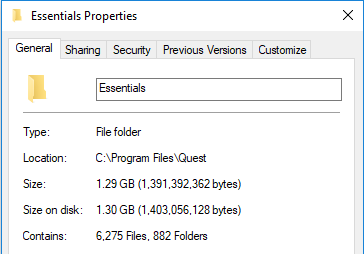
You may notice that the Essentials Installation location folder may be growing in size.
This occurs as a result of the tool's auto-update feature. Currently, Essentials framework doesn't support automatically removing outdated packages, so this must be done manually. In order to do so, follow these steps:
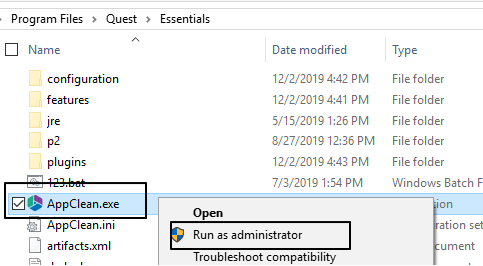
1.Close the Essentials tool.
2.Navigate to the Essentials Folder (C:\Program Files\Quest\Essentials), and Run the AppClean.exe file as an Administrator.
3. The appclean.exe will run, and once it is done running it will close once the clean is done. This folder will now be cleaned (from 10+ GB to 755 MB less) and the Essentials application will work as usual.
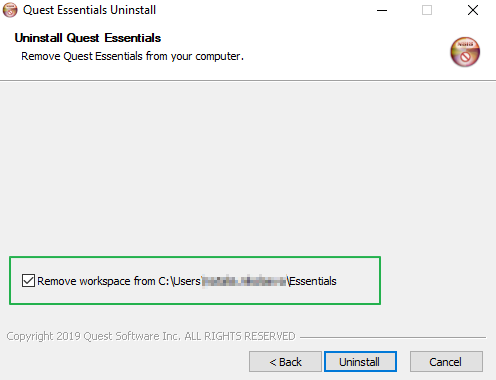
The Essentials Workspace is located, by default, in the following user location "C:\Users\ {CurentlyLoggedInUser}\Essentials". This means that all Logs, Projects, Cogitations and Settings are stored here. This workspace is not deleted automatically when you uninstall the tool, but can be remove when the check box "Remove workspace from..." is selected during an uninstall, or can be done manually afterward.
|
|
NOTE: if you have changed the workplace location, the check box "Remove Workspace will from..." will not delete the workspace, as this functionality cannot access folders in locations outside of the default location. This means you must remove the workspace manually. |
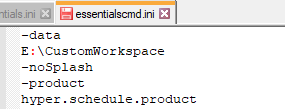
In the event that more than one windows user is using the Essentials tool, or you do not have permissions to create a new folder in the CurrentLoggedInUser directory, change the workspace location by doing the following:
1.Navigate to the location where Essentials is installed (by default its C:\Program Files\Quest\Essentials)
2.Find the following files: Essentials.ini and essentialscmd.ini
3.Add the following 2 lines to the top of files:
-data
path to new workspace
|
|
NOTE: If you create a shared workspace for many users, make sure that each of the users has direct permissions to the created folder, with administrator permissions. Otherwise you will have to always run the tool as an Administrator. |
Resetting Panes, and Resetting "Do Not Show"
Selecting Reset Panes, accessible from the View tab, will reset the all tab settings to their defaults. This is useful after an update if the new features are not immediately visible.
Selecting Reset "Do Not Show", accessible from the Help tab, will reset all the 'do not show' settings on all wizards to their defaults.
Selecting Profile Manager from the help tab, allows users to access all the various settings available for Essentials.
Over the lifetime of the product many options and choices have been included to enable fine control over specific operations. Upon installation, the options are pre-selected with the most common settings. Users always have the option to modify these settings prior to commencing an operation, but they are automatically returned to the default state the next time the operation is run.
In some cases, users need the ability to adjust these settings or create "profiles" that contain selections for common operations that are appropriate for them. Profile Manager is the tool which allows you to create such profiles. Users may alter default profiles or create new ones. The profiles may then be selected during the corresponding operations, allowing the user to set all appropriate options at one time.
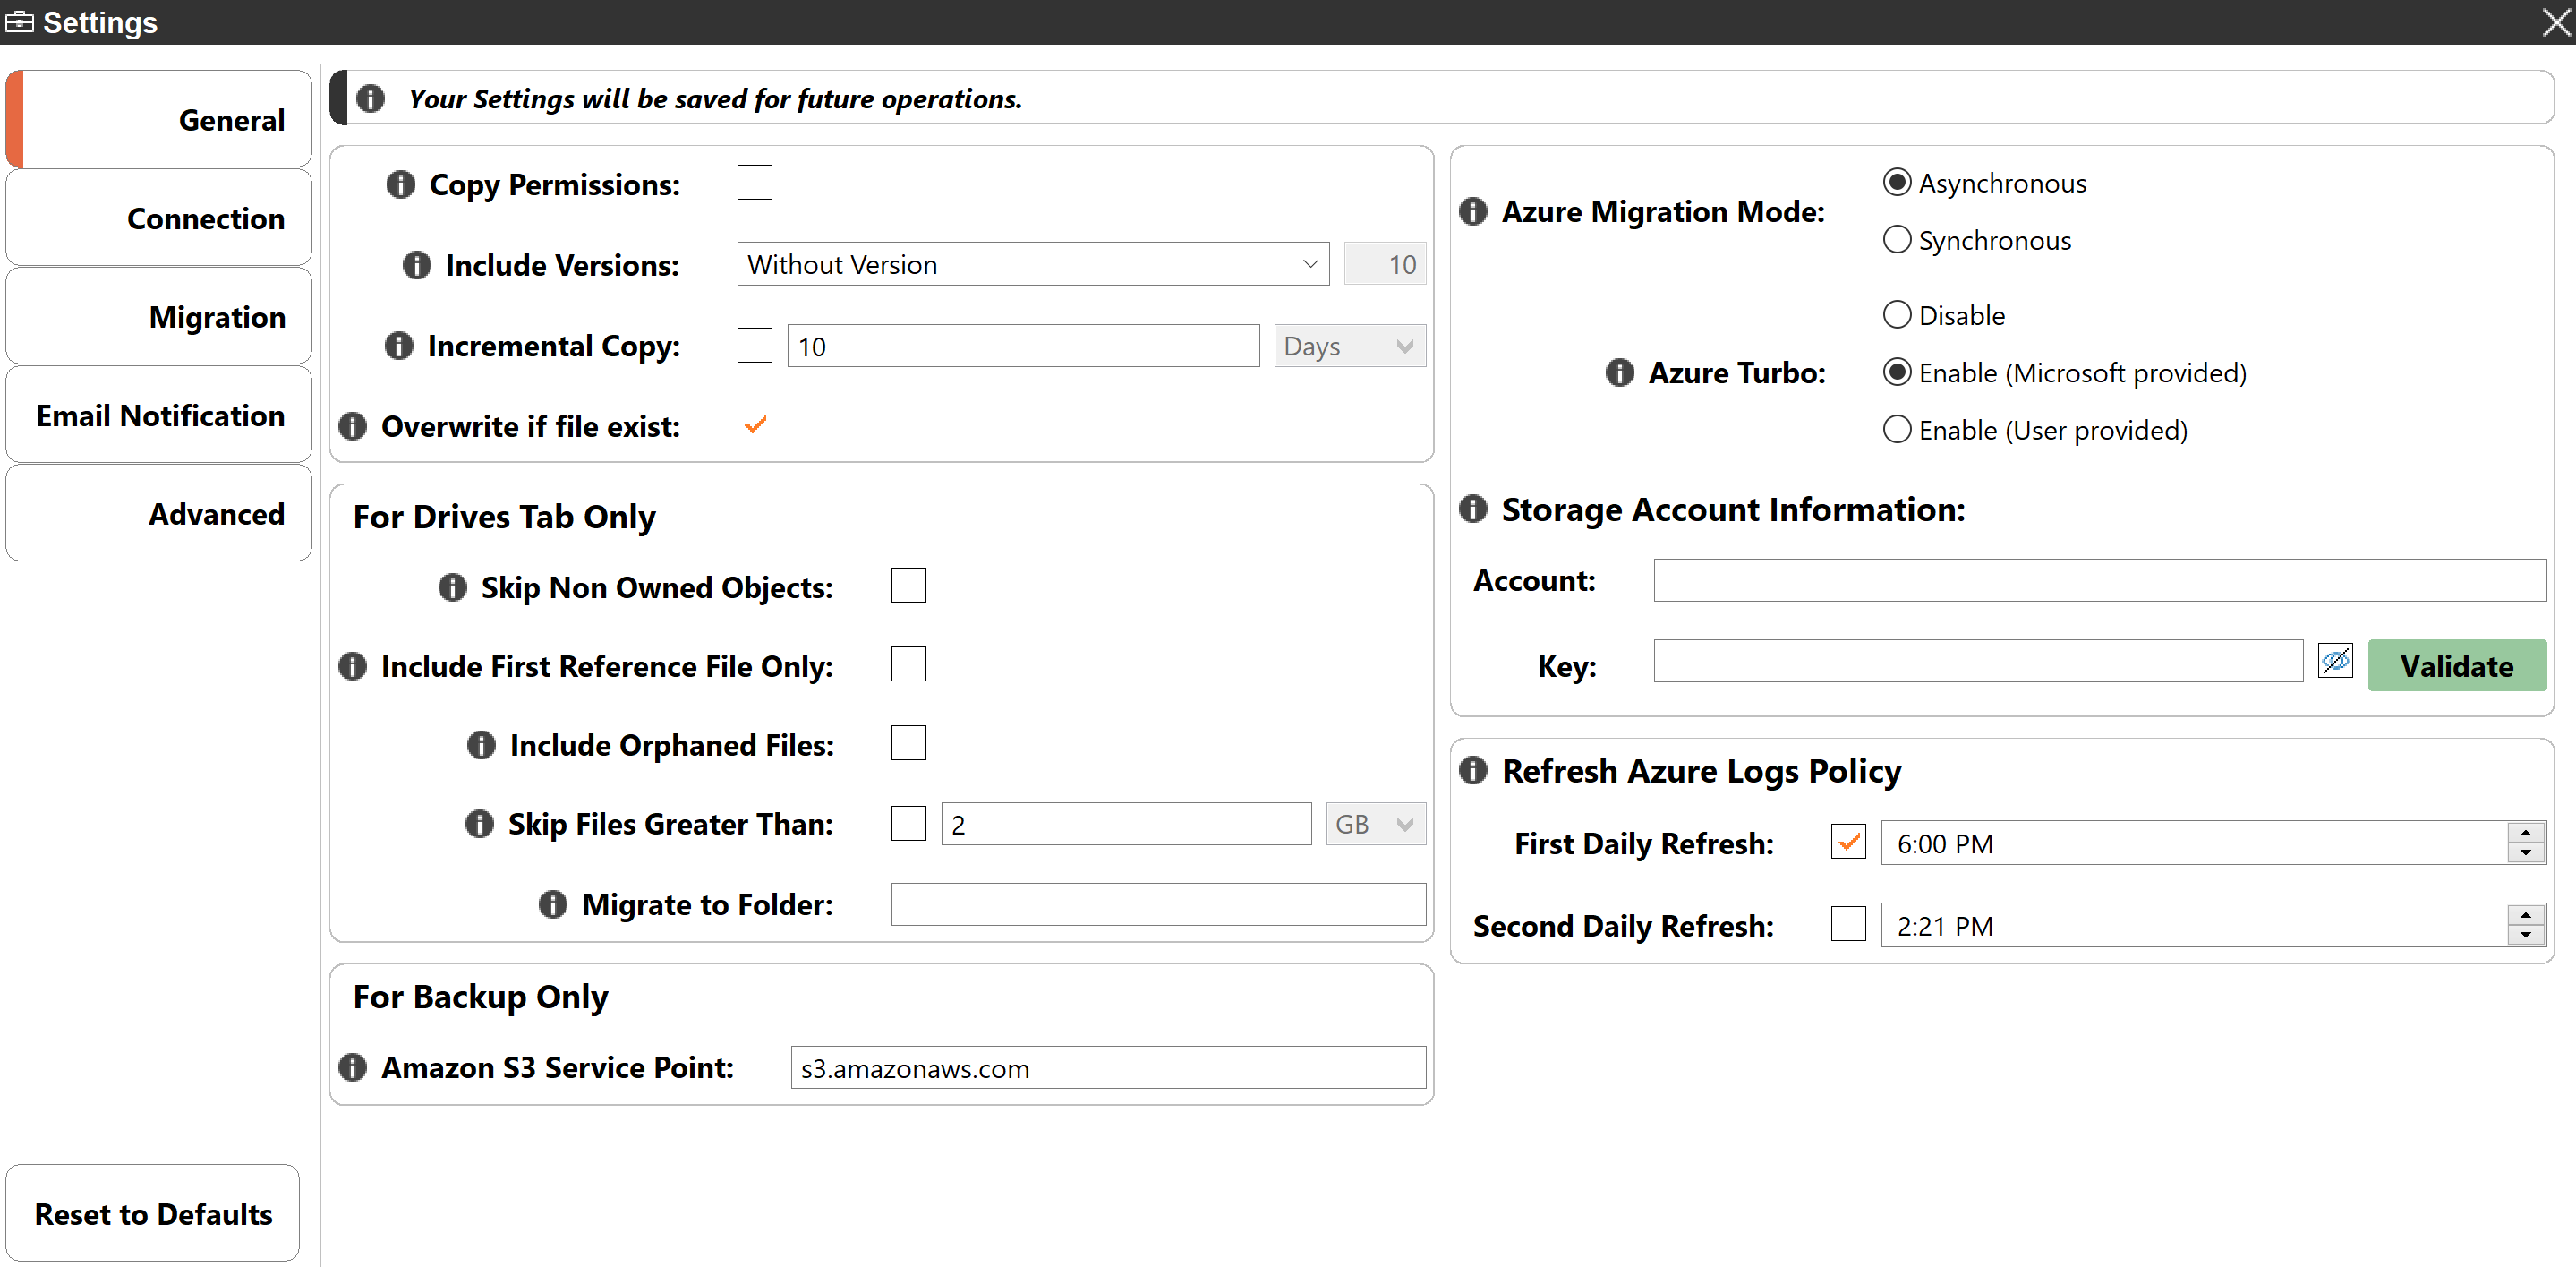
The General tab contains options for Copying Permissions, Azure, Drives tab, and Backup tabs.
Copy and Overwrite
Copy Permissions - This option will enable the transfer of permissions for all content and structure objects like sites or lists from the source to target locations, it is available for All Hyper jobs. Users can select which versions to include, and whether they would like to perform incremental copies.
Overwrite if file exist - In a version library, the "Overwrite if File Exists" option performs an overwrite on files already in SharePoint. SharePoint will append these to the list as new versions. This feature is available for All Hyper Migration Jobs and Classic Migrations from the Navigator.
Note: The "Incremental" parameter will be disabled if this option is selected.
For Drives Tab Only
Skip Non Owned Objects - All content that is not owned by the current user will be skipped during migration. It will prevent duplicate content from being migrated into SharePoint Locations. Available for Box, DropBox, Google Hyper Migration Jobs, and Classic Migrations from the Navigator.
Include First Reference File Only - The tool will skip additional reference objects from migration and will prevent duplicate files from being migrated into SharePoint Locations. Only the first reference copied - reference is defined by a list of parent folders returned from Google Drive and may not always be the same one on subsequent or incremental migrations.
Include Orphaned Files - The tool will identify Google Orphaned Files (the file that was created in a folder that was shared with this user and after the file was created, their permission to the shared folder was removed) and migrate them to the destination. A new folder named "Orphaned Files" will be created which will contain all the migrated orphaned files. The use of this option can decrease overall migration performance. This feature is available for Google Hyper Migration Jobs, and Classic Migrations from the Navigator.
Skip Files Greater Than - Skip any source files that are greater than the value specified (in MB or GB). An entry will be added to the post-migration log indicating which files were skipped due to this configuration.
Migrate to Folder - The option creates a (or uses an existing) root folder structure in the destination library where your source content will be migrated. Example: /My Source Content/2017
For Backup Only
Amazon S3 Service Point - Enter your custom service point into this parameter (for example, s3.secure.contoso.com). You will be prompted for your keys during connection. The default service point for Amazon S3 is: s3.amazonaws.com
Azure
Azure Migration Mode - When Azure Migration mode is set to Asynchronous, the mode will work by reporting the job as finished when all packages created from the source are uploaded to Azure and added to the import queue. The job completion is not an indication that all content is copied to the target library. The log viewer in Asynchronous mode will display the status of the items as Queued.
When set to Synchronous mode, the job is reported as finished when all packages created from the source are uploaded to Azure, and all azure batch processing statuses are returned as complete. The log viewer in Synchronous mode will display the actual status of items.
|
|
NOTE: to perform lookup column and list migrations, users must perform them in Synchronous mode, as synchronous mode is the only way to monitor whether content has or has not been created with Azure Migrations. |
Azure Turbo - Microsoft's SharePoint Migration API is applied during migration to increase migration performance and throughput. Use 'Microsoft Provided' when you don't have a personal Azure Storage that can be used for migration. Access to storage will only be valid for 3 days. Use 'User Proved' when you have a personal Azure Storage that can be used for migration. It requires that you provide both your Azure Blob Storage Account Name as well as its corresponding Access Key.
Storage Account Information - Provide both your Azure Blob Storage Account Name as well as its corresponding Access Key.
Refresh Azure Logs Policy - The 'Refresh Azure Logs Policy' functionality allows the user to set a schedule for refreshing logs when Hyper Mode via Azure Turbo Asynchronous Mode is used. This function will update all finished jobs on the schedule that you set.