
Additional ControlPoint Configuration Tasks
if you have more than one Web front-end server in your farm, once the ControlPoint application has been installed and configured on the first Web front-end server in your SharePoint farm, SharePoint automatically propagates the ControlPoint application to all of them. However, you will need to Configure ControlPoint for each additional Web front-end server in your farm, both when installing ControlPoint for the first time and whenever a new Web front-end server has been added to your farm).
You can perform the following tasks as needed:
·If you have not already done so during the installation of the ControlPoint application, manually configure host headers and/or alternate access mappings.
·If you use alternate authentication providers in your farm, configure ControlPoint to recognize them.
REMINDER: Each farm in a multi-farm installation has its own copy of the ControlPoint application. Therefore, if you have installed ControlPoint on multiple farms, you must perform the entire configuration and setup process for each farm.
For information on performing additional ControlPoint management tasks (such as managing ControlPoint users and groups, and making ControlPoint available to business users), refer to The ControlPoint Administration Guide.
Configuring ControlPoint for Additional Web Front-End Servers
If you have more than one Web front-end server in your farm, SharePoint automatically propagates the ControlPoint application to all of them.
Enabling Session Affinity for Load Balancing
If the ControlPoint application is to be accessed behind a load balancer, Session Affinity (Sticky Sessions) should be enabled for the ControlPoint Web Application on each server. Otherwise, ControlPoint analyses may fail to complete. (Note that the method for enabling Site Affinity will vary, depending on your load balancer).
Launching ControlPoint
Use one of the following options to start the ControlPoint application.
From your workstation browser:
Enter http://<server_machine_name>:<port_number> or <host_name>/_layouts/axceler/xcMain.aspx.
(The server machine name is the name of the machine on which ControlPoint is installed. 1818 is the default port number for the ControlPoint Web application.)
NOTE: If you are a ControlPoint Application Administrator logging in for the first time, complete the login screen using the account that was designated as the ControlPoint Site Collection Administrator account at the time the ControlPoint application was installed.
From the server on which ControlPoint is installed:
1Log into the server using the account that was designated as the ControlPoint Service Account at the time the ControlPoint application was installed.
2From the Windows Start menu, choose Metalogix > ControlPoint > Launch ControlPoint Application or click the Launch ControlPoint desktop icon.
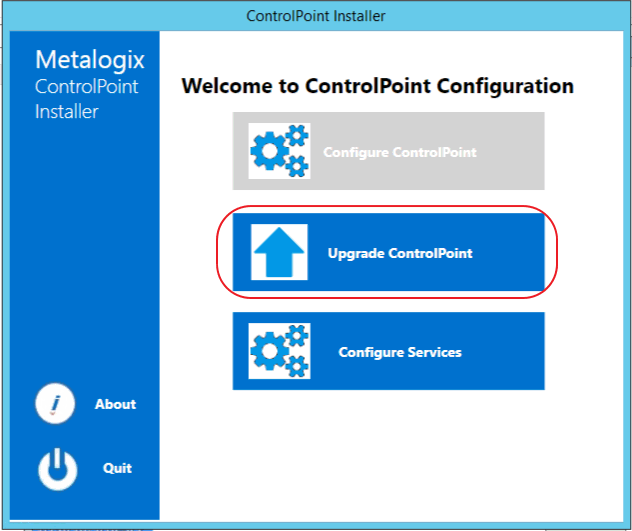
Upgrading from a Previous Version of ControlPoint
If you are upgrading from an earlier version of ControlPoint, the upgrade process is the same as that for First Time Installation and Configuration, with the following exceptions:
·after installing the new files, you will be given the option to Upgrade ControlPoint
·the license key, ControlPoint Service (xcAdmin) database, and ControlPoint Configuration site will be retained and updated, and
·You will be unable to overwrite the ControlPoint Service Account or connection string.
NOTE: If you need to update the connection string after an upgrade, you can do so via the ControlPoint Configuration Setting SQL Server Connection String for xcAdmin Database (xcAdmin ConnectionString). Refer to the ControlPoint Administration Guide for details.]
·if you have installed Discovery and/or Sensitive Content Manager Services prior to version 8.3, they will be recreated in the folder C:\Program Files\Metalogix\ControlPoint\ControlPointFeatures\Services, and all settings (including the Connection String), will be preserved.
·If, prior to version 8.0, you installed ControlPoint into an existing Web application, it is no longer necessary to use a separate, scripted installation kit to perform an upgrade.
IMPORTANT: If you are upgrading ControlPoint Sensitive Content Manager Service, version 2.0 or later of Metalogix Sensitive Content Manager must be also be installed if you want to continue to use it. An earlier version of Metalogix Sensitive Content Manager will not work with version 8.5 of ControlPoint, and the Schedule Job option is no longer available for use as an alternative to the ControlPoint Sensitive Content Manager Service.