ITOP - POST data to iTOP
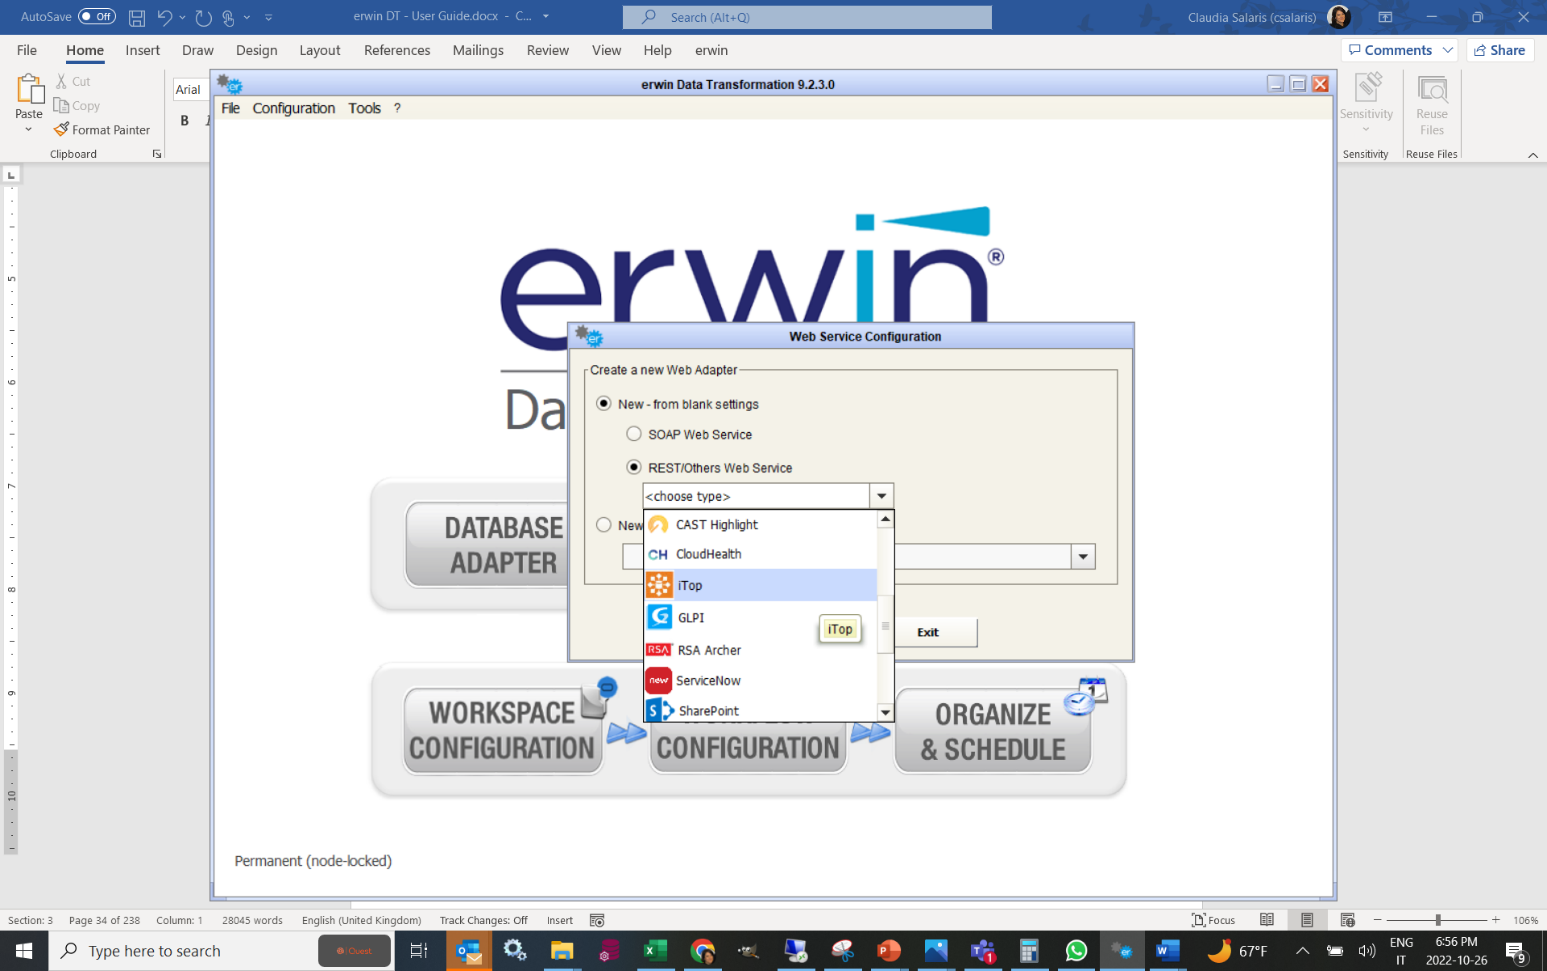
To use the adapter for iTOP, double click on “Web Service Adapters” in Home Page, a UI will be presented for this purpose. To create a new adapter just press the “Add” button, and select “REST/Others Web Service” in the following popup.
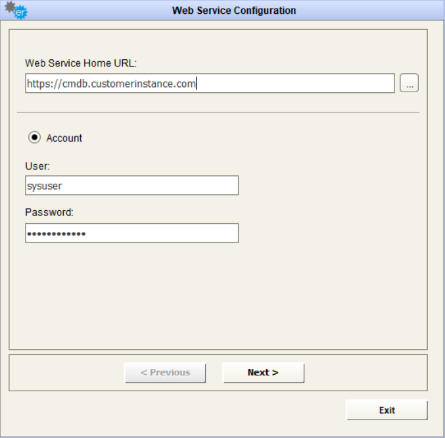
This action will open a wizard where user can input:
1.The field “Web Service Home URL” with the iTop instance URL you want to connect to. Then provide the username and password for a valid iTop Account, with grants to all the CI of interest.
2.Pressing the 
After selecting the desired operation, it is required to enter a name and a description for the adapter in the appropriate fields; the user must browse the file system for the adapter folder (used to save intermediate and result file for adapter execution).
3.Pressing the 
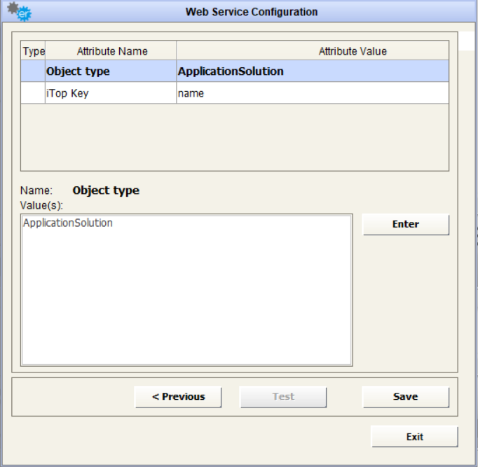
In particular, selecting the “Object Type” the user can type and enter the “FinalClass” name of the desired item in the text area, the press the “Enter button” to assign the value to this parameter.
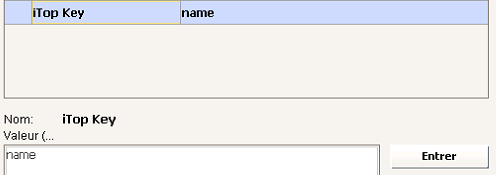
Selecting the “iTop Key” parameter the user can type and enter key field to determine where an insert or an update is required: in this case, the “name” of the instance is the key, when the iTop or erwin ID are not exchanged between the tools.
However, it may be recommended to use a given object type master system ID to manage renaming, if it is possible for its instances.
Pressing the 
RSA Archer – VIEW REPORT
To use the adapter for RSA Archer, to read report contents, fill the field “Web Service Home URL” with the RSA URL you want to connect to.
Then, provide a valid instance URL and username/password to connect.
.svg)
The .svg) button steps into the next window that shows the available operations of this Web Service; choose “VIEW REPORT”, to query data as per RSA report definition.
button steps into the next window that shows the available operations of this Web Service; choose “VIEW REPORT”, to query data as per RSA report definition.
.svg)
After selecting the desired operation, it is required to enter a name and a description for the adapter into the appropriate fields; the user must browse the file system for the adapter folder (used to save intermediate and result file for adapter execution).
The next button .svg) steps into the next window that allows the user to set values for the Web Service parameters.
steps into the next window that allows the user to set values for the Web Service parameters.
.svg)
When a lens icon shows beside the parameter name:
this means that user may set the parameter value from a list of available items.
In the case of the RSA Archer “View Report” operation, double-click on the lens icon besides “reportIdOrGuid” parameter, a popup appears, with the available reports to query:.svg)
.svg)
Select and apply the selection, and the desired report GUID fills the parameter value:
.svg)
Should the provided account not be granted to read system tables (such as the one containing the list of user tables) the popup will be blank, but the parameters can always be manually filled.
Pressing the .svg) button and a new pop-up window is opened and the response resulting from the Web Service call is displayed.
button and a new pop-up window is opened and the response resulting from the Web Service call is displayed.
.svg)
Pressing the .svg) button will store all the entered parameters for the web service adapter in the DT database.
button will store all the entered parameters for the web service adapter in the DT database.
The .svg) button closes the data preview window and goes back to the Web Service configuration form.
button closes the data preview window and goes back to the Web Service configuration form.
RSA Archer – EXECUTE DATA FEED
To use the adapter for RSA Archer, to execute a data feed, fill the field “Web Service Home URL” with the ServiceNow instance URL you want to connect to.
Then, provide a valid instance URL and ID, username/password to connect.
.svg)
The button steps into the next window that shows the available operations of this Web Service; choose “DATA FEED”, to manage data feed executions.
.svg)
After selecting the desired operation, it is required to enter a name and a description for the adapter in the appropriate fields; the user must browse the file system for the adapter folder (used to save intermediate and result file for adapter execution).
The next button steps into the next window that allows the user to set values for the Web Service parameters.
.svg)
After that, user should complete configuration, filling the parameters (select the parameter, write value and press the .svg) button):
button):
•DataFeedGuid: Data Feed GUID, it can be retrieved from RSA Archer application
•IsReferenceFeedsIncluded: must be “true” before any referenced data feeds can run. If you want to run a single data feed without any referenced feeds, you must ensure that the flag is set to “false”.
Pressing the button will store all the entered parameters for the web service adapter in the DT database.
The button closes the data preview window and goes back to Web Service configuration form.
ServiceNow – READ TABLES
To use the adapter for ServiceNow, to read table contents, fill the field “Web Service Home URL” with the ServiceNow instance URL you want to connect to.
Then, provide a valid instance URL, username/password to connect.
.svg)
The button steps into the next window that shows the available operations of that Web Service; choose “READ TABLES”, to query data stored in ServiceNow tables.
.svg)
After selecting the desired operation, it is required to enter a name and a description for the adapter in the appropriate fields; the user must browse the file system for the adapter folder (used to save intermediate and result file for adapter execution).
The next button steps into the next window that allows the user to set values for the Web Service parameters.
When a lens icon shows beside the parameter name:
.svg)
this means that user may set the parameter value from a list of available items.
In case of ServiceNow “read tables” operation, with the double-click on the lens icon besides “Table name” parameter, a popup appears, with the available tables to query:
.svg)
Select and apply the selection, and the desired table name (as expected by ServiceNow export service) fills the “Table name” parameter value:
.svg)
Should the provided account not be granted to read system tables, as the one containing the list of user tables, the popup will be blank, but the parameters can always be manually filled.
After that, the user may apply optional formatting/filter settings, filling the parameters (select the parameter, write value and press the button ):
•View Name: name of the desired view. For example, to export fields visible from the Self Service view, parameter value is “ess”
•Filters: some additional parameters may be added to control for instance:
othe sorting of results: “ORDERBYname”
othe data filtering: “category=Resource”
Concatenate different filters with ampersand; for instance:
category=Resource&ORDERBYname
Complete reference for filters can be found at the ServiceNow website:
Pressing the button will open a new pop-up window and the response resulting from the Web Service call is displayed.
Pressing the button stores all the entered parameters for the web service adapter in the DT database.
The button closes the data preview window and goes back to Web Service configuration form.
.svg)