|
1 |
Run the azure login command to log into the Azure account. |
|
2 |
Run the azure config mode arm command to set CLI as the Azure Resource Manager (ARM) mode. |
|
3 |
Run the azure account show command to get the value of Tenant ID that is used for Creating Azure Performance Agent. Make sure to keep this Tenant ID somewhere safe. |
|
4 |
Run the following command to create an Active Directory (AD) application. The value of password is the Access Key to be used for Creating Azure Performance Agent. Make sure to keep this password somewhere safe. |
|
1 |
Running the azure ad sp create {app-id} command, if your Azure CLI version is lower than 0.10.2. |
|
2 |
Running the azure ad sp create -a {app-id} command, if your Azure CLI version is 0.10.2 or later. |
|
NOTE: The value of objectId is the Object Id returned after executing the command in Step 5, and the value of subscription-Id represents the subscription to be monitored. |
|
2 |
On the left navigation panel, select Azure Active Directory. |
|
3 |
In the Azure Active Directory view, select MANAGE > Properties, and then click |
|
4 |
In the Azure Active Directory view, select MANAGE > App registrations, and then click New application registration. |
|
• |
Name: type the name of the application. |
|
• |
Application type: select Web app / API. |
|
• |
Sign-on URL: type the URL address where users can sign in and use the application. |
|
7 |
|
8 |
|
9 |
|
11 |
Click Microsoft Azure on the top right corner, to return the default dashboard that appears once logged into the Azure portal. |
|
12 |
On the left navigation panel, click Subscriptions. |
|
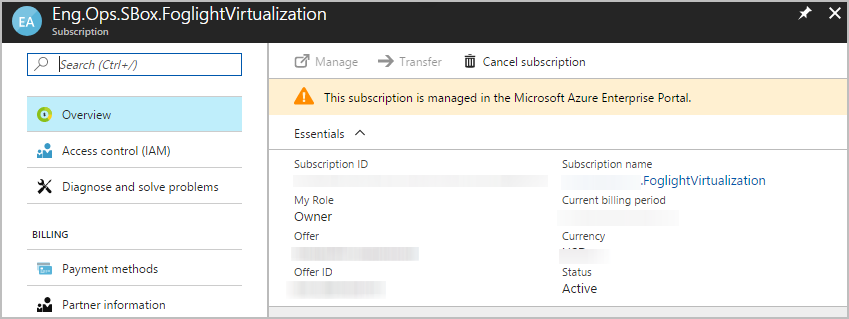
13 |
In the Subscriptions view, click the subscription that you want to monitor, then the Subscriptions details view opens. |
|
14 |
In the Subscription details view, click Access control (IAM), then Access control (IAM) view opens on the right. |
|
15 |
|
16 |
In the Add Permissions view, select Reader from the Role drop-down list, search for the application created in Step 7, and then click Save. |
|
17 |
|
NOTE: Diagnostics settings must be enabled to collect metrics for both ARM-deployed virtual machines and standard Storage Account. For more information, visit How to enable metrics using the Azure portal. |
|
3 |
|
4 |
|
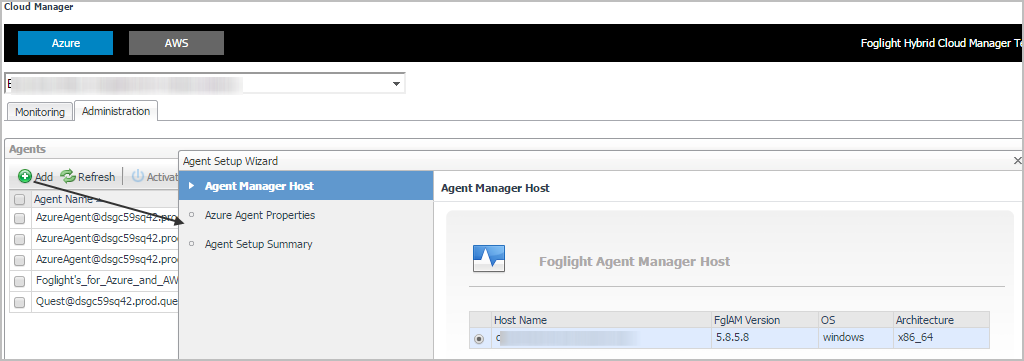
5 |
In the Agent Manager Host view, select the agent manager on which the new agent is to be deployed, and then click Next. |
|
6 |
|
• |
Tenant Directory ID *: The value of Tenant ID retrieved in Getting authentication information through CLI or Getting authentication information through Azure portal. |
|
• |
Tenant Alias Name: The display name that identifies your Tenant |
|
• |
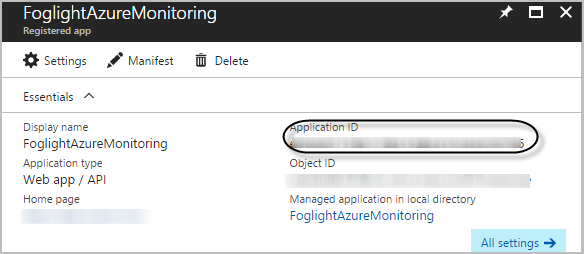
Application ID *: The value of Application ID retrieved in Getting authentication information through CLI or Getting authentication information through Azure portal. |
|
• |
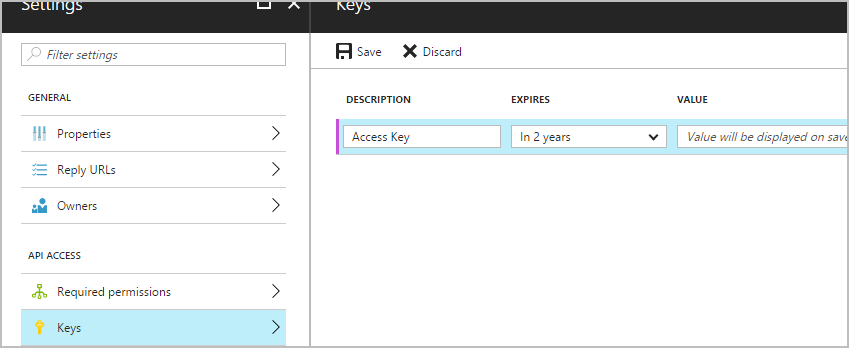
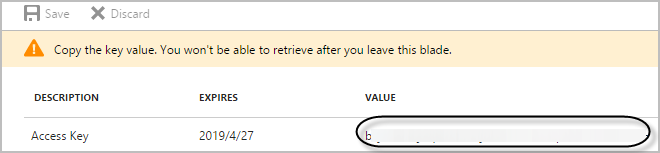
Access Key *: The value of Access Key retrieved in Getting authentication information through CLI or Getting authentication information through Azure portal. |
|
7 |
