Running Discovery from the ControlPoint Application Interface
A manual Discovery can also be run from the ControlPoint application interface, which can be useful:
·when you want to update the ControlPoint cache for specific site collections only without having to run a more resource-intensive Full Discovery.
·for site collections that have been excluded from the Full Discovery process. For example, exceptionally large site collections can greatly increase the Full Discovery run time. Site collections containing such sites may be excluded from the Full Discovery process and scheduled to run less frequently. Details on how to exclude Web applications and/or site collections from Full Discovery can be found in the Metalogix ControlPoint for Office 365 Administration Guide.
NOTE: You can run Discovery only on site collections for which you are a Site Collection Administrator.
To run Discovery from the ControlPoint application interface:
1From the Manage ControlPoint panel choose ControlPoint Management > Discovery.
2Use the information in the following table to determine the appropriate action to take.
|
If you want run a... |
Then ... |
|---|---|
|
Full Discovery |
do not modify the Selection section. REMINDER: Only site collections for which you have Site Collection Administrator privileges will be included in the scope of the action. |
|
Partial Discovery |
select the site collection(s) on which you want to run Discovery, using the procedure for Changing Your Selection. NOTE: The Partial Discovery will include all site collections that you explicitly select, regardless of whether they have been excluded from the nightly Full Discovery process. |
3Either:
§run the Discovery immediately (by clicking the [Run Now] button).
OR
§schedule the Discovery to run on a one-time or recurring basis (see Scheduling a ControlPoint Operation).
Updating Full Discovery and Scheduler Windows Jobs
As part of the initial configuration of ControlPoint Online, the following tasks are created in the Windows Task Scheduler on the server where ControlPoint Online is installed:
·the ControlPoint FullDiscovery job, scheduled by default to run once a day to populate the ControlPoint data cache.
IMPORTANT: The FullDiscovery job is disabled by default, and should be disabled if the ControlPoint Discovery Service will be used instead.
·the ControlPoint Scheduler Job, scheduled to run by default ever 10 minutes to check for and initiate the running of operations scheduled via the ControlPoint Scheduler.
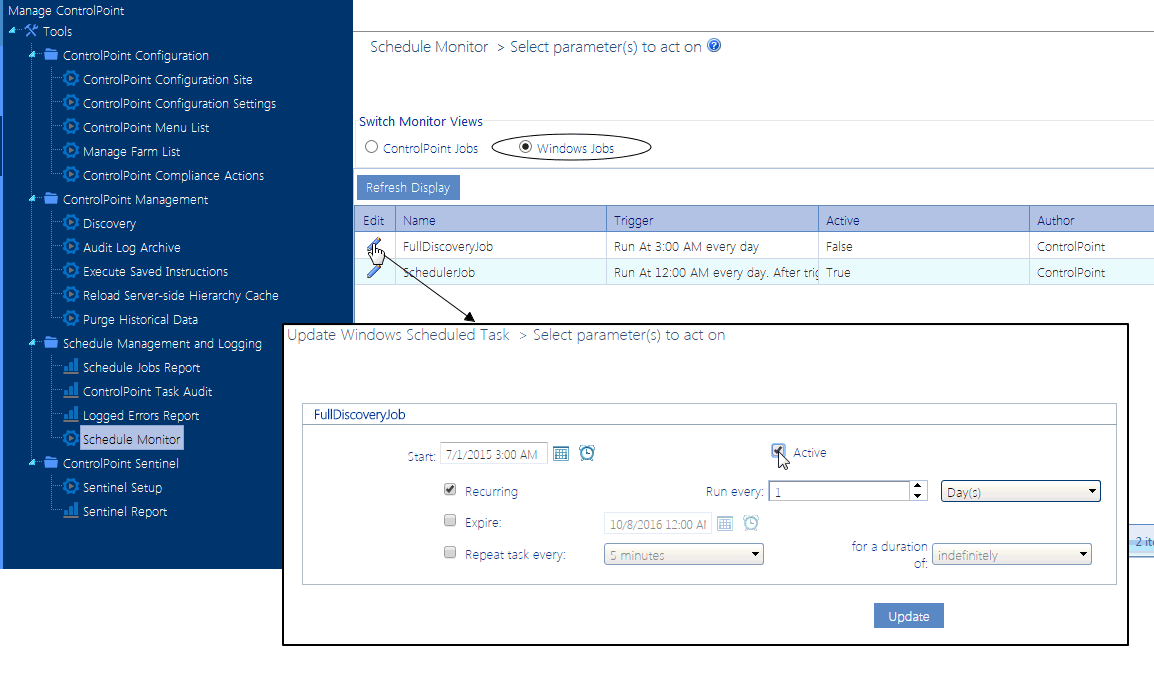
You can activate/deactivate and change the default start time and/or frequency with which these jobs run via the Schedule Monitor Windows Jobs view.
CAUTION: Full Discovery and Scheduler are application-wide jobs. Changing the start time and or/frequency will impact all of ControlPoint.
To update Full Discovery and/or Scheduler Windows Jobs:
1From the Schedule Monitor, select the Windows Jobs radio button.
2Click the Edit icon for the job whose schedule you want to update.
3Update the Start date, time, and/or run frequency, as applicable.
4Click [Update].
Using Sensitive Content Manager Services
If you have Metalogix Sensitive Content Manager installed in your environment, ControlPoint Sensitive Content Manager (SCM) Services allow you to use ControlPoint to:
·prepare content analysis (CA) jobs for upload to Metalogix Sensitive Content Manager
·upload CA jobs from ControlPoint to Sensitive Content Manager for scanning
·receive results of scanned CA jobs from Metalogix Sensitive Content Manager.
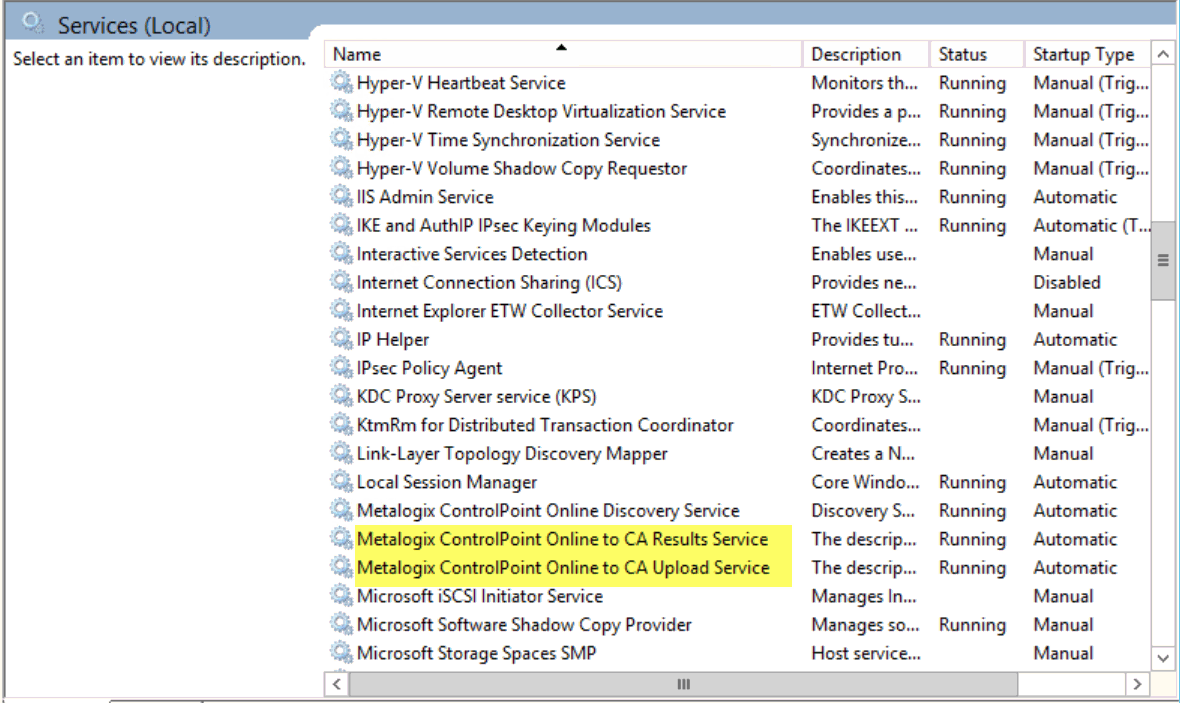
Metalogix ControlPoint SCM Services run as Windows Services on the server where ControlPoint is installed.
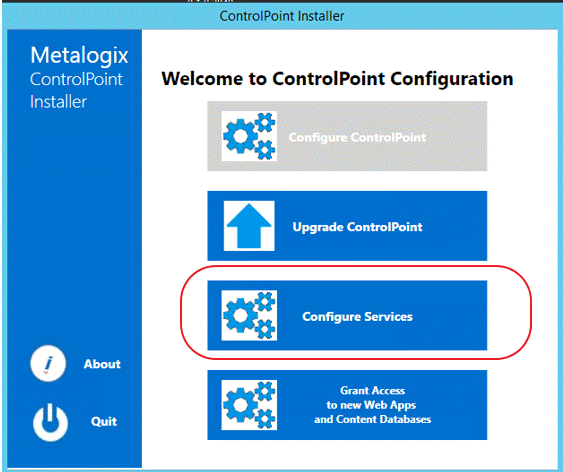
ControlPoint SCM Services can be configured at the time ControlPoint is installed or upgraded, or at any time when the Configuration Wizard is launched. See Configuring ControlPoint Services for details.
Launching the SCM Services Setup Application
To launch the SCM Services Setup application:
1Navigate to the location where the SCM Services files reside (by default, C:\Program Files\Metalogix\ControlPoint Online\ControlPointFeatures\Services\ContentAnalysis)
2Open CASetup.exe (using the Run as Administrator option).


