
About the KACE Systems Management Appliance
About the KACE Systems Management Appliance
Quest® KACE® Systems Management Appliance is a virtual appliance designed to automate device management, application deployment, patching, asset management, reporting, and Service Desk ticket management.
For more information about KACE series appliances, go to the Quest website, https://www.quest.com/products/kace-systems-management-appliance/.
About the appliance components
About the appliance components
Appliance components include software, hardware, web-based interfaces, and a mobile app interface.
|
The appliance runs in a virtual environment that uses a VMware® or Microsoft® Hyper-V® infrastructure. For the latest information about requirements for managed devices, and browser requirements for accessing the Administrator Console, see the Technical Specifications available on the product documentation page: https://support.quest.com/kace-systems-management-appliance/technical-documents. | |||
|
The Command Line Console is a terminal window interface to the appliance. The interface is designed primarily to configure the appliance and enforce policies. See Power-on the appliance and log in to the Administrator Console. | |||
|
The Administrator Console is the web-based interface used to control the appliance. To access the Administrator Console, go to http://appliance_hostname/admin where appliance_hostname is the hostname of your appliance. If the Organization component is enabled, you can access the System-level settings of the Administrator Console at http://appliance_hostname/system. To view the full path of URLs in the Administrator Console, which can be useful when searching the database or sharing links, add ui to the URL you use to log in. For example: http://appliance_hostname/admin. | |||
|
The User Console is the web-based interface that makes applications available to users on a self-service basis. It also enables users to file Service Desk support tickets to request help or report issues. To access the User Console, go to http://appliance_hostname/user where appliance_hostname is the hostname of your appliance. The User Console provides:
To customize the User Console, see: | |||
|
KACE GO is an app that enables administrators to access Service Desk tickets, inventory information, and application deployment features from their smart phones or tablets. The app also allows non-admin users to submit Service Desk tickets, view the status of submitted tickets, and read Knowledge Base articles from their mobile devices. You can download KACE GO from the Apple® App StoreSM for iOS devices, or from the Google Play™ store for Android™ devices. |
About the Administrator Console
About the Administrator Console
The components available in the Administrator Console might differ, depending on the license key, organization settings, appliance settings, and user role.
|
• |
Admin mode without the Organization component enabled: If the Organization component is not enabled on your appliance, go to http://appliance_hostname/admin, where appliance_hostname is the host name of your appliance, to log in to this mode. For components available in this mode, see Components available in Admin mode without the Organization component. |
|
• |
Admin mode with the Organization component enabled: If the Organization component is enabled on your appliance, go to http://appliance_hostname/admin to log in to the Default organization. appliance_hostname is the host name of your appliance. Admin mode enables you to manage the components available to the selected organization. For components available in this mode, see Components available in Admin mode with the Organization component enabled. |
If the Login Organization option is enabled in the appliance settings, the Organization box appears. You can type the name of an organization in the Organization box to log in to that organization directly.
If you have multiple organizations and the fast switching option is enabled, you can switch between organizations and the System level using the drop-down list in the top-right corner of the page next to the login information. See Enable fast switching for organizations and linked appliances.
|
• |
System mode with the Organization component enabled: If the Organization component is enabled on your appliance, go to http://appliance_hostname/system, to log in to System mode. appliance_hostname is the hostname of your appliance. In this mode you can manage the components available at the System level. For components available in this mode, see Components available in System mode with the Organization component enabled. |
In addition, if the fast switching option is enabled, and the passwords for the default admin accounts of the organizations are the same, you can switch between organizations using the drop-down list in the top-right corner of the page. See Enable fast switching for organizations and linked appliances.
Each mode has the following types of pages:
|
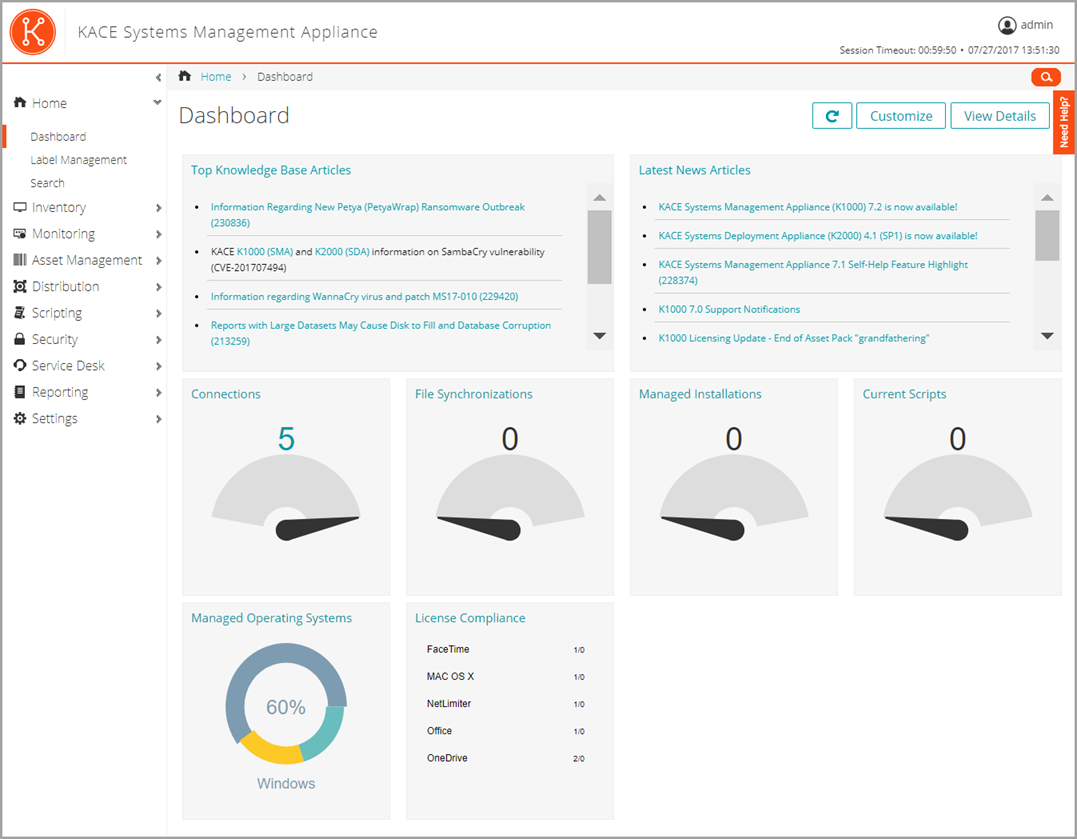
• |
Dashboards. These pages show status information for the appliance. If the Organization component is enabled, Dashboards are available at the organization and appliance level. |
|
• |
List pages. These pages enable you to view items available on the appliance or, if the Organization component is enabled, in the selected organization. |
|
• |
Detail pages. These pages enable you to view and edit details of the selected item. |
|
• |
Configuration pages. These pages enable you to configure settings. |
|
• |
Panels. These pages provide access to related components and settings. |
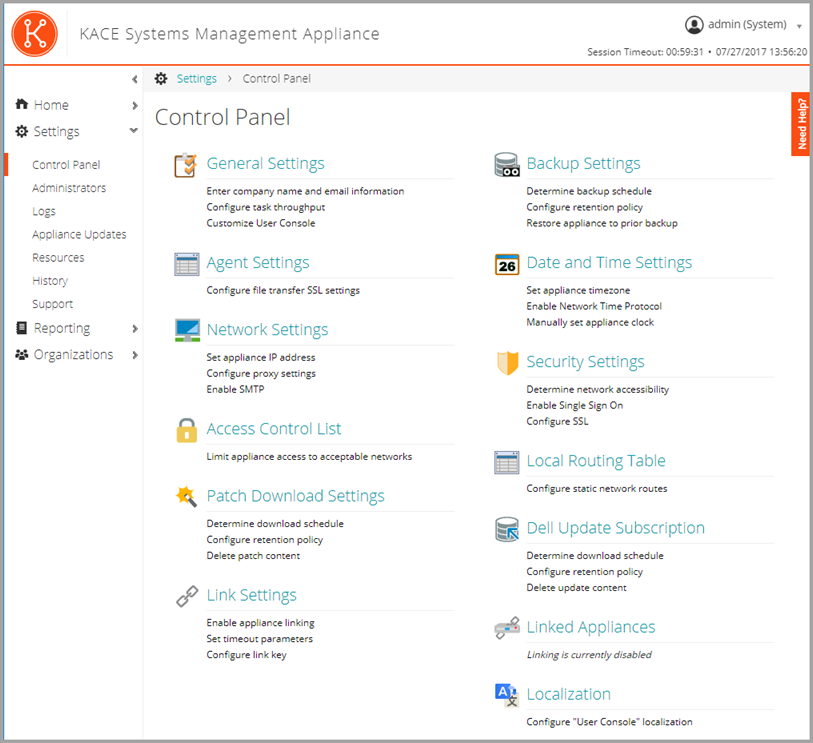
Components available in Admin mode without the Organization component
Components available in Admin mode without the Organization component
|
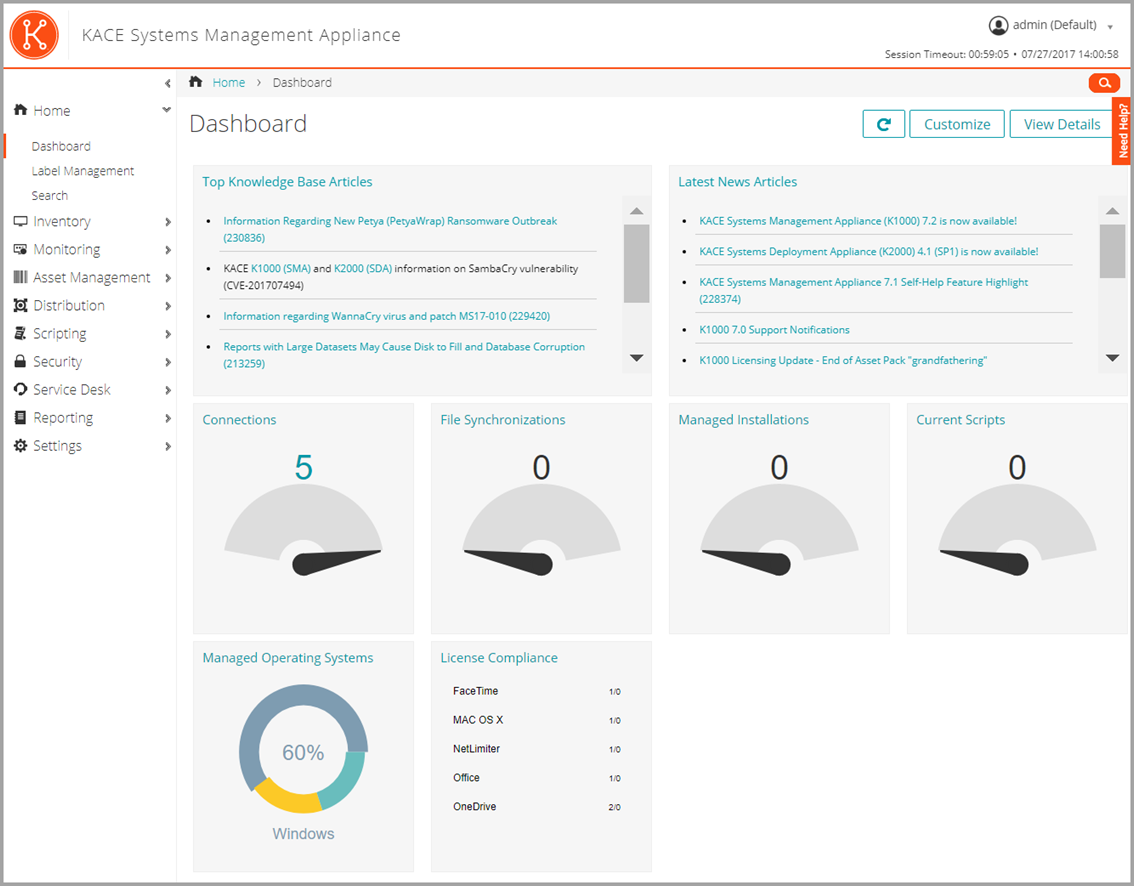
Review appliance statistics, manage labels, view historical information, and search for data. See Using the Home component. | |||||||||||
|
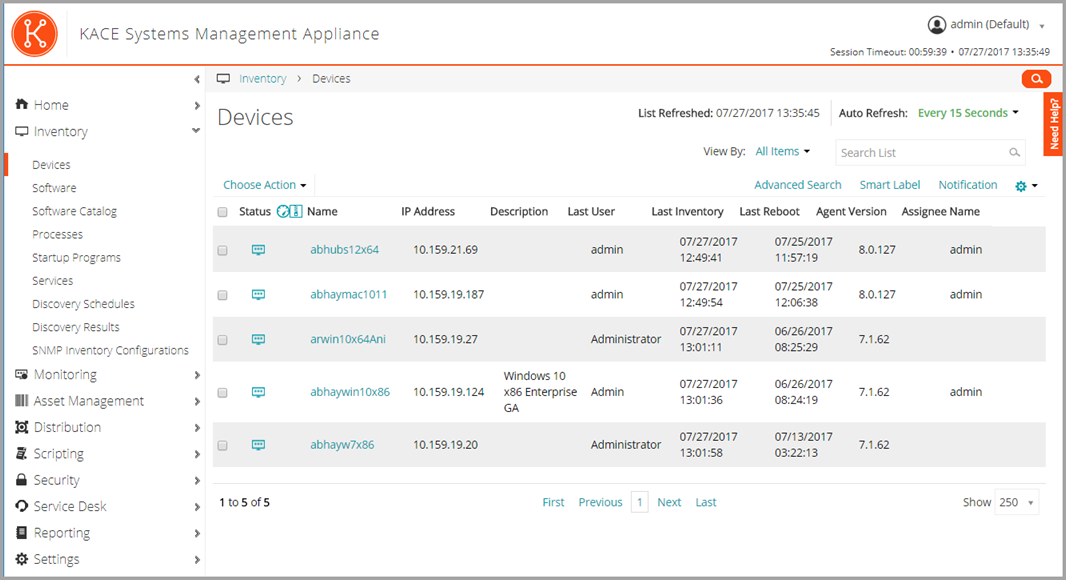
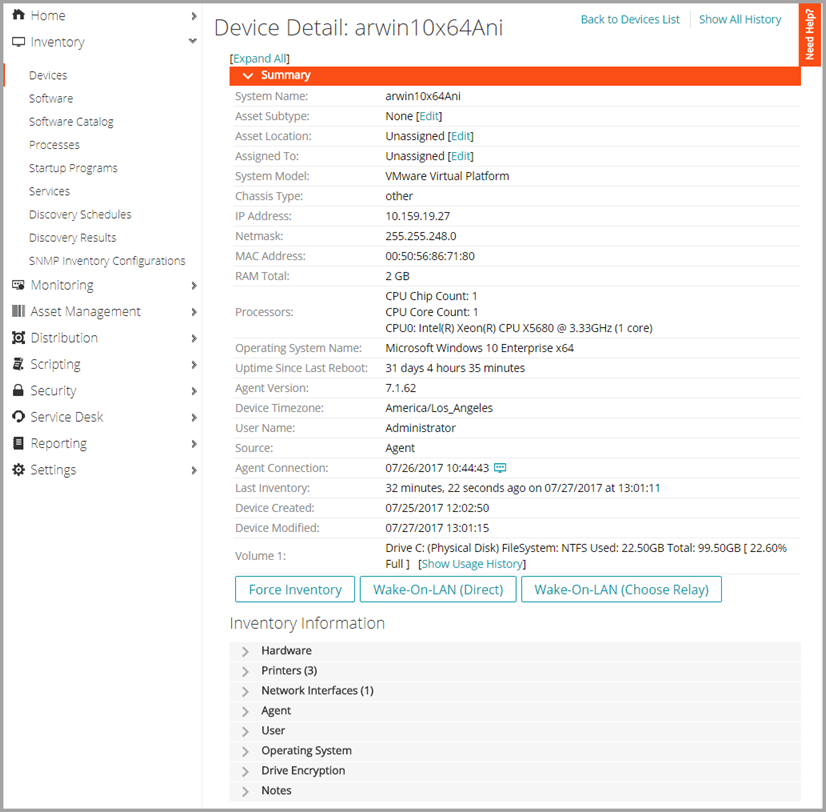
Manage the devices, software, processes, services, scans, and other items on your network. See: | |||||||||||
|
With the Monitoring Module license, manage event monitoring for up to 200 servers. | |||||||||||
|
||||||||||||
|
Distribute and manage software, including updates from Quest, remotely. | |||||||||||
|
||||||||||||
|
Service Desk (also known as Help Desk on appliances that have been upgraded from early versions) |
|
|||||||||||
|
Run pre-packaged reports and report-creating tools to monitor your appliance implementation. | |||||||||||
|
- Herramientas de autoservicio
- Base de conocimientos
- Notificaciones y alertas
- Soporte de productos
- Descargas de software
- Documentación técnica
- Foros de usuarios
- Tutoriales en video
- Aviso de actualizaciones de páginas web (RSS)
- Comuníquese con nosotros
- Obtenga asistencia con las licencias
- Soporte Técnico
- Ver todos