To configure git
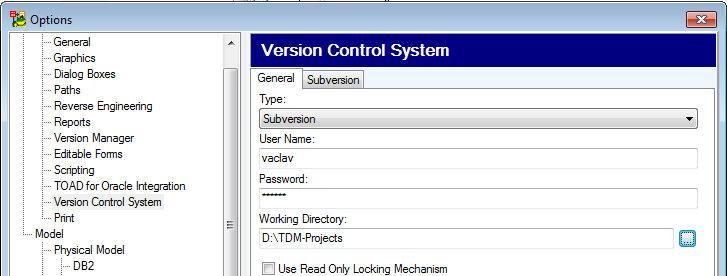
Configure Toad Data Modeler to work with Git in Options | Application | Version Control System. The values set here will be your default values for setting up new repositories in Toad Data Modeler.
- Select Git in Type
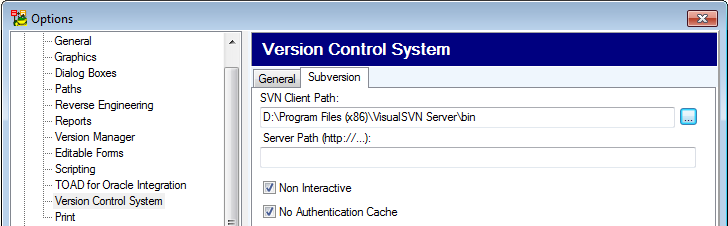
- Set paths to your Git client and working directory for your repository
- Click Apply and Initialize Local Repository. The folder will be created (if it does not exist) and initialized
- Enter a path to the remote repository, user name, and password
- Click Apply and Clone Repository
Note: If users select the Override the default branch name for new repositories option during Git installation, the branch name (Master/Non-Master) specified for the Toad Data Modeler product must match the branch name in the GitHub or Bitbucket repository.

Git application view
- The following Git commands are displayed in Application View toolbar when you work with a model that is tracked:

- Add Existing Models to Project to display the Git commands in Application View
| Application View Button | Description |
|---|---|
| Version Control System Settings | Opens Options page where you can set the Version Control System preferences |
| Refresh | Refreshes file status in Toad Data Modeler |
| Add to Index | Adds the file to the list of tracked files |
| Remove from Index | Removes the file from the list of tracked files |
| Commit | Commits changes |
| Push | Pushes the committed changes into the remote repository |
| Pull | Pulls the current state from the remote repository |
| Fetch | Fetches information about the current state of the remote repository |
| Information | Displays information about the commit and its author |
| History Browser | Allows you to browse different versions of the file, merge and compare them and create change script |