The Nova Tenant Management System (TMS) allows service providers to support multiple customers from a common interface. Using the Nova TMS, the service provider adds new customer tenants, and then delegates access to those tenants and the Nova platform.
Click here for a video overview of the TMS user interface.
This section explains how to manage customer tenants and add tenant administrators.
My Associations
Here, you can select your default tenant or remove your access to a tenant. This is where you can view all of the tenants that your QTID is associated with. To access this, click your tenant name at the top right hand side of the toolbar, then select My Associations.
My Invitations
Here, you can invite someone to associate with the organization and delegate management rights to them. Use this page to view the status of invitations you send. To access this, click your tenant name at the top right hand side of the toolbar, then select My Invitations.
Adding a Customer Tenant
Use the Nova Tenant Management System to add customer tenants. If you are managing a lot of tenants, or if some of your customers have multiple tenants, you might need to organize the tenants into organization groups. Here is how to add a new tenant to the TMS:
1.On the My Organization page, click Add Child.
2.Enter the organization name. We like to format this with the logical name, followed by the Microsoft 365 tenant name in parenthesis. It looks like this: Organization Name (tenant)
3.Select an organization type.
4.Select the 2 check boxes, if desired, which allows the parent organization to view the child organization's data and manage the child organization's settings.
5.Click Create.
Click here to watch a video showing how to add and manage customer tenants.
Adding a Tenant Administrator
You will want to invite someone from the organization to act as the tenant administrator. Follow the steps below to invite a tenant administrator.
1.On the My Organization page, expand the organization hierarchy until you can select the tenant to which you will add a tenant administrator.
2.Click Manage.
3.Enter their email address and select the role(s) you want to assign to them.
They'll receive an email invitation to access the application. When they follow the link in the email and accept the invitation, they'll authorize Nova to access their tenant's data and they'll allow the setup process to be completed.
|
|
NOTE: If the invited user does not receive an email, check the contents of any junk mail folder. |
Click here to watch a video showing this process.
Additional Notes About Tenants
Here are some additional notes about the Tenant Management System:
·The individual who adds a tenant to TMS is automatically the tenant's default association and system administrator until a different default association and administrator is assigned.
·If you want to change your default tenant, go to My Associations and click the circle icon for the tenant you want to set as your default organization.
·If you want to remove your association/access to a tenant, go to My Associations, and click the Remove association button next to that tenant.
·If you are managing several tenants, you might want to organize them into groups using the Organization Groups page.
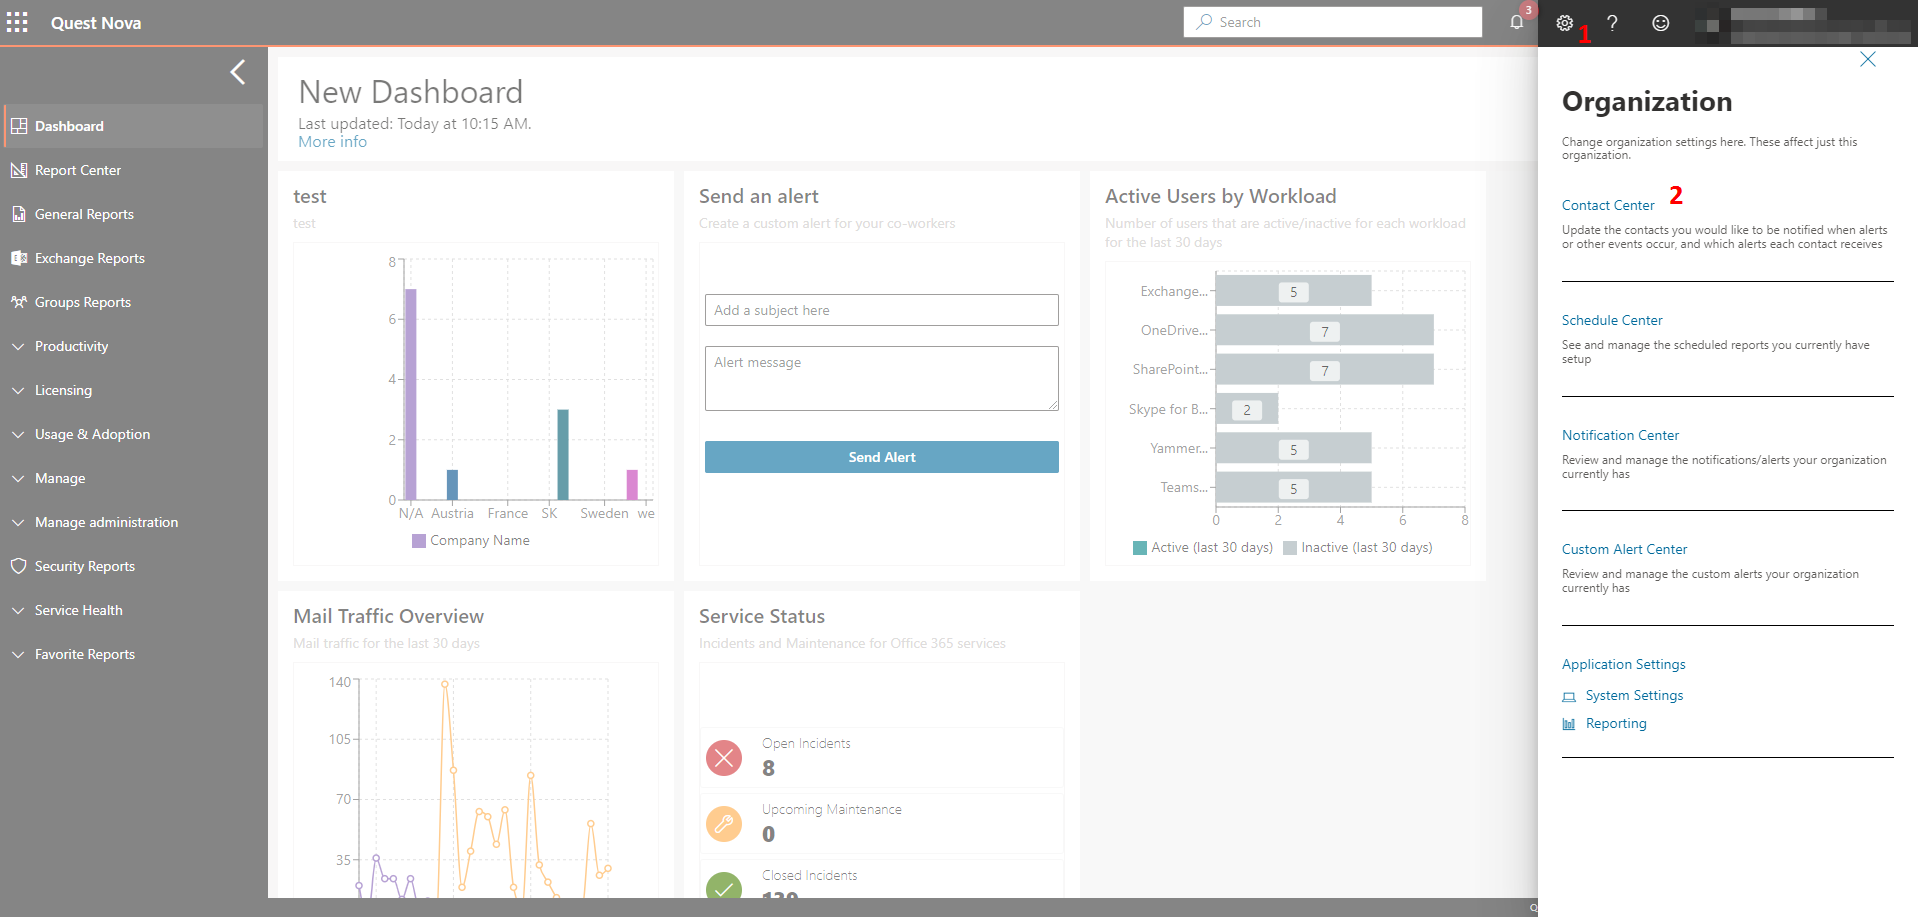
Use the Contact Center to manage the list of individuals who you want to be notified when alerts or other events occur.
To access the Contact Center, click the Settings button (a gear) located in the top right of the Nova window, and then select Contact Center, as shown below.
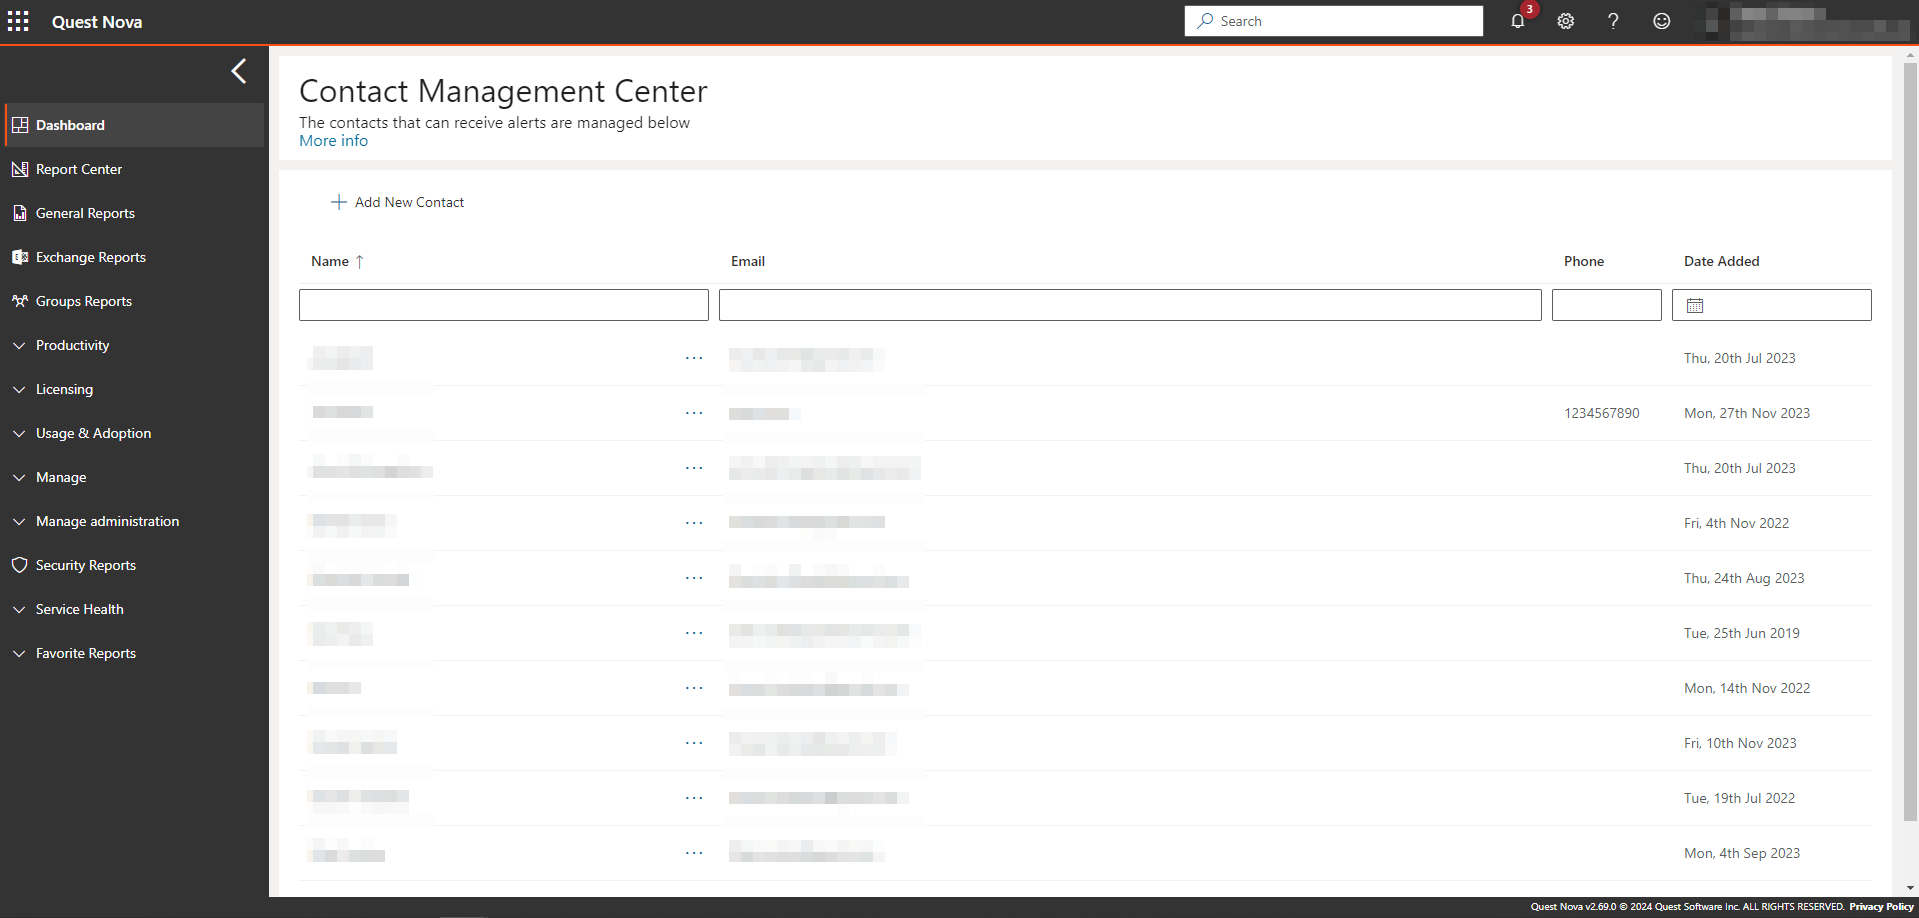
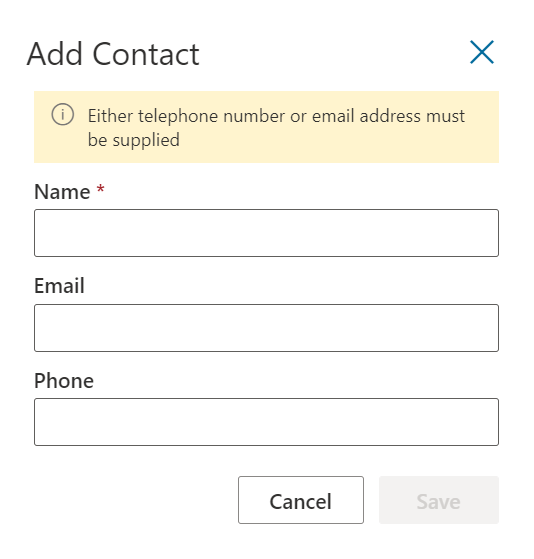
You can search for contacts and update their names. You can add new contacts manually, or they are added automatically when they are invited to log in to Nova for the first time.
This list of individuals in the Contact Center is also used when you are scheduling reports. So, if you are sending a scheduled report to someone who is not already listed in your contacts, open the Contact Center and add them manually before scheduling the report.
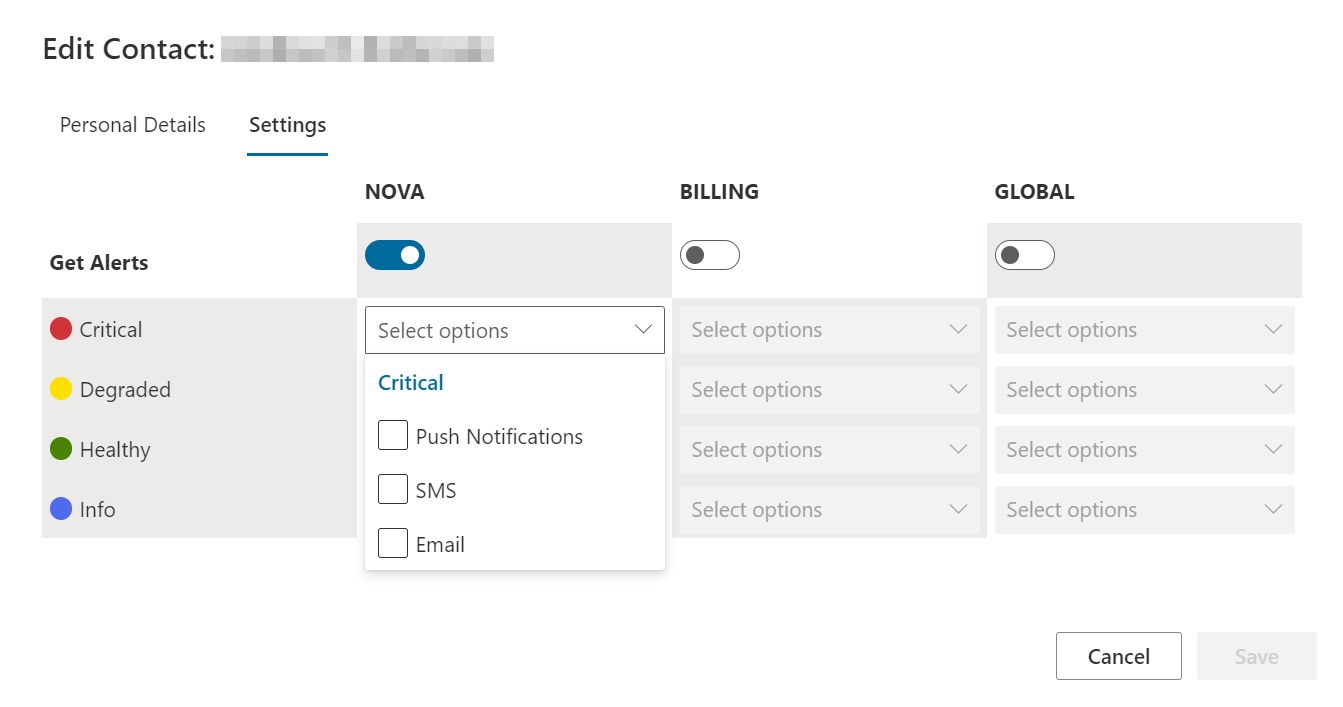
From the Contact Center, you can specify which alerts you want each contact to receive by clicking More button, and then selecting the Settings tab. Here is how it looks:
|
|
NOTE: These steps can only be completed by a System or Account Administrator. |
Optionally, you may need to report across one or multiple tenants in order to get a wider scope of Microsoft 365 data in your organization. To do this:
1.Add your organization to Nova.This is done through your on-boarding process with Quest Support.
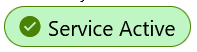
2.Setup reporting using the on-boarding wizard. To do this, click Setup Reporting, which will take you to the Reporting on-boarding wizard. For more on this, click here (recommended to open in a new tab). You will know if you have been provisioned if your reporting status has 'Service Active', as shown in the image below:
3.Add any child tenants you would like into the organization. For multi-tenant reporting to function, these need to be under the same parent tenant. Click here for steps on how to add child tenants.
|
|
NOTE: These child tenants also need to have reporting provisioned. This can be done using the same instructions highlighted in step 2. |
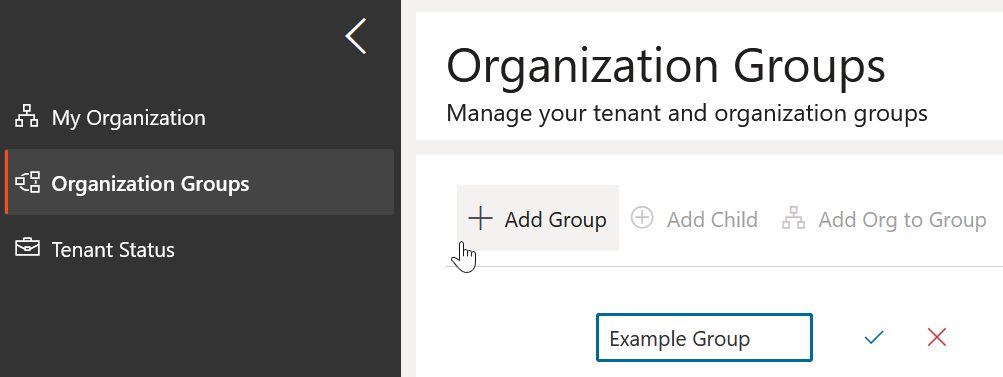
3.Once you have created your child tenants, and have had reporting provisioned, you can create your Organization Group. To do this:
a.On the left hand navigation pane, click Organization Groups.
b.Click Add Group, and give it a distinctive name. Then click the tick icon.
c.Click on your Org Group, then click Add Org to Group, and add the tenants you would like to be in the group, and then Select.
d.If applicable, you can add child groups, and add organizations to them using the same steps as above.
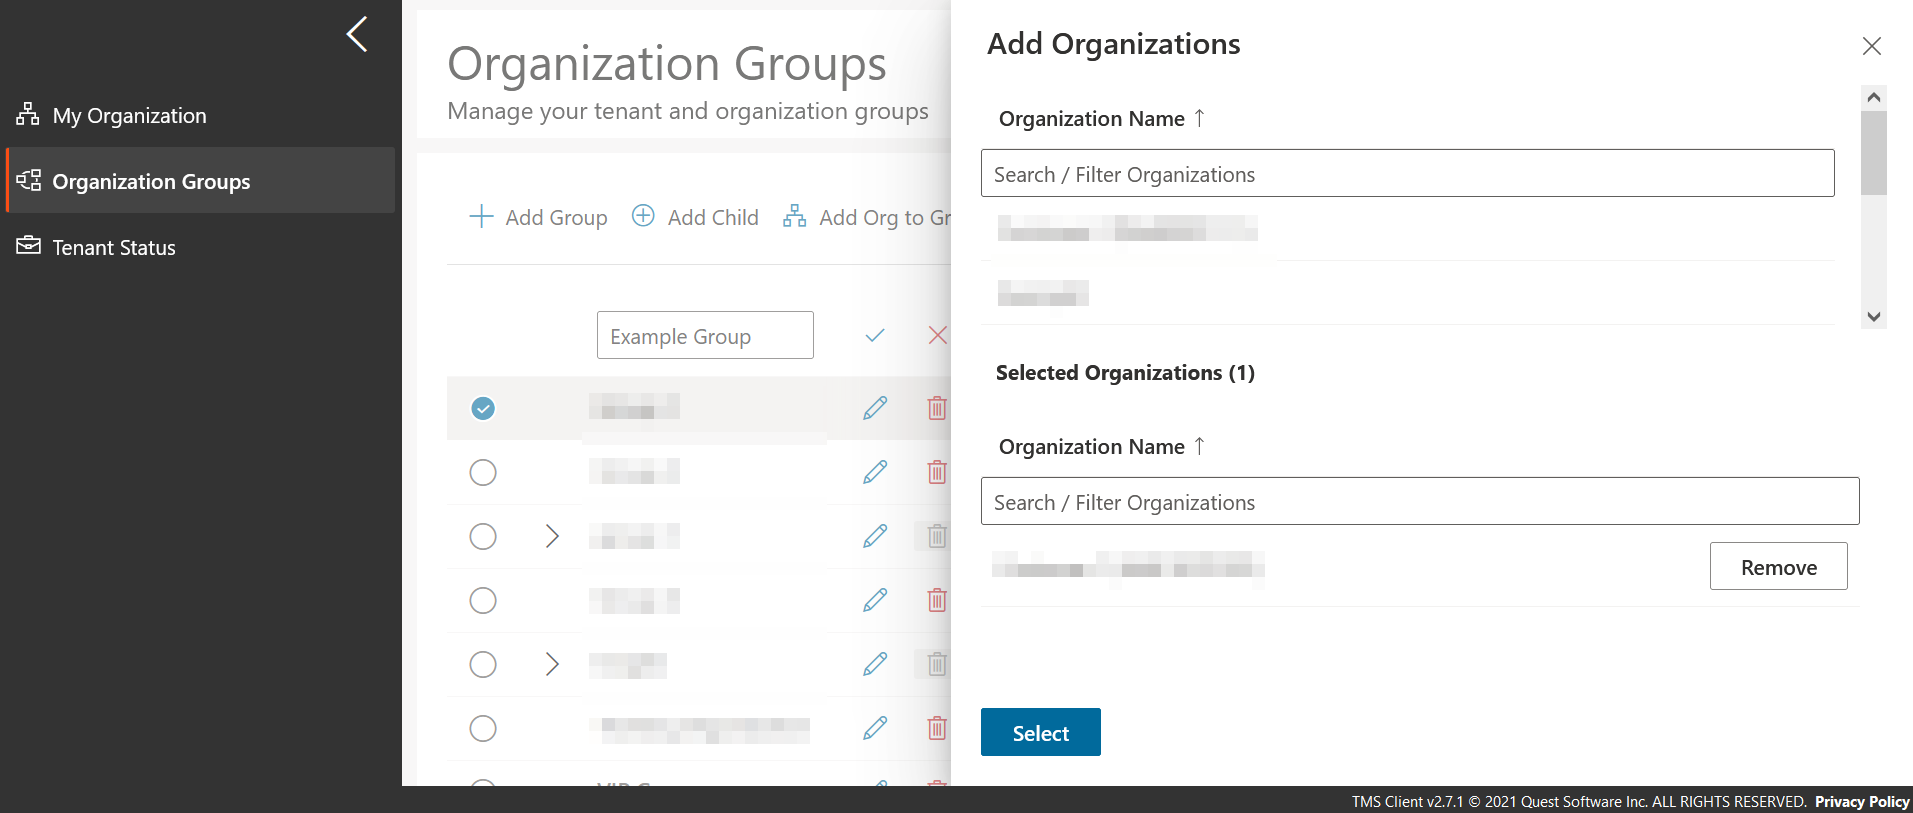
4.Once this is completed, you should now be able to filter reports by your chosen organization and organization groups. Filter by organization and/or organization groups using the boxes below when creating or editing a section:
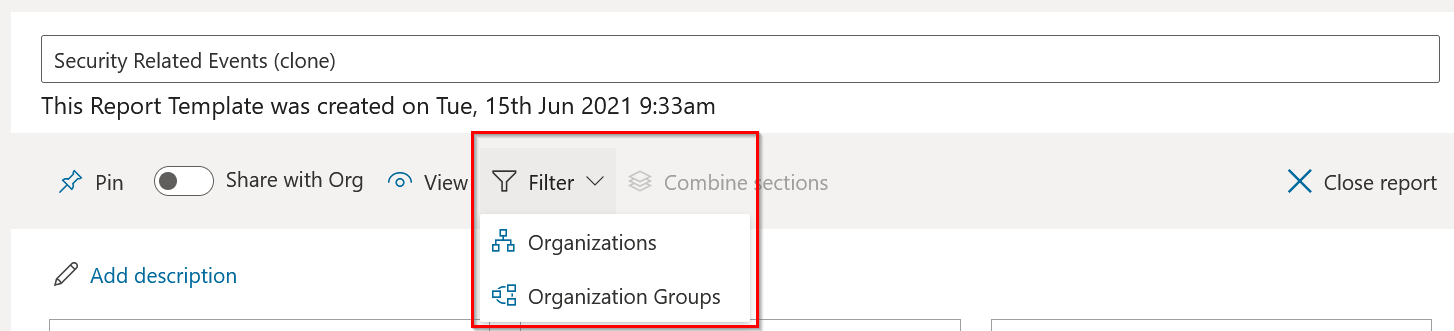
You can also filter an report, narrowing the scope of all sections within it. You can do this by clicking on any report, and selecting Filter from the drop down menu. If you are in Edit mode, you can select an organization and/or organization group to filter by, and save it to keep the filter assigned to that report. In View mode, you can temporarily add filters to your group.
Users can stop the collection of data for a tenant by doing the following:
1.In TMS, click the 'Data Collection' tab.
2.Next to 'Data Collection Enabled', click 'Deprovision'.
|
|
NOTE: This can only be completed by a user with either a 'System Administrator' or 'Quest TMS Admin' role. |