SharePoint Processing
To reassign Microsoft SharePoint permissions after your migration, use the SharePoint Permissions Processing wizard. The wizard will grant SharePoint permissions of the source users to the matching target users.
For more details, see the following topics:
Installing the SharePoint Permissions Processing Wizard
To install the wizard, take the following steps:
- Open the Console subfolder in <QMM Installation Folder> (by default, %ProgramFiles%\Quest Software\Migration Manager).
- Copy either the SharePointProcessing.msi file or the SharePointProcessingX64.msi file to the SharePoint server you want to process, depending on the operation system installed in your environment. Separate MSI files are provided for x86 and x64 operating systems.
- Run the MSI file on the SharePoint server and complete the installation wizard.
Required Permissions (SharePoint Processing)
Before you run the wizard, make sure your account has the following permissions:
- Member of Central Administrator group for SharePoint server
- Member of the local Administrators group on the computer running the SharePoint Permissions Processing Wizard
Processing SharePoint Permissions
|

|
NOTE: To update SharePoint farm environment you need to start the wizard once, on any front-end SharePoint server. |
To reassign Microsoft SharePoint permissions, take the following steps:
- Click Start | All Programs | Quest Software | SharePoint Processing Wizard to run the wizard.
- On the Welcome screen, click Next.
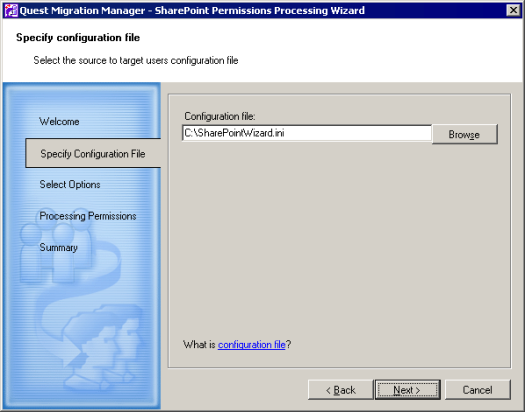
- On the Select Configuration File screen, specify the location of the INI configuration file. Click Next.
|
|
NOTE: To get the file, export INI file, as follows:
- From Tools menu in Migration Manager Console, select Export to | INI file. The Export INI File dialog box will appear.
- Select any wizard in the Wizard Name list box.
- Specify the INI file name and path in the INI file field, or leave the default.
- Click OK. This will create INI file in the folder you specified in step 3.
|
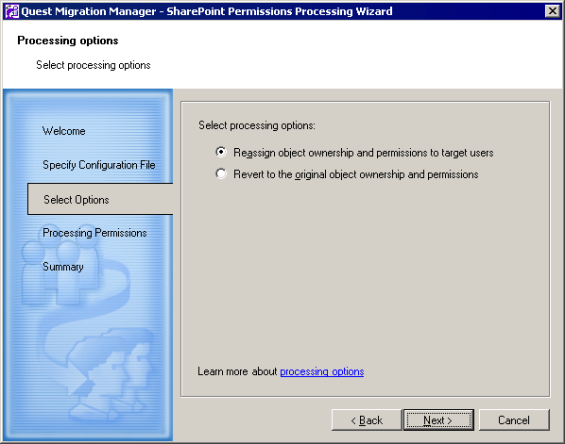
- On the Select Processing Options screen, select either of the following options:
- Reassign source accounts' permissions to target users—This option allows you to change the permissions of the source accounts on the selected server to the new (target) user accounts, select the first option.
- Revert to the original accounts' permissions—This option lets you undo re-permissioning. It removes target users from the access lists and returns all rights to the source accounts.
|
|
NOTE: If you click Cancel while reverting back the changes, further re-permissioning will be stopped. Objects that are already processed by that moment will have source permissions. Objects that are not yet processed will keep target permissions. If you want to restore the SharePoint state, run the wizard with the Reassign source accounts' permissions to target users option. |
- Click Next to start processing permissions.
- On the Summary screen, you may review results and statistics of permission processing.
If any errors occurred during processing, they are indicated in the Summary. Error descriptions are available in the log file.
- Click Finish to exit the wizard.
