ExpertAssist’s Help Desk Chat feature allows you to communicate with the user sitting in front of the remote computer as you would with any instant messenger software. ExpertAssist’s advanced diagnostic capabilities can be put to use while you’re remotely connected.
Figure 8: Help Desk Chat window.
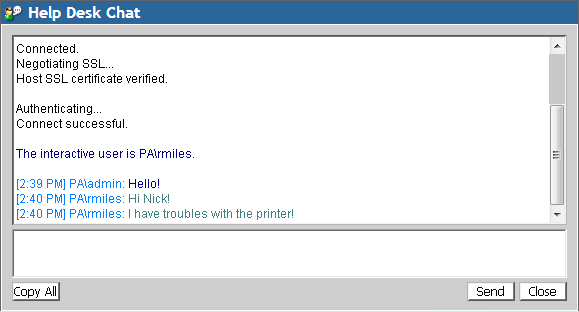
This functionality is implemented in a Java applet which is similar to the screen that the remote user will see.
The Computer Management object allows you to take advantage of a wealth of ExpertAssist administrative features including the File Manager, information on the Processes, Services and Drivers of the remote machine and even a reboot of the remote machine.
The File Manager displays a list of all available drives, together with their capacity and available space.
Double-click on the drive names to get into the root directory of that drive, where all files and directories are also links.
Double-click on the name of a subdirectory to get into it and produce a listing.
You can select multiple consecutive files with the Shift key, or non-consecutive files with the CTRL key.
Use the toolbar buttons to copy, delete, or move the selected files.
To work with files:
Table 2: File Manager toolbar buttons.
|
|
Click QuickLinks to add your favorite pages to the QuickLinks drop-down list. |
|
|
Click Refresh to redisplay the File Manager list of files and folders. |
|
|
Click Parent to go to the Parent folder (move back one folder). |
|
|
Click Root to go to the root folder of the drive. |
|
|
Click Browse to open a file browser window. |
|
|
Click Delete to remove the selected file/folder. |
|
|
Click Copy to copy selected file/folder to another location. The path to selected file/folder is copied to the clipboard. Copying is performed when you click Paste in the selected destination. |
|
|
Click Cut to move selected file/folder to another location. The path to selected file/folder is copied to the clipboard. Move is performed when you click Paste in the selected destination. |
|
|
Click Paste to paste the copied/cut file/folder into the selected destination. |
|
|
Click Rename to rename the selected file/folder. |
|
|
The Edit button lets you edit small text files right within your browser. This is useful for changing small configuration or batch files without downloading or uploading. |
|
|
The Attributes button lets you change file attributes, such as Hidden, Read-Only, etc. |
|
|
The Permissions button lets you specify NTFS access permissions on the selected objects. |
|
|
By clicking the Execute button, the ExpertAssist will attempt to launch each selected file on the host. |
|
|
Click Create to create a new folder. |
|
|
Clicking the Upload button lets you upload files from your local computer to the current directory of the remote computer using your browser. |
|
|
Clicking the Download button lets you download the selected file/folder from the remote computer to the local computer. You will be prompted for a download location. |
|
|
Click the Find button to perform a file search. Use wildcards to find the file/folder by specifying a part of its name. |
|
|
Click the Sharing button to set the Sharing properties of the current folder. |
|
|
Click the View button to see the file/folder properties. |
|
|
Click the Export button to export the displayed table of files and folders into the CSV file. |
The File Manager has the following columns in its view:
A small icon indicating the file type
File name and extension
File size
Last modification time
When hovering over a file or folder in the currently selected drive, a tooltip will be displayed containing the following information:
File name and extension
File size
File attributes (i.e. read-only, system, etc.)
File creation time
Last modification time
Last time the file/folder was accessed
Indicates what actions the user can perform on the object (i.e. read, write, change, etc.)
The owner of the file/folder
The Go field accepts a path name.
Enter a directory (for example C:\Windows\System32\Drivers) and click on the Go button. This will immediately take you to the requested location, without having to click your way there. This can be especially helpful over slow connections.
Clicking on the header fields will change the sorting order of the file list to the relevant column.
For example, to sort files by modification time rather than name, simply click on the header field for that column. To sort in descending order, click the header field of the currently active sorting field again.


