
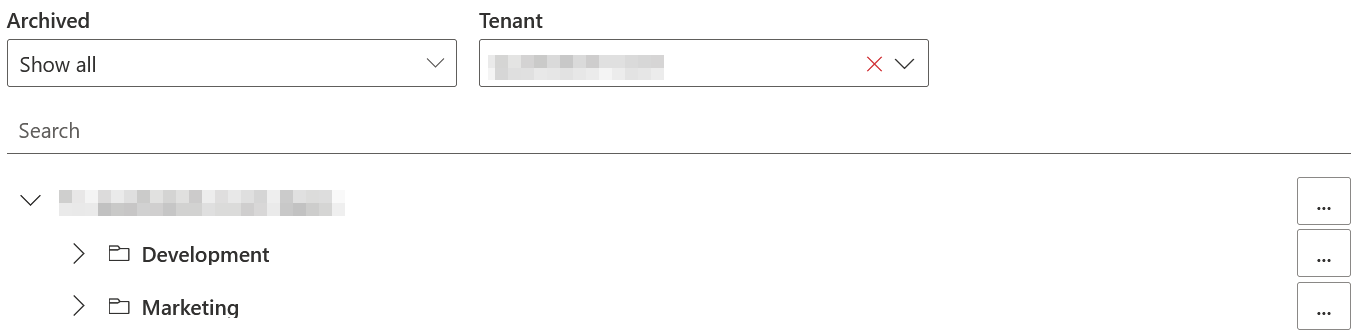
Groups
On the Groups page, by going to Manage, then Groups, you can manage Microsoft 365 groups.

You can:
·Refresh: Refresh the groups list to get the most updated data.
·Create group: you can create either a group in the cloud, or an on-premises group. Details on how to do that are below.
·Delete: Delete a group from the list.
·Columns: You can add and remove columns from the table.
By clicking on a group, you will see additional information, such as:
·Detail: This includes information on the group such as its group type, mail and security enablement and its mail nickname.
·Owners: This is a list of the group owners. You are able to add and remove owners if you have the permissions to.
·Members: This is a list of the group members. You are able to add and remove members if you have the permissions to.
Creating a Cloud Group
Below is how to create a group stored in the cloud.
1.Click Create group, the Create on-premises group.
2.Select the vOU to insert the user into.
3.Enter this display name of the group.
4.Enter the group's Exchange alias to link the group to.
5.Enter the group type. These are:
a.Office 365 Group
b.Security Group
c.Distribution Group
d.Mail enabled security group
6.Optionally, add a description to inform other users of the group's purpose.
7.Click Save.
Create an On-Premises Group
Below are steps on how to create a group stored on-premises.
1.Click Create group, then Create on-premises group.
2.Select the vOU to insert the user into.
3.Enter this domain of the group from the drop down list.
4.Enter the group's display name.
5.Enter the group's name.
6.Enter the group's SAM account name.
7.Enter the group's category: Distribution or Security.
8.Enter the group's scope: Domain local, Global or Universal.
8.Optionally, add who the group is managed by, a description of the group, the home page of the group and its mail address.
9.Click Save.
Teams
On the Teams page, by going to Manage, then Teams, you can manage your Microsoft 365 Teams. Here, you will see your already created Microsoft Teams, and the groups that they are associated with. These are the icons that you will see in Teams, and what they mean:


On this page, you are also able to filter by Archived Teams, and select which tenant you would like to view. By default, the page will show all Teams, both archived and unarchived, from all tenants you have access to.
By clicking on a Team's ellipses, and clicking Detail, you will see additional information on a Team, including:
·Detail: This is information on a Team, including its description, group type, visibility, and mail and archive enablement.
·Settings: This is the list of settings applied to the Team, including member, guest and messaging permissions.
·Owners: This is a list of owners for the Team. You can add or remove owners if you have the appropriate permissions.
·Members: This is a list of members for the Team. You can add or remove members if you have the appropriate permissions.
·Channels: This is a list of channels for the Team. You can add, edit or delete channels if you have the appropriate permissions.
Clicking on the ellipses on a Team also allows you to:
·Move the Team into a different folder.
·Delete the Team.
·Create a new Teams Channel. Clicking on this will take you to a creation section, where you can enter the channel's name and description.
Clicking on the ellipses for a group allows you to:
·Create a new Teams group.
·Edit the folder to change its name and Team prefix.
·Create a new Team. More on this is below.
·Refresh the group to update its details.
How to create a new Team
Below are steps on how to create a new Team in Microsoft Teams.
1.Click on the folder ellipses and click Create Team.
2.Enter the display name for the Team.
3.Enter the Exchange alias for the Team.
4.Choose the Team's viability. The Team can be either Public or Private.
5.From the drop down menu, select the Team's owner.
6.Optionally, enter a description for the Team to give more information on its purpose.
7.Optionally, select settings for members, guests and messaging, including the choice to filter any inappropriate material.
8.Click Save.
How to create a new Channel
Below are steps on how to create a new Teams channel.
1.Click on the ellipses on the Team you would like to create the channel in, and click Create Channel.
2.Enter the display name for the Team.
3.Optionally, enter a description for the channel.
4.Click Save.
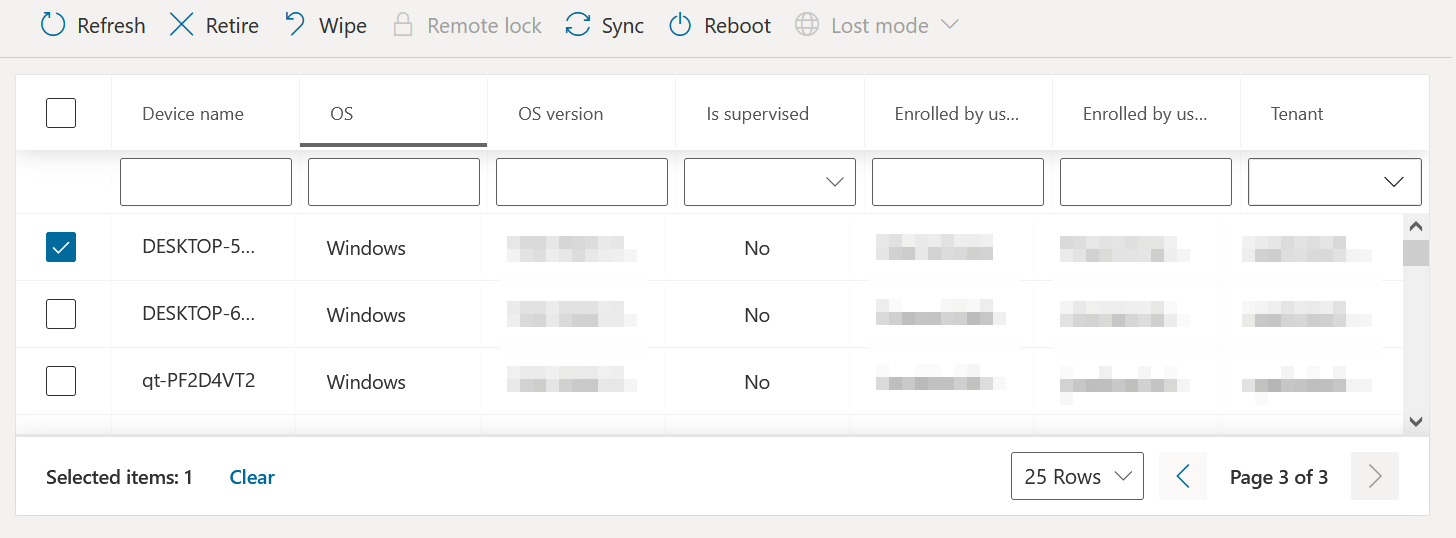
Devices
You are able to add actions to Microsoft Intune configuration policies to your user's mobile devices. For DPC users, this is helpful if you need to modify devices and applications of users you are allowed to manage. The devices screen can be found within the Nova Dashboard by clicking Manage, then Devices.
Actions include:
·Refresh: this refreshes the list of devices in the tenant.
·Retire: if the device is no longer in use, you can retire it.
·Wipe: you can remote wipe devices immediately.
·Remote Lock: you can remotely lock devices immediately.
·Sync: Sync your device to get its most up to date information.
·Reboot: instantly reboot a device.
To show more details for your device, click on its name. Here, you will find several more tabs, including:
·Detail: this gives additional information of the device, including manufacturer, model, last sync date type and encryption state.
·Owner: this gives detail on the owner of the device, including email and the tenant the user is in.
·Users: this includes a list of users assigned to the device.
·Group Membership: if the device is part of a group, they will be listed here.
Also on this Device Detail page, you have the opportunity to remove the passcode (for iOS), and reset passcode (Android 7+ versions only).
Custom PowerShell
The Custom PowerShell page shows a list of PowerShell scripts which have been added to Nova. You can also create your own scripts and run them. For more on this, go to the Quest Nova User Guide.
|
|
NOTE: Only System Administrators, Account Administrators and delegated administrators who have been given Custom PowerShell rights can access this page and perform actions with custom PowerShell. |
