
Provisioning Package Preparation
Provisioning Package Preparation
This section will explain how to create a provisioning package for Windows Workstation running Windows 10 (Build 1709 or later), or Windows 11 using Windows Configuration Designer. Additional detailed instructions can also be found at this Microsoft Article Bulk enrollment for Windows devices - Microsoft Intune | Microsoft Docs.
-
Download the Windows Configuration Designer (WCD) from the Microsoft Store.
Important Tip: Windows Configuration Designer(WCD) should be downloaded and installed on the workstation used by the migration administrator to prepare the enrollment package. It does not need to be installed on the workstations that are being migrated.
-
Launch the Windows Configuration Designer by clicking on the icon on the start menu.
-
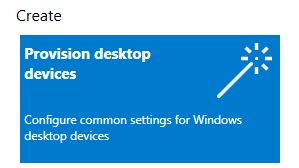
Create a new package by clicking on the Provision desktop devices icon.
-
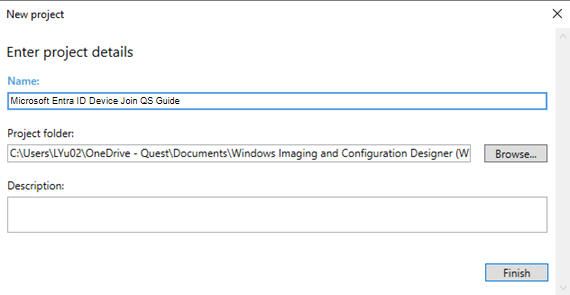
Provide a project name and click Finish.
-
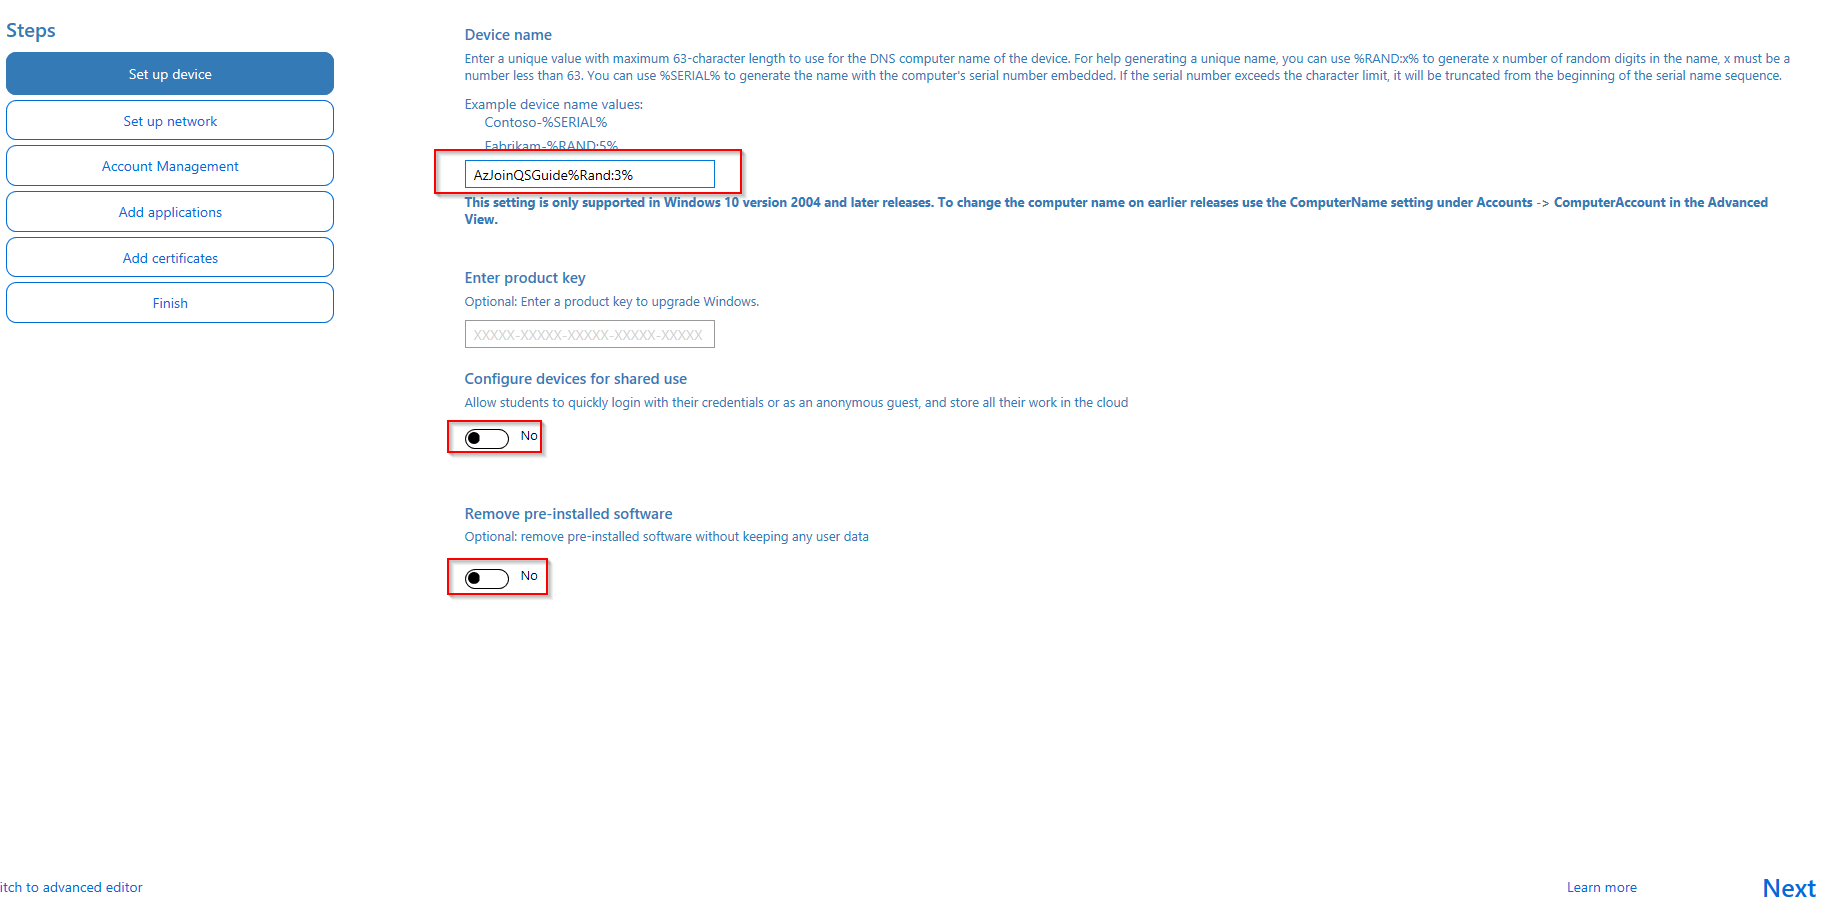
Specify a computer name using the on-screen instructions. Leave all other settings with default. Click Next.
-
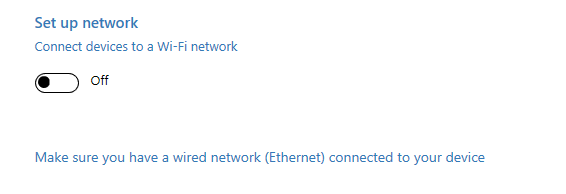
Disable the Wi-Fi setting if devices will have a wired network connection, or you may enter a Wi-Fi SSID in your environment, Click Next.
-
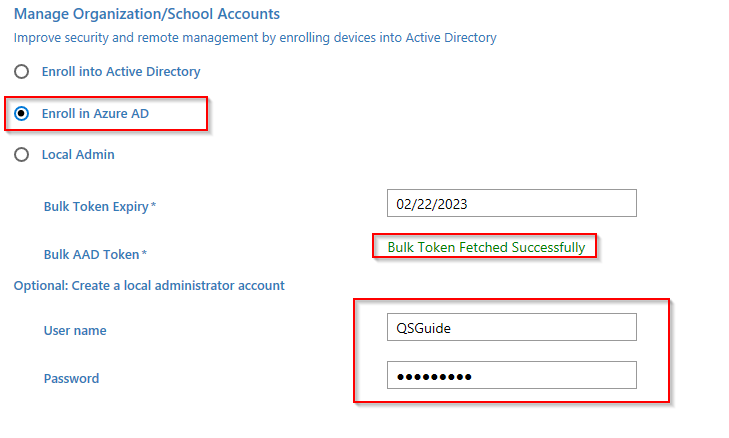
Perform the following in Account Management section, click Next when completed:
-
Select “Enroll in Azure AD” option.
-
Click on the “Get Bulk Token” link to generate a token that will be used for device join. You will be prompted by Microsoft 365 to enter your tenant credential.
-
Optionally you can also specify a local administrator account and password. This account will be created on the device.
-
-
Leave the default setting for Add Application section and click Next.
-
Leave the default setting for Add certificates section and click Next.
-
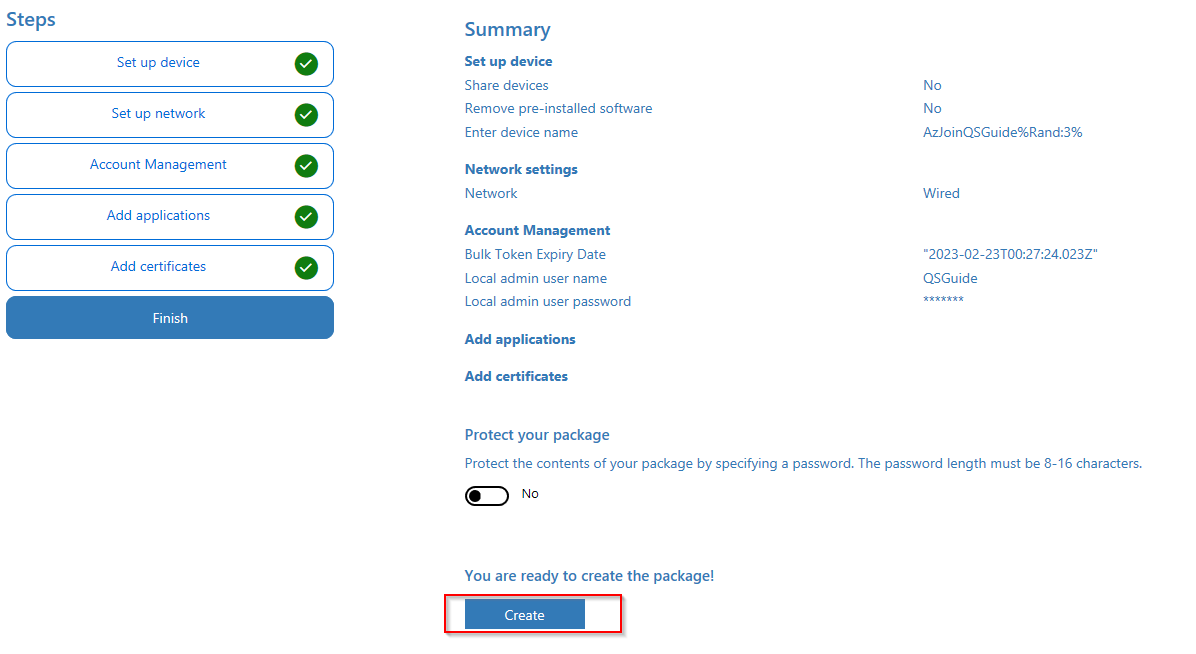
Review the package setting and click Create.
-
Store the package file in a Shared Folder which is accessible by the Workstation for later use. (The Share Folder UNC path will need to be defined later in On Demand Migration Active Directory)
Device Migration
On Demand Migration Directory Sync
This section explains how to setup Directory Sync between Local On-Premises Active Directory and an Microsoft Entra tenant using On Demand Migration Directory Sync. During project setup, an Office 365 Global Administrator account is initially required to add Microsoft Entra tenant to the project.
On Demand Migration Directory Sync
On Demand Migration Directory Sync
This section explains how to setup Directory Sync between Local On-Premises Active Directory and an Microsoft Entra tenant using On Demand Migration Directory Sync. During project setup, an Office 365 Global Administrator account is initially required to add Microsoft Entra tenant to the project.
Setting up the Directory Sync Local Environment
Follow these steps to setup the Directory Sync Environments.
-
Log in to On Demand.
-
Navigate to Migration.
-
Select an existing migration project.
-
Click on Directory Sync from the Project Dashboard.
-
Once the On Demand Migration Directory Sync module is loaded, click on the Directory Sync icon in the main dash view.

-
Click Environments in the left navigation menu to display the environment page.
-
Click the New button.
-
Click Local as the environment type, Click Next.
-
Name the environment, Click Next.
-
Name the local agent, Click Next.
-
Note the agent registration URL and registration Key for later use, click Finish.
-
Install the agent in the Windows Server that is joined to the local AD domain.
-
Launch the On Demand Migration Directory Sync Agent installation in the target workstation or server.
-
Accept the license agreement and click on next.
-
Enter the target active directory environment information by providing the following and click next.
-
Domain Name
-
Global Catalog Server
-
Username
-
Password
-
Enter the On Demand Migration Directory Sync Registration URL and Agent Registration Key information and click next.
-
In the sIDHistory Migration section, you may skip this step as sIDHistory is not in-scope for this project.
-
Note, Refer to On Demand Migration Active Directory Online Help Center for detailed information about agent installation and set-up requirements.
-
Once the agent is installed and the environment is discovered, click on the Setting button to access the local AD environment setting page.
-
Click on the Organization Unit tab and define the OU filter based on your project scope. In this case, we should include the following:
-
Users and Groups objects in-scope of the migration
-
Devices in-scope of the migration
-
-
Click on the Filters tab and define any LDAP filter based on your project scope.
-
Click Save.