
GUID Mappings
|
Navigation: Configuring Copying Options > Mapping Options > Global Mappings > GUID Mappings |
While this feature is not required in most migration cases, there are some scenarios that may require GUID mapping for successful migration of SharePoint objects, like classic web parts. GUID Mapping will replace the specified GUID from the source with a different GUID on the target SharePoint environment.
Metalogix Content Matrix will check the GUIDs to see if any entered values in the GUID mappings window are valid. This check will ignore any letter case differences or brackets ("{}").A warning message will be given for any entered GUID values that are not valid.
NOTE: One source GUID can be mapped to a single target GUID, or multiple source GUIDs can be mapped to a single target GUID.
GUID mappings can also be imported using the Import mappings from XML option.
NOTE: If you are using GUIDS Mappings to migrate Managed Metadata, it is recommended that you first Migrate Term Stores to the target.
To create GUID Mappings:
1.From the Specify Global Mappings dialog, select the GUID Mapping tab.
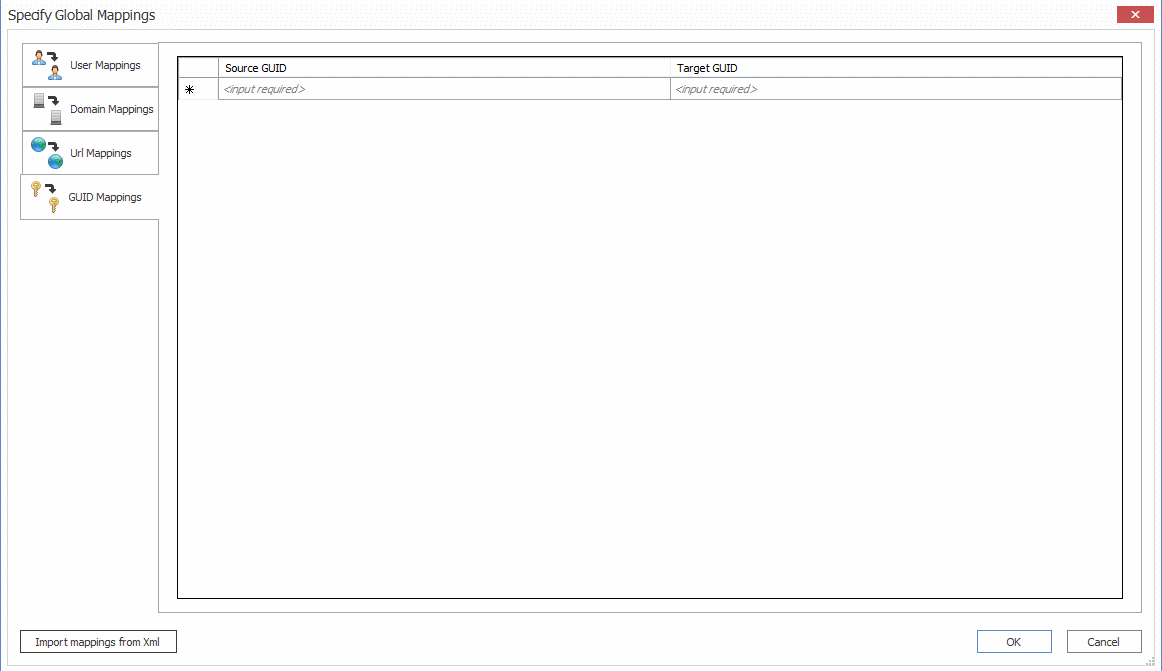
2.For each GUID you want to map:
a)In the Source GUID column enter a valid GUID from the source location.
b)In the Target GUID column, enter the replacement value for the target side.
3.When you have finished mapping GUIDs, click [OK].
When running a migration, if the migration action itself creates a mapping for a GUID value that is already mapped (though the GUID Mappings tab), the mapping from the migration will be used instead of the manually set mapping.
Importing Mappings from an xml File
|
Navigation: Configuring Copying Options > Mapping Options > Importing Mappings from an xml File |
Metalogix Content Matrix can import any desired user mappings from an XML file. Importing user mappings from an XML file involves creating an XML file with the desired mappings, then importing that file. This option is generally used if migrating from an environment that has a large number of users/groups.
A single XML file can include: User mappings, Domain mappings, URL mappings, and GUID mappings. However, each type of mapping must have its own child node. The format for these child nodes is:
·User Mapping - <Mapping Source="Domain\User1" Target="Domain\User2" />
·Domain Mapping - <DomainMapping Source="Domain1" Target="Domain2" />
·URL Mapping - <URLMapping Source="URL1" Target="URL2" />
·GUID Mapping - <GuidMapping Source="GUID1" Target="GUID2" />
NOTE: If you want to migrate an AD group to an Office 365 group that does not already exist on the target site, then you must use the Import mappings from XML option to map the source AD group SID to the target Office 365 group ID.
To Import Mappings from an XML file:
1.Create a file, with any name, that contains any desired user or permissions mappings.
The file must be an XML file, and must contain a root level node named Mappings, and have one child node for every mapping that you want imported. Each child node must contain two attributes: Source and Target.
EXAMPLE:
In the case of a mapping, The Source is the Login Name of the source side user, and the Target attribute is the Login Name of the target user that is being mapped to.
Note that if you are mapping AD groups, you must use the group's SID in the mapping:
<Mappings>
<Mapping Source="Metalogix\User1" Target="Metalogix\User87" />
<Mapping Source="Metalogix\User2" Target="Metalogix\User254" />
<Mapping Source="[SID]" Target="[SID]" />
</Mappings>
IMPORTANT: If you want to map an AD group to an Office 365 group you must also add [IsDomainGroup = "True"]to the last line of the xml, as shown below. Otherwise, the error User Not Found. Error: The remote server returned an error: (404) Not Found will be generated.
<Mapping Source="[SID]" Target="[O365 Group ID]" IsDomainGroup = "True" />
2.From the Specify Global Mappings dialog, click [Import mappings from XML] to open the Select xml file to import dialog.
3.Browse to and select the xml file you want to import, then click [Open].
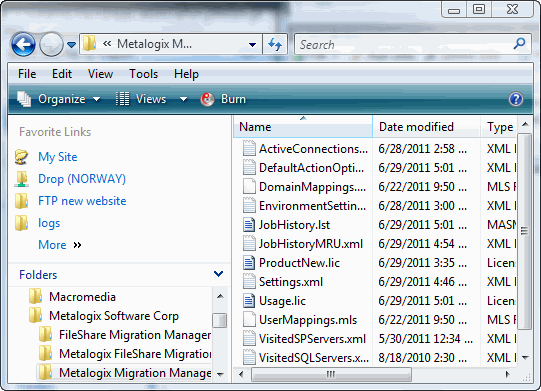
The mappings will be sorted and appear in the appropriate tabs of the Specify Global Mappings dialog.
Filter Options
|
Navigation: Configuring Copying Options > Filter Options |
In Metalogix Content Matrix, filters can be set and applied to items within the scope of a migration. Metalogix Content Matrix uses inclusive filters, and these can be added and applied to any level of a migration. Any filters that are set in a migration will be applied to all items within the scope of the migration. Multiple filters can be applied to each level of a migration.
To configure Filter Options:
1.Select the appropriate filter option(s). Use the information in the following table for guidance.
NOTE: In some cases, when you check one of the filter options users may be prompted with a warning "Information" message regarding workflows. If no workflows are being migrated, click [OK] to continue. If workflows are being migrated, please read the message over and be cautious when setting any filters that they are not part of any migrating workflow.
|
If |
Select |
|---|---|
|
·you initiated a site collection- or site-level migration AND ·you want filters to be applied to child sites within the scope of your migration |
Apply filter on Child Sites. |
|
·you initiated a site collection- or site-level migration AND ·you want filters to be applied to lists and libraries within the scope of your migration |
Apply filter on Lists and Libraries. |
|
you want filters to apply to items or documents within the scope of the migration |
Apply filter on Items and Documents. |
|
·you initiated a site collection or site-level migration AND ·you want to exclude selected site columns from the migration |
Apply filter on Site Columns. |
|
·you initiated a list-level migration AND ·you want to exclude selected list columns from the migration |
Apply filter on List Columns. |
|
·you initiated a site collection- or site-level migration AND ·you selected the Copy Other Root Files/Folders option in the Site Options tab AND ·you want filters to apply to custom folders that exist at the root of a SharePoint site the scope of your migration |
Apply filters on Other Root Folders. |
2.Follow the procedure for Applying Filter Expressions.
Applying Filter Expressions
|
Navigation: Configuring Copying Options > Filter Options > Applying Filter Expressions |
NOTE: This procedure applies to all filter types except Site Columns and List Columns.
To apply filter expressions:
1.For each option you selected:
a)Click the [ ] button to the right of the option to display the Filter [Object] dialog.
b)Select a Field (that is, a field column from the source) and Operator, then (depending on the Operator) enter or select a Value.
NOTES:
§Fields are listed by their internal name (and not their display name). The available options in the Operator and Value fields will be based on the Field value that is selected.
§If setting a filter at the Item/Document level, the Field value can be manually entered, and is not limited to the options that are available in the drop down list. This gives the filter a little more flexibility at the Item/Document level.
2.If you want to add additional expression to the filter:
a)Click [Add Row] or the [Tab] key.
b)Select the appropriate And/Or option:
§If you want the condition to be applied in addition to any filter expressions that precede it, select And.
§If you want to condition to be applied as an alternative to any filter expressions that precede it, select Or value is set, the filter will be added as an alternative filter value.
The Or value is more likely to be used in scenarios where some filters are grouped.
Select/enter a Field, Operator, and Value as described in Step 2(b) above.
Note that, as each expression is applied it displays in the box at the top of the dialog.
3.If you want to group filter expressions, continue with the procedure for Grouping Filter Expressions, following.
NOTE: Currently, you cannot change the ordering of filter expressions. To do so, you must remove then re-add them.
To remove any filter, select the entire row and open the context menu (by right-clicking), and select Delete Filter(s). Alternately, once a filter row is selected, you can use the [Delete] key. The ordering of filters cannot currently be modified. They would have to be removed and re-added to change the ordering.