
Analyzing a PST file
To analyze a PST file follow the steps described below:
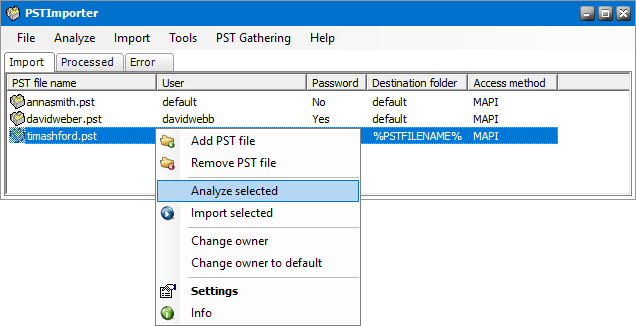
1.Right-click a PST file and select Analyze selected from the context menu. If the PST file is password protected, you must specify the password in the Password tab of the PST properties window.
-or-
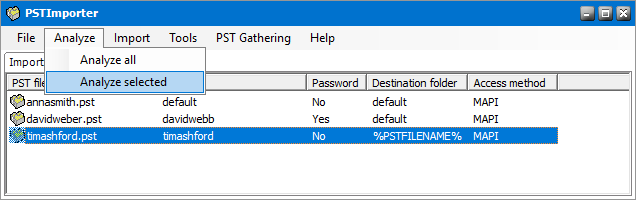
Select the PST file. Then click Analyze from the menu and select Analyze selected.
|
|
NOTE: To analyze all PST files at once, select Analyze all. |

2.The Analyzer progress window opens and displays the progress of the analysis of one or more PST files.
3.When the analysis completes, the Result of analysis window displays the results.
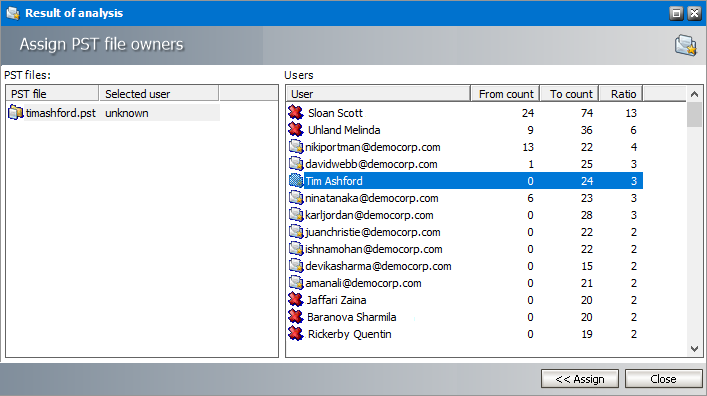
4.The left-hand side of the window lists the PST files. If a valid owner could not be determined from the results of the analysis, the currently assigned user is set to unknown. When you click on a PST file, the right-hand side displays the list of senders and recipients. If no user has be assigned as the owner of the PST file, double-click the user you want to select or select the user and click Assign.
5.When the PST files are ready, click Close to close the window. All PST files will be saved with the changes.
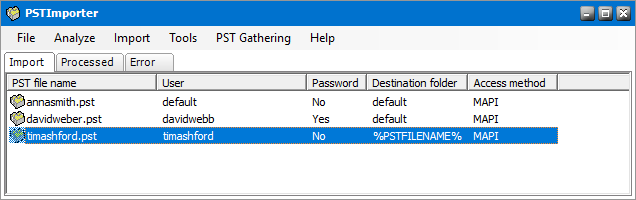
6.When the owner is assigned either automatically or manually, the new settings will be displayed on the Import tab.
Analysis Results
1.Users displayed with the red cross icon (
2.Analysis results are based on the settings in the Analyze tab of the PST Importer configuration options.
3.If the PST file has a single user, a 100% ratio is attained as the outcome of the analysis. The user is assigned automatically as the owner of the PST file if the user is a valid user. If the user is invalid, the Assign button remains inactive and the default owner configured on the PST file will be used.
4.If there are two or more valid users and the difference between the two highest ratios is higher than the Lowest distinguishing ratio, then the valid user with the highest ratio is assigned automatically as the owner of the PST file.
5.If there are two or more valid users and the difference between the two highest ratios is lower than the Lowest distinguishing ratio, then:
a.If the Assign user who has the most "From" count option is selected then the user with the highest "From" count is assigned automatically. If the "From" count is identical for several users then the user with the highest ratio is assigned automatically.
b.If the Assign user who has the most "To" count option is selected then the user with the highest "To" count is assigned automatically. If the "To" count is identical for several users then the user with the highest ratio is assigned automatically.
6.If the Always ask option is selected then you will be asked to select the owner.
Importing a PST file
To import one or more PST files follow the steps described below:
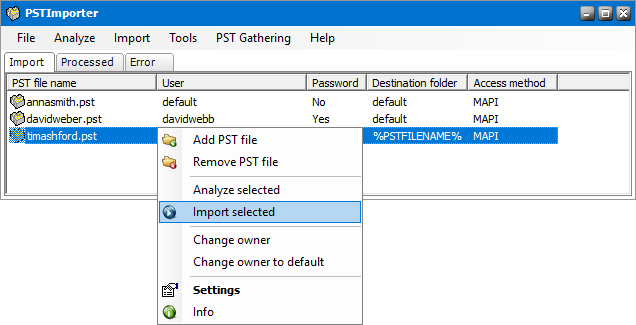
1.Right-click the selected file and then select Import selected from the context menu.
-or-
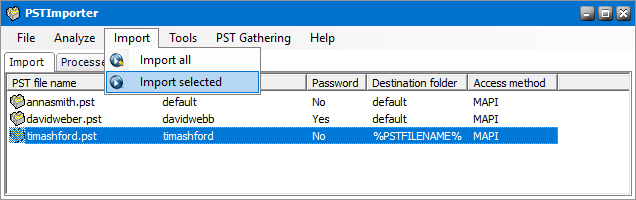
Select the PST file. Then click Import from the menu and select Import selected.
|
|
NOTE: To import all PST files at once, select Import all. |
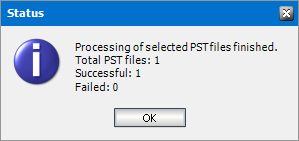
2.When the PST file import process completes, a Status message box appears. Select OK to close the Status message box.
Depending on the import status, the following actions occur:
a.If the import was successful and all items including non-archivable items were imported, the PST file is removed from the Import tab and deleted from the Import folder.
b.If the import was partially successful and one or more non-archivable items could not be imported, the PST file is moved to the Processed tab and the physical file is moved from the Import folder to the Processed folder.
c.If the import failed and one or more items could not be imported due to an error, the PST file is moved to the Error tab and the physical file is moved from the Import folder to the Error folder.
It is recommended that you check the log file after import. See Log files for more information.
Managing PST files with import problems
PST files can be moved from the Error tab or Processed tab back to the Import tab to modify their settings and retry the import. To move a PST file:
1.Right-click the PST file displayed in the Error tab or the Processed tab.
2.From context menu, select Move to import. The file will be moved back to the Import tab.

3.When a PST file is moved back to the Import tab, the physical file is moved to the Import folder. Messages that were successfully imported are removed from the file. As a result, PST Importer will attempt to import the remaining messages.
|
|
NOTE: If the import fails and the user reloads the original PST file, then duplicate emails will be imported those from the first import and those from the second import. |
Automated import
Automated import uses a complementary application called PST Gatherer to collect PST files from client computers. These files are then automatically uploaded to the PST Importer server where they can be manually imported and archived. Automated import is recommended for large organizations so that the manual process of collecting and uploading PST files from client computers is automated.
1.When PST Gatherer is installed as an application or a service on the client computer, it searches through local and network drives as permitted and uploads the PST file to the specified PST Importer server.
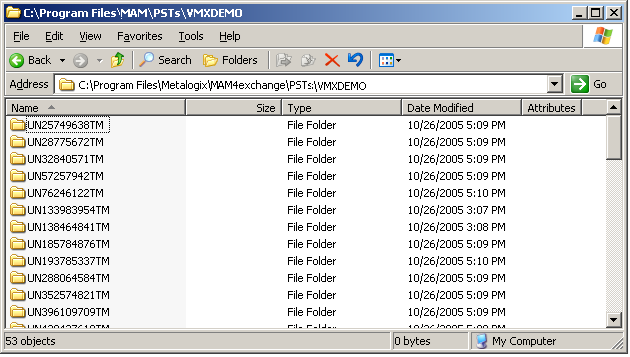
2.When a client computer is registered in the PST Importer server, a sub-folder for each client computer is created in the C:\Program Files (x86)\Metalogix\MAM4Exchange\PSTs folder. Each PST file that is uploaded from the client computer will be stored in a unique sub-folder in the client computer folder.
3.The administrator uses the PST Import wizard to import the PST files stored on the server computer from C:\Program Files (x86)\Metalogix\MAM4Exchange\PSTs\<client-computer-name> to their destination mailboxes and destination folders and subsequently archives the email items.
Requirements
1.PST Gatherer must be installed on all client computers from where PST files are gathered.
2.Firewall permissions must be granted to the PST Gatherer that is installed on the client computers.
3.The PST Gatherer application or service must be started.
4.The client computer must be registered in the PST Importer server.
Install PST Gatherer
In this topic:
·Steps to manually install PST Gatherer
·Steps to automatically install PST Gatherer
·Steps to verify the PST Gatherer installation as an application
·Steps to verify the PST Gatherer installation as a service
·Configuring PST Gatherer to communicate through a firewall
·Steps to repair the PST Gatherer installation
·Steps to remove the application or service
Steps to manually install PST Gatherer
1.Double-click <install-media-folder>\Metalogix\Archive Manager Installation Package\Exchange\PST Gatherer\Archive Manager PST Gatherer Setup.exe
2.Click Next. The License Agreement window opens. Select I accept the terms in the license agreement.
3.Click Next. The Destination Folder window opens. Keep the default or click Change to select another installation location.
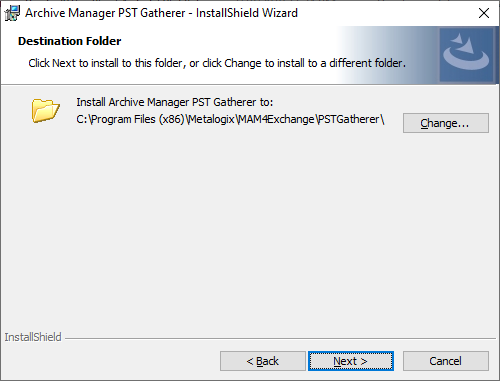
4.Click Next. The Install Types window opens.

5.Select an option to install PST Gatherer either as a service or an application as described below:
a.Application - Users keep PST files not only on local drives, but also on the network shares and selecting this option allows PST Gatherer to search and gather PST files from the local drives and network shares where the current user has access rights.
b.Autostart - when selected, the PST Gatherer application will start whenever the user logs on.
c.Show in tray - when checked, a tray icon for this application will be displayed.
d.Service - selecting this option ensures that PST Gatherer runs as LOCAL SYSTEM which has limited rights to search files on the local drives only.
6.Click Next. The Configuration window opens.
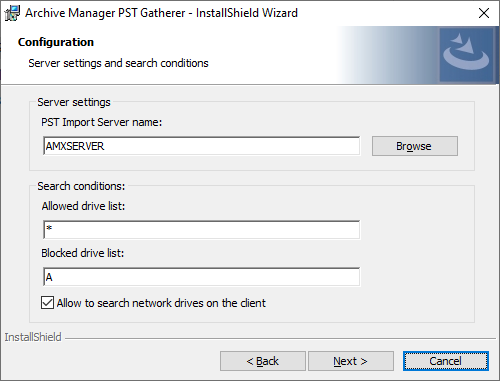
7.Enter the information as described below:
a.PST Importer server name - enter the name or click Browse to locate the Archive Manager server.
b.Allowed drive list - Enter one or more drive letters that can be searched for PST files. Separate the letters with the pipe (|) character. You can enter an asterisk (*) to indicate all drives.
c.Blocked drive list - Enter the drive letters that can be searched for PST files. Separate the letters with the pipe (|) character. For example A|B will prevent floppy drives A and B from being searched.
d.Allow to search network drives on the client - select this check box to permit PSTGatherer to search the specified network drives.
8.Click Next. The Ready to Install the Program window opens.
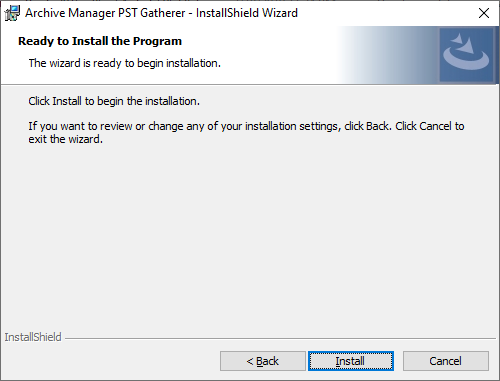
9.Click Install. When the installation completes, the InstallShield Wizard Complete window opens.
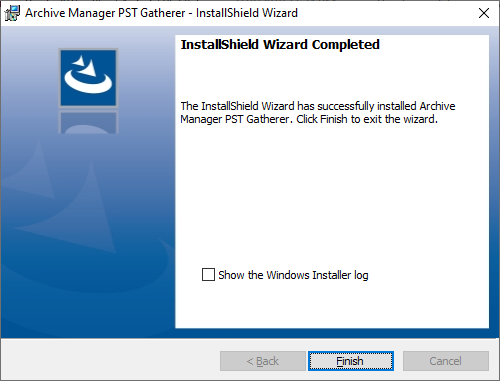
10.Click Finish to complete the installation.
Steps to automatically install PST Gatherer
Setup is available in two options:
You can create a silent setup with custom property values and the command option /qn
Installer file location
<install-media-folder>\Metalogix\Archive Manager Installation Package\Exchange\PST Gatherer\Archive Manager PST Gatherer Setup.msi
Syntax
msiexec /[option] [msi installer file location] PROPERTY=VALUE PROPERTY2=VALUE PROPERTY3=VALUE....
Property values that are literal strings must be enclosed in quotation marks.
spaces can be included in the string between the marks.
msiexec /[option] [msi nstaller file location] PROPERTY="Embedded White Space"
Examples
|
Action |
Command |
|
First install |
msiexec /i [msi installer file location] or msiexec /i [msi installer file location] PSTSERVER="AMXSERVER" |
|
Repair |
msiexec /i [msi installer file location] REINSTALL=ALL REINSTALLMODE=vomus |
|
Change import server name |
msiexec /i [msi installer file location] REINSTALL=ALL REINSTALLMODE=vomus PSTSERVER="AMXSERVER" |
|
Logging |
msiexec /i [msi installer file location] /l*v [path to PSTGathererLog.txt file] |
|
Uninstall |
msiexec /x [msi installer file location] |
|
Silent mode |
msiexec /i [msi installer file location] PSTSERVER="AMXSERVER" /qn |
|
|
NOTE: For more information related to msiexec command-line options see http://msdn.microsoft.com/library/default.asp?url=/library/en-us/msi/setup/command_line_options.asp |
Installer file location
<install-media-folder>\Metalogix\Archive Manager Installation Package\Exchange\PST Gatherer\Archive Manager PST Gatherer Setup.exe
Syntax
[exe installer file location] /v"PROPERTY=VALUE PROPERTY2=VALUE PROPERTY3=VALUE"
Property values that are literal strings must be enclosed in quotation marks. White spaces can be included in the string between the marks.
[exe installer file location] /v"PROPERTY="Embedded White Space"
Command-line options that require a parameter must be specified with no space between the option and its parameter. For example, PST Gatherer Setup.exe /v"PSTSERVER=testdemo" is valid, whereas PST Gatherer Setup.exe /v "PSTSERVER=testdemo" is not. Quotation marks around an option's parameter are required only if the parameter contains spaces.
If a path within a parameter contains spaces, you may need to use quotation marks within quotation marks, as in the following example: PST Gatherer Setup.exe /v"INSTALLDIR=\"C:\My PST Files\""
Examples
|
Action |
Command |
|
First install |
[exe installer file location] /v"PSTSERVER="AMXSERVER"" |
|
Repair |
[exe installer file location] /v"REINSTALL=ALL REINSTALLMODE=vomus" |
|
Change import server name |
[exe installer file location] /v"REINSTALL=ALL REINSTALLMODE=vomus PSTSERVER="AMXSERVER"" |
|
Logging |
[exe installer file location] /v"/l*v \"C:\My logs\PSTGathererLog.txt"" |
|
Uninstall |
[exe installer file location] /v"/x" |
|
Silent mode |
[exe installer file location] /v"PROPERTY="value" ... /qn" |
Properties
It is possible to change the default registry and config key values and set your desired values with PSTGatherer command line options. If no PSTGatherer cmd option is specified, default values will be used. Specifying values with properies is needed only in for silent installation.
|
Property |
Value |
Description |
Note | ||
|
INSTALLDIR |
[ProgramFilesFolder]\Metalogix\MAM4Exchange\PSTGatherer |
Path to the installation directory |
| ||
|
INSTALLTYPE
|
1 - (default) PSTGatherer is installed as an application 2 - PSTGatherer is installed as a service
|
Indicates the type of installation for the PSTGatherer |
| ||
|
GATHERERID
|
0 - no icon is displayed on the taskbar 1 - (default) shows the icon on the taskbar
|
Indicates whether or not an icon tray should be displayed on the taskbar. |
If PSTGatherer is installed as an application (INSTALLTYPE="1") then the setup program creates the GATHERERID registry key of type REG_DWORD at the following location: HKEY_LOCAL_MACHINE\SOFTWARE\Wow6432Node\Metalogix\PAM4Exchange\PAMGatherer | ||
|
AUTOSTART |
0 - removes the PSTGatherer application from Start/Programs/Startup 1 - (default) adds the PSTGatherer application under Start/Programs/Startup
|
Indicates whether or not the PSTGatherer should start when the user logs in to the computer. |
If PSTGatherer is installed as an application (INSTALLTYPE="1") then the setup program creates the AUTOSTART registry key of type REG_DWORD at the following location: HKEY_LOCAL_MACHINE\SOFTWARE\Wow6432Node\Metalogix\PAM4Exchange\PAMGatherer | ||
|
PSTSERVER
|
Localhost |
NETBIOS name of the PST Importer server. Must be used with This name is written to the configuration file. |
| ||
|
SEARCHNETWORKDRIVES |
0 - (default) PSTGatherer is not allowed to search network drives on the given computer 1 - PSTGatherer is allowed to search network drives on the given computer; if this is the case, specify which drives are allowed and which are deactivated with the ALLOWEDDRIVES and DEACTIVATEDDRIVES properties. |
Permits or denies PSTGatherer to search the specified network drives. |
|||
|
ALLOWEDDRIVES |
* (default)
|
Indicates drives that can be searched for PST files. Separate the letters with the pipe (|) character. You can enter an asterisk (*) to indicate all drives. |
Used only if SEARCHNETWORKDRIVES-"1" | ||
|
DEACTIVATEDDRIVES |
A (default) |
Indicates drives that can be searched for PST files. Separate the letters with the pipe (|) character. For example A|B will prevent floppy drives A and B from being searched. |
Used only if SEARCHNETWORKDRIVES-"1" |

Besides the registry keys mentioned above, configuration keys in PSTGatherer config file can be specified through properties. By default, the PSTGatherer configuration file is present at the following locations:
·If PSTGatherer is installed as an application
[InstallDirectoryPath]\Application\exchangePAMGatherer.exe.config
·If PSTGatherer is installed as an service
[InstallDirectoryPath]\Service\PAMPSTGathererSV.exe.config
Configuration keys
|
Key |
Default value |
Description |
Note |
|
CLIENTPORT |
4446 |
Port used on the client |
Do not change. |
|
CLIENTNAME |
<ComputerName> |
Local computer name |
Do not change. It is automatically detected and filled in by the setup. |
|
CLIENTPROTOCOL |
tcp |
Protocol used on the client |
Do not change. |
|
CLIENTMACHINE |
<ComputerName> |
Local computer name |
Do not change. It is automatically detected and filled in by the setup. |
|
SERVERPORT |
9910 |
Port used on the PST server |
Do not change. |
|
SERVERPROTOCOL |
tcp |
Protocol used on the PST Importer server |
Must be the same as on the PST Importer server. |
|
SERVERNAME |
localhost |
PST Importer server name |
This value must be the NetBIOS name of the PST Importer server. |
|
SEARCHNETWORKDRIVES |
0 |
0 - PSTGatherer is not allowed to search network drives on the given computer 1 - PSTGatherer is allowed to search network drives on the given computer; if this is the case, specify which drives are allowed and which are deactivated with the ALLOWEDDRIVES and DEACTIVATEDDRIVES properties. |
|
|
ALLOWEDDRIVES |
* |
Enter one or more drive letters that can be searched for PST files. Separate the letters with the pipe (|) character. You can enter an asterisk (*) to indicate all drives. Used only if SEARCHNETWORKDRIVES-"1" |
|
|
DEACTIVATEDDRIVES |
A |
Enter the drive letters that can be searched for PST files. Separate the letters with the pipe (|) character. For example A|B will prevent floppy drives A and B from being searched. Used only if SEARCHNETWORKDRIVES-"1" |
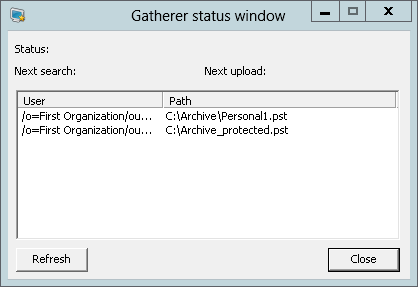
Steps to very the installation of PST Gatherer as an application
If the PST Gatherer is installed as an application and you have selected the Show in tray check box during installation, then a tray icon will appear. Double-click it to open the Gatherer status window with the Gatherer status and path to PST files.
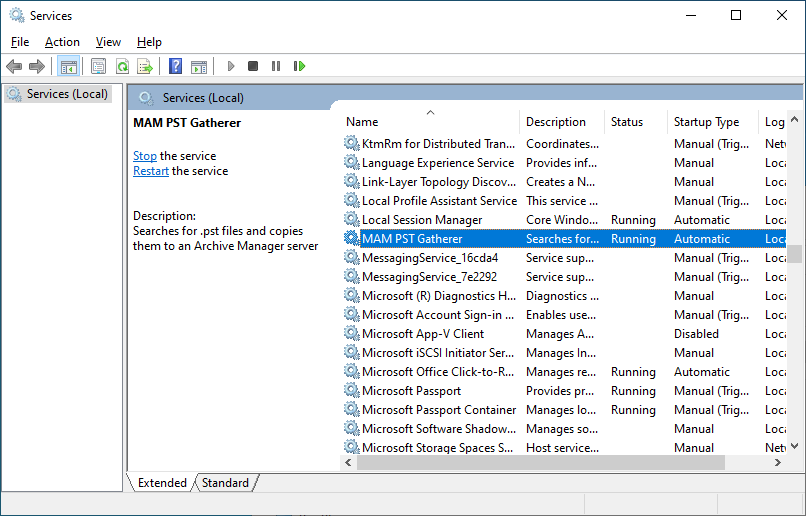
Steps to very the installation of PST Gatherer as a service
After installing the PST Gatherer service on client computers make sure it is started.
1.Click Start > Programs > Administrative tools > Services and verify that Status = Running for MAM PST Gatherer.
2.Also check if the Importer service is started on the PST Importer Server computer, by checking the status of MAM PST Importer service.
|
|
NOTE: Restart the PSTGatherer service whenever it is updated or modified. To restart the service, select MAM PST Gatherer and then click on the Restart Service icon on the toolbar. |
Steps to allow PST Gatherer to communicate through a firewall on a Windows 10 computer
1.Navigate to Control Panel > System and Security > Windows Defender Firewall.
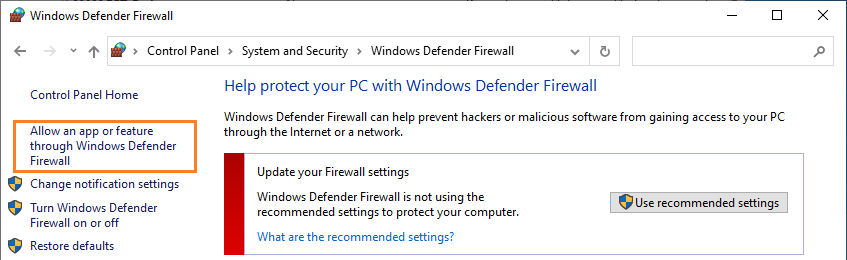
2.Click the Allow a program or feature through Windows Firewall. The Allowed Programs window opens.
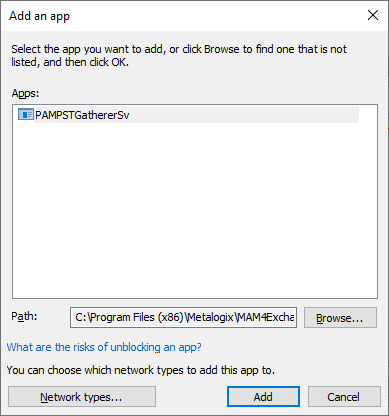
3.Click Allow another program. The Add an App window opens.
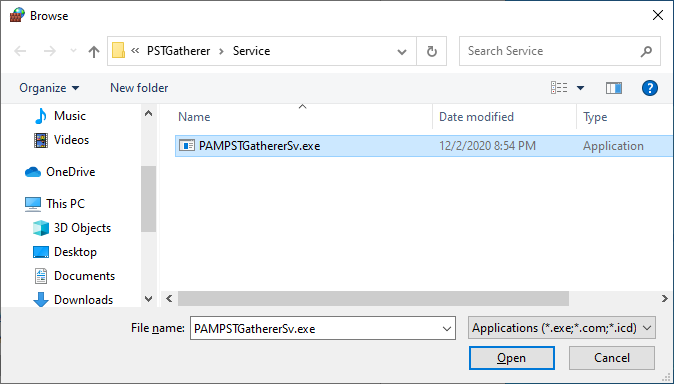
4.Click Browse to locate the C:\Program Files (x86)\Metalogix\MAM4Exchange\PSTGatherer\Service\PAMPSTGathererSv.exe file.
5.Select PAMPSTGathererSv.exe and click Open.
6.Verify that the PAMPSTGathererSv appears in the Apps list and then click Add.
7.Select the PAMPSTGathererSv and the Remote Assistance check boxes.
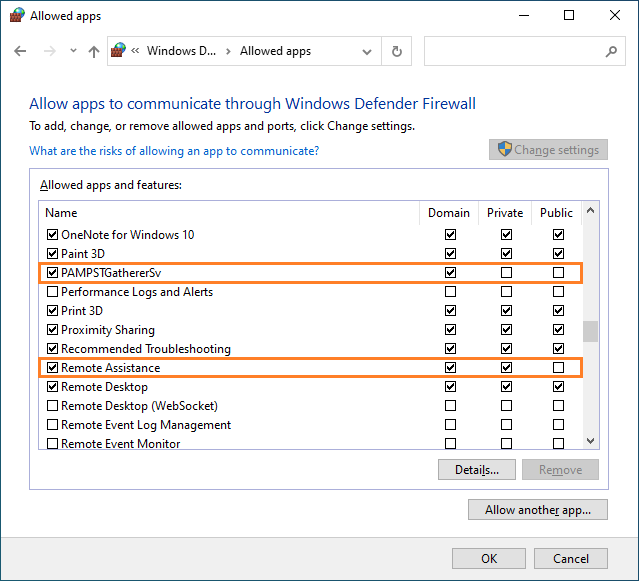
8.Click OK to save and exit the window.
Steps to repair the PST Gatherer installation
1.Double-click <install-media-folder>\Metalogix\Archive Manager Installation Package\Exchange\PST Gatherer\Archive Manager PST Gatherer Setup.exe
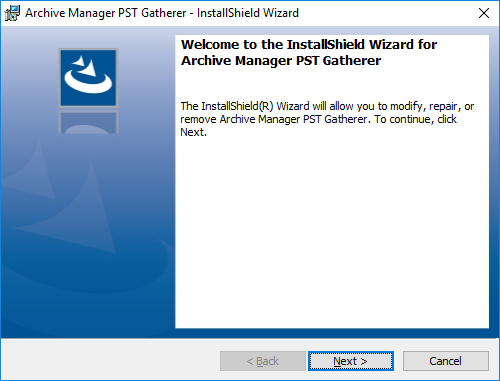
2.Click Next. The Program Maintenance window opens.
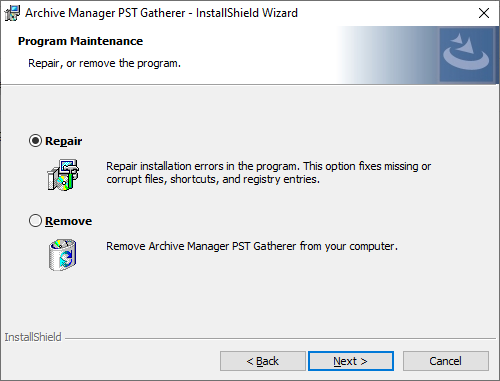
3.Click Next. The Configuration window opens.
4.Click Next. The Ready to Install the Program window opens.
5.Click Install. The InstallShield Wizard Completed window opens.
Steps to remove the application or service
1.Double-click <install-media-folder>\Metalogix\Archive Manager Installation Package\Exchange\PST Gatherer\Archive Manager PST Gatherer Setup.exe
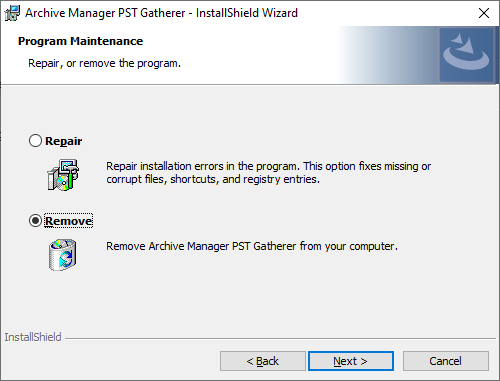
2.Click Next. The Remove the Program window opens.
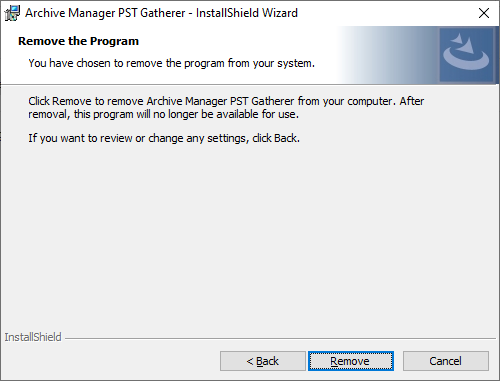
3.Click Remove. The InstallShield Wizard Completed window opens.
4.Click Finish.