
Installing CAR Files
A cartridge file can be quickly installed and enabled on the Foglight® Management Server using the browser interface. Another way of installing a cartridge is through the command line, by issuing the cartridge:install command that is included in the fglcmd package. The following procedure illustrates the process of installing a cartridge file through the Administration module in the browser interface. For complete details about the fglcmd interface and the cartridge:install command, see the Command-Line Reference Guide. For additional information about the Administration module, see the Administration and Configuration Guide.
The cartridge file, <action_name>-<version_number>.car, can be found in the build directory of your development environment. For details about the contents of this directory, see Building Target Files .
|
a |
|
5 |
To enable the cartridge immediately after its installation, on the Cartridge Inventory dashboard, ensure that the Enable on install check box is selected. |
Upon a successful execution of the above steps, your custom action is integrated with Foglight. You can now proceed to test the results of your custom actions. For details, see Testing Custom Actions .
Testing Custom Actions
The recommended approach for testing custom actions is to create a simple, time-driven custom rule that is triggered every ten seconds, with its condition set to True. This will ensure that the rule fires every ten seconds by default. Furthermore, the rule should be bound to the custom action that you are about to test. When you save the changes to the rule, you can verify if the custom action is invoked every ten seconds as specified.
The following procedure describes the process of creating a new rule and binding it to a custom action. For complete information about rules, see the Administration and Configuration Guide.
|
4 |
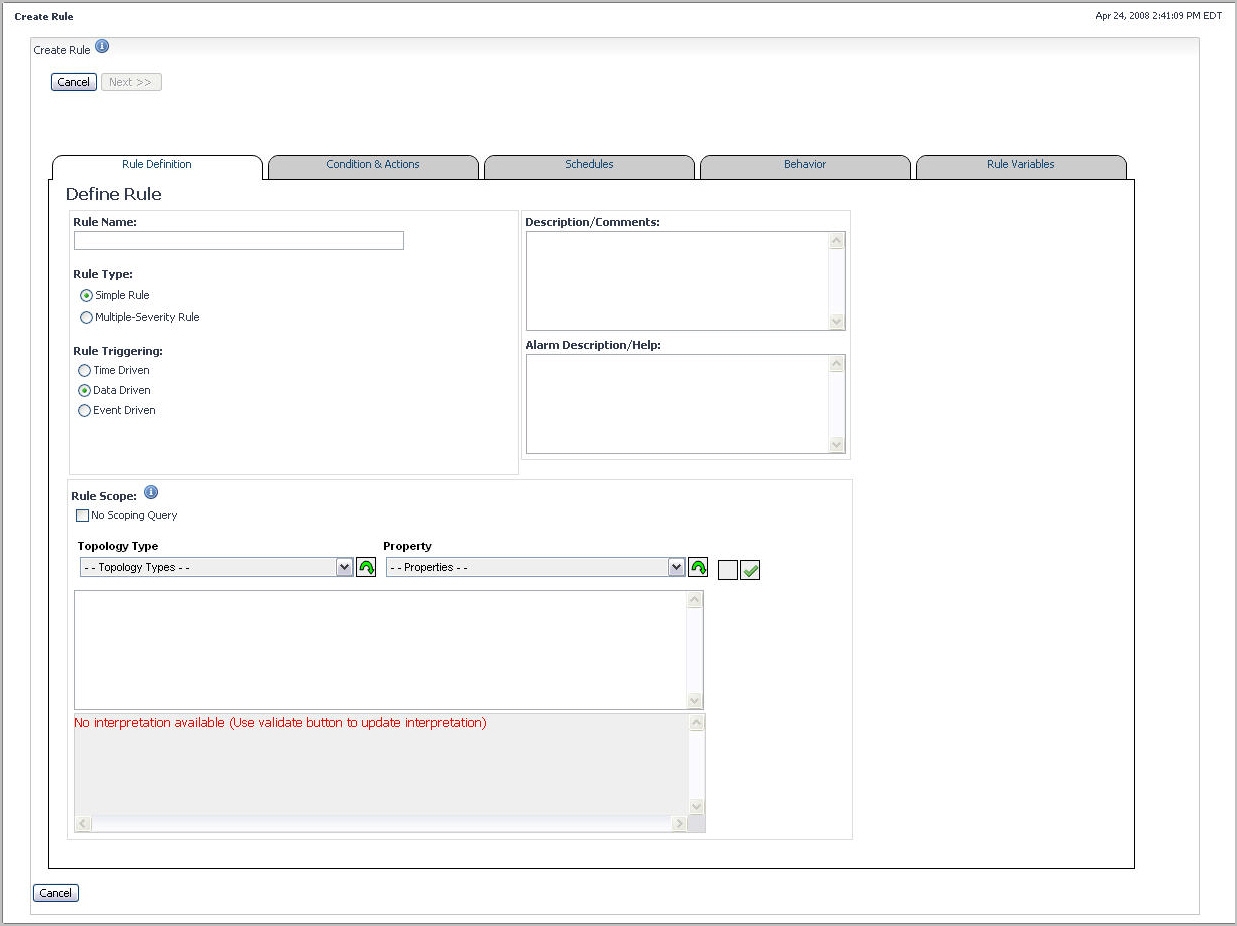
On the Rule Definition tab, specify the following settings: |
|
• |
Rule Name: Specify the rule name. For example, MyCustomAction. |
|
• |
Rule Type: Simple Rule. |
|
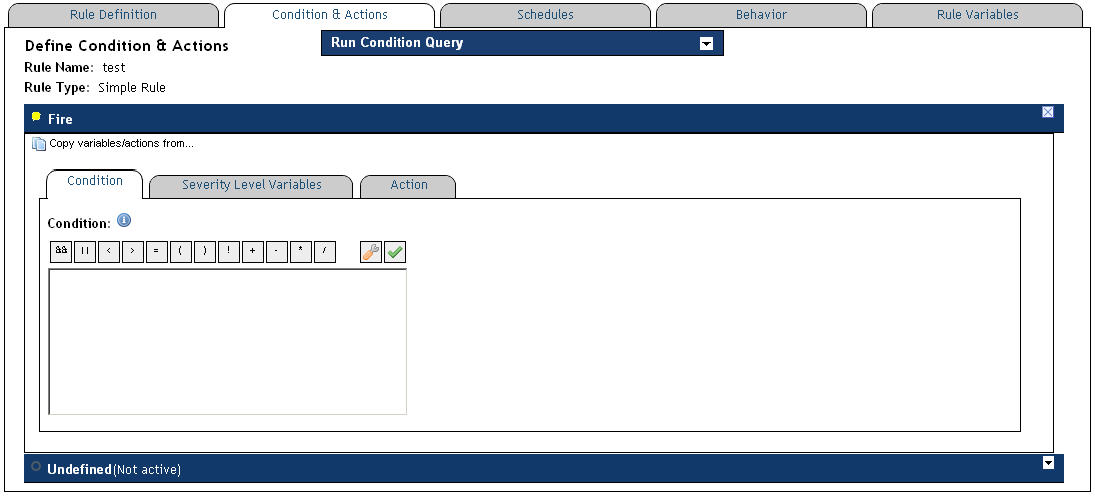
• |
|
a |
|
b |
Open the Condition tab. |
|
c |
|
a |

|
b |
|
c |
Click Action. |

|
7 |
Click Finish to save your changes. |
Appendix: Code Samples
This appendix contains code samples that illustrate the contents of the files found in the development directory. You will find these file contents in the example.zip file packaged with this document. For information about the directory structure, see Creating the Directory Structure, Creating the Directory Structure .