
Steps to verify the distributed installation
1.Log in to the SCM Server (e.g., SCMSVR)
2.Double-click the desktop shortcut to open the SCM Administration Center. You can also enter the URL directly in a browser. To get the URL for your own installation see Steps to get the URL for the SCM Administration Center.
3.In the Sign in dialog that opens, enter the credentials of the SCM Administrator.
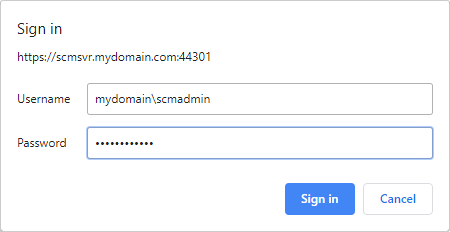
4.Click Sign In. The Dashboard page opens.
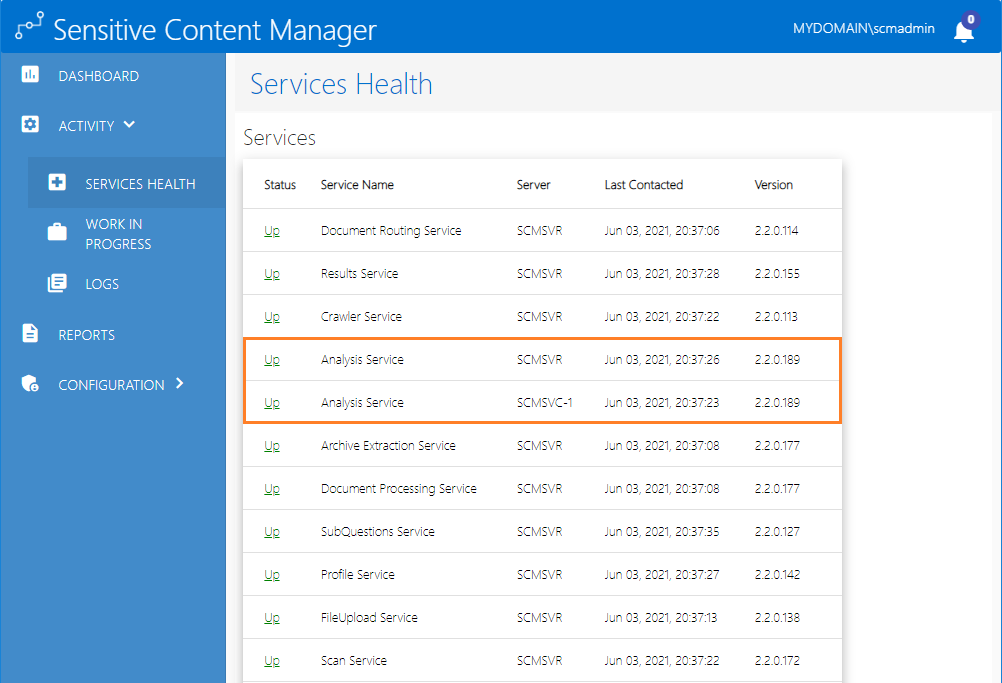
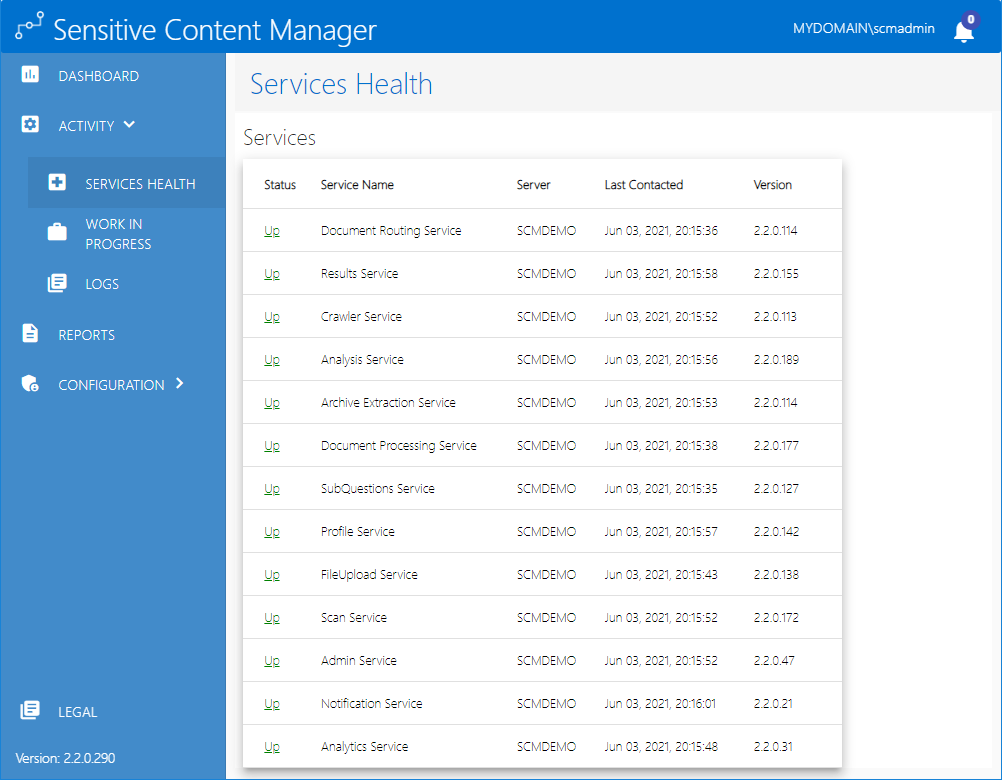
5.From the navigation pane, expand Activity and then click Services Health.
a.Verify that the software version at the bottom of the navigation pane is the expected upgrade version.
b.Verify that all services indicate Status = Up.
c.Verify that each service version on the dedicated servers matches the same service version on the SCM Server.
6.This completes the verification of the distributed SCM deployment.
|
|
TIP: By default, RabbitMQ installs the configuration and data files in %APPDATA%\RabbitMQ. Metalogix Sensitive Content Manager configures RabbitMQ to work with at least two times the amount of available memory in the operating system. If Metalogix Sensitive Content Manager and RabbitMQ are both installed on the same server, memory constraints may cause unpredictable behavior. To address this issue, you can move the Rabbit configuration and data files to a secondary drive. For detailed steps see Relocating the RabbitMQ installation directory. |

License Management
The License Information page of the SCM Administration Center allows you to register your product and view your license details. When you download and install a trial version of SCM Server you get a free 30-day trial license. For more information about getting a trial version, see Steps to download the install media. If you would like to purchase a license, contact Quest to get your license key and follow the instructions presented here.
|
|
NOTE: You must reactivate your license after an upgrade to ensure new license-linked features are synchronized with your license. |
In this topic
·Steps to view the license information
·Steps to activate your license online from the SCM Administration Center
·Steps to activate your license offline from the SCM Administration Center
·Steps to activate your license offline from the SCM Wizard
Steps to view the license information
1.From the navigation panel on the left, expand Configuration and then click License. The License Information page opens.

2.If the license has expired, the License Information page will indicate the details of the expired license.

3.Contact your Quest sales representative to renew your license.
·When you register and download a trial version of the SCM, the trial license key is specified in the email that is sent to you.
·When you activate the trial license, the License Information page opens.
·The Type field indicates Trial.
·It is valid for 30 days (date of license issue + 29 days) and you can try all the features that are available.
·The Analysis service and the File Upload service will stop functioning after 30 days.
Steps to activate your license from the SCM Administration Center
1.Log in in to the SCM Administration Center.
2.From the navigation panel expand Configuration and then click License. The License Information page opens.
3.Enter your license key in the License Key field.
4.Click Next. The Activate using provided license key step is activated.
5.Click Activate Online. If the License Key is valid, the confirmation message appears and the Status changes to Licensed.

6.Click Finish. Refresh the page to update the license status and access the licensed features.
Steps to activate your license offline from the SCM Administration Center
This option lets you activate your license from another computer with a working internet connection.
1.Log in to the SCM Administration Center and click License from the navigation panel. The License Information page opens.
2.Expand the Offline Activation section.
3.Step 1: Enter your license key
a.In the License Key field, enter your license key and click Next.
4.Step 2: Get Activation Data
a.Click Get Activation Data.
b.When the data is available, the next step is activated.
5.Step 3: Copy/Save activation data
a.Select from the two options described below:
Option 1: Click Save Activation Data to Clipboard. The activation data is saved to memory. Use this option if you plan to follow through with the subsequent steps immediately.
Option 2: Click Save Activation Data to File. The Windows File dialog opens. Use this option if you plan to activate the license from a different computer. Specify a file name for the activation data file and click Save to save the file to a location of your choice.
6.Step 4: Submit Activation Data
a.Using your alternate internet connection navigate to https://support.quest.com/offline-activation.
b.In the previous step, if you opted to click Save Activation Data to Clipboard, place your cursor in the Activation text field and click Ctrl-V to paste the activation data.
c.In the previous step, if you opted to click Save Activation Data to File, click Choose File and locate the saved activation data file.
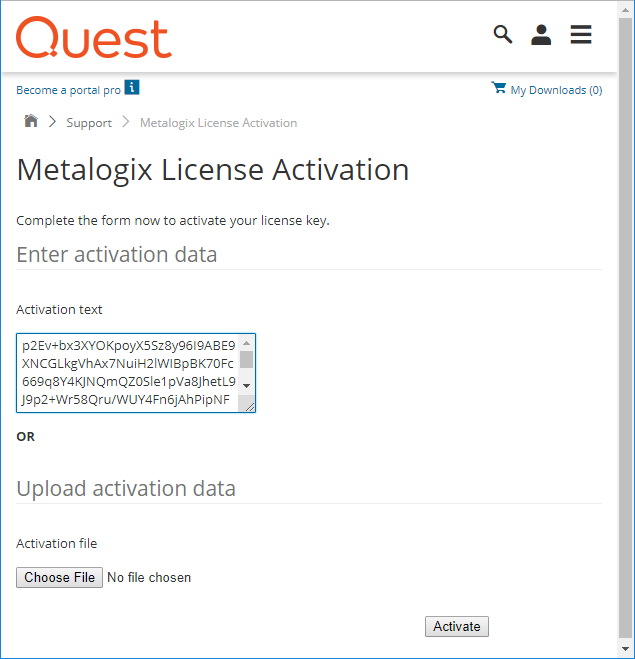
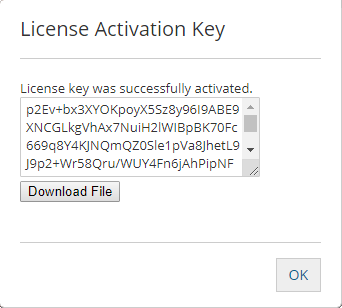
d.Click Activate. The License Activation Key dialog opens.
e.Copy the encrypted activation key to memory by selecting the activation key and using Ctrl-C
or
Click Download File which will download the LicenseActivationResponse.dat file to your computer. If you downloaded the file to a location that is on another computer, make sure you copy the file to the computer where you are installing the SCM software.
f.Return to the License Information page in the SCM Administration Center.
7.Step 5: Apply Activation Response
a.Click Ctrl + V to paste the activation response if you copied the activation response to clipboard.
or
b.Click Choose File. The Windows file dialog opens.
c.Locate the activation key file that you saved if you followed step 6b and click Open. The file name opens next to the Choose File button.
d.Click Complete Activation to complete the activation process.
8.Step 6: Activation Complete
a.Click Finished to acknowledge the license activation.
b.Log out and log in again to access all the licensed features.
Steps to activate your license offline
This option lets you use an alternate internet connection to access the required activation data from the Quest offline activation web site.
1.Select Activate Offline.
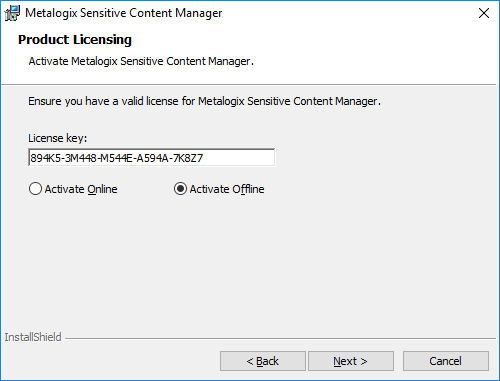
2.Click Next. The Product Licensing window for offline activation opens.

3.Step 1: Copy/Save activation data
a.Select from the two options described below:
Option 1: Click Copy To Clipboard. The activation data is saved to memory. Use this option if you plan to follow through with the subsequent steps immediately.
Option 2: Click Save To Data File... The Windows File dialog opens. Use this option if you plan to activate the license later.
b.Specify a file name for the activation data file.
c.Click Save to save the file to a location of your choice.
4.Step 2: Submit activation data
a.Using your alternate internet connection navigate to https://support.quest.com/offline-activation.
b.If you opted to click Copy to Clipboard, place your cursor in the Activation text field and click Ctrl-V to paste the activation data.
c.If you opted to click Save to Data File, click Choose File and locate the saved activation data file.
d.Click Activate. The License Activation Key dialog opens.
e.Copy the encrypted activation key to memory by selecting the activation key and using Ctrl-C
or
Click Download File which will download the LicenseActivationResponse.dat file to your computer. If you downloaded the file to a location that is on another computer, make sure you copy the file to the computer where you are installing the SCM software.
f.Click OK. The Product Licensing window for offline activation reopens.
5.Step 3: Paste Activation Response
a.Paste the copied activation key in the activation response text field or click Choose File to locate and select the LicenseActivationResponse.dat file.
6.Step 4: Activate the license
a.Click Activate Offline. If the license activation is successful, a confirmation message opens.

b. Click OK. The status License not activated on the Product Licensing window will change to License activated. The license details may not be the same as shown here.
Maintenance
Maintaining your deployment ensures compatibility with integrated applications like Metalogix ControlPoint and business continuity.
In this topic:
Upgrading SCM components
|
|
IMPORTANT: This release of SCM is not compatible with versions prior to 2.0. You must uninstall all SCM components and any distributed SCM Windows services before you install this version of SCM. See Steps to manually uninstall all SCM components for more information. |
|
|
NOTE: You must re-activate your license after an upgrade to ensure new license-linked features are synchronized with your license. |
In this topic:
The ScanDetail table in the SCMScanService database can accumulate a large volume of data over time, which impacts report generation, and must be indexed. To check for the number of records in the table, run the following script in your SCM database:
select count(*) from SCMScanService.dbo.ScanDetail;
If this table contains less than 100,000 records, no further action is necessary and you can proceed with the upgrade. If this table contains more than 100,000 rows of data, you must prepare your SCM server to allow the installer to index the ScanDetail table. Two separate configuration settings are required as described below:
|
Set the timeout in the appsettings.json file 1.Open the C:\Program Files\Metalogix\Sensitive Content Manager\Scans\appsettings.json file with a text editor. 2.Add the timeout setting as indicated below and save the changes. { ... ... "AllowedHosts": "*", "ScmDatabaseCommandTimeout": 1800 } |
|
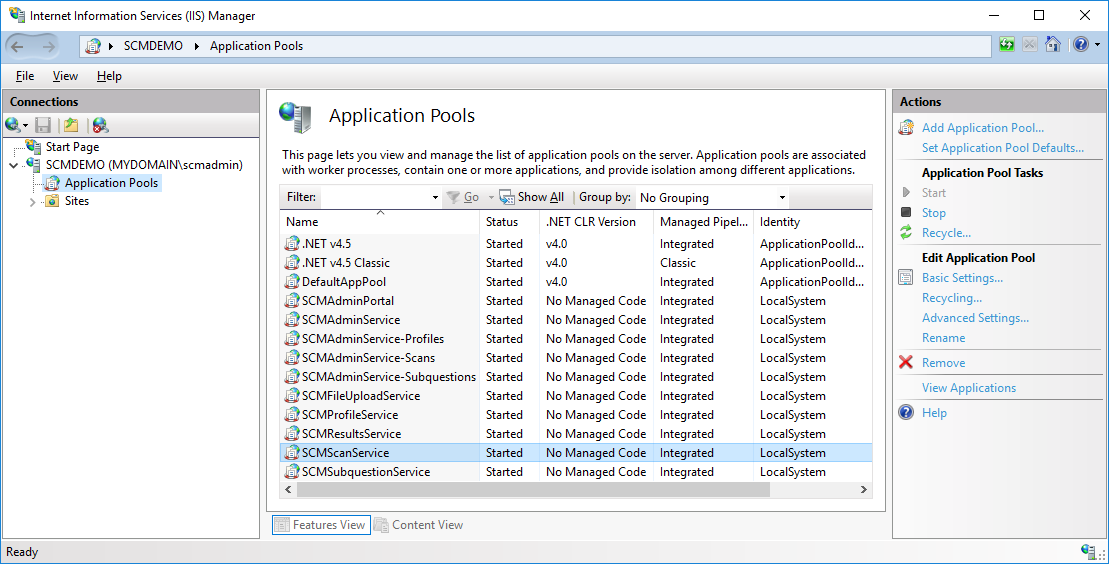
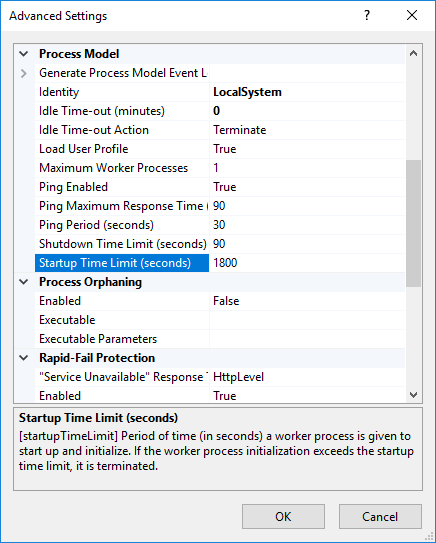
Modify the start-up time in IIS for the Scan Service 1.Log in to the SCM server. Open IIS Manager from Control Panel > System and Security > Administrative Tools > Internet Information Services (IIS) Manager. 2.Expand the server tree in the Connections pane and click Application Pools. 3.Select SCMScanService from the Application Pools workspace and then click Advanced Settings in the Actions pane. 4.In the Advanced Settings window expand the Process Model section. 5.Set Startup Time Limit (seconds) to 1800 6.Click OK to save the setting and then close the IIS Manager. 7.Restart your SCM server. |
Steps to upgrade the SCM components
1.Log in to the SCM Server.
2.Download and unzip the install media files to a suitable folder.
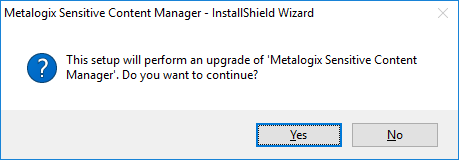
3.Click the windows installer file Metalogix Sensitive Content Manager.exe. Click OK in the User Account Control window if it opens and then click Yes in the confirmation dialog that opens.
4.Click Yes to proceed. The Welcome to SCM Setup Wizard opens.

5.Click Next. The License Agreement window opens.
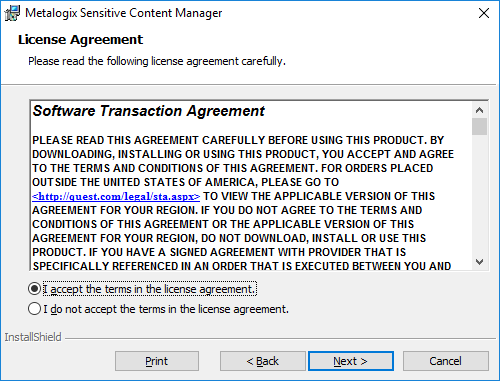
6.Click the check box I accept the terms in the license agreement to activate the Next button. Click Print to print the License Agreement.
7.If your license is not active or it has expired, the Product Licensing window opens. Enter your license key and click Activate License. Then click OK to close the confirmation window. See License Management for alternate licensing options,
8.Click Next. The Service Account Credentials window opens.
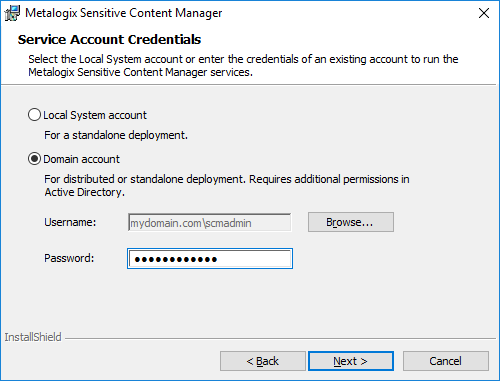
9.Choose the Local System Account or Domain account based on the account that is used to run the SCM Windows service. If you choose Domain account verify the username and enter the credentials of the domain user that runs the service.
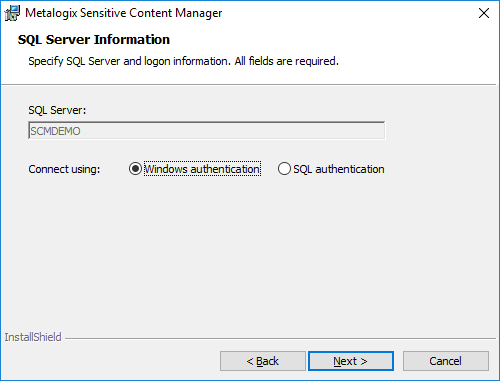
10.Click Next. The SQL Server Information window opens. For a standalone environment, the SQL Server name would be the same as the SCM server name. Verify the information in the window.
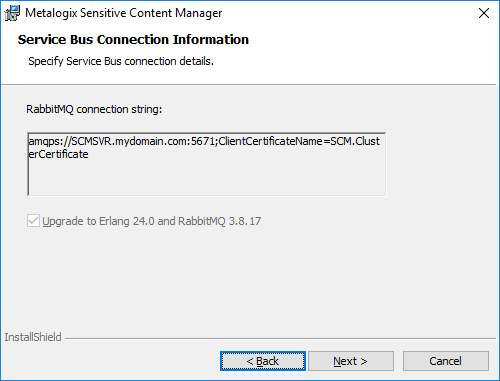
11.Click Next. The Service Bus Connection Information window opens and displays the RabbitMQ connection string. The check box Upgrade to Erland 24.0 and RabbitMQ 3.8.17 is pre-selected (for information purpose only) to upgrade the the third-party components.
12.Click Next. The Ready To Install window opens.
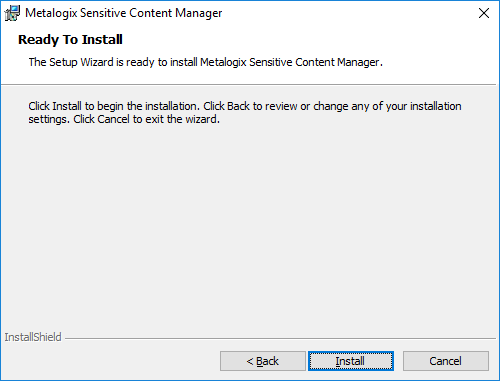
13.Click Install. The Uninstall Erlang OTP 22 window opens.
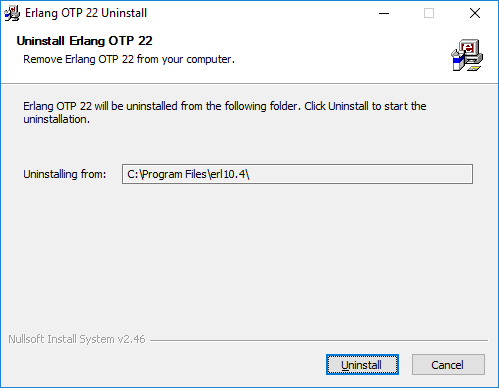
14.Click Uninstall to run the removal program. Click Close in the Uninstallation Complete window that opens when the olde version is successfully removed.
15.The Erlang OTP 24 Setup window opens.
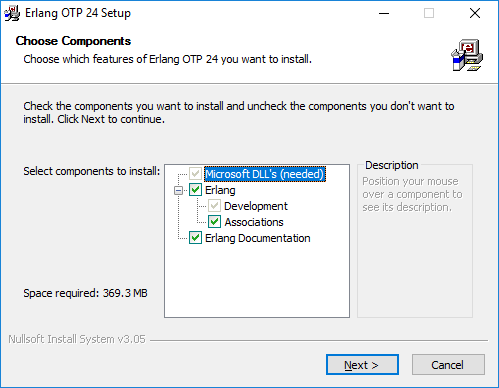
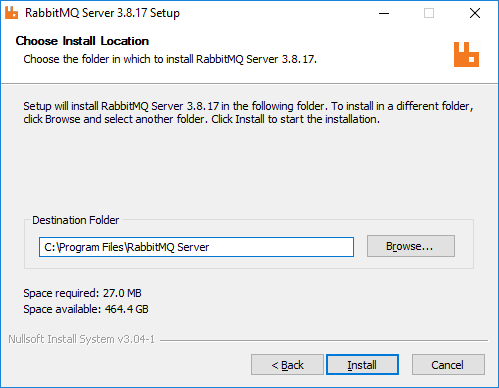
16.Keep the defaults as indicated and click Next. The Choose Install Location window opens. Click Browse to change the location if necessary.
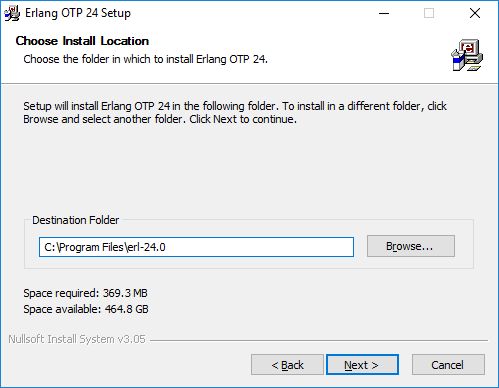
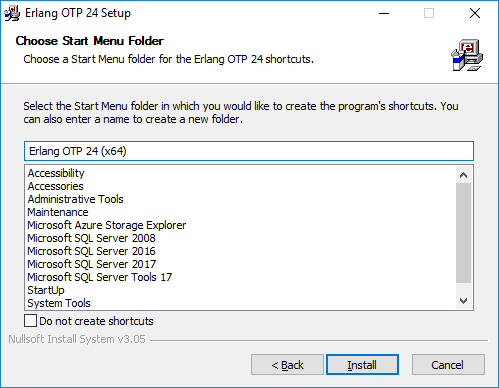
17.Click Next. The Choose Start Menu Folder window opens. Keep the defaults as indicated and select Do not create shortcuts to avoid shortcut creation. You must allow additional Microsoft redistributable components to be installed if requested by the installer.
18.Click Next. The Installation Complete window opens when the installation is successful.
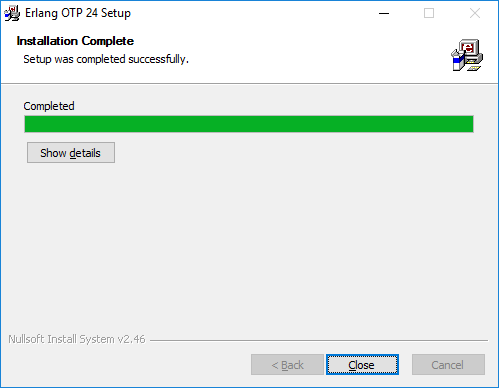
19.Click Close. If you have an older version of RabbitMQ the upgrade confirmation dialog opens.
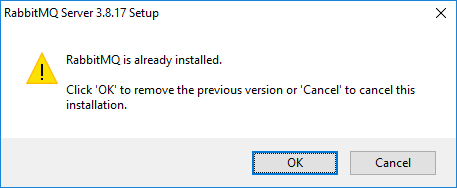
20.Click OK. The RabbitMQ upgrade installer starts. Keep the defaults as indicated.
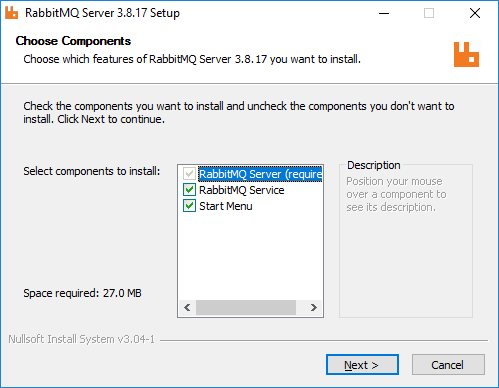
21.Click Next. The Choose Install Location window opens. Click Browse to change the location if necessary.
22.Click Next. The Installation Complete window opens when the installation is successful. Click Show details to inspect the RabbitMQ installation locations.
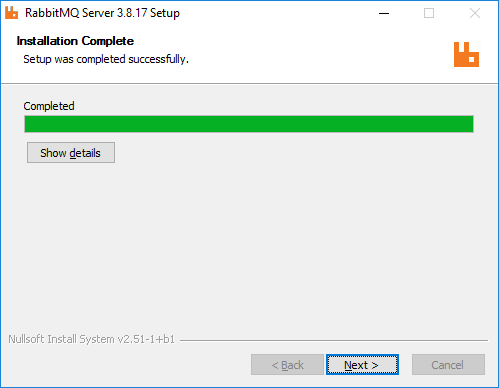
23.Click Next. The confirmation window opens.
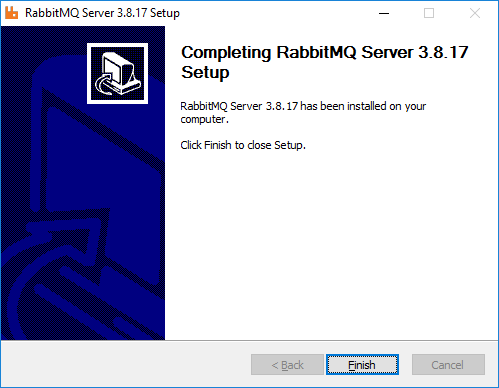
24.Click Finish and allow to upgrade to complete. When the installation completes successfully, the SCM Setup Wizard Completed window opens.
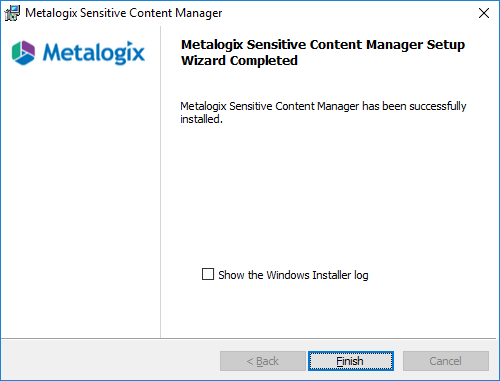
25.Select the Show the Windows Installer log inspect the log file if necessary. Click Finish to exit the wizard.
|
|
NOTE: If you are upgrading a distributed environment, you must upgrade all other servers in the cluster that are used to host dedicated services to ensure all component versions are the same. Working with mismatched component versions is not recommended. |
1.Log in to the SCM Sever as an SCM Administrator.
2.Open a supported browser such as Chrome, on the SCM Server.
3.Enter the Admin URL. For example, enter https://scmsvr.mydomain.com:44300
4.In the Sign in dialog that opens, enter the credentials of the SCM Administrator.
5.Click Sign In. The Dashboard page opens.
6.From the navigation pane, expand Activity and then click Services Health.
a.Verify that the software version at the bottom of the navigation pane is the expected upgrade version.
b.Verify that all services indicate Status = Up.
c.For a distributed environment, you must also verify that each service version on the dedicated servers matches the same service version on the SCM Server.
7.This completes the upgrade verification.